Hey y’all! I’m ecstatic to be on Moms Without Answers today and am looking forward to our many DIY adventures! I’m Sarah from Sweet As Honey Studio, and I have to say making things has got to be one of the biggest joys in my life. From digging up how-to’s for our sweet little girl’s nursery to making up my own, there is nothing like putting your heart, soul, and hands into a project.
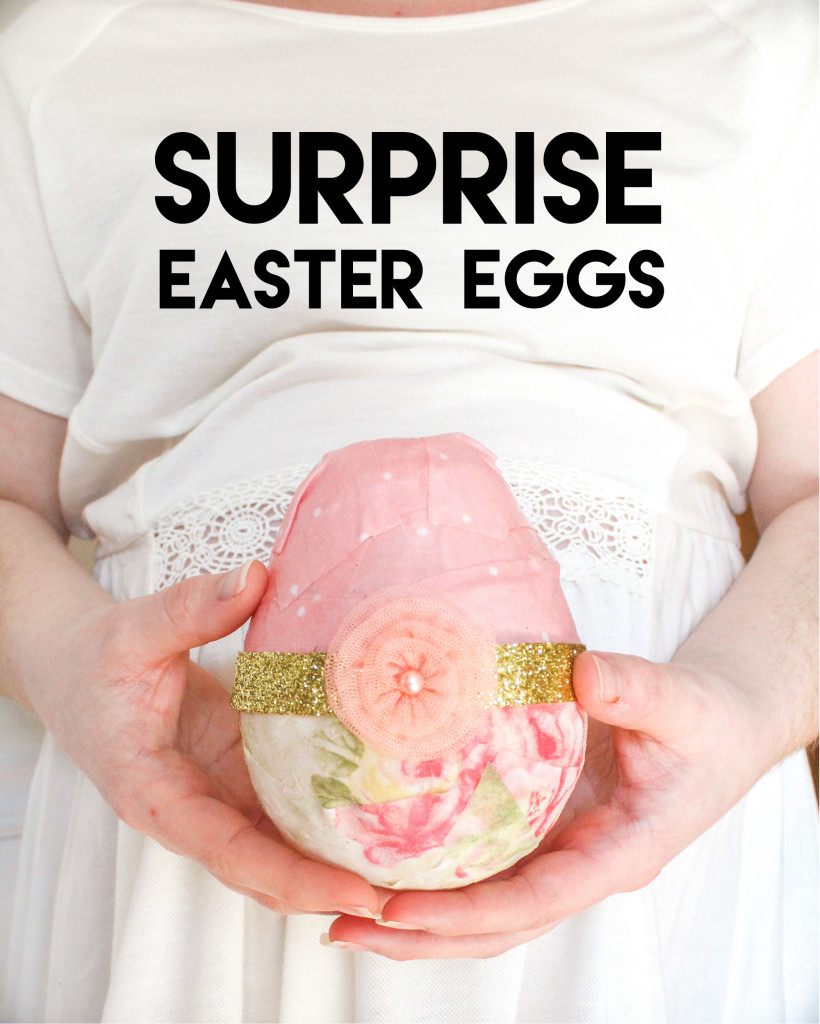
With Easter around the corner, the words family, bright, and fresh have been on my mind. One of my favorite Easter memories from childhood has to be dyeing Easter eggs. Eating all the jelly beans is a close second. I wanted to create something that combined family, crafts, and of course, candy. So ta-da! We will be making surprise Easter eggs. This is a super family-friendly project with just enough mess (which I know you are pumped about).
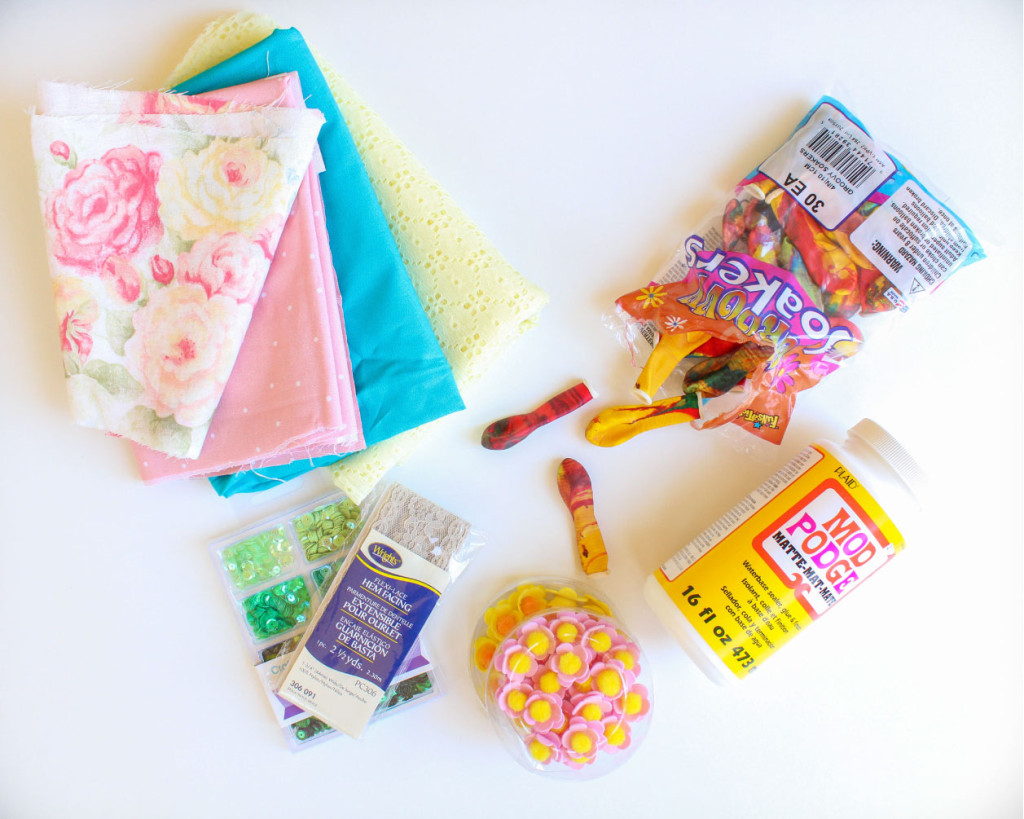
To make your own, here is what you will need:
Mod Podge
Water balloons
Strips of fabric or pick up some pretty gift wrap in our shop
Embellishments (ribbon, sequins, lace, etc.)
Hot glue gun
Exacto knife
1 inch in diameter cardboard circle
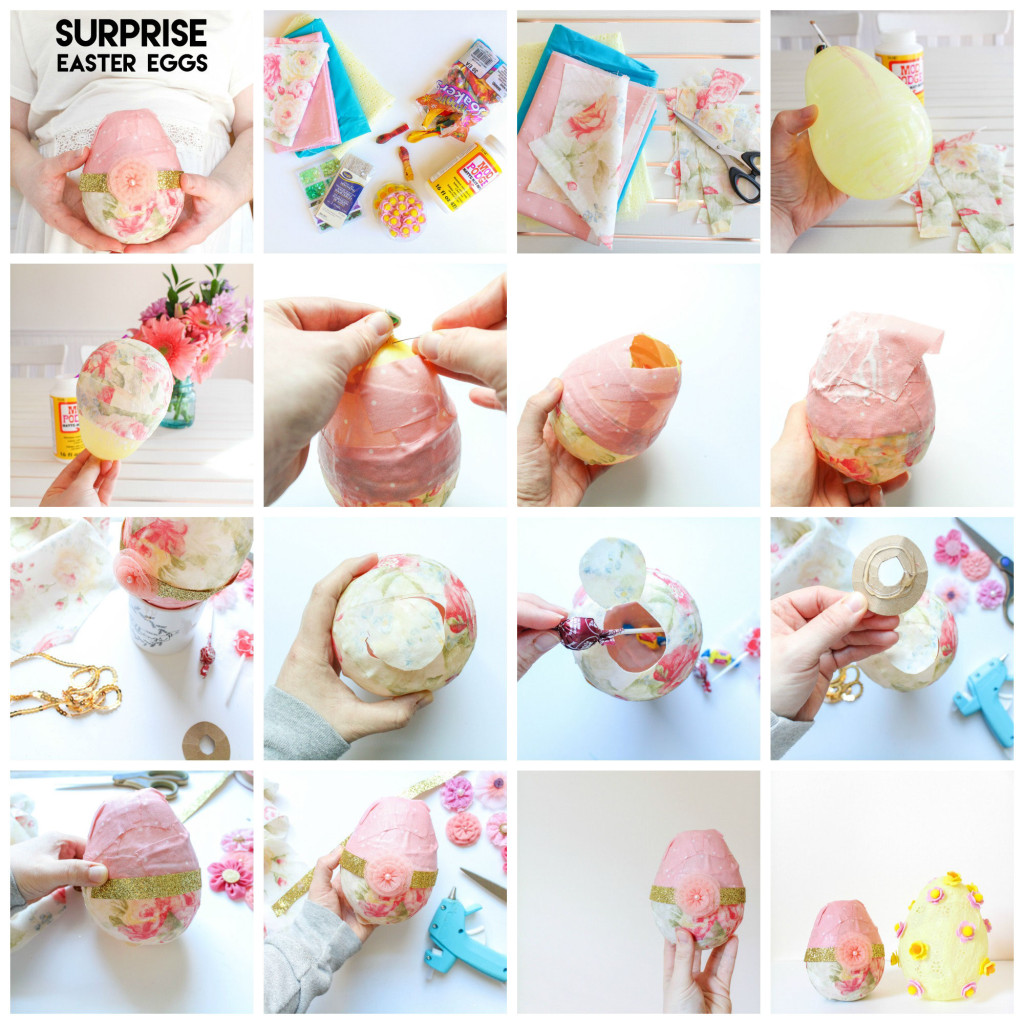
To get started, blow up your water balloon until it resembles an egg shape. I suppose you could call this “medium” size, as too much or too little air will create a wonky, oblong shape. Apply a thin layer of Mod Podge to the side of the balloon and begin laying strips of fabric over the glue. Once you have laid a strip of fabric go back over it with a layer of Mod Podge. This will sturdy the fabric and help keep the egg shape once the balloon has popped. Cover the balloon with fabric, making sure to leave a little bit of space by the neck. Allow the fabric to dry for 24 hours. I tied a piece of string around the neck of the balloon and hung it up where no little fingers or fur babies could play with it.
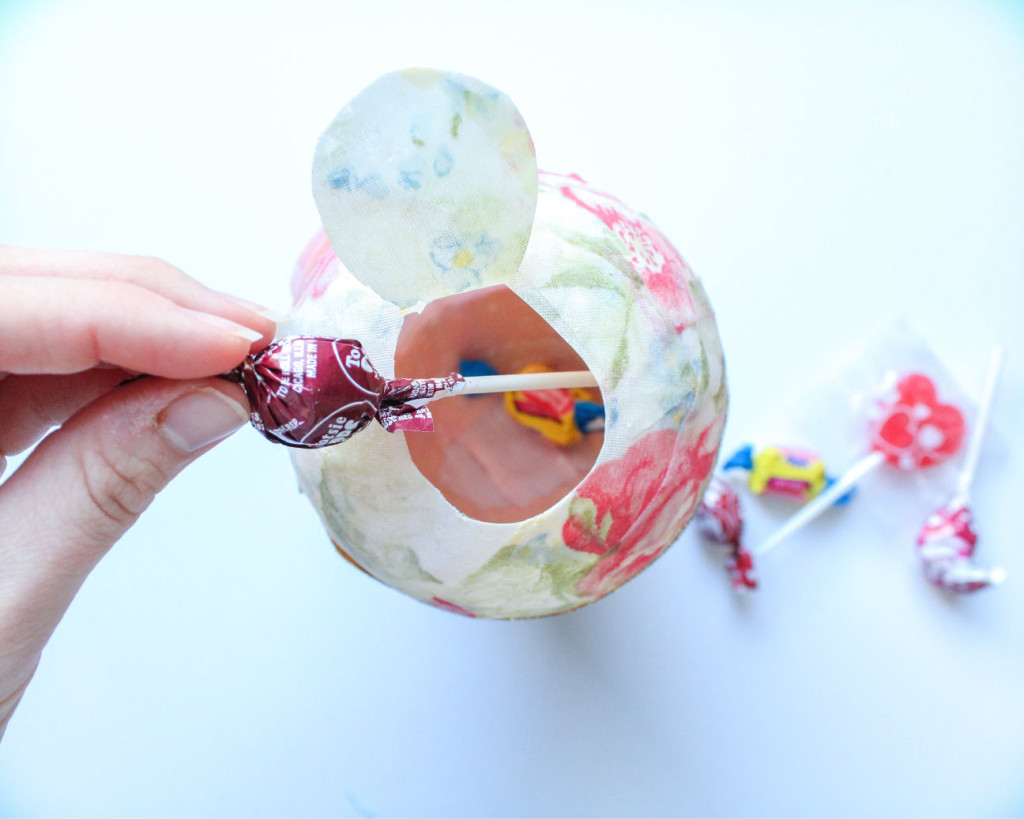
Once the fabric has dried, pop the balloon. The balloon will automatically peel itself from the fabric and you will be able to pull it out the top. Cover the hole with fabric and Mod Podge as before and wait until the top has dried (about 3-4 hours). With an exact knife, cut a small circular flap at the bottom. I kept the egg steady in a coffee mug while I cut. If your egg collapses on one side, gently use a pencil and push the side back out.
Fill the egg with your child’s favorite candy. Let’s be real here, a little of yours too.
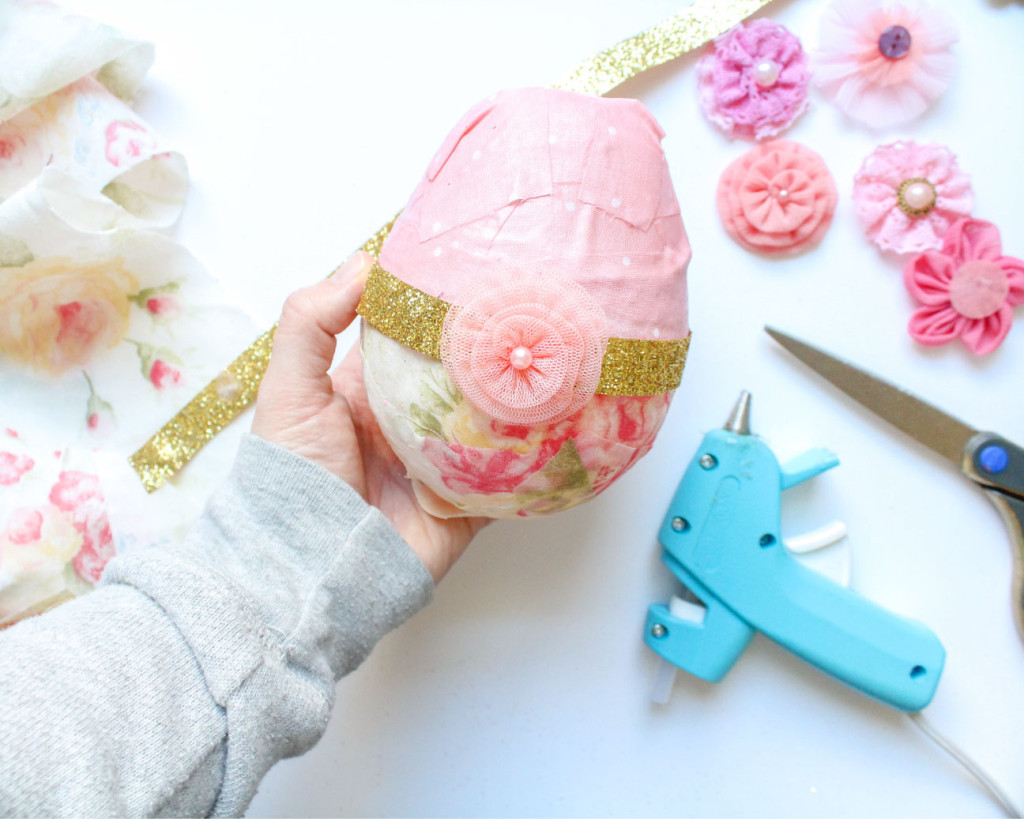
Next, take your cardboard circle and attach it to the inside bottom of the egg with hot glue. Then glue the fabric flap over it. Finally, decorate!
Use these eggs as decoration or put them in an Easter basket and keep your kiddos guessing what might be in them! Easter is one of my favorite times of the year and little projects like these make those memories even sweeter.
Leave a comment below and let me know how your eggs turned out and how much your babes loved them!
Until next time, happy Tuesday!


SO cute! My kids would love these!!
These are too cool & seem pretty easy to make. These would even be great for decor around your house. And the kids could create their own in their own style. Thanks for the tutorial! 🙂