Hey friends! It’s Faison here, and today I’m sharing my tips on how to photograph your homemade holiday eats, along with a delicious recipe for gingerbread pear muffins! My little guy is obsessed with them, and these little muffins make busy mornings a breeze. Toddler approved, quick breakfast… it’s a mom win!
Okay, you’ve made the most delicious holiday food and you want to share it- great! But before you post a quick photo of your beautiful treats on Instagram, you’ll want to follow these steps to get the perfect shot. Regardless if you’re snapping on your phone or using your professional dSLR camera, these tips and tricks can really help to make your photos really pop, and make that muffin look even more delicious. Ready? Let’s do this!
Turn off the lights!
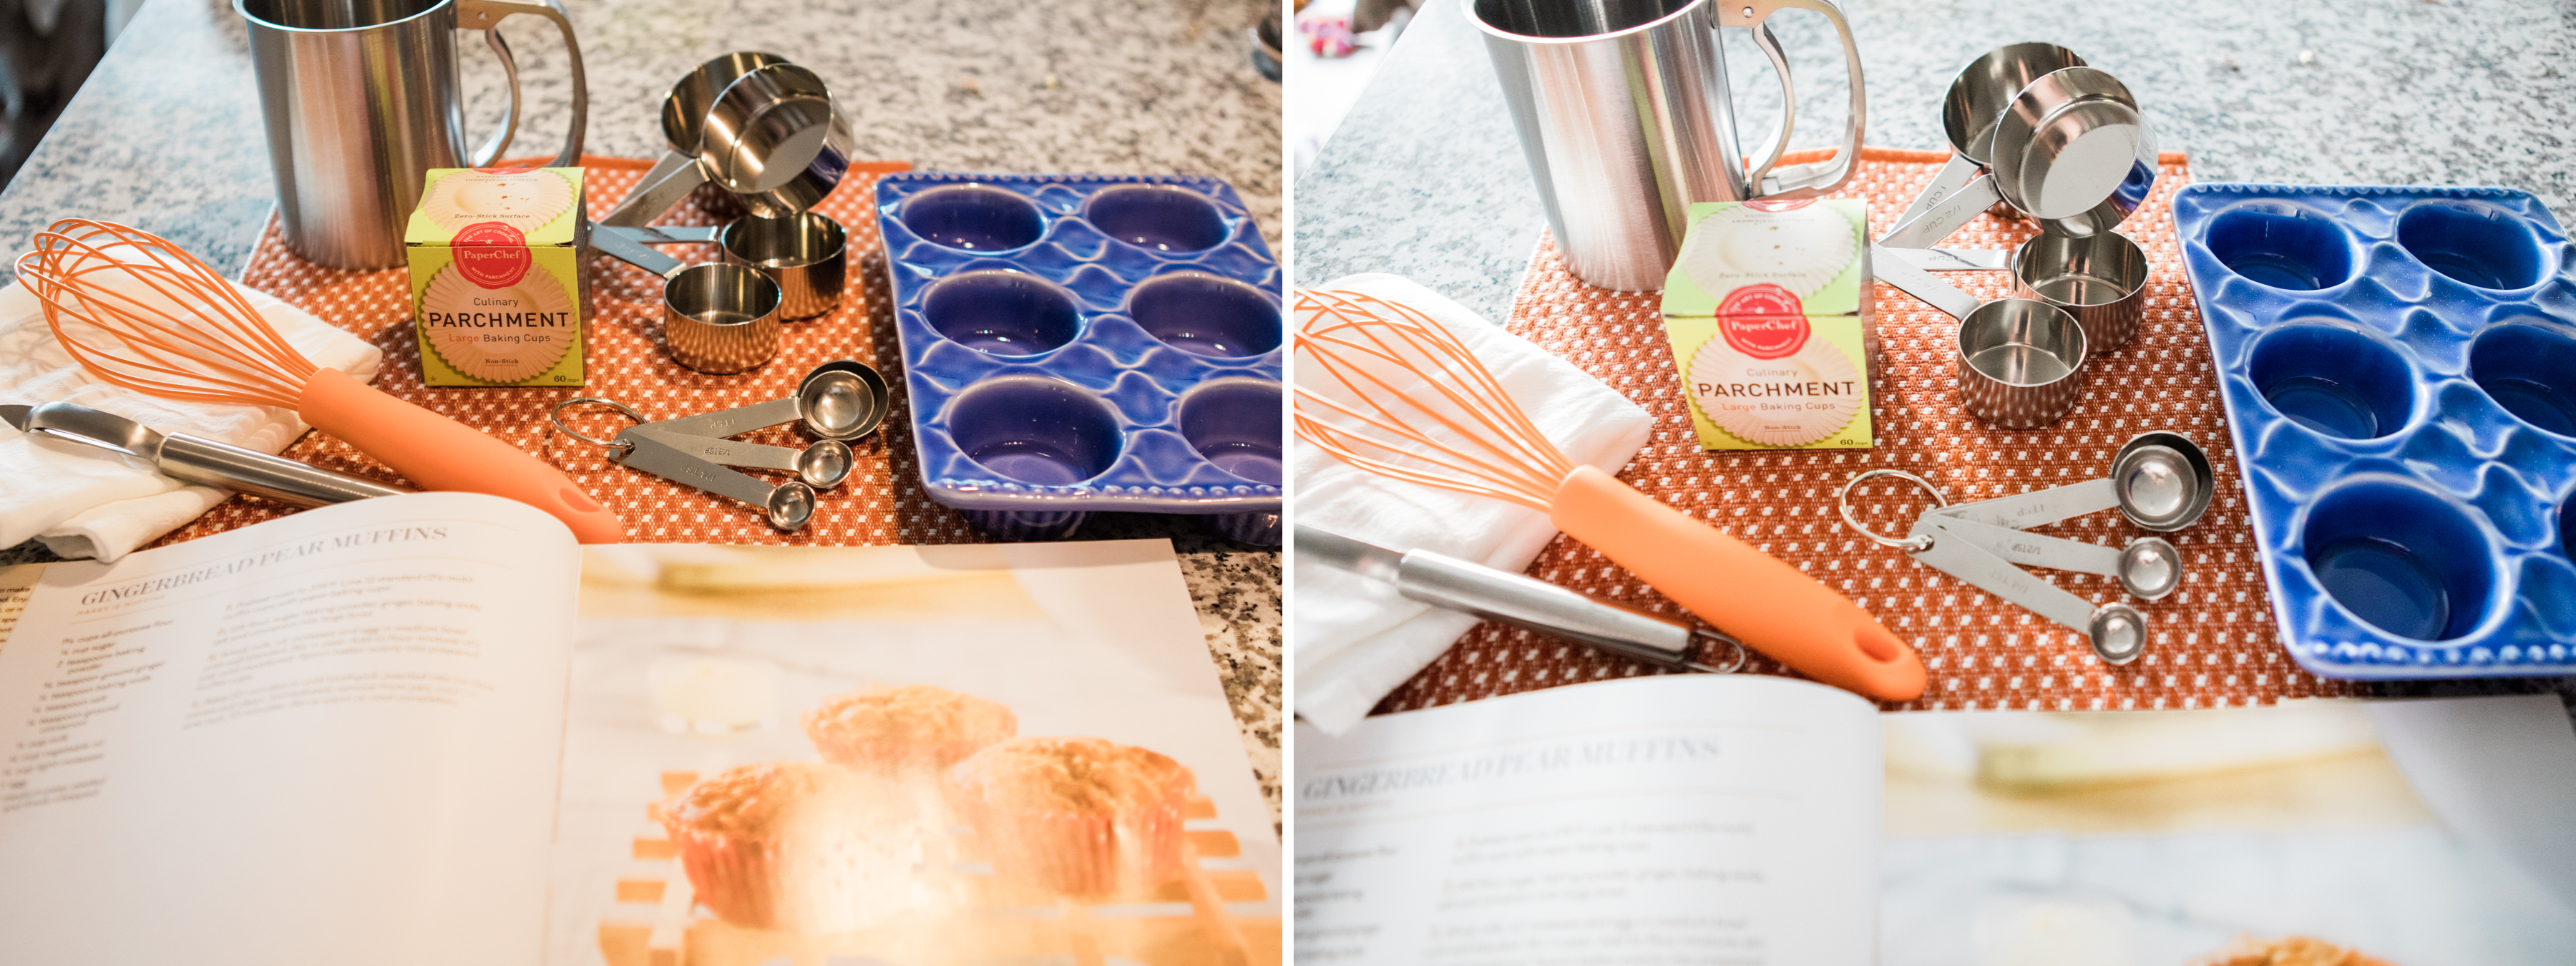
These two photos were taken at the same time but one seems to be a lot more harsh to the eyes, and the lighting is way off- which one was taken with the overhead kitchen lights on? If you guessed the left photo, you’re right! I’m a firm believer in working with natural light, and if there are any lights that can be turned off, they’re off. Natural light = best light.
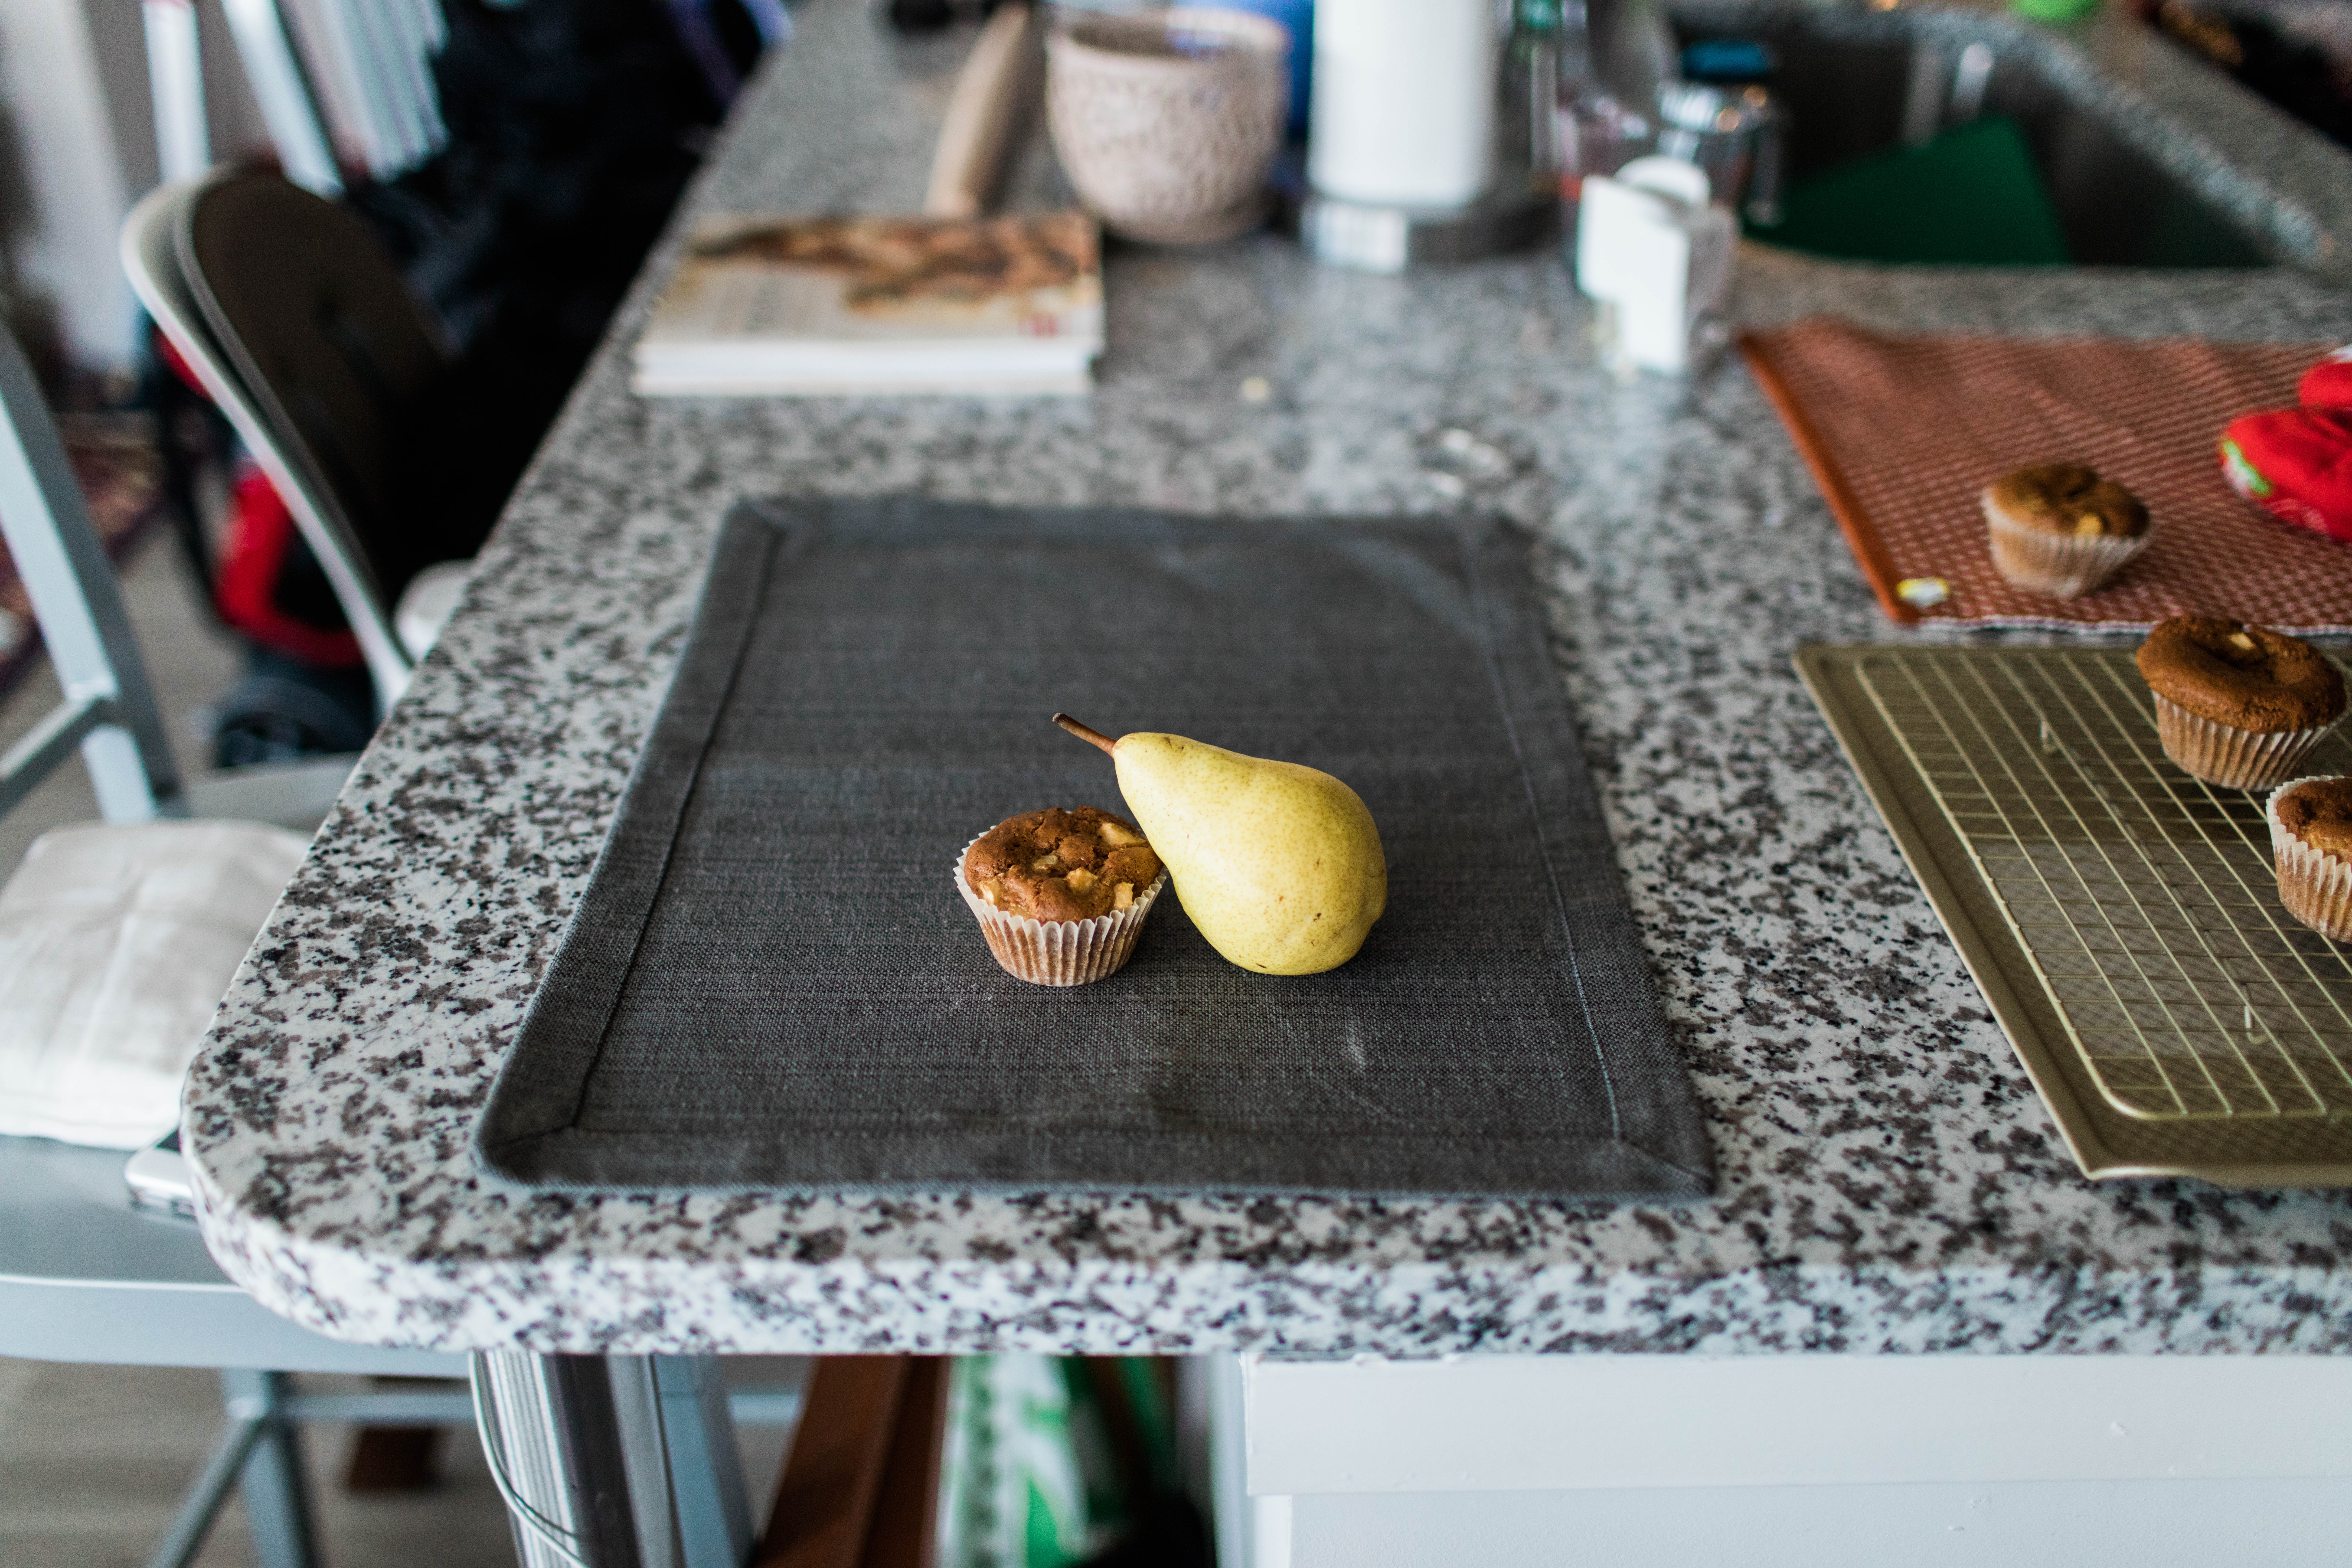
The best natural lig.hting in your home could be anywhere, so play around with your subject! Our apartment has 14-foot ceilings and walls of windows, and I’ve found that my best natural light is on our kitchen island (about twenty feet off the exterior walls and windows). The corner of our kitchen island is my favorite place for food snaps.
Anything can be a photo prop. Yes, anything!
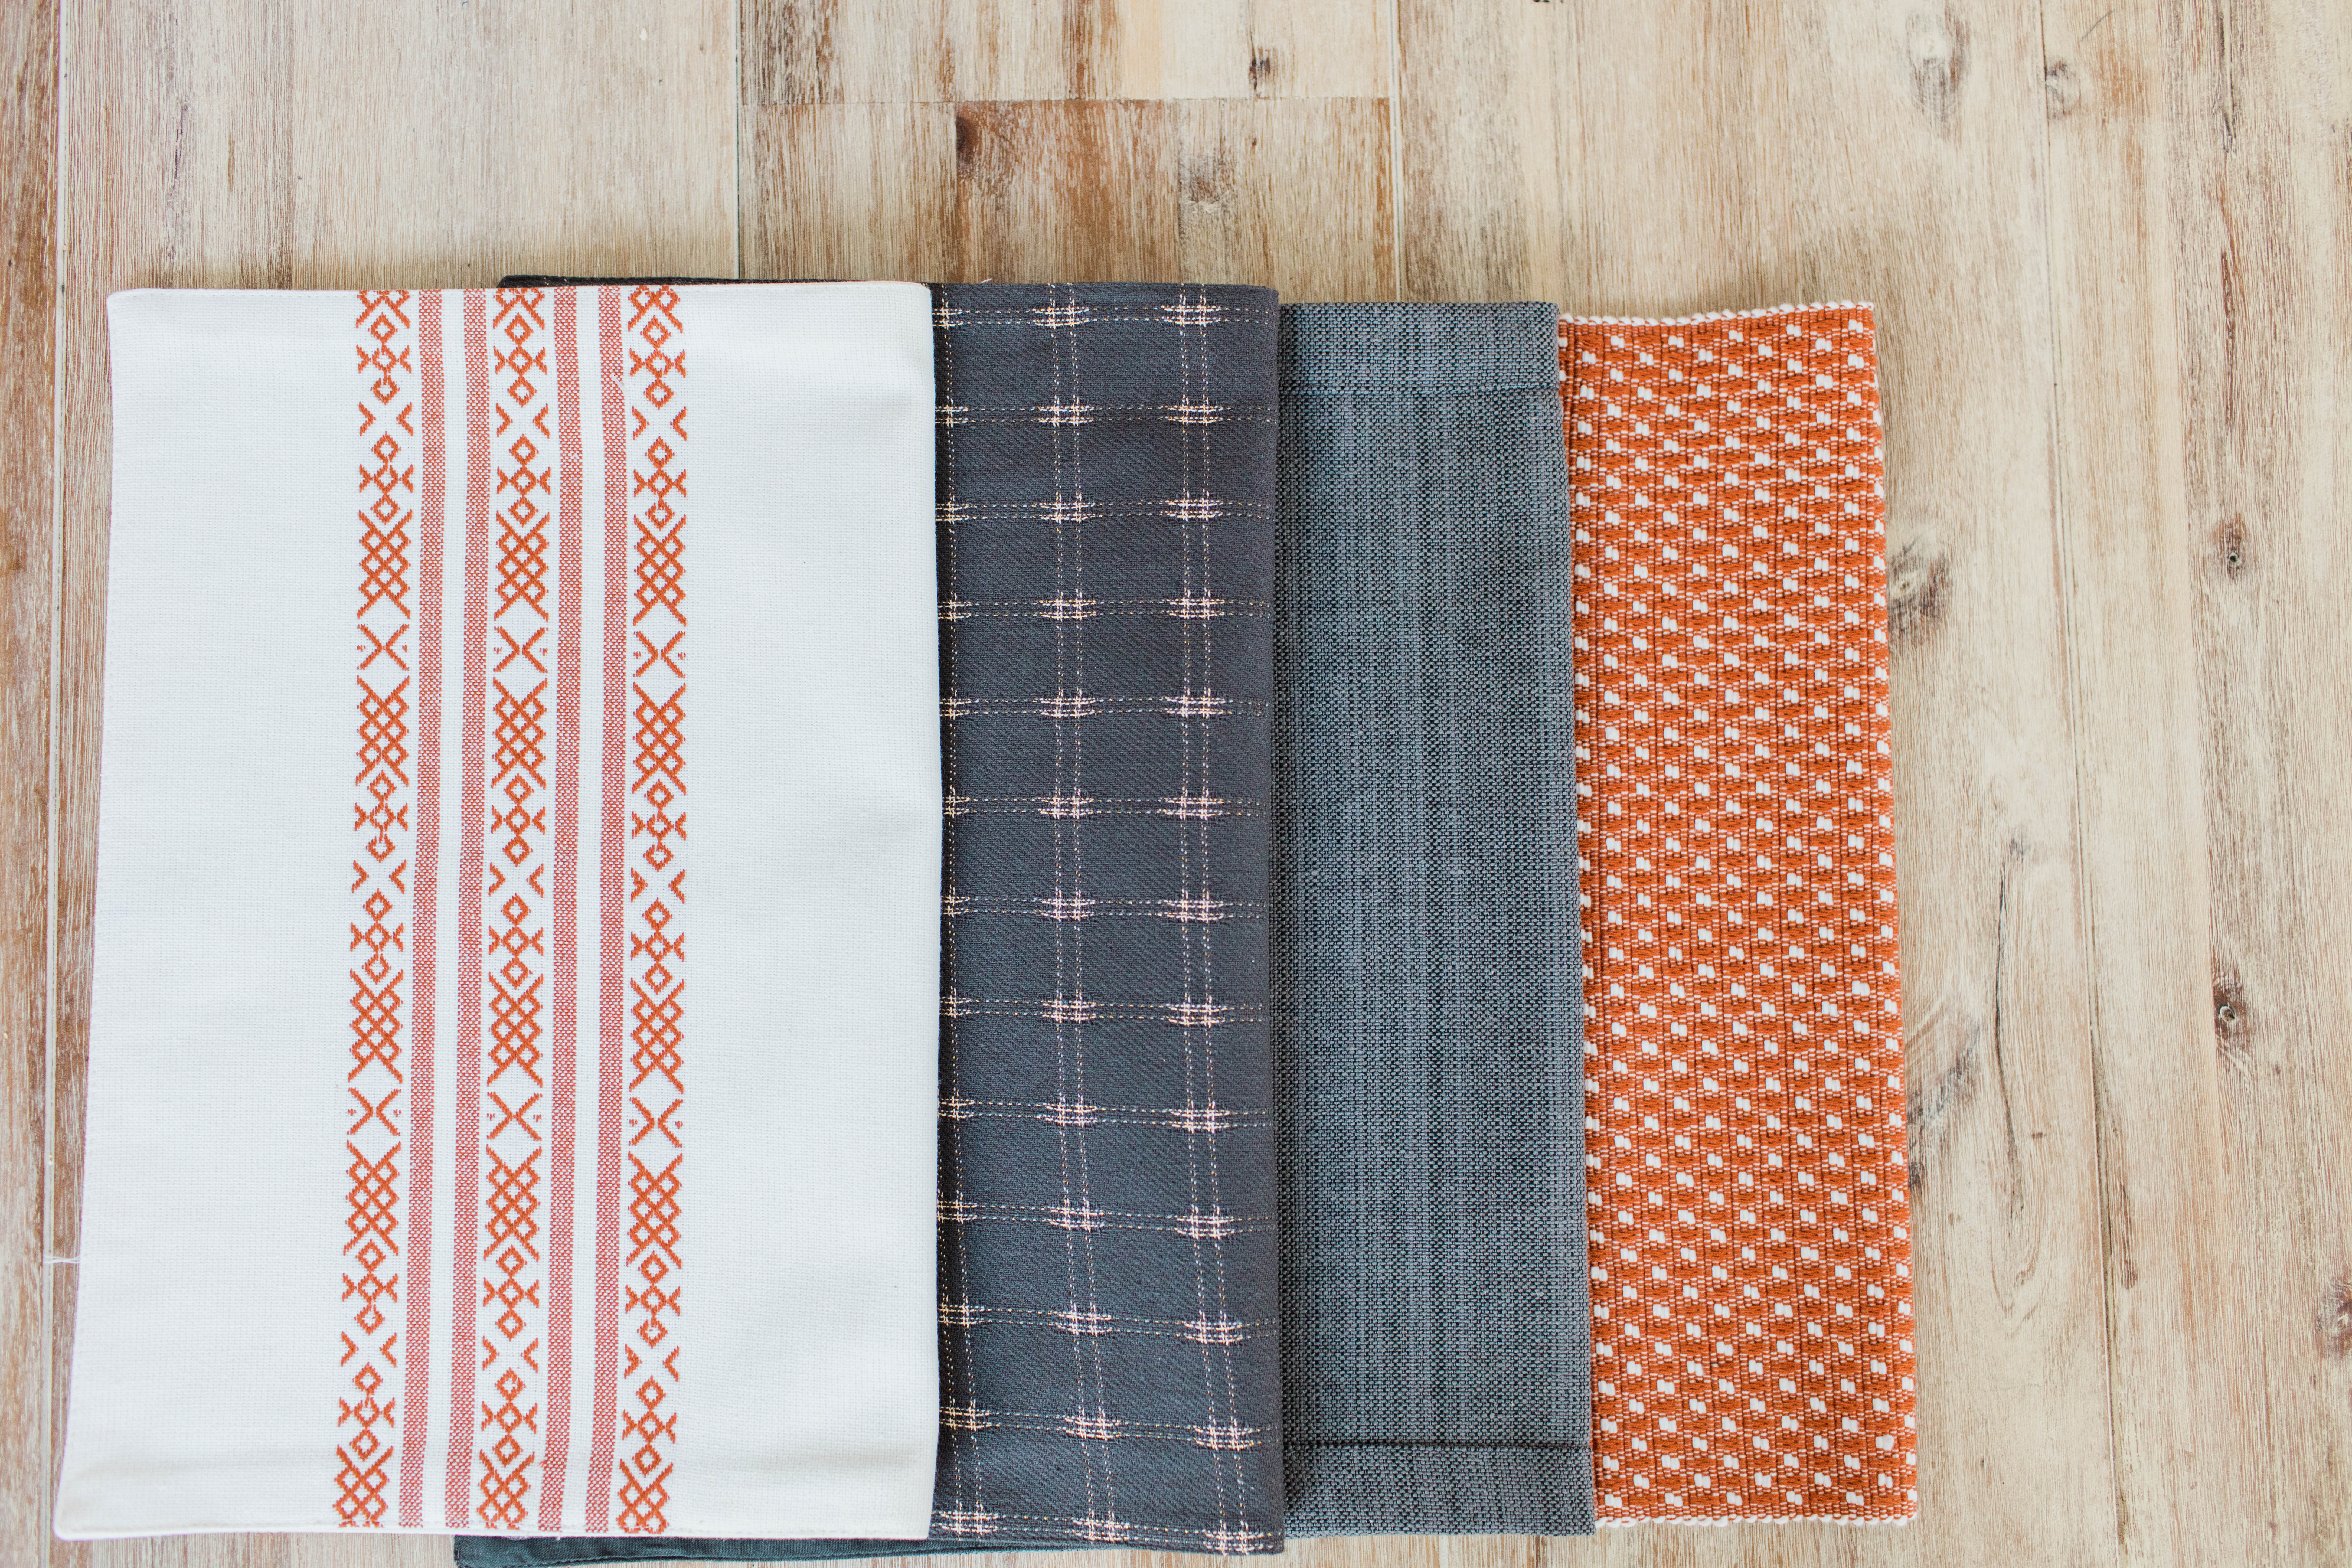
Want to know my favorite props for food photos? Placemats! I love the different textures, the different patterns, and I especially love the prices of them- some are as little as 99 cents! Target is one of my favorite spots to get them, and the Dollar Spot is also a great place to find inexpensive placemats and dish towels…. along with a zillion other things, am I right?!
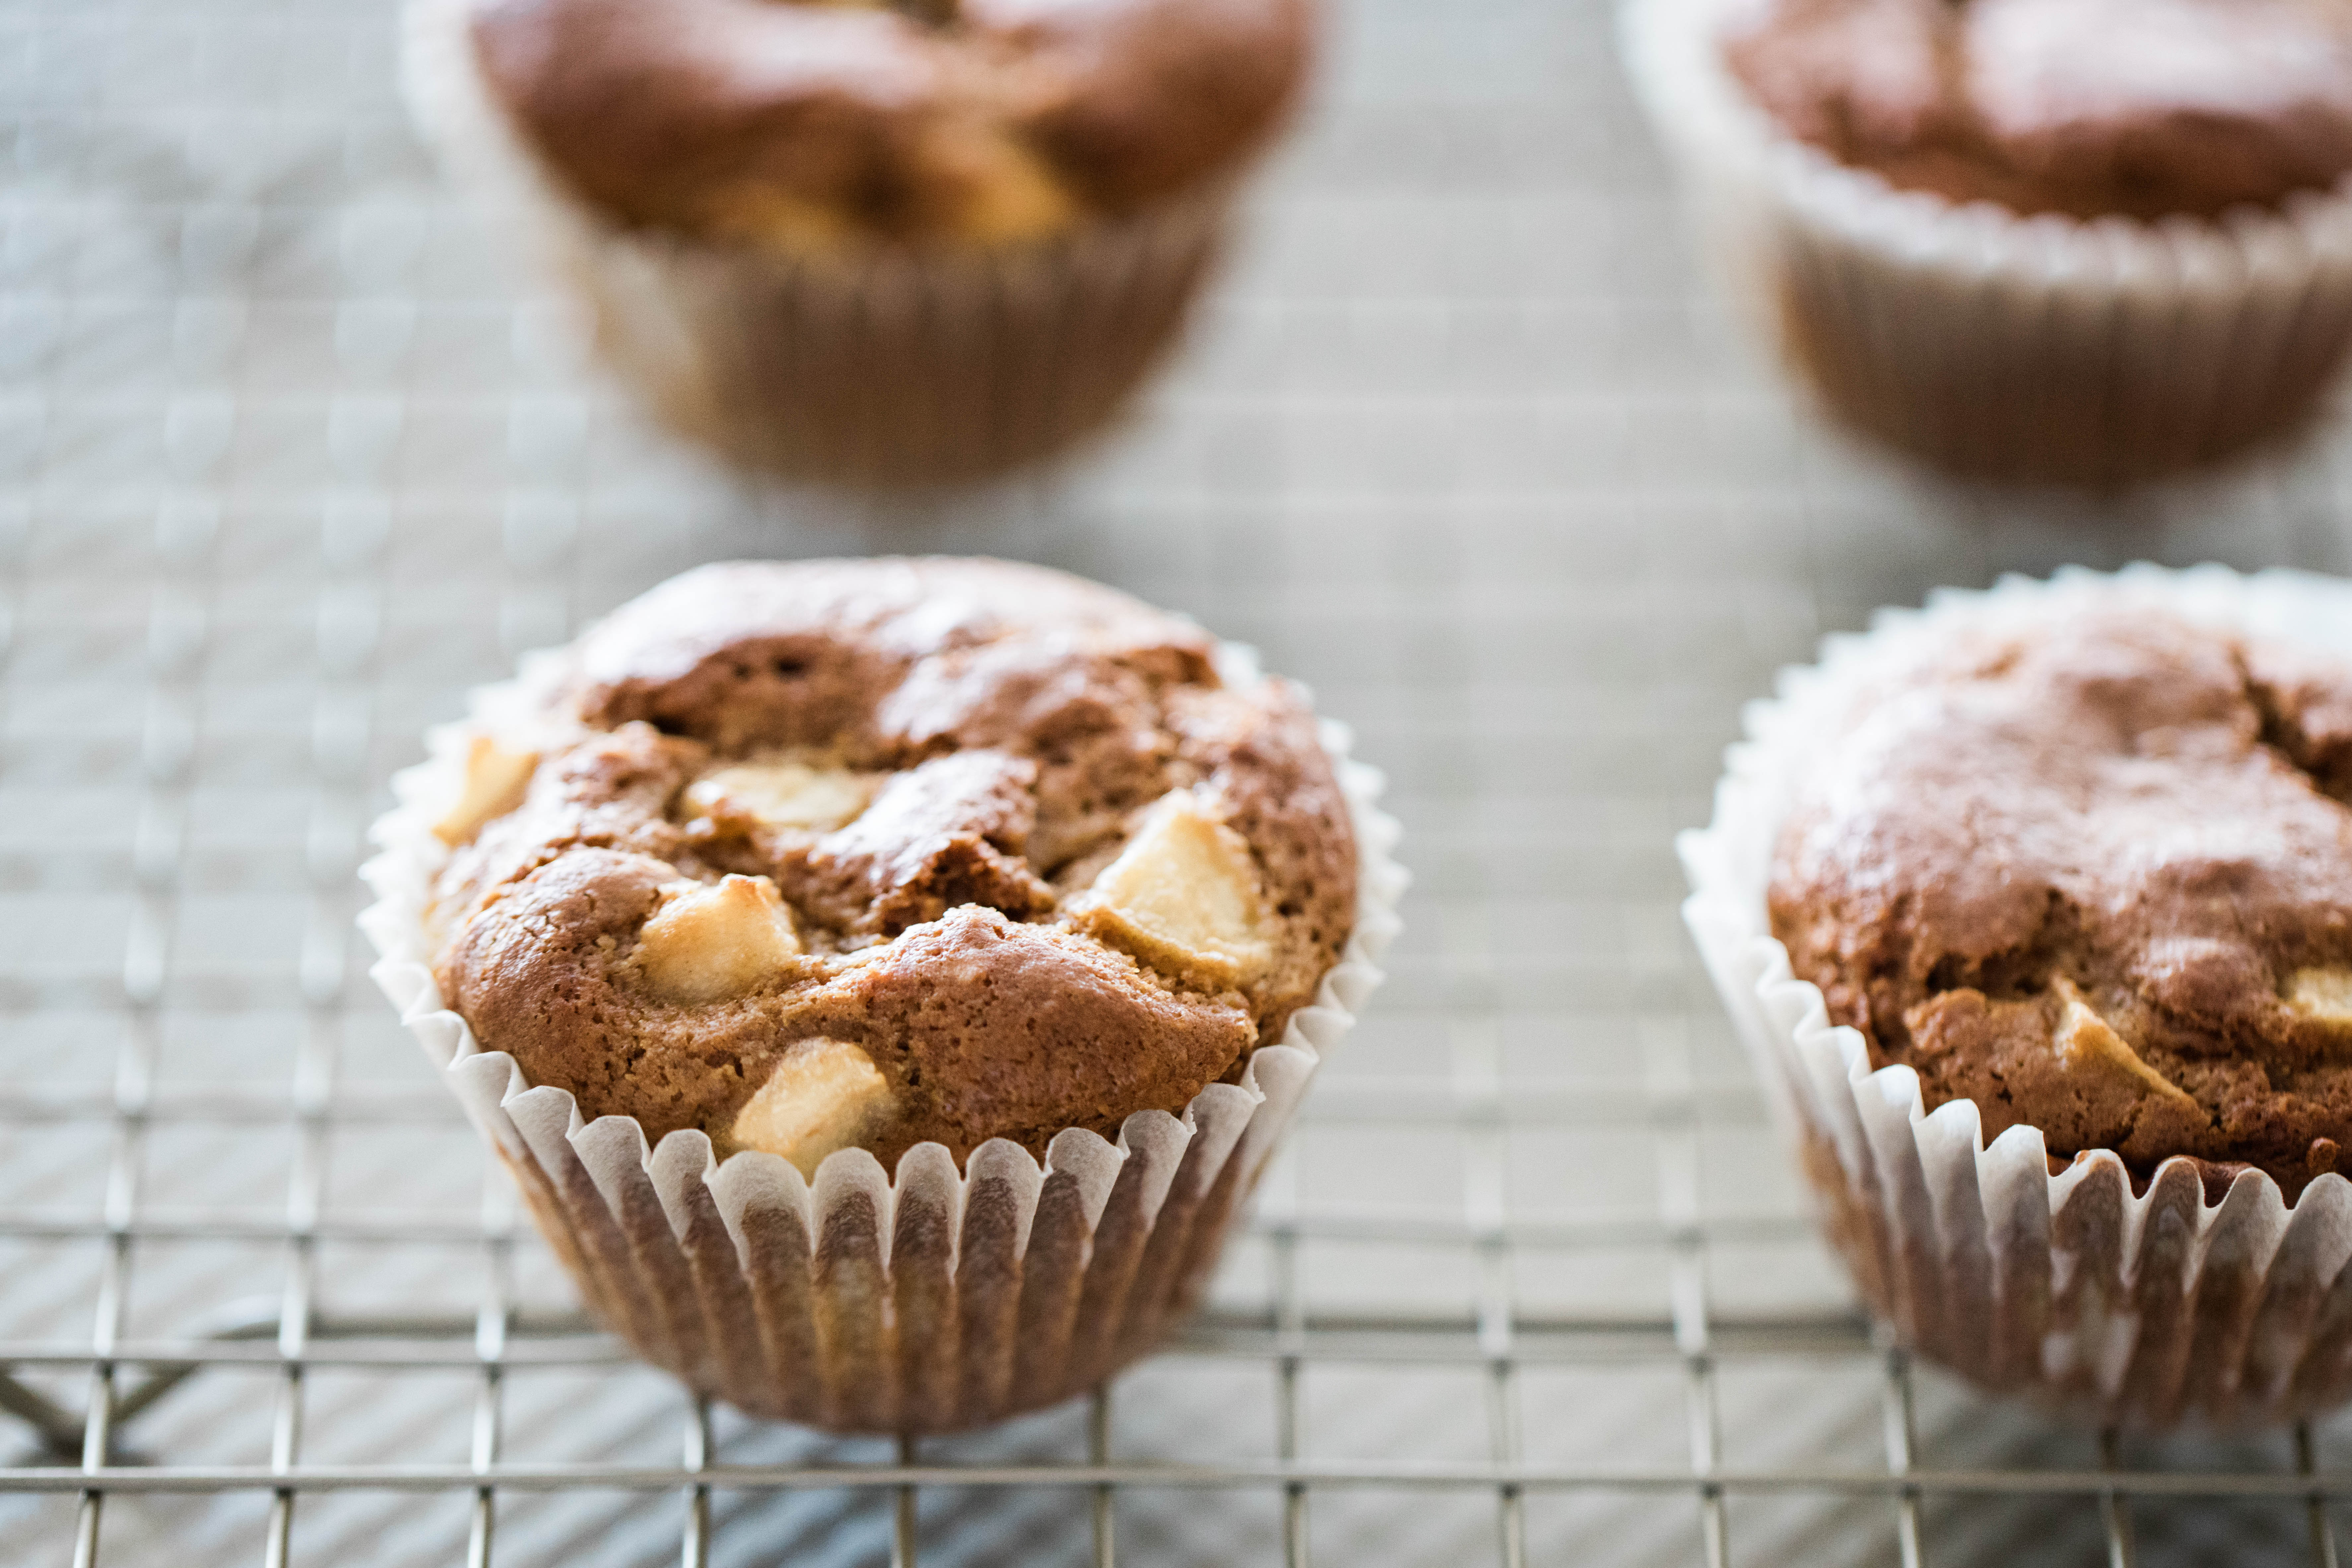
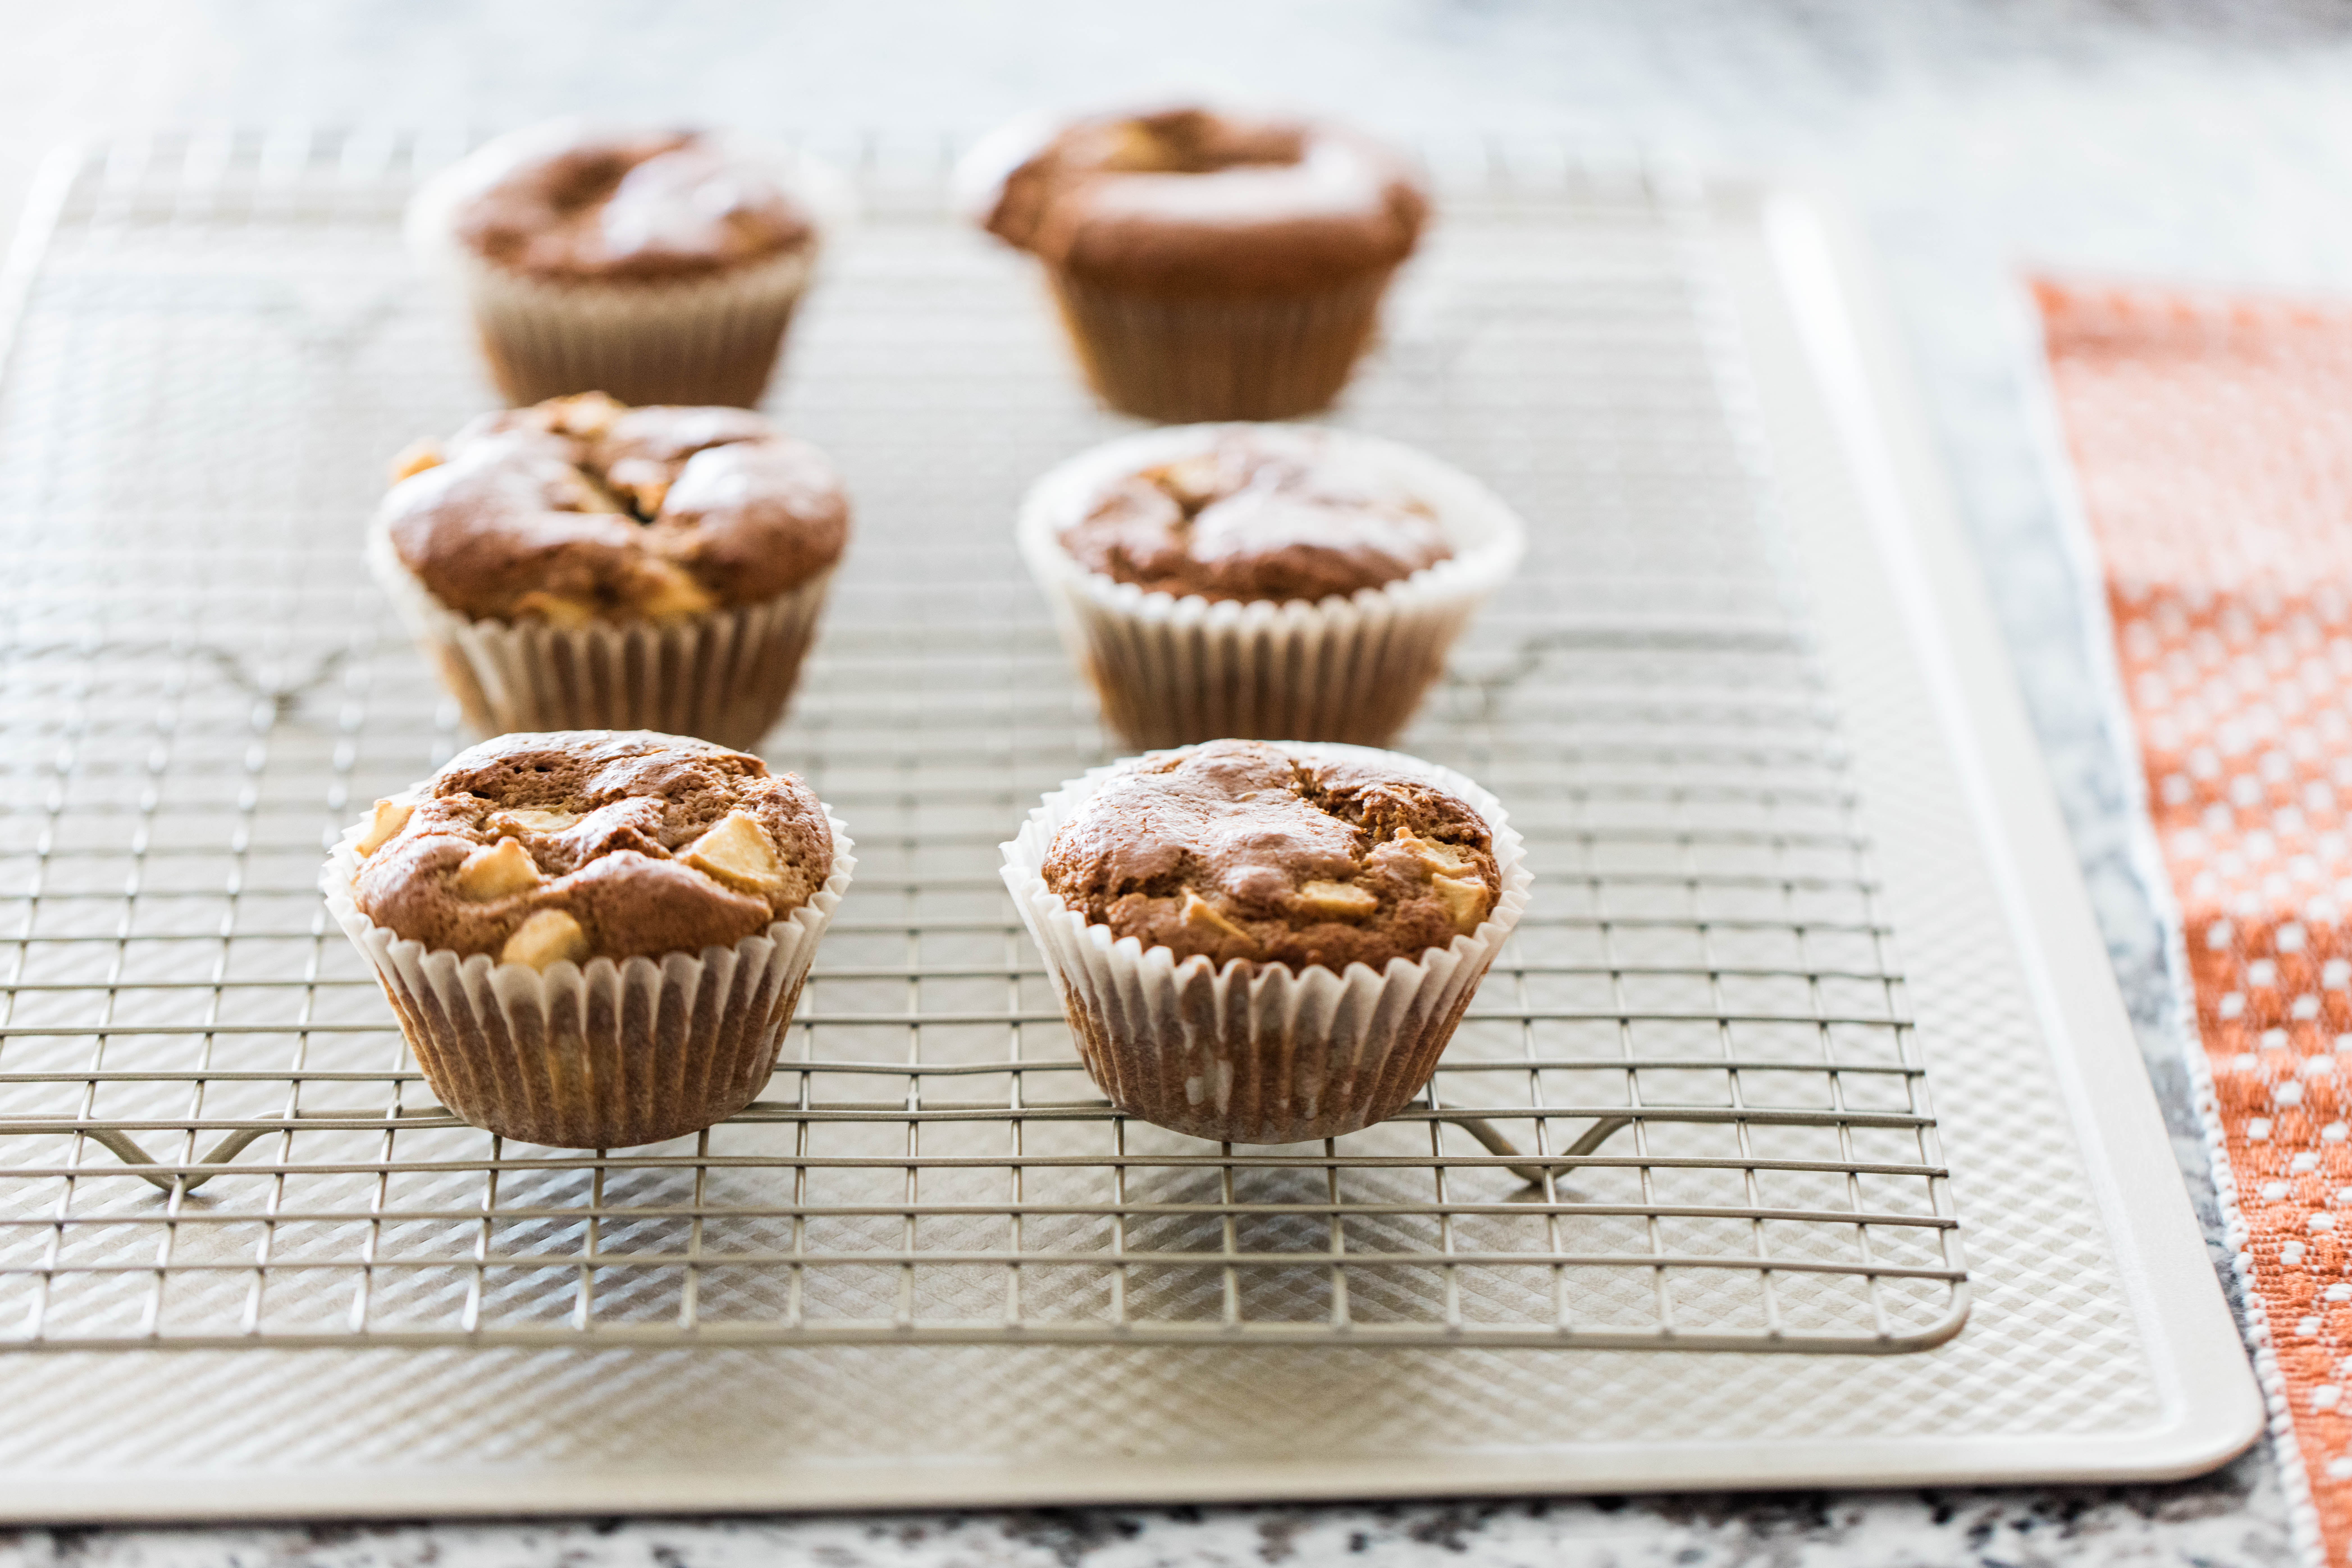
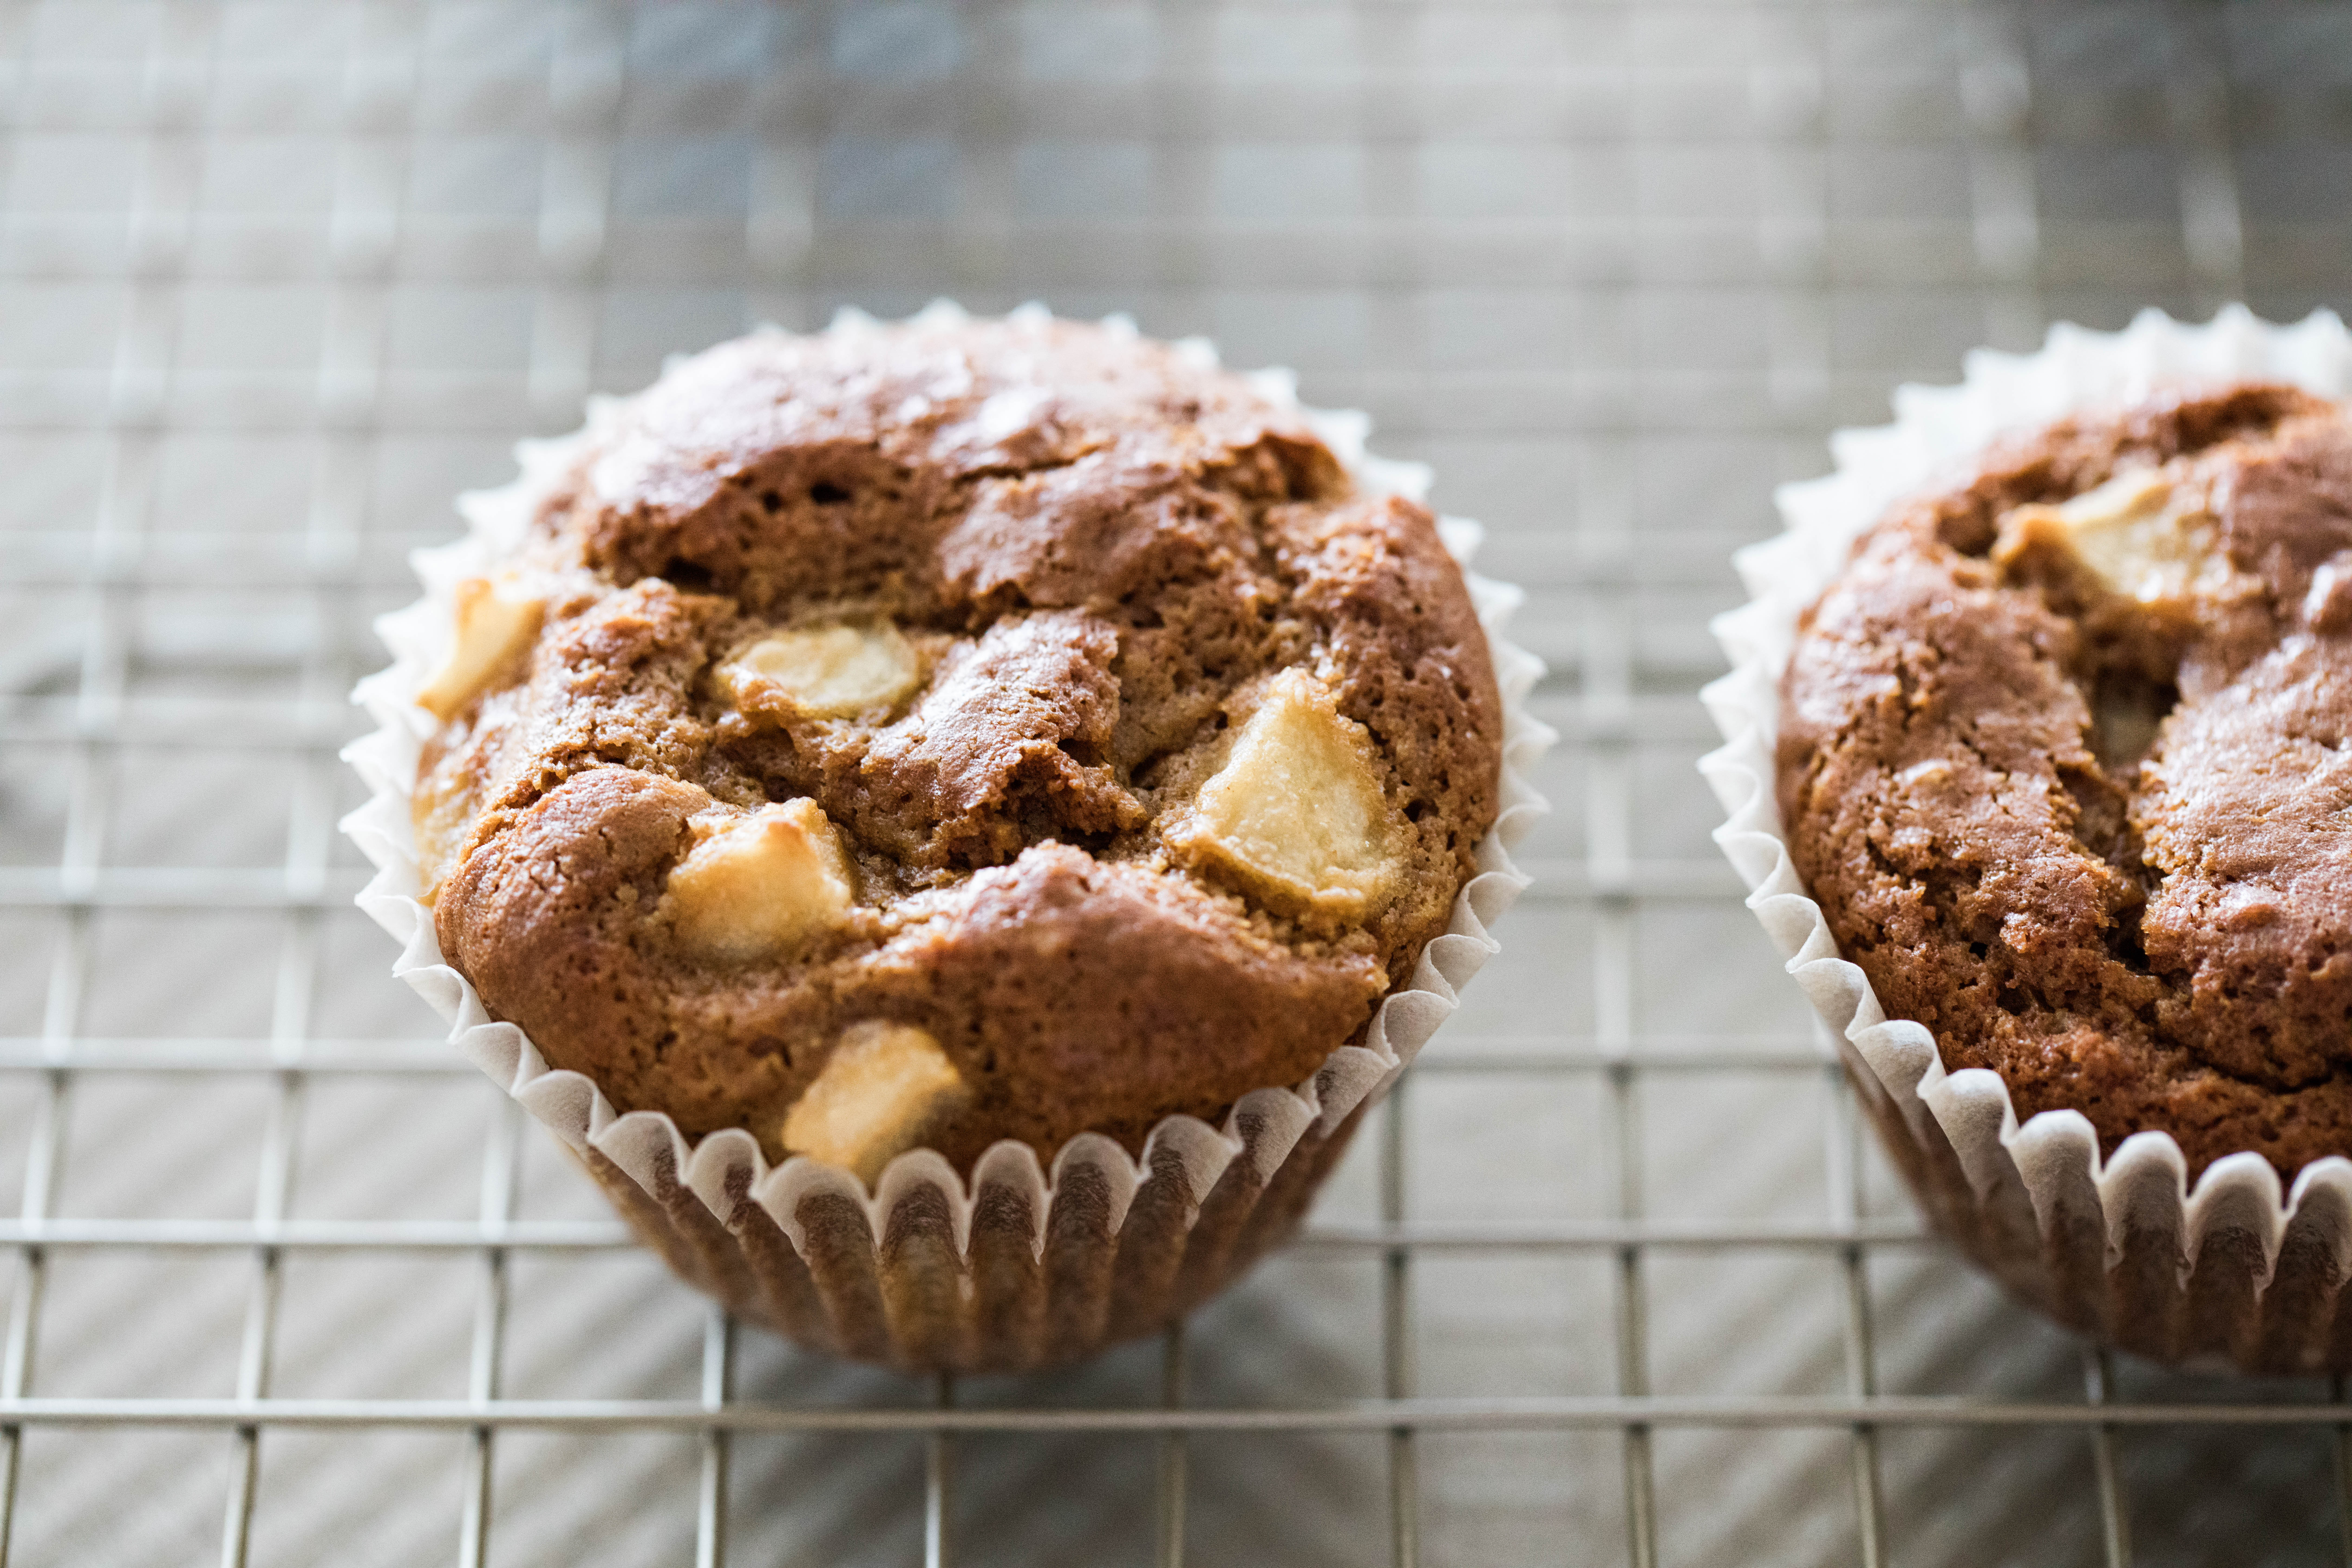
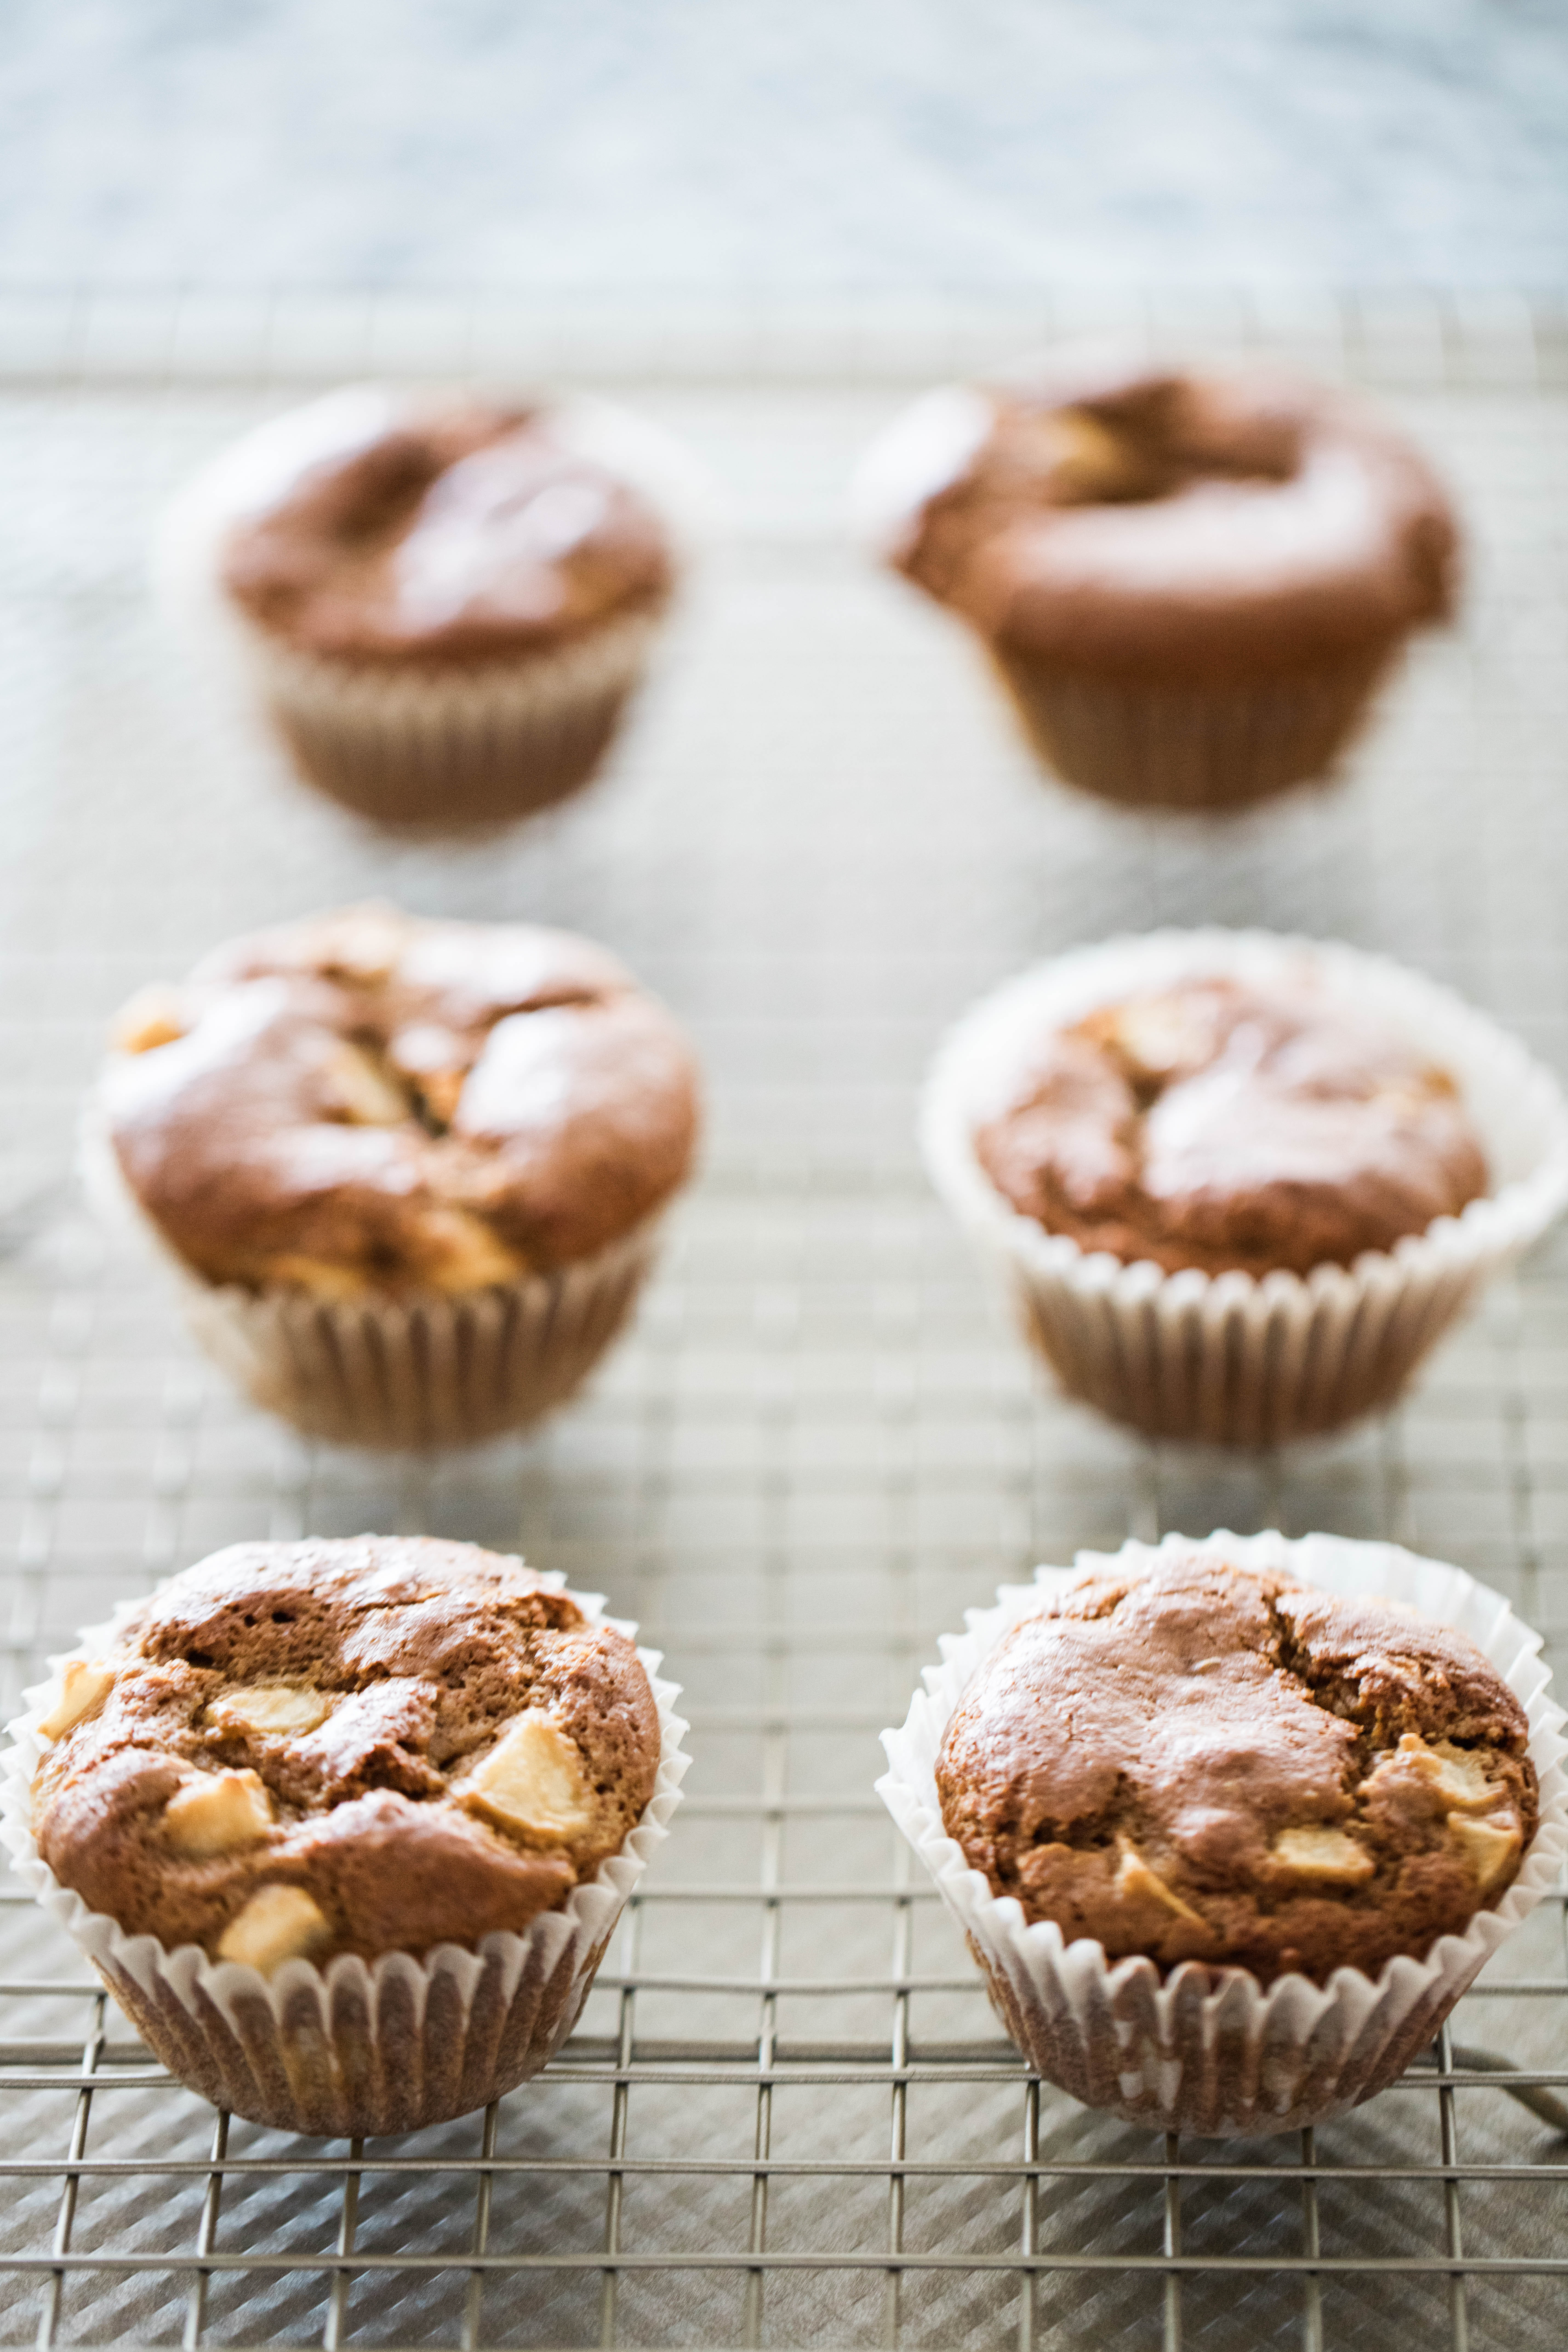
Another favorite prop of mine for baked goods is a wire rack. I took this photo right after the pear muffins came out of the oven while they were cooling on the rack, and it really gives the photo depth and that fresh-out-of-the-oven look, and a “did-Martha-Stewart-make-these?” look too.
Texture is everything.
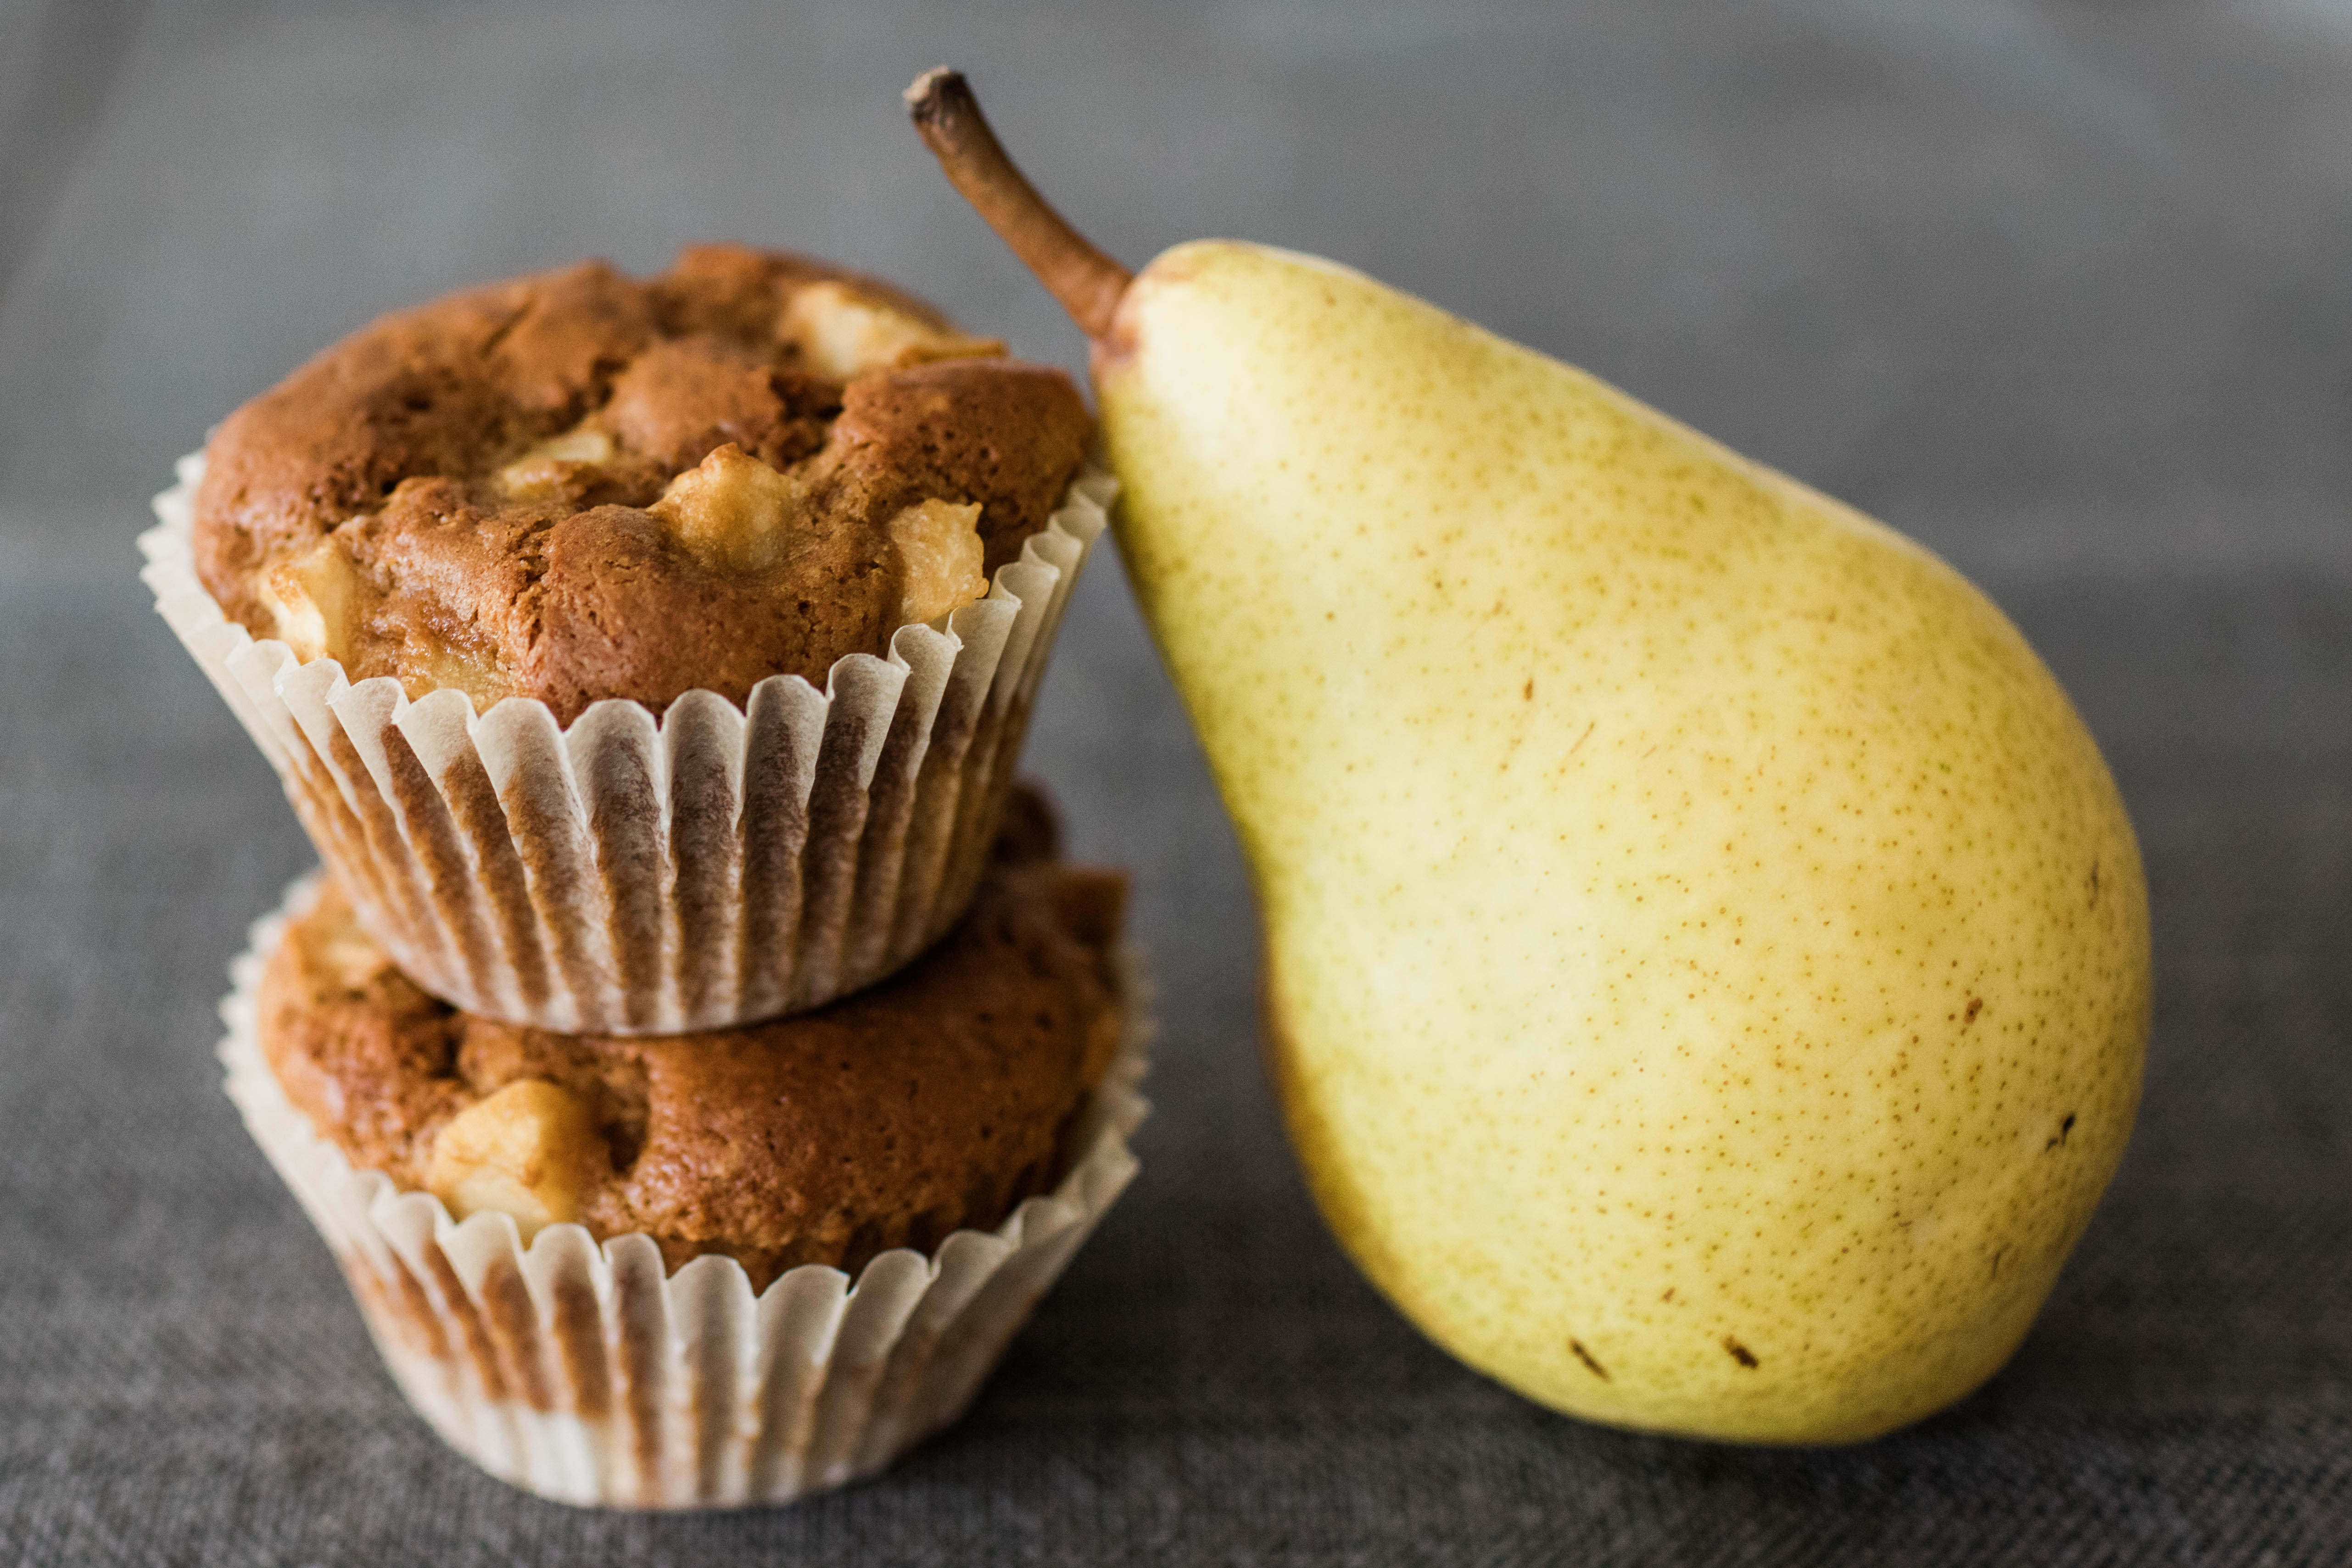
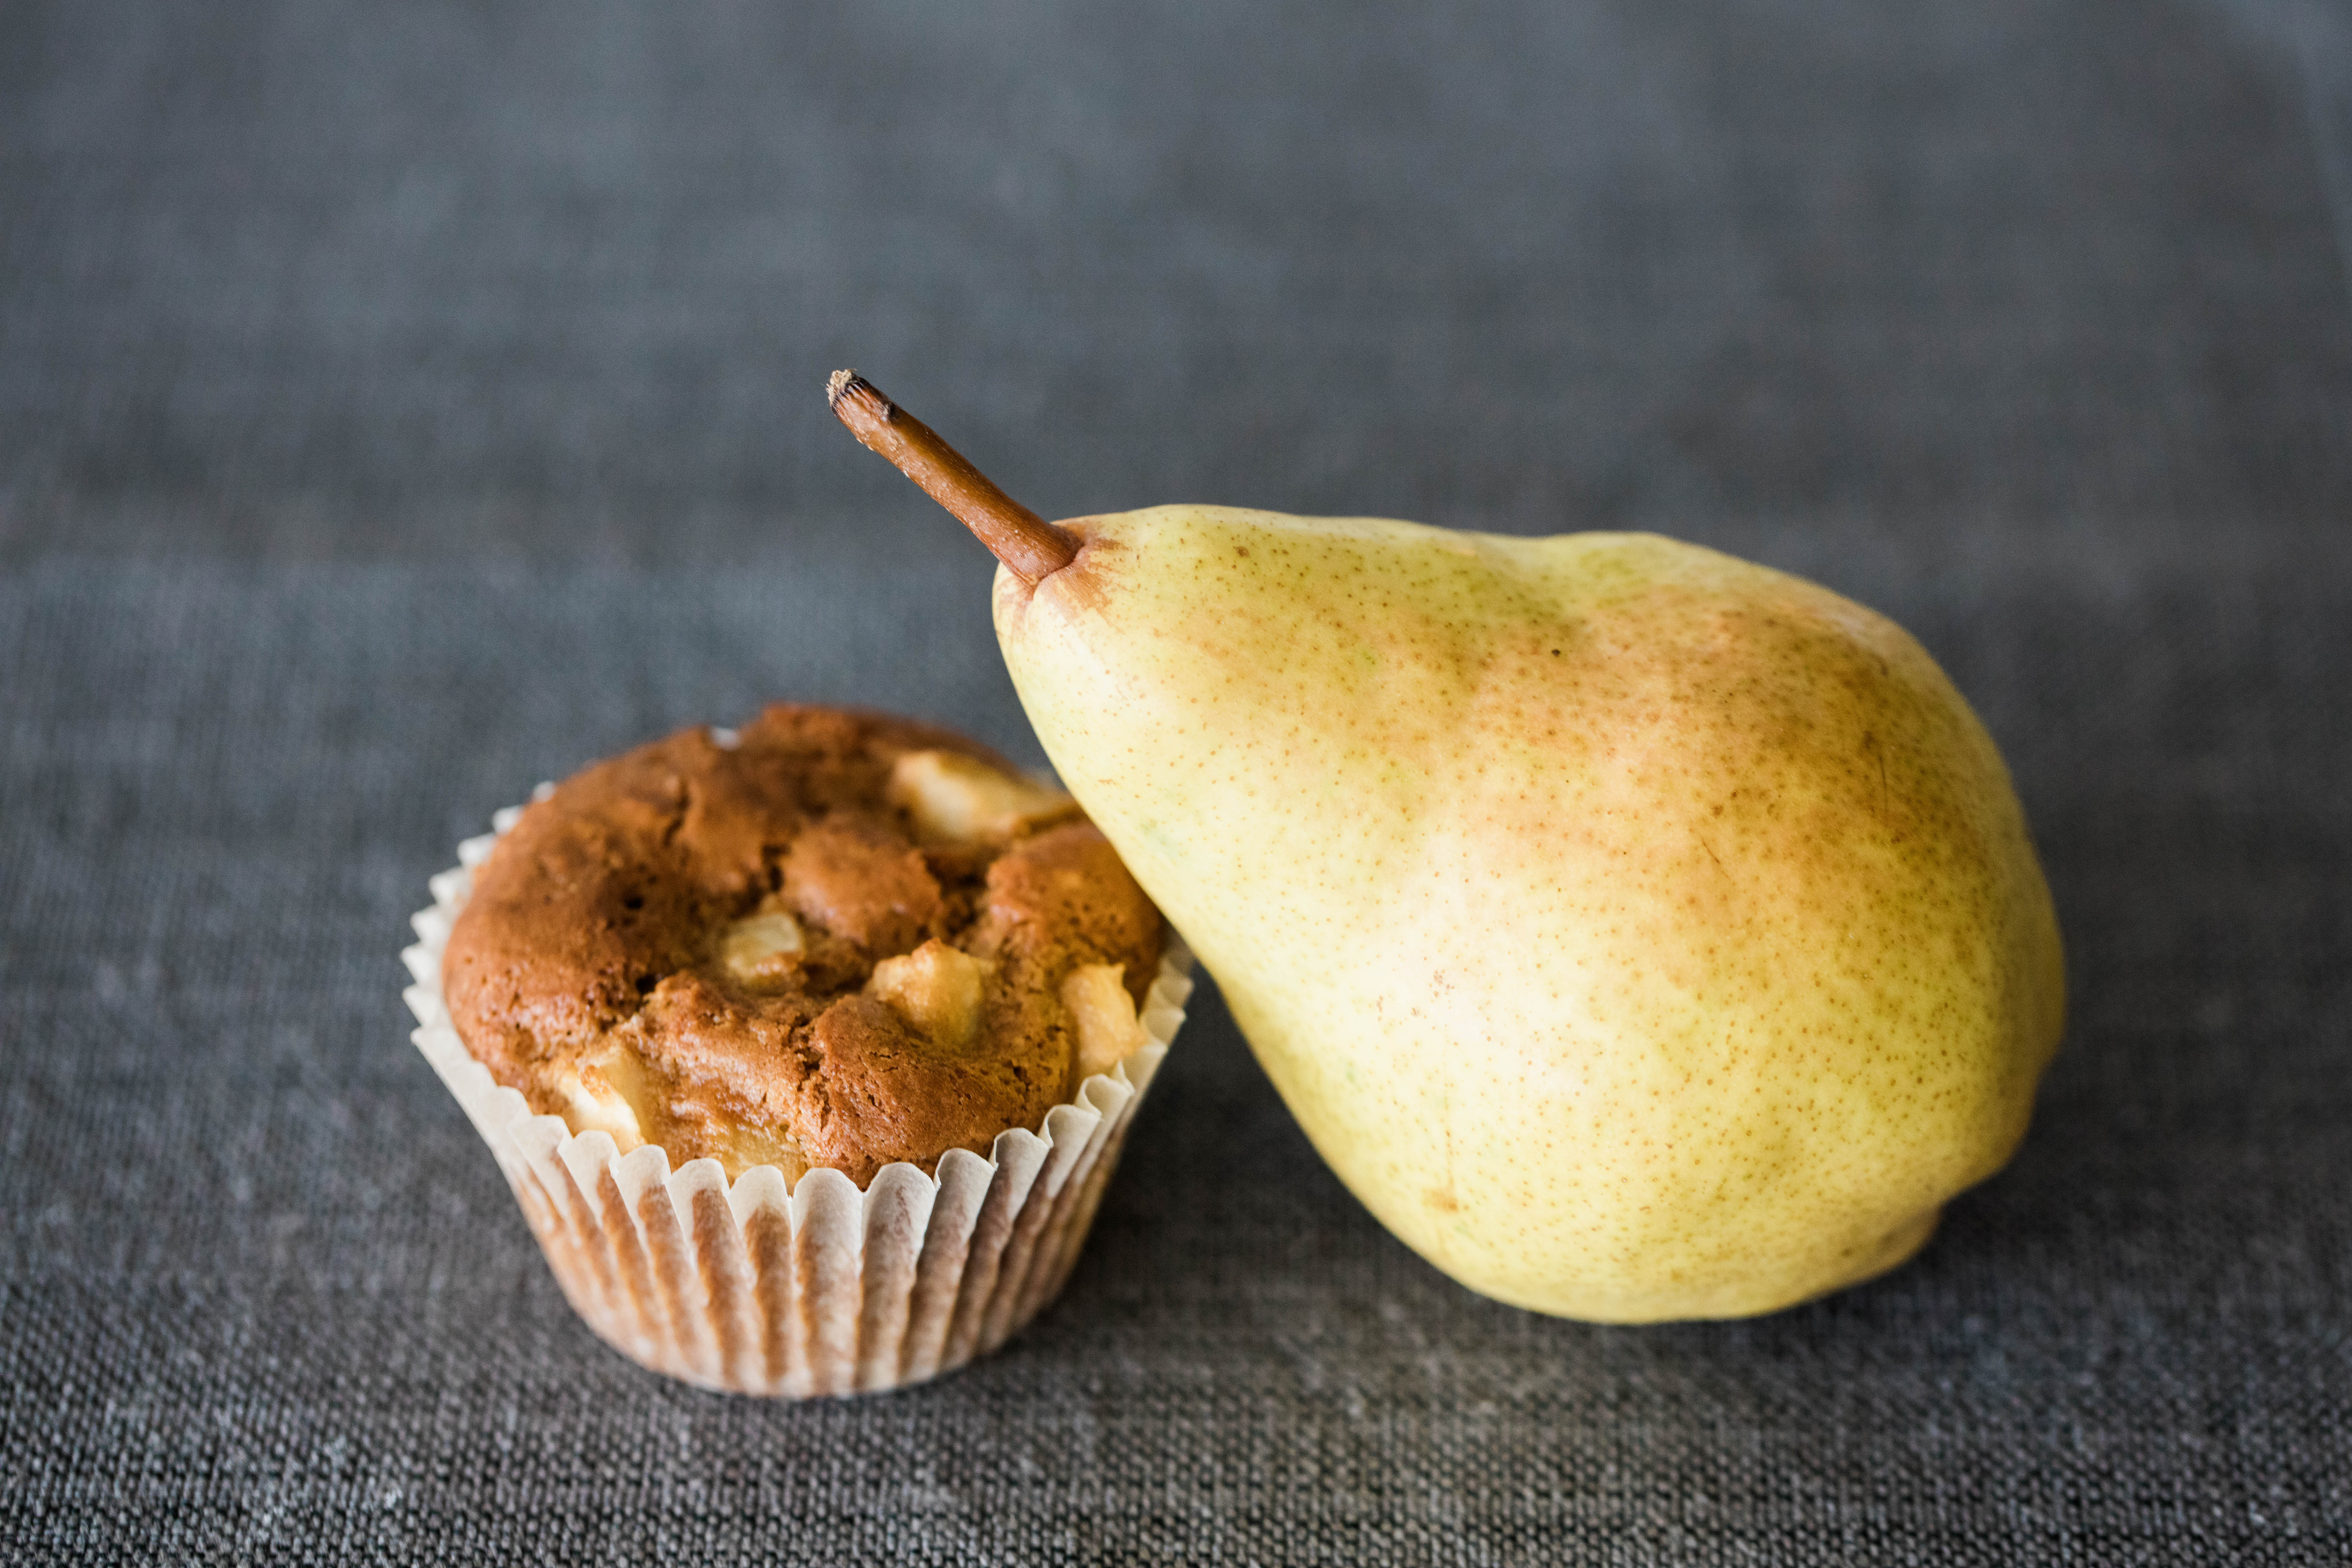
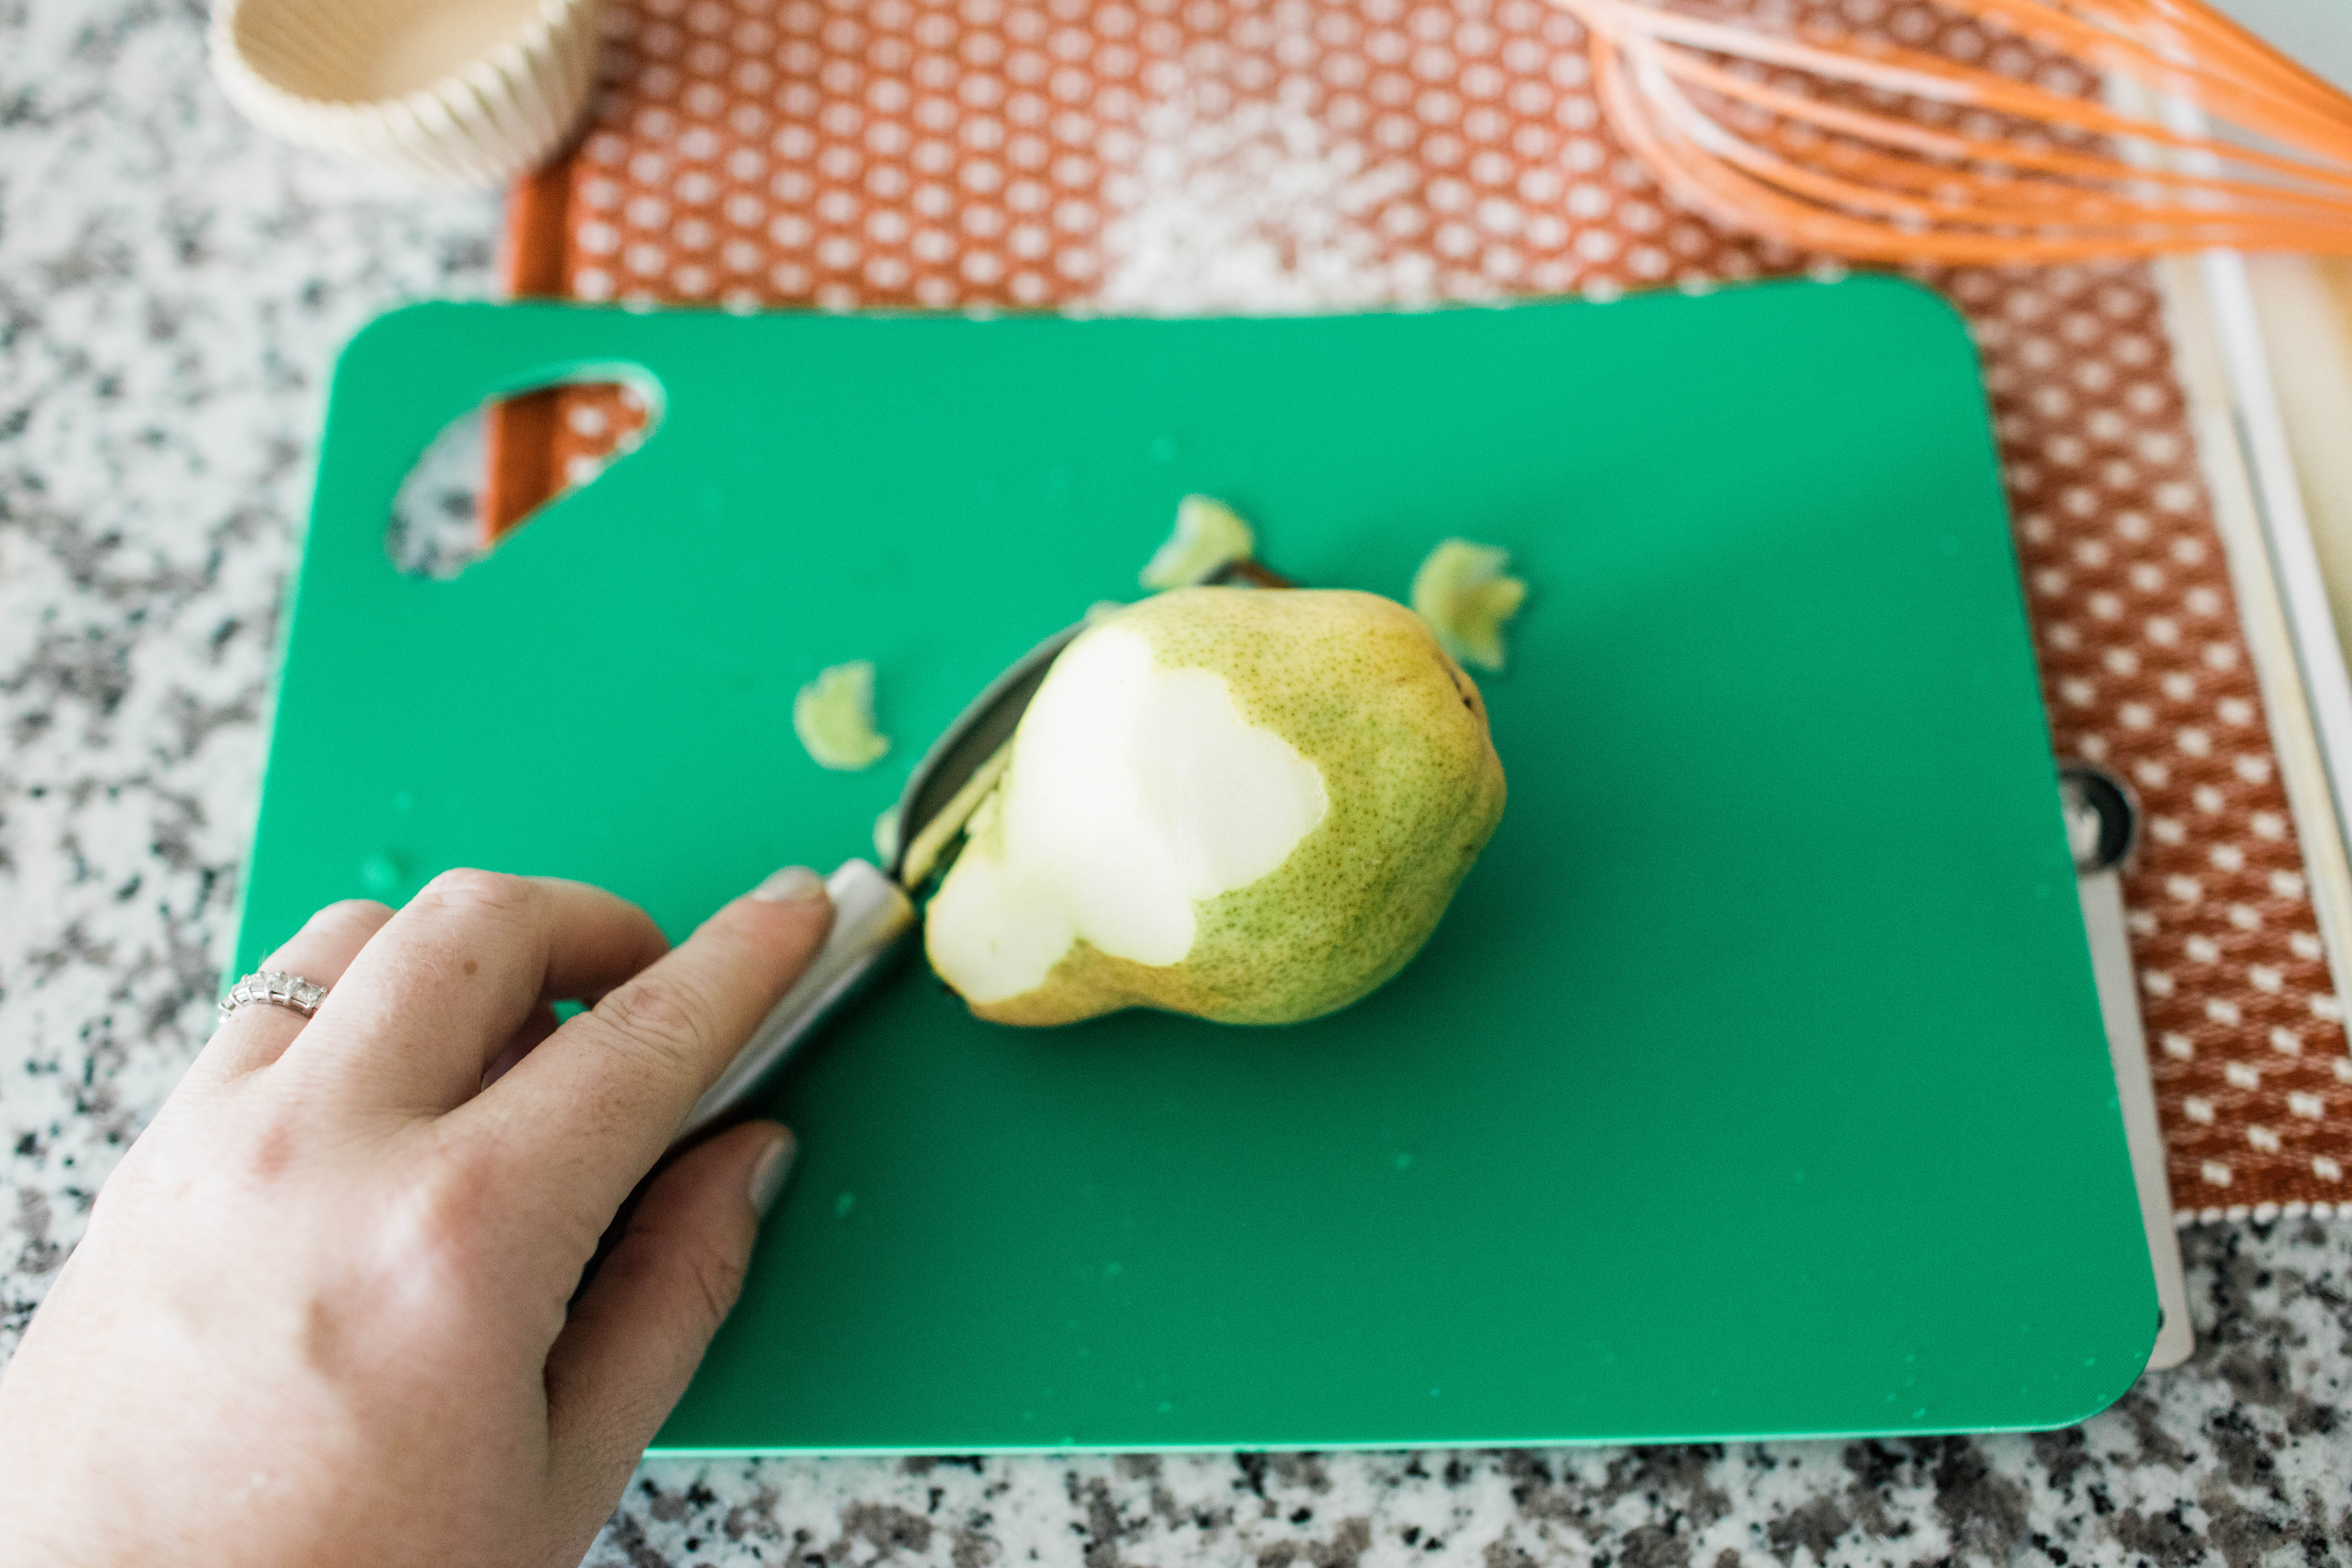
I love the texture that this woven canvas placemat brings to the photo, and I’m really loving how it also makes the colors of the pear and the muffin really pop. Like I said earlier, placemats are my favorite prop for photos because you can find just about any color, any size, any pattern, and texture within just about any budget.
I really do use placemats! And this one is definitely hard at work.
Negative space is your friend.
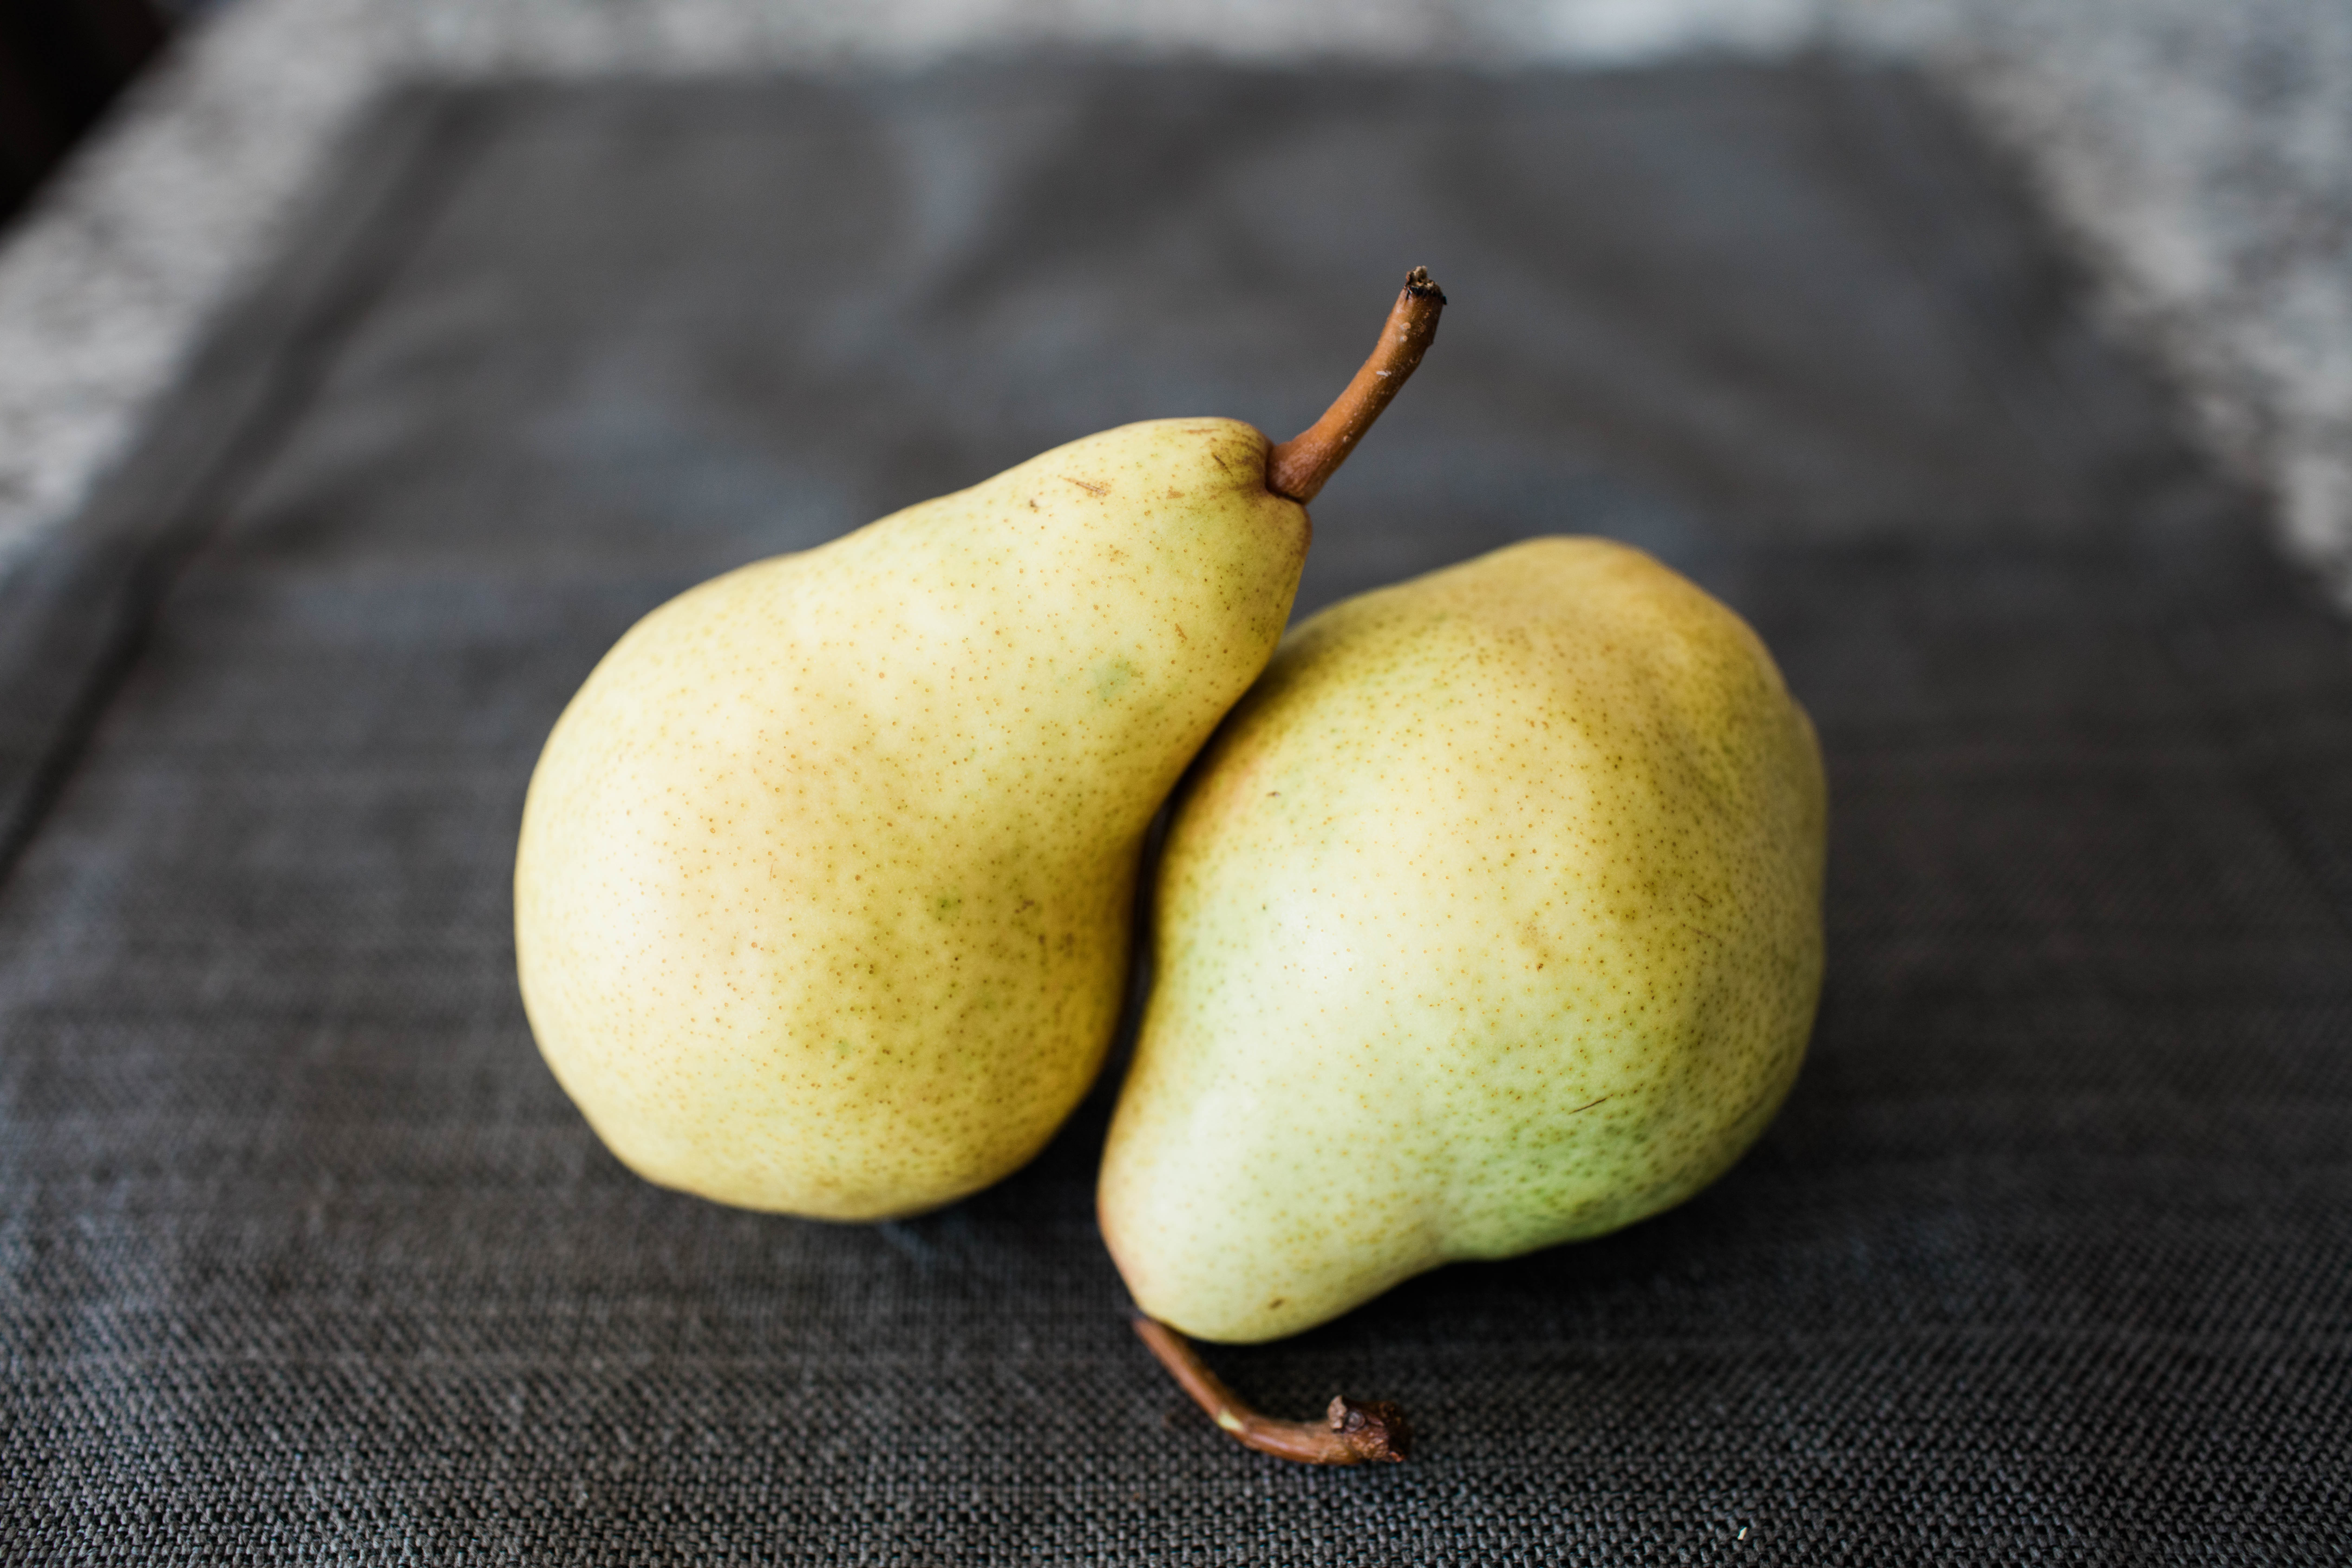
When I finally get the light that’s juuuuust right, I give myself a lot of negative and background in my photos. I really try to get a clear, unblurry image of my subject, and getting closer to my subject doesn’t always give me a crisp image with the right depth of field that I’m wanting. The negative space helps to bring more focus to the subject of your photo, and gives you more flexibility to crop the photo exactly how you want it.
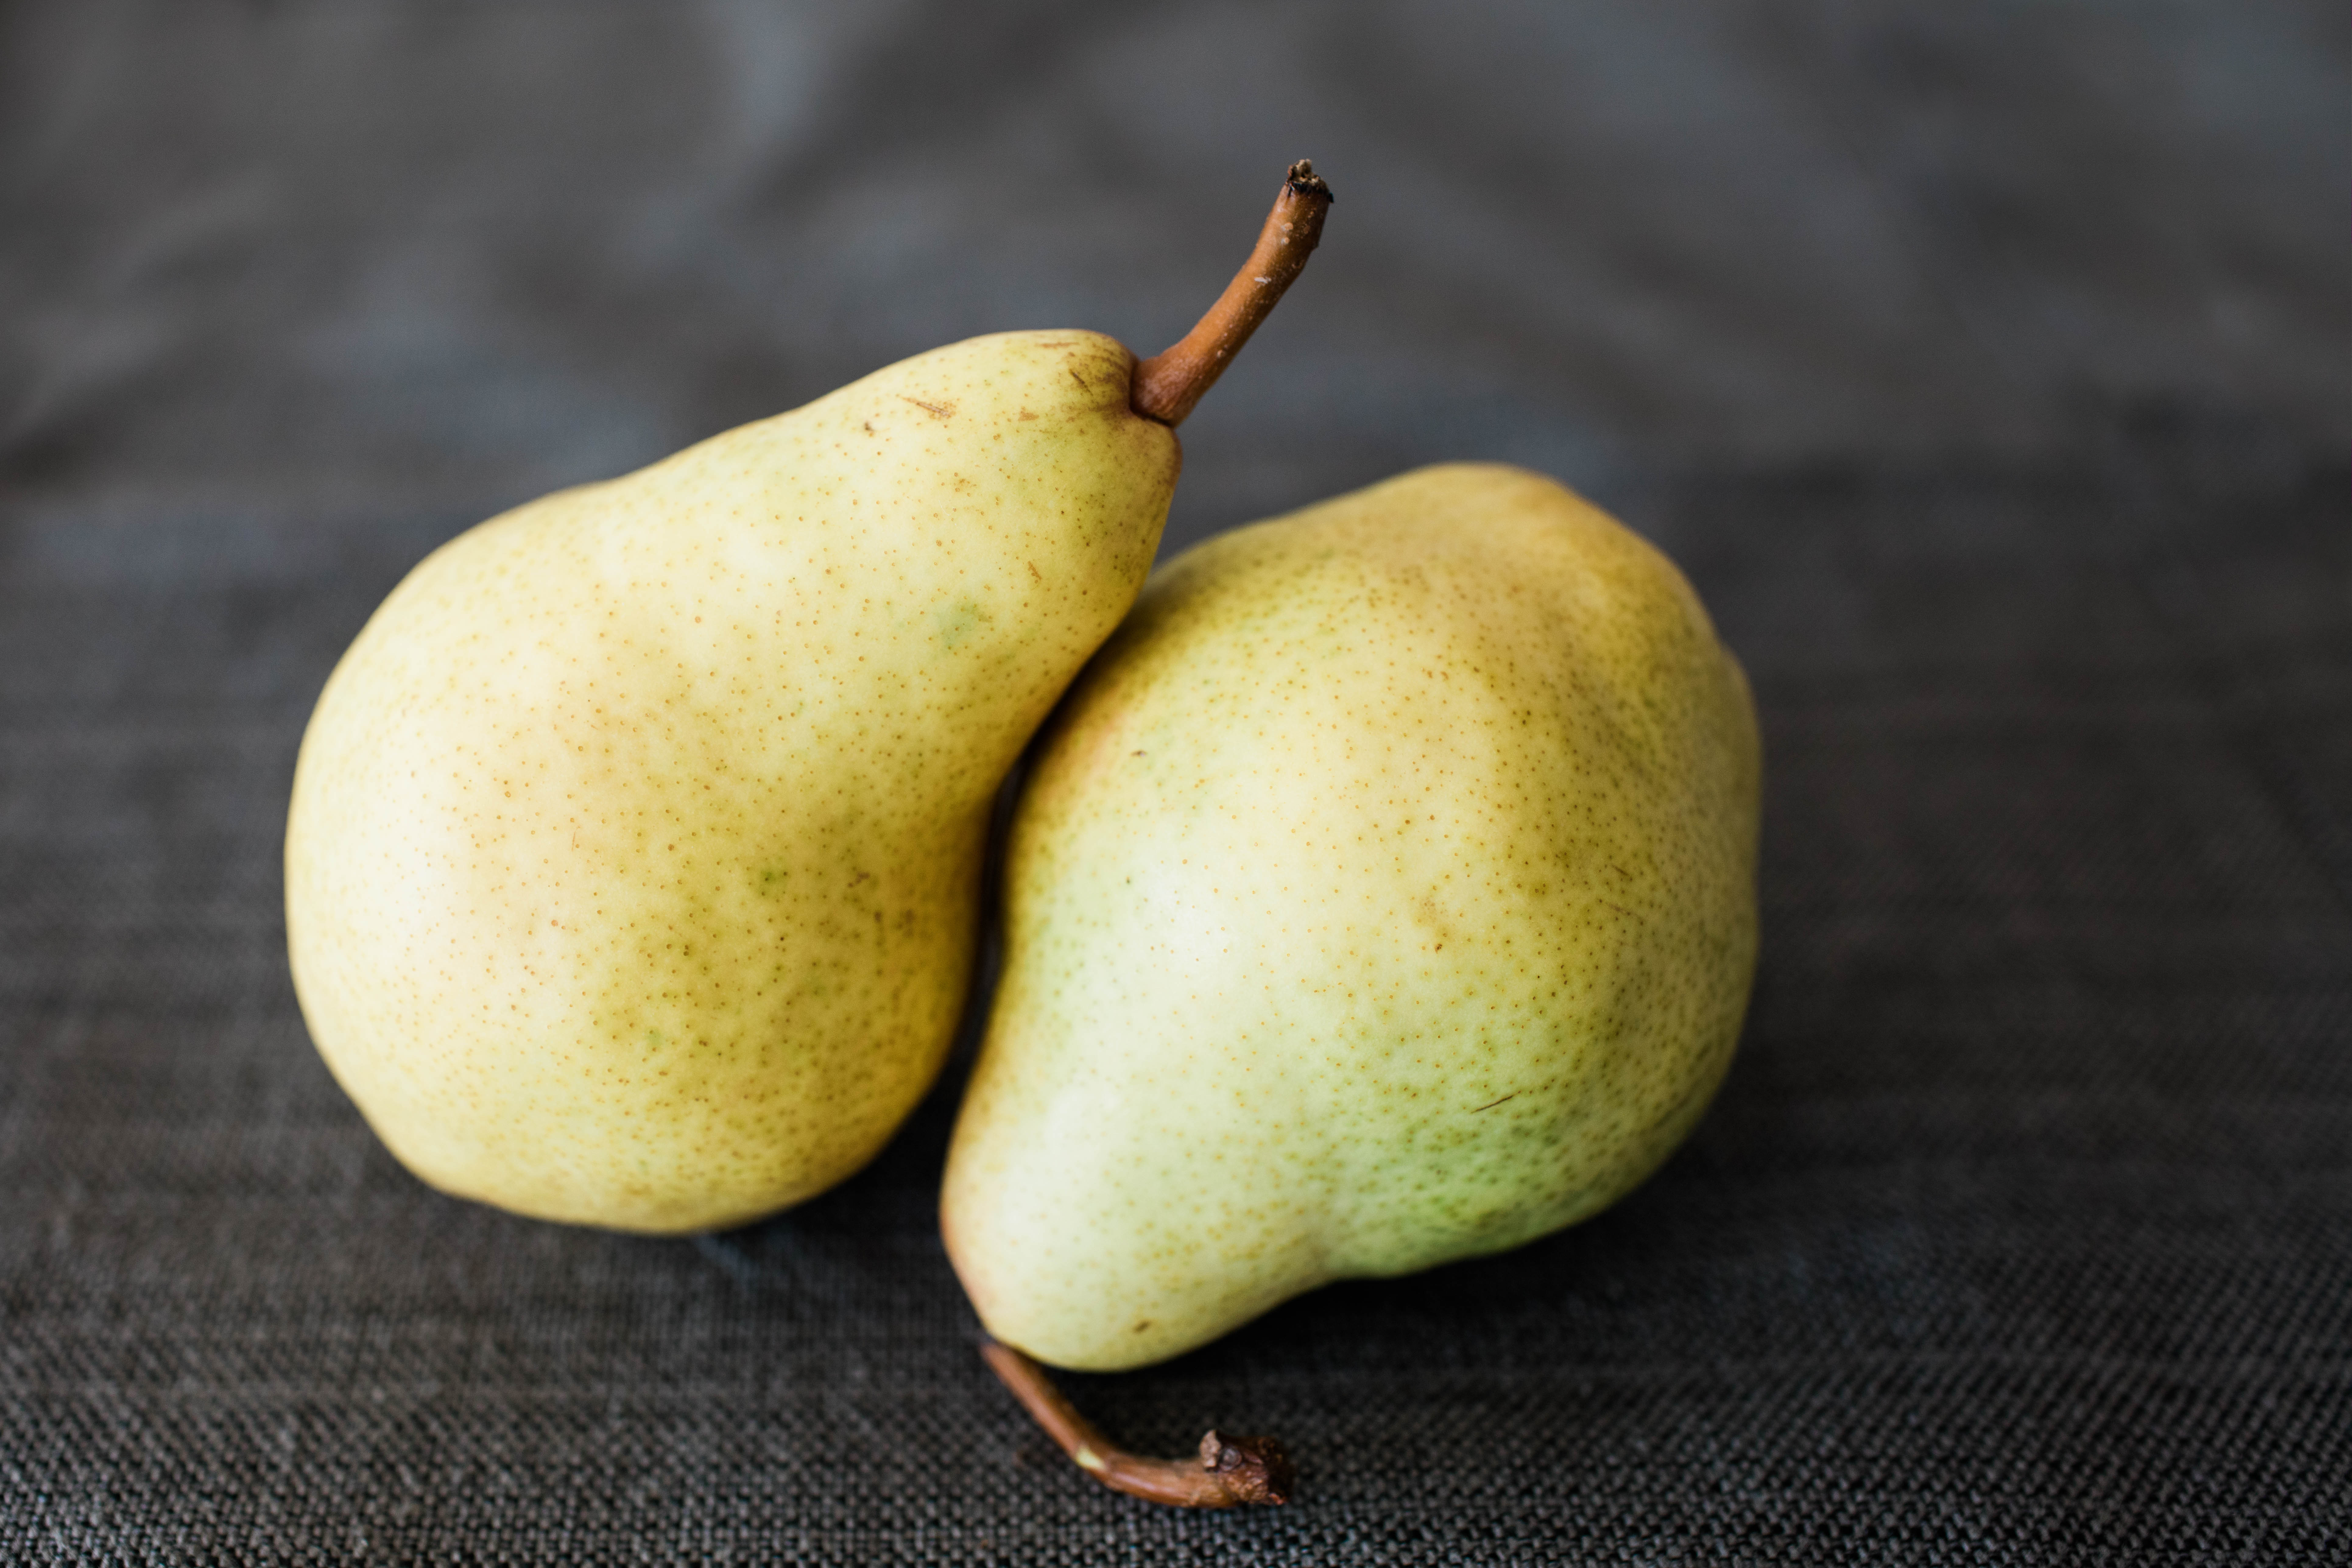
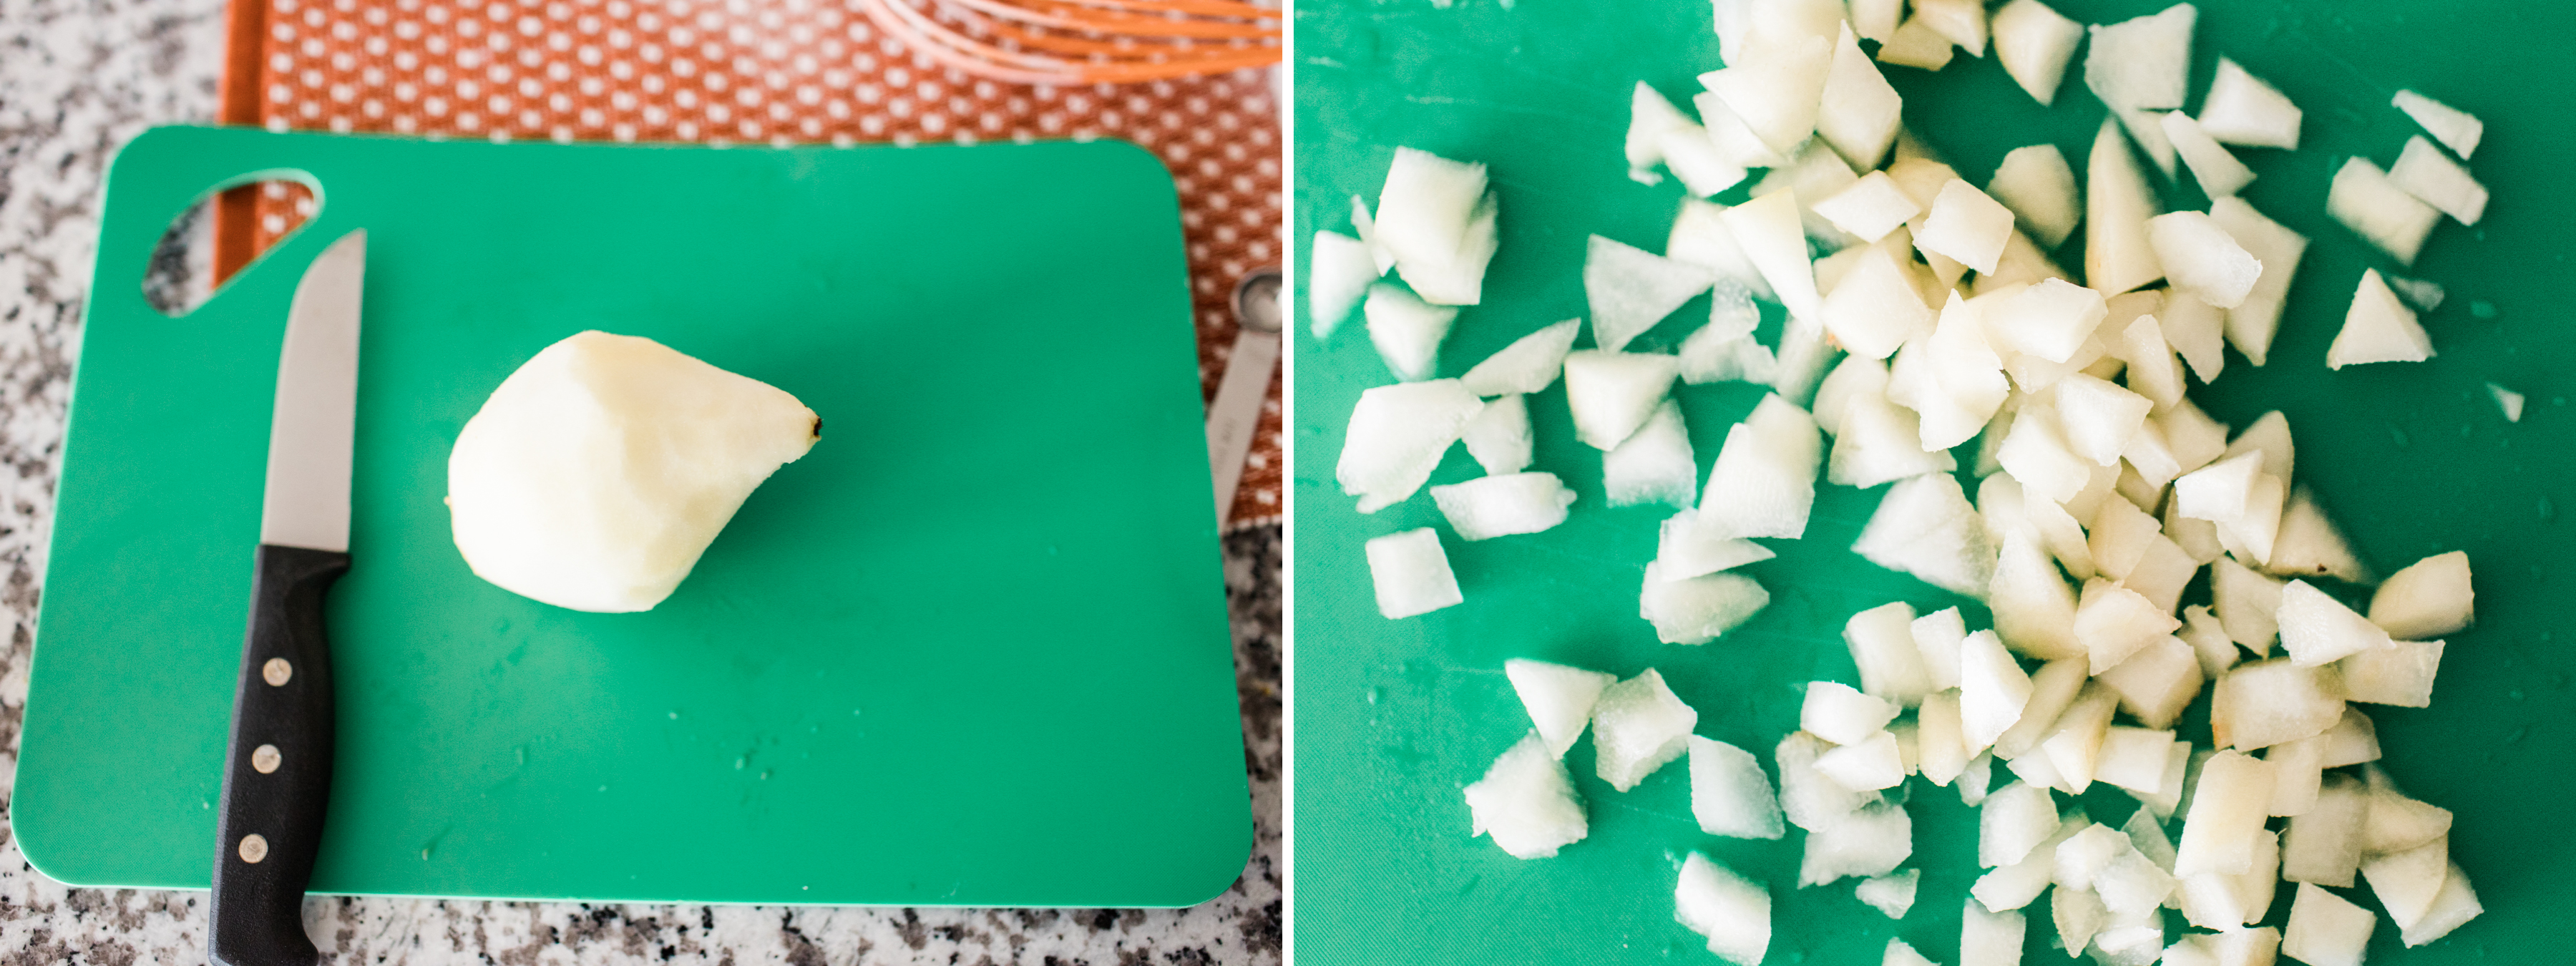
After playing the balance game with these two pears, I snapped several shots of these pretties with plenty of space in the frame. Instead of having to play with the photo on Photoshop with the spot removal tool and use up precious time, all I need to do is crop the photo and voila! The granite countertop and placemat corners are gone, and I have a Straight Outta Martha (Stewart) photo. Negative space will make your life easier, I promise.
Tell the story behind your photos!
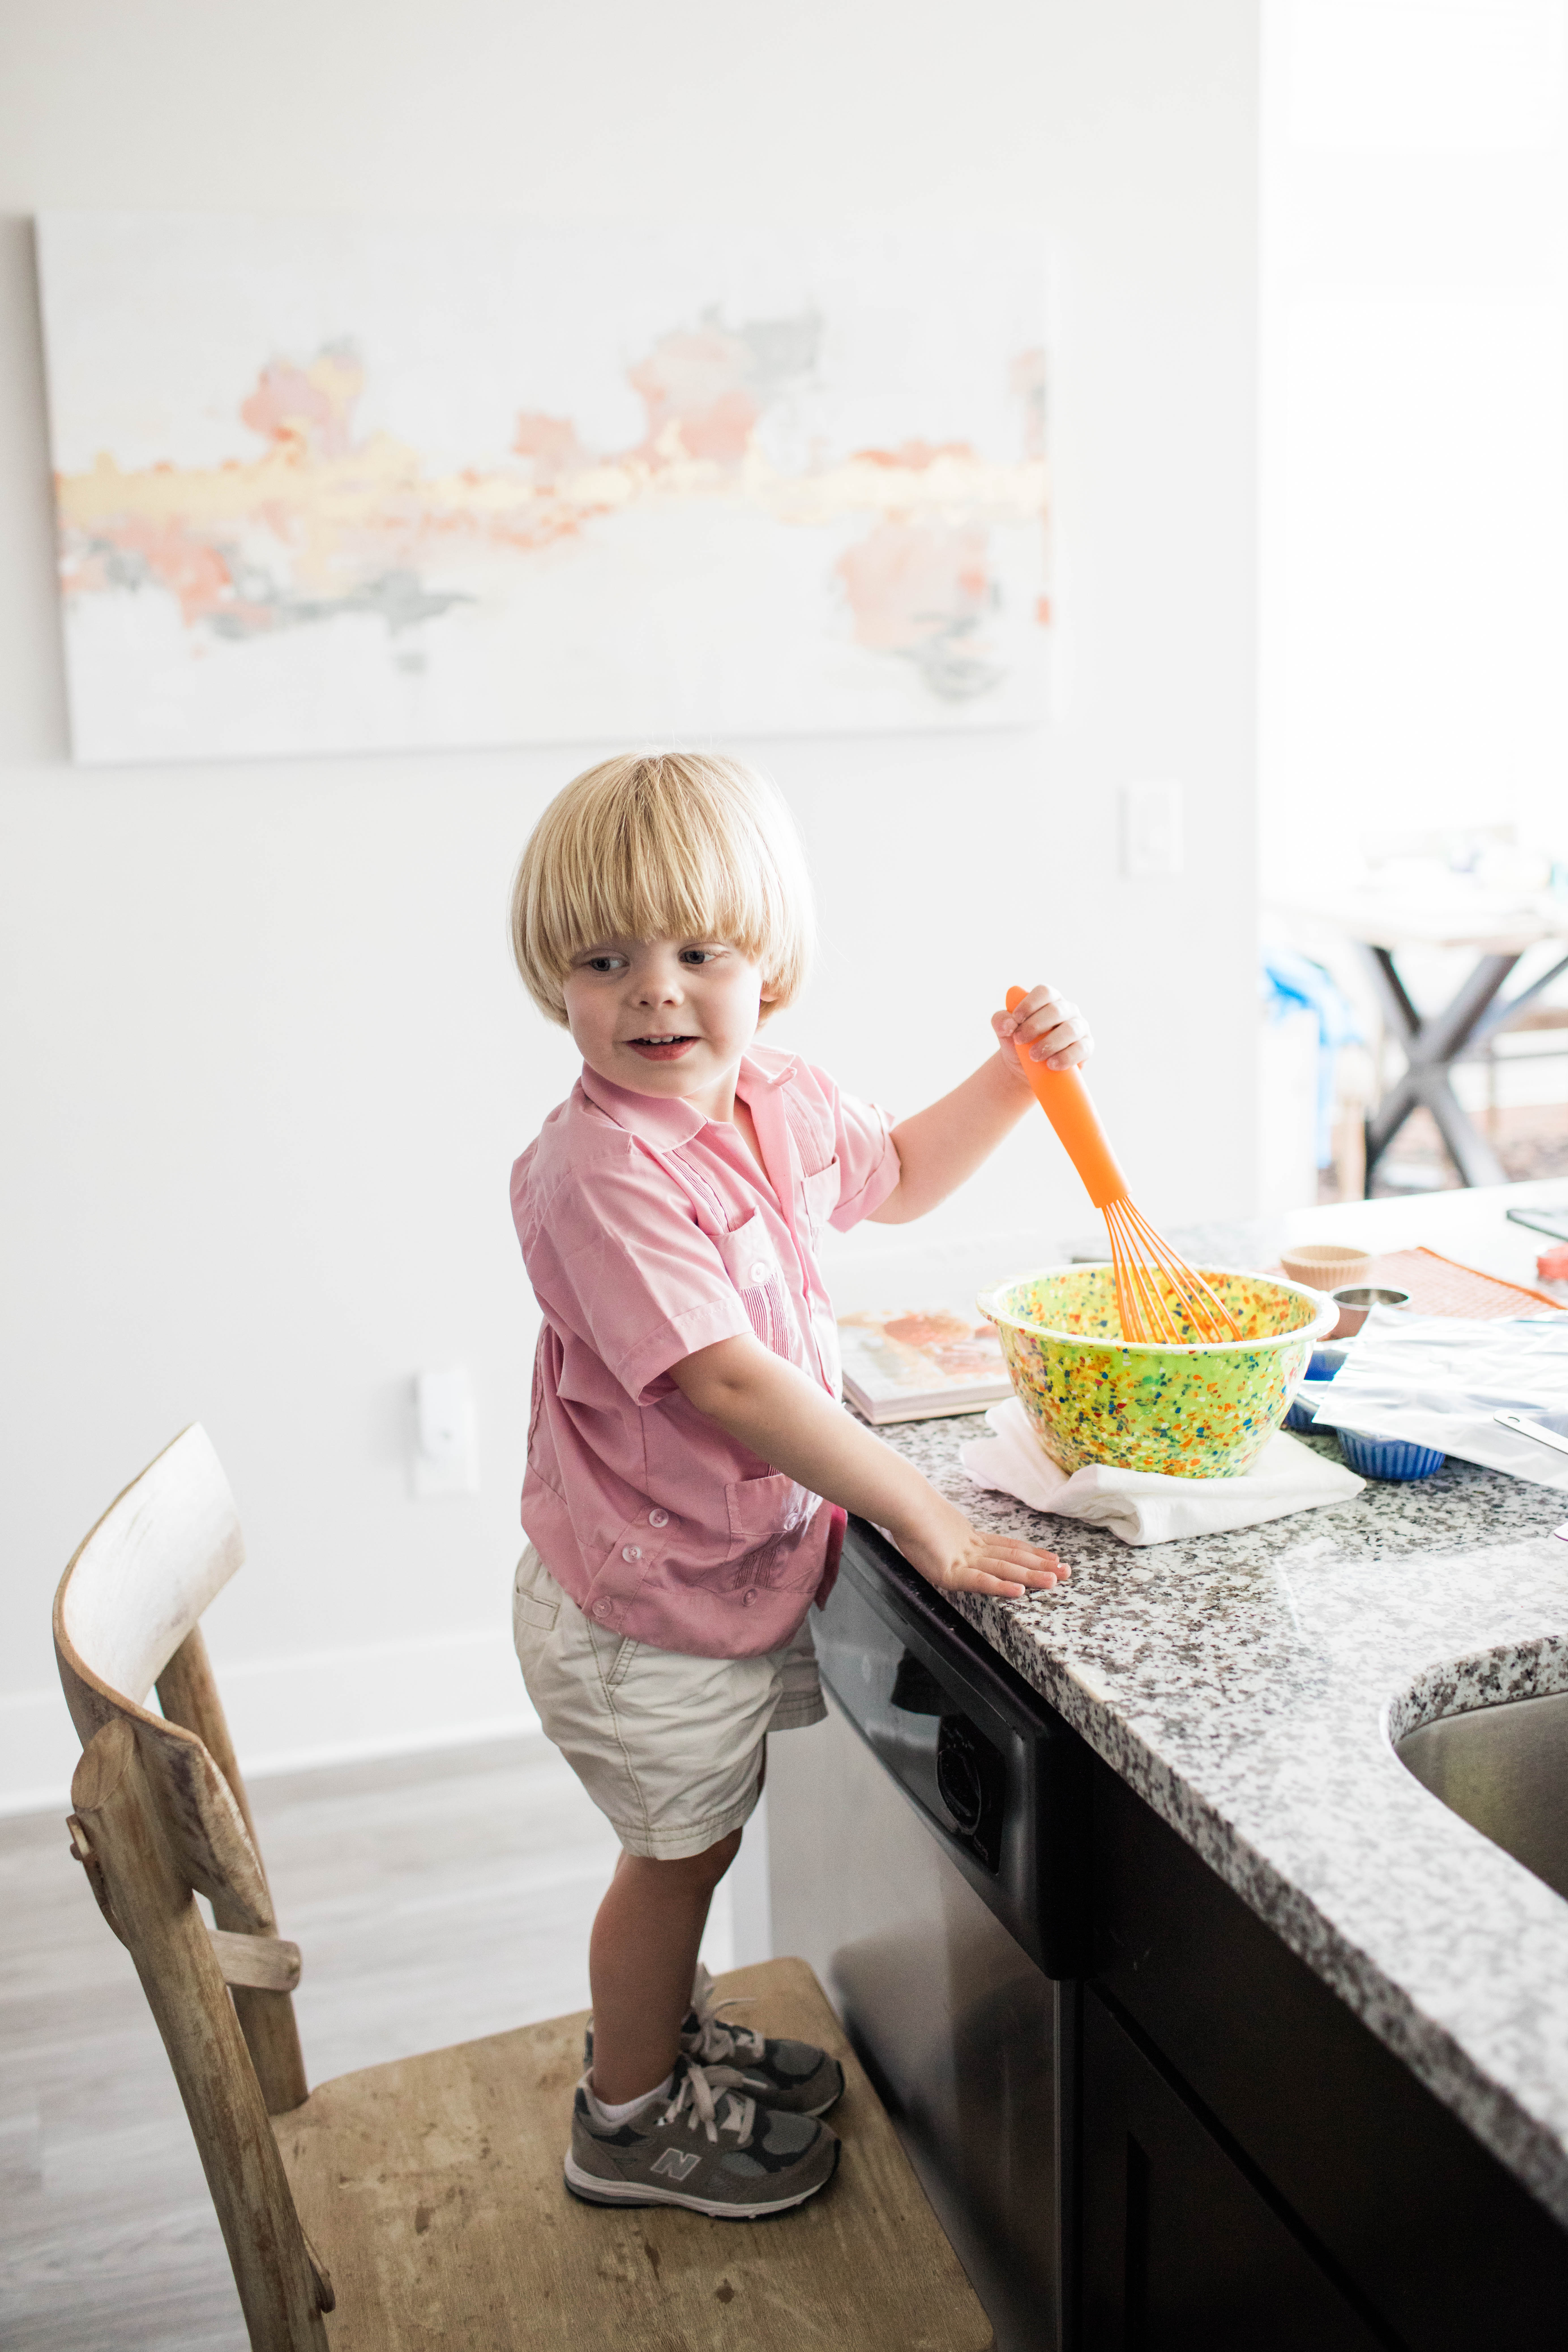
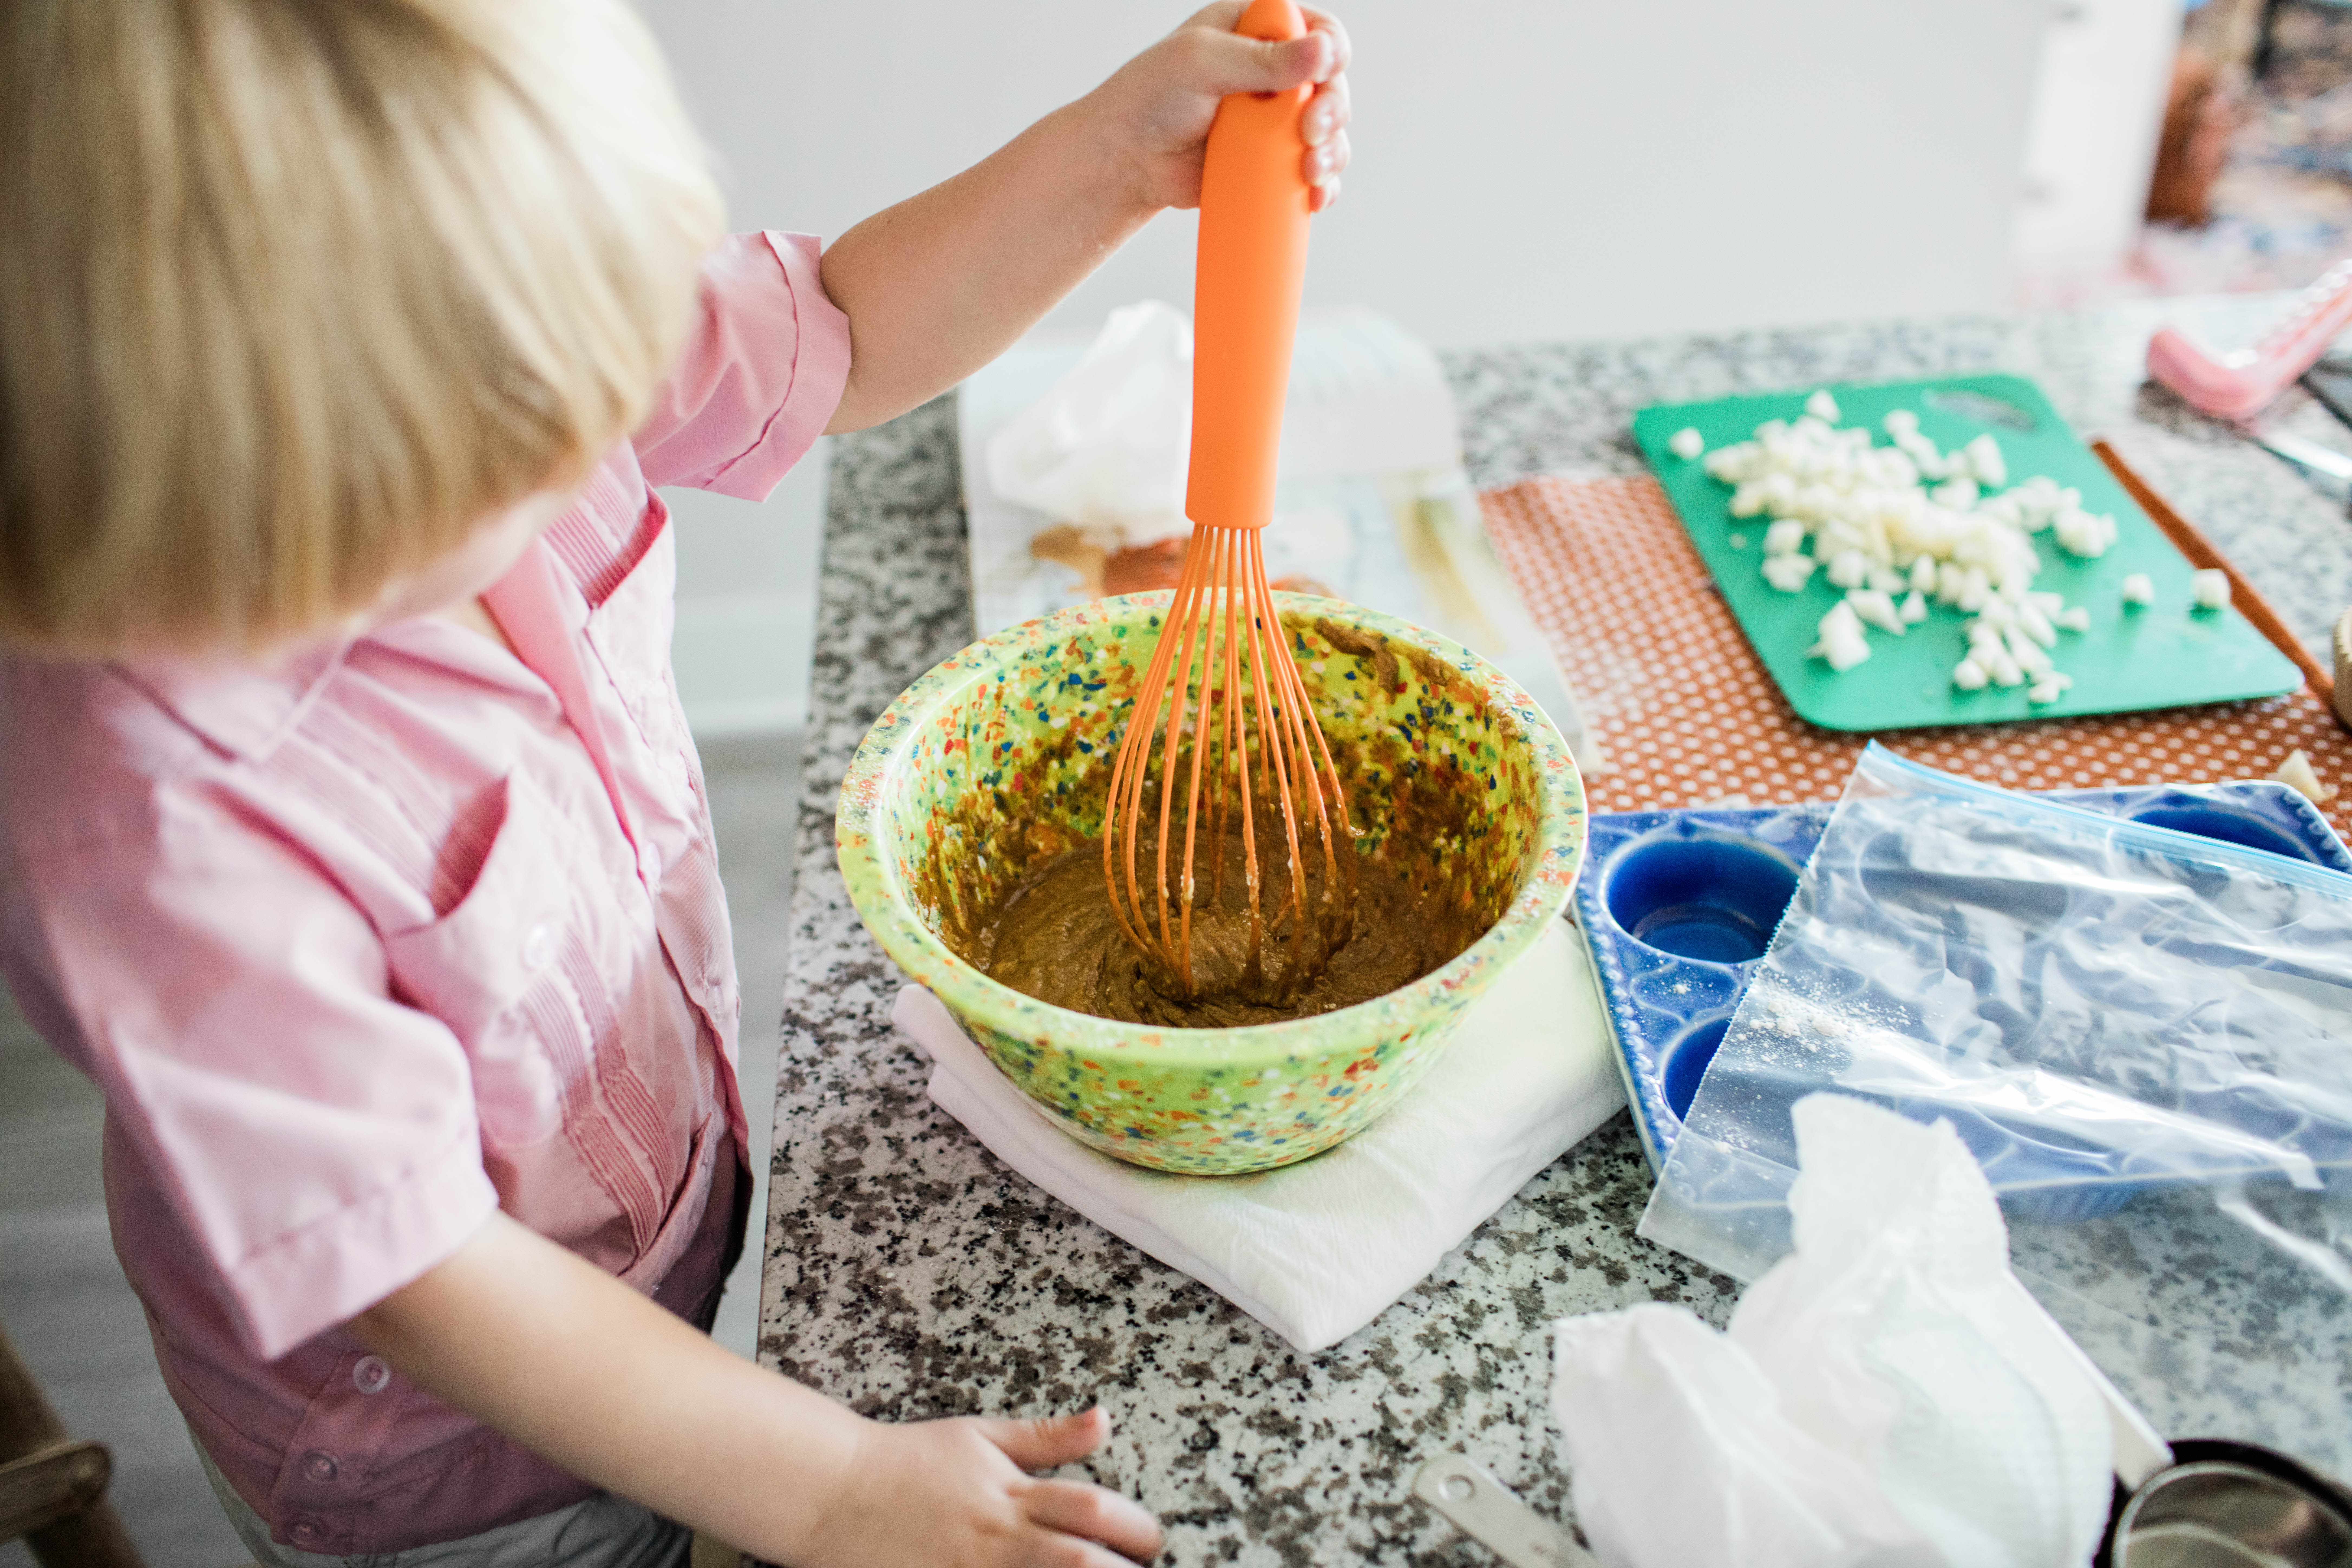
Every subject in a photo has a story behind it, so tell it! I love seeing personal posts on Instagram, Facebook, and personal blogs about recipes that a family has tried, and seeing photos of another family having a happy experience in the kitchen makes me want to try it as well. I love making memories with my little one, and finding a recipe that was fairly kid-friendly and was accomodating to little hands makes me want to shout it from the rooftops! While there might’ve been a large amount of flour spilled onto our kitchen floor, and we may have dropped an egg (or six….) on the floor by accident, the photos that I took of Walter during our muffin-making afternoon are photos that I’ll truly cherish. These photos make our date look fun, because, well, it was fun.
These gingerbread pear muffins are wonderful, but I promise they’ll be even more wonderful with the smiles, giggles, and sweet memories made while baking them. So go ahead, spill some flour on the floor and laugh about the eggs that fell out of the refrigerator… and grab your camera. I promise, these muffins will make tummies and hearts full at the same time!
Gingerbread Pear muffins
(adapted from Everyday Baking)
ingredients:
1 3/4 cups all-purpose flour
1/3 cup sugar
2 teaspoons baking powder
3/4 teaspoon ground ginger
1/4 teaspoon baking soda
1/4 teaspoon salt
1/3 teaspoon ground cinnamon
1/3 cup milk (whole milk preferred)
1/4 cup vegetable oil
1/4 cup light molasses
1 egg
2 medium pears, peeled and chopped (I slice into cubes for our muffins)
- Preheat oven to 375ºF, and place twelve paper baking cups to line the muffin pan.
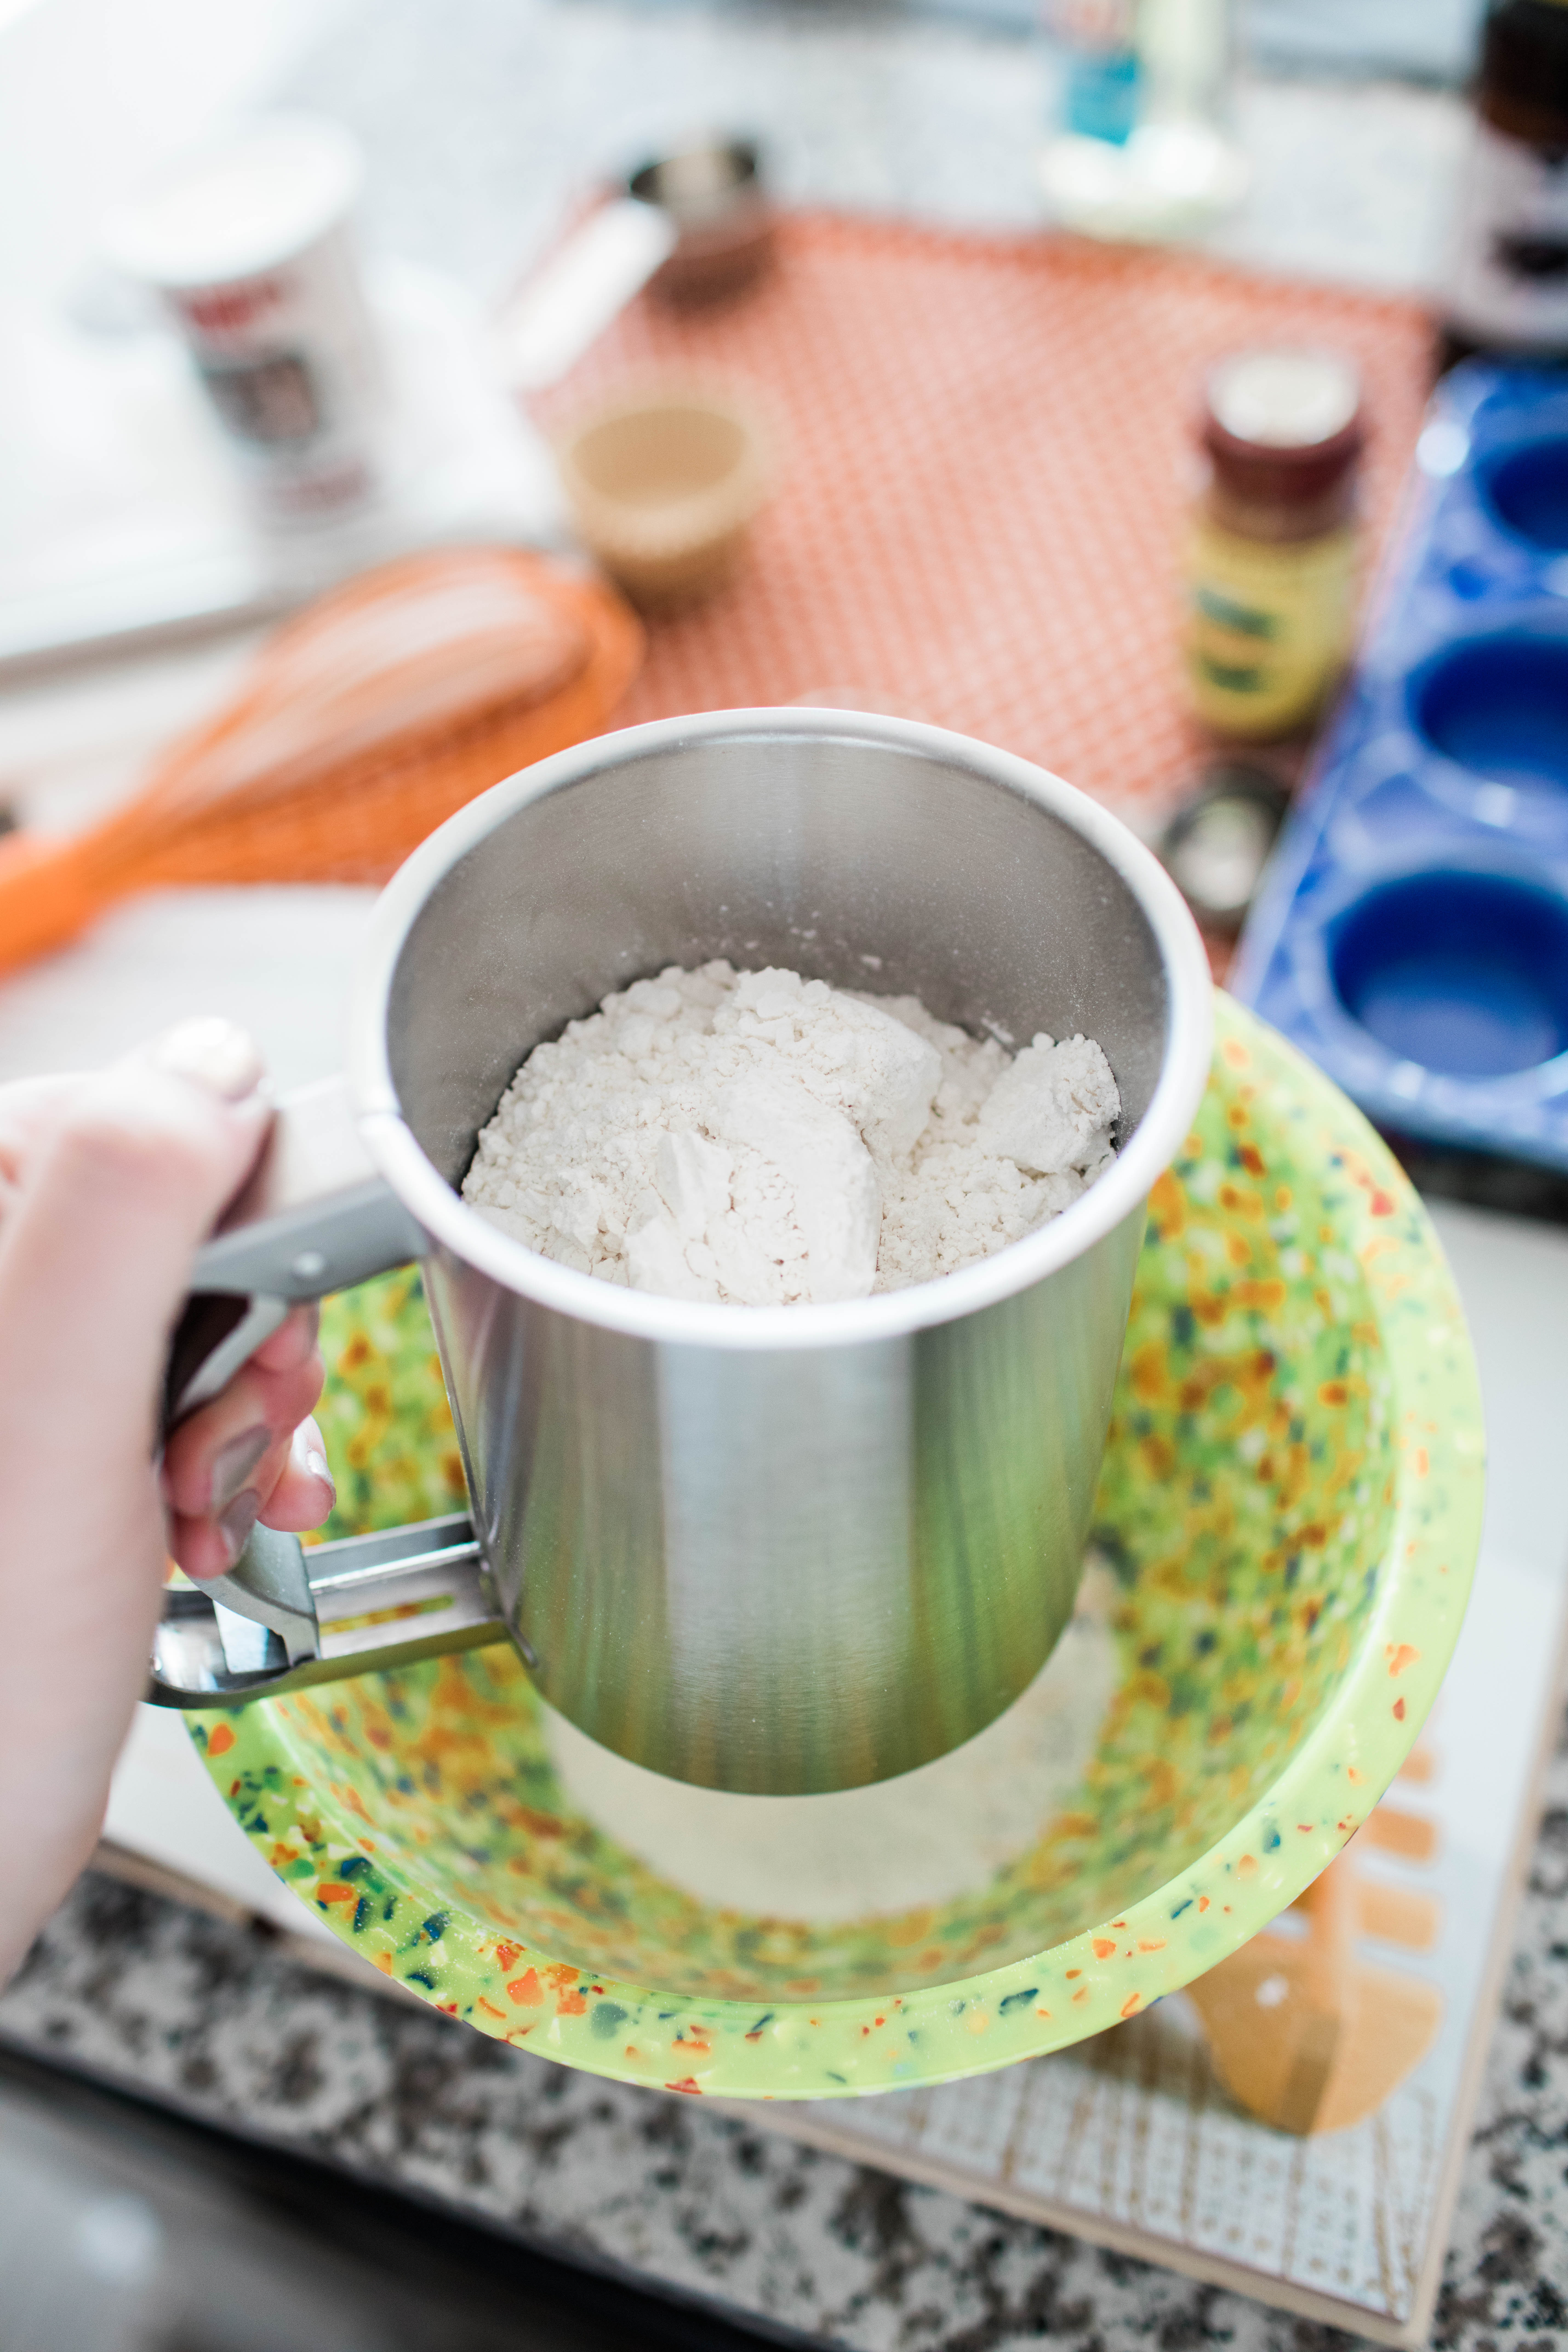
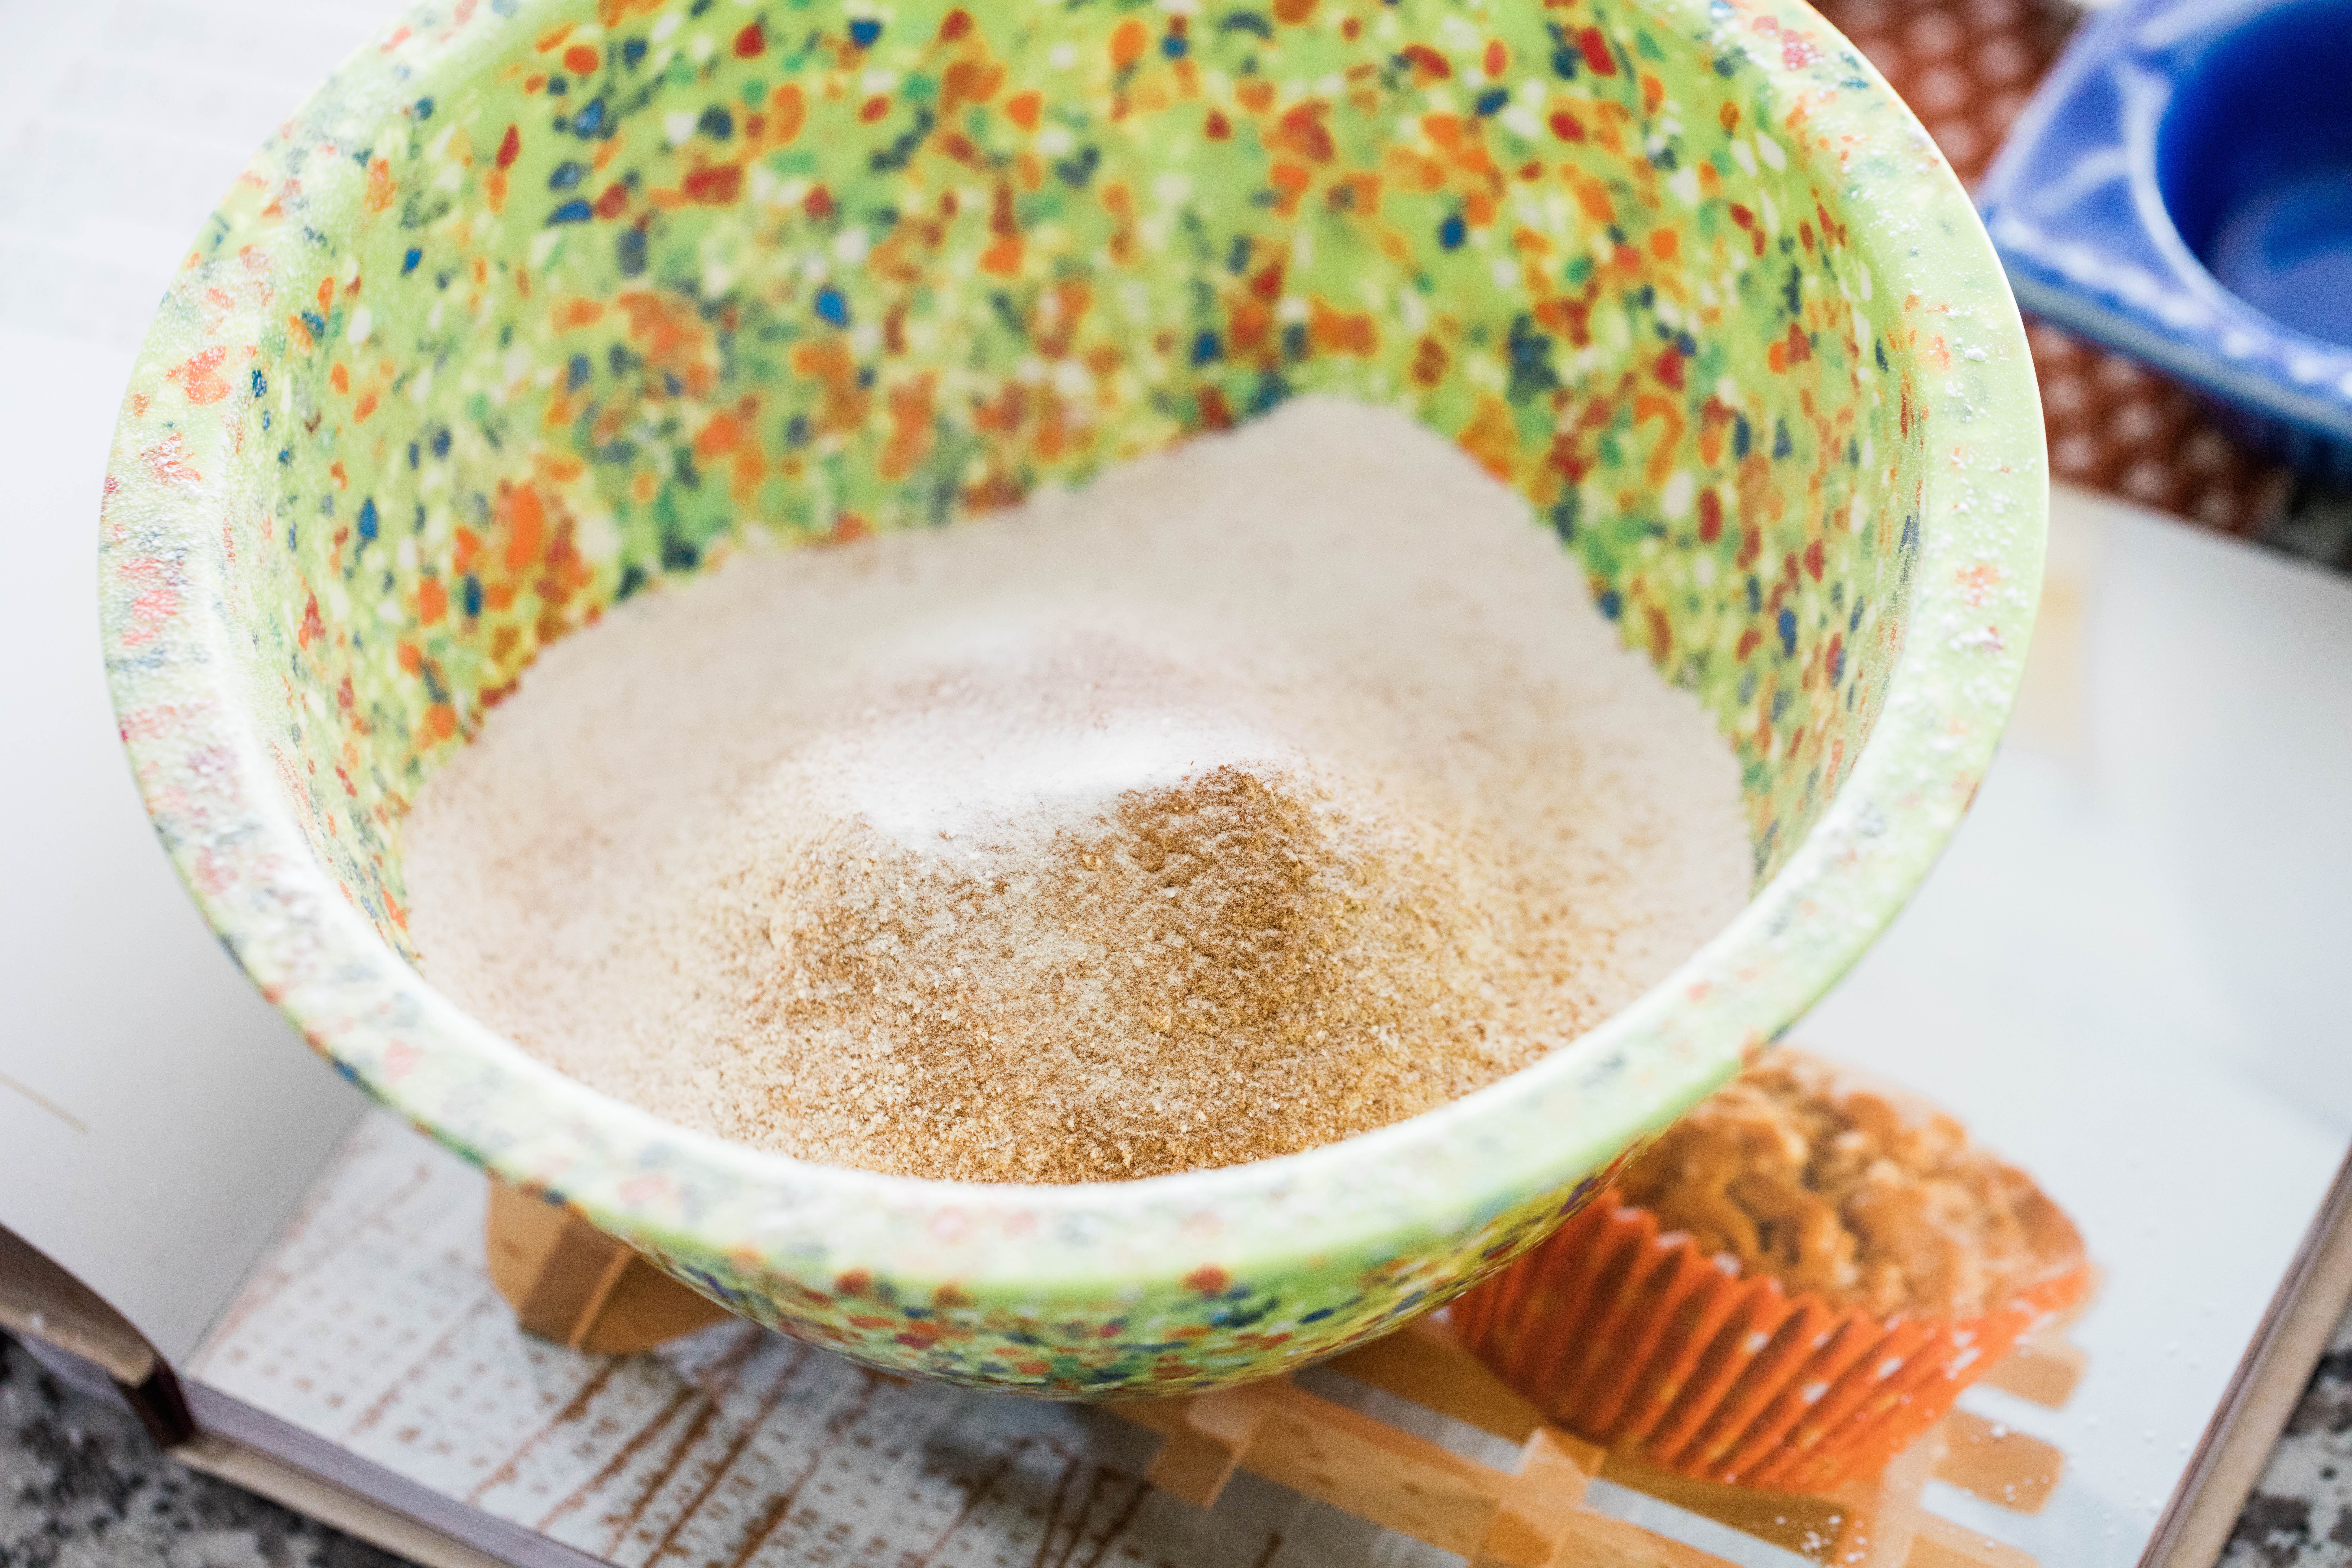
- Sift (yes, sift) flour, sugar, baking powder, ginger, baking soda, salt, and cinnamon into a large bowl.
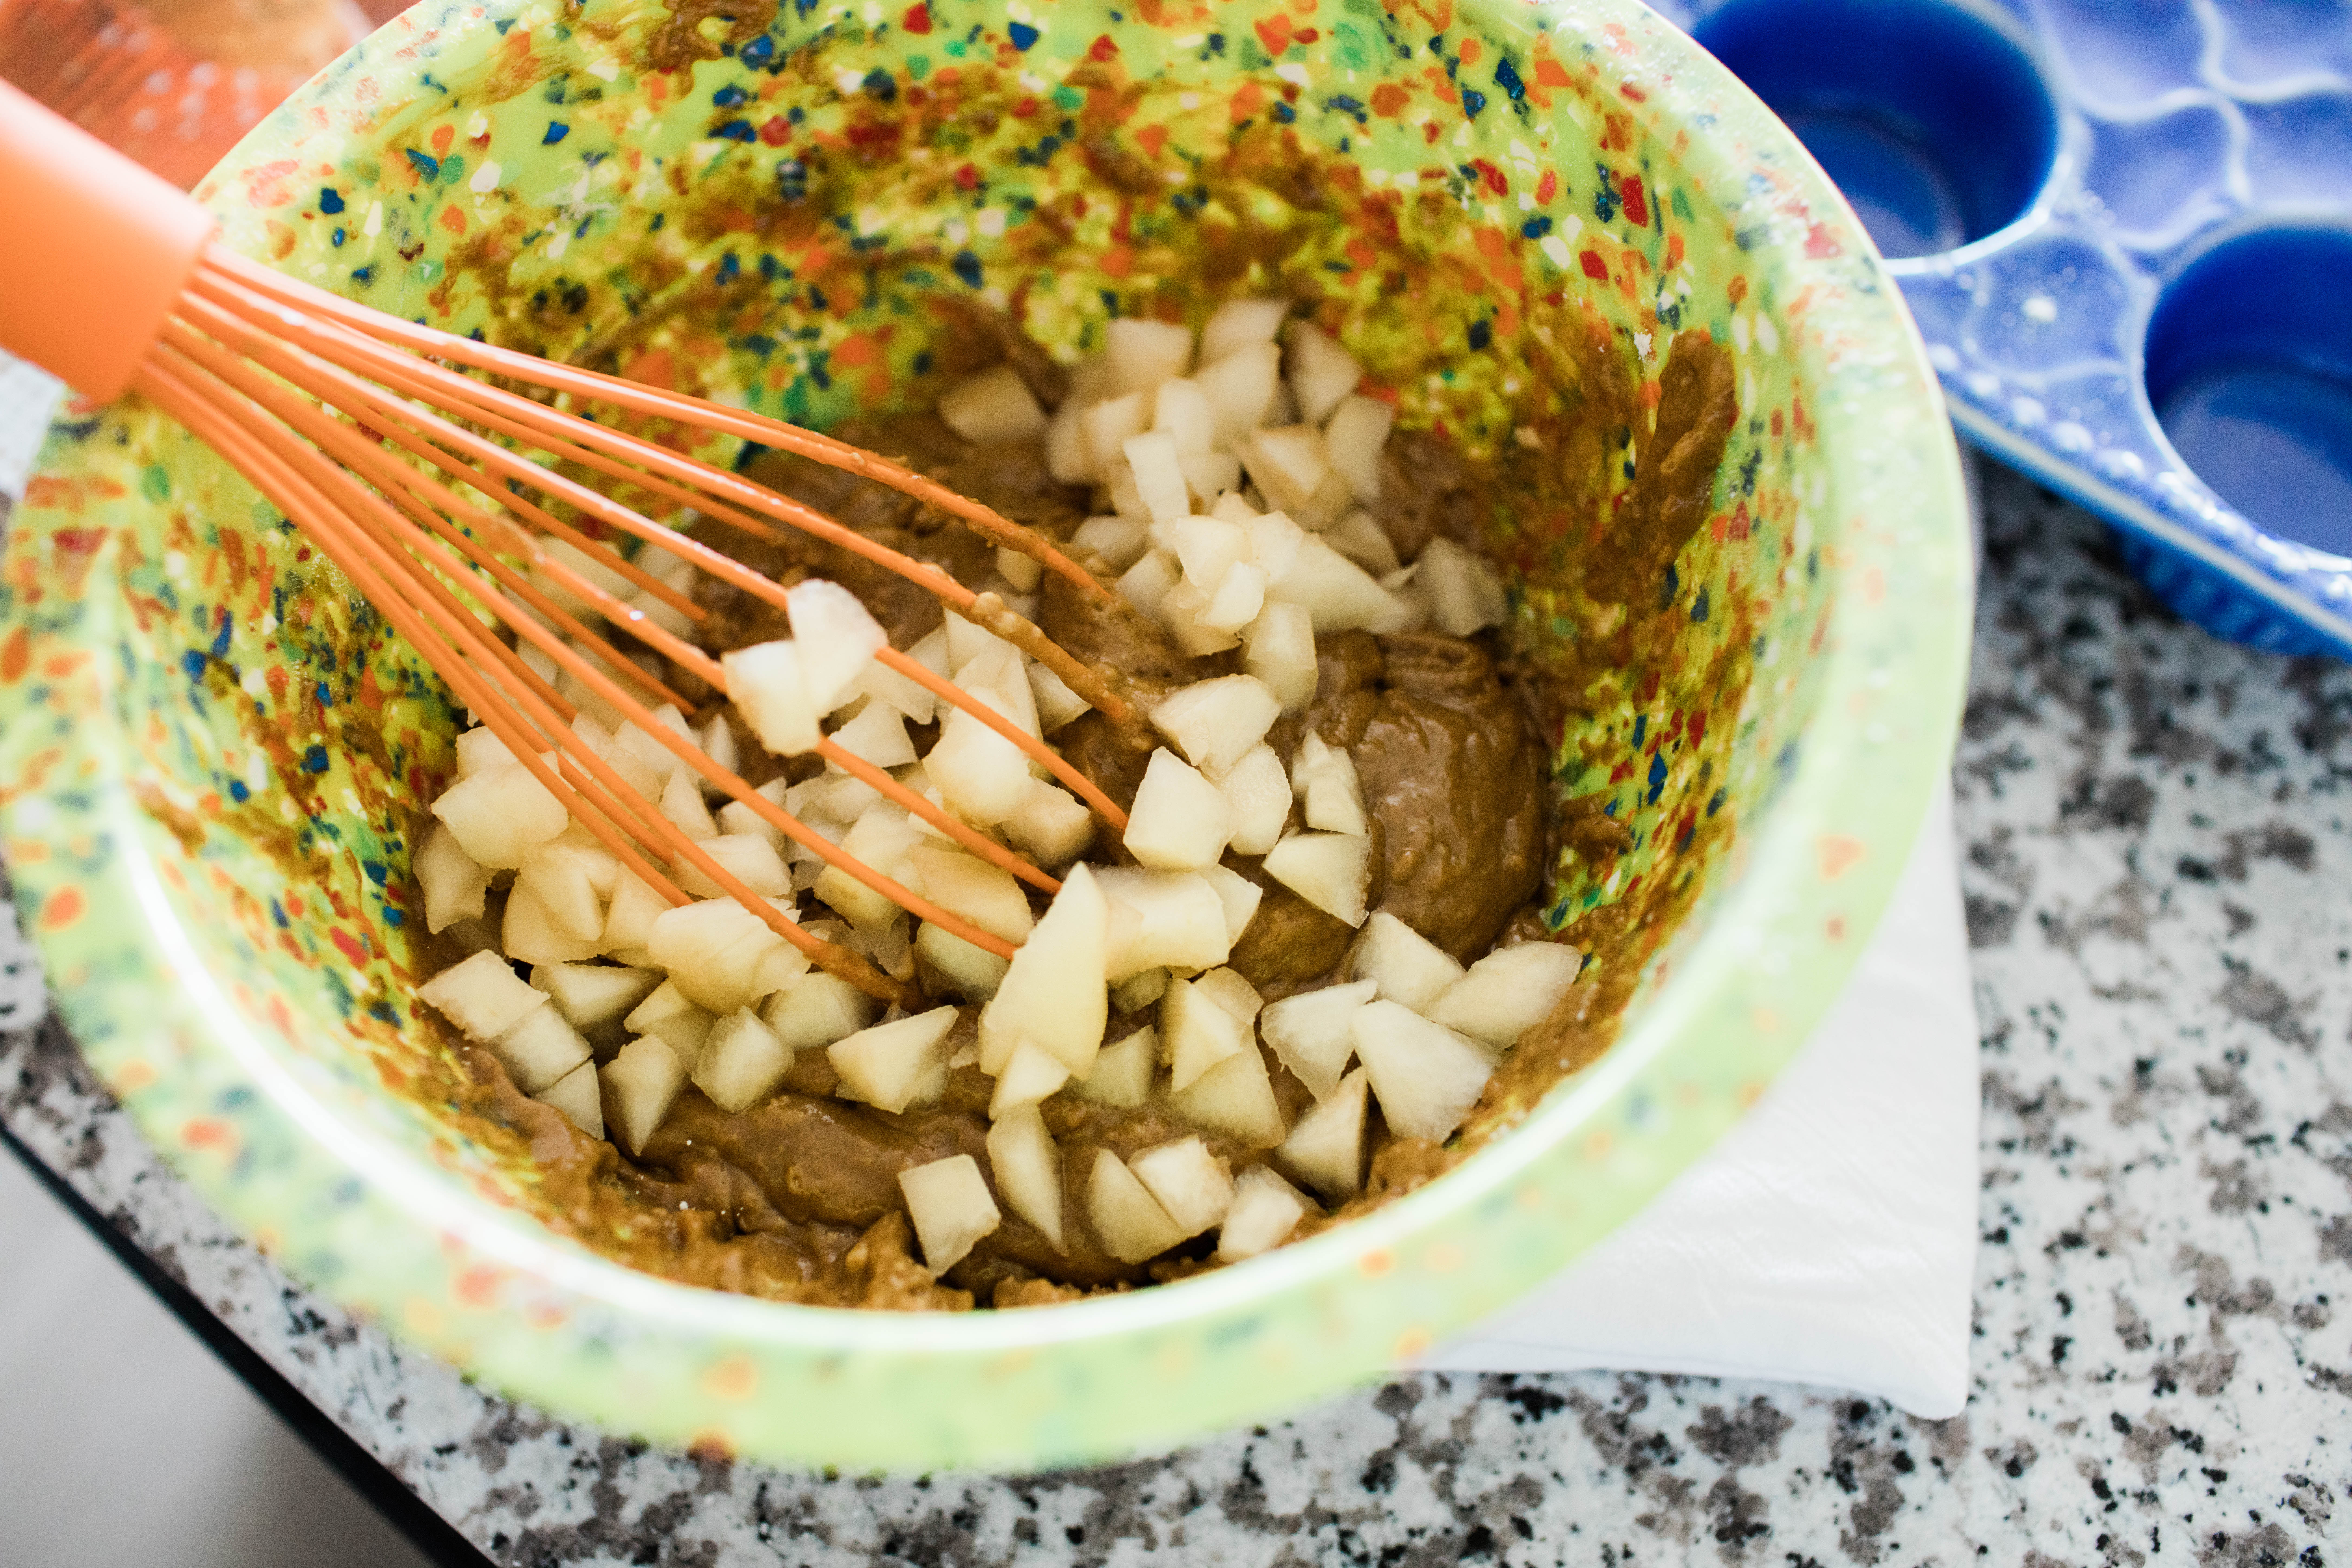
- Whisk the milk, molasses, egg and oil into a medium bowl and blend well. Once blended, stir in the pear cubes, and add to the flower mixture and stir until just moistened. Spoon the chunky batter evenly into the prepared muffin cups in the pan.
- Bake for 24 minutes or until an inserted toothpick into the middle of the muffin comes out clean. Immediately remove from the pan, and place the muffins on a wire rack to cool.
Alright friends! I hope you get the chance to make these muffins, because they really are spectacular. If you have any questions on photos or how to make these scrumptious muffins, I’d love to hear from you!
Enjoy your Monday!



Leave a Reply