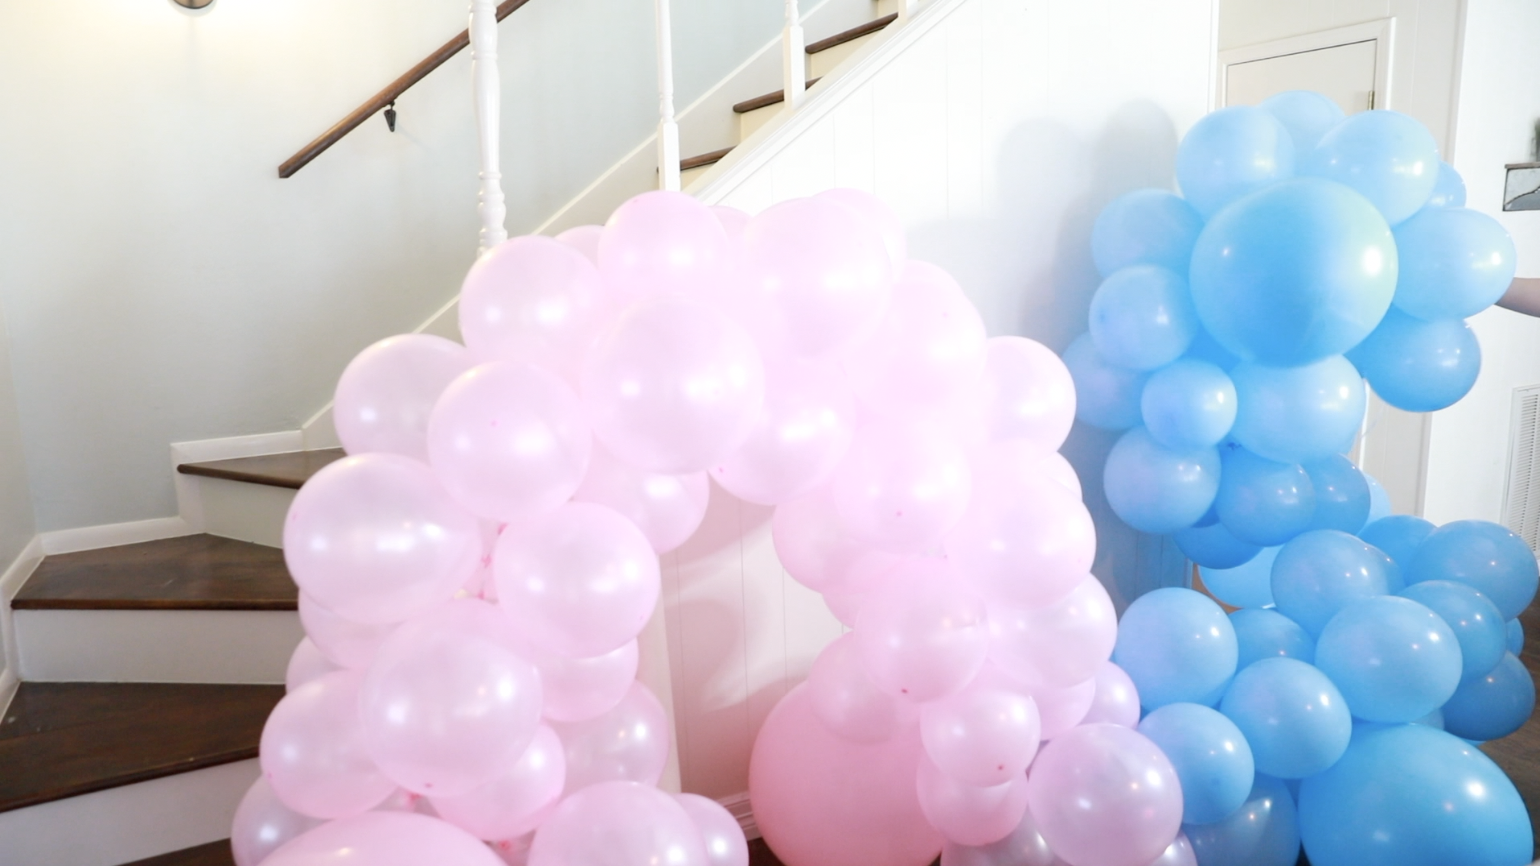
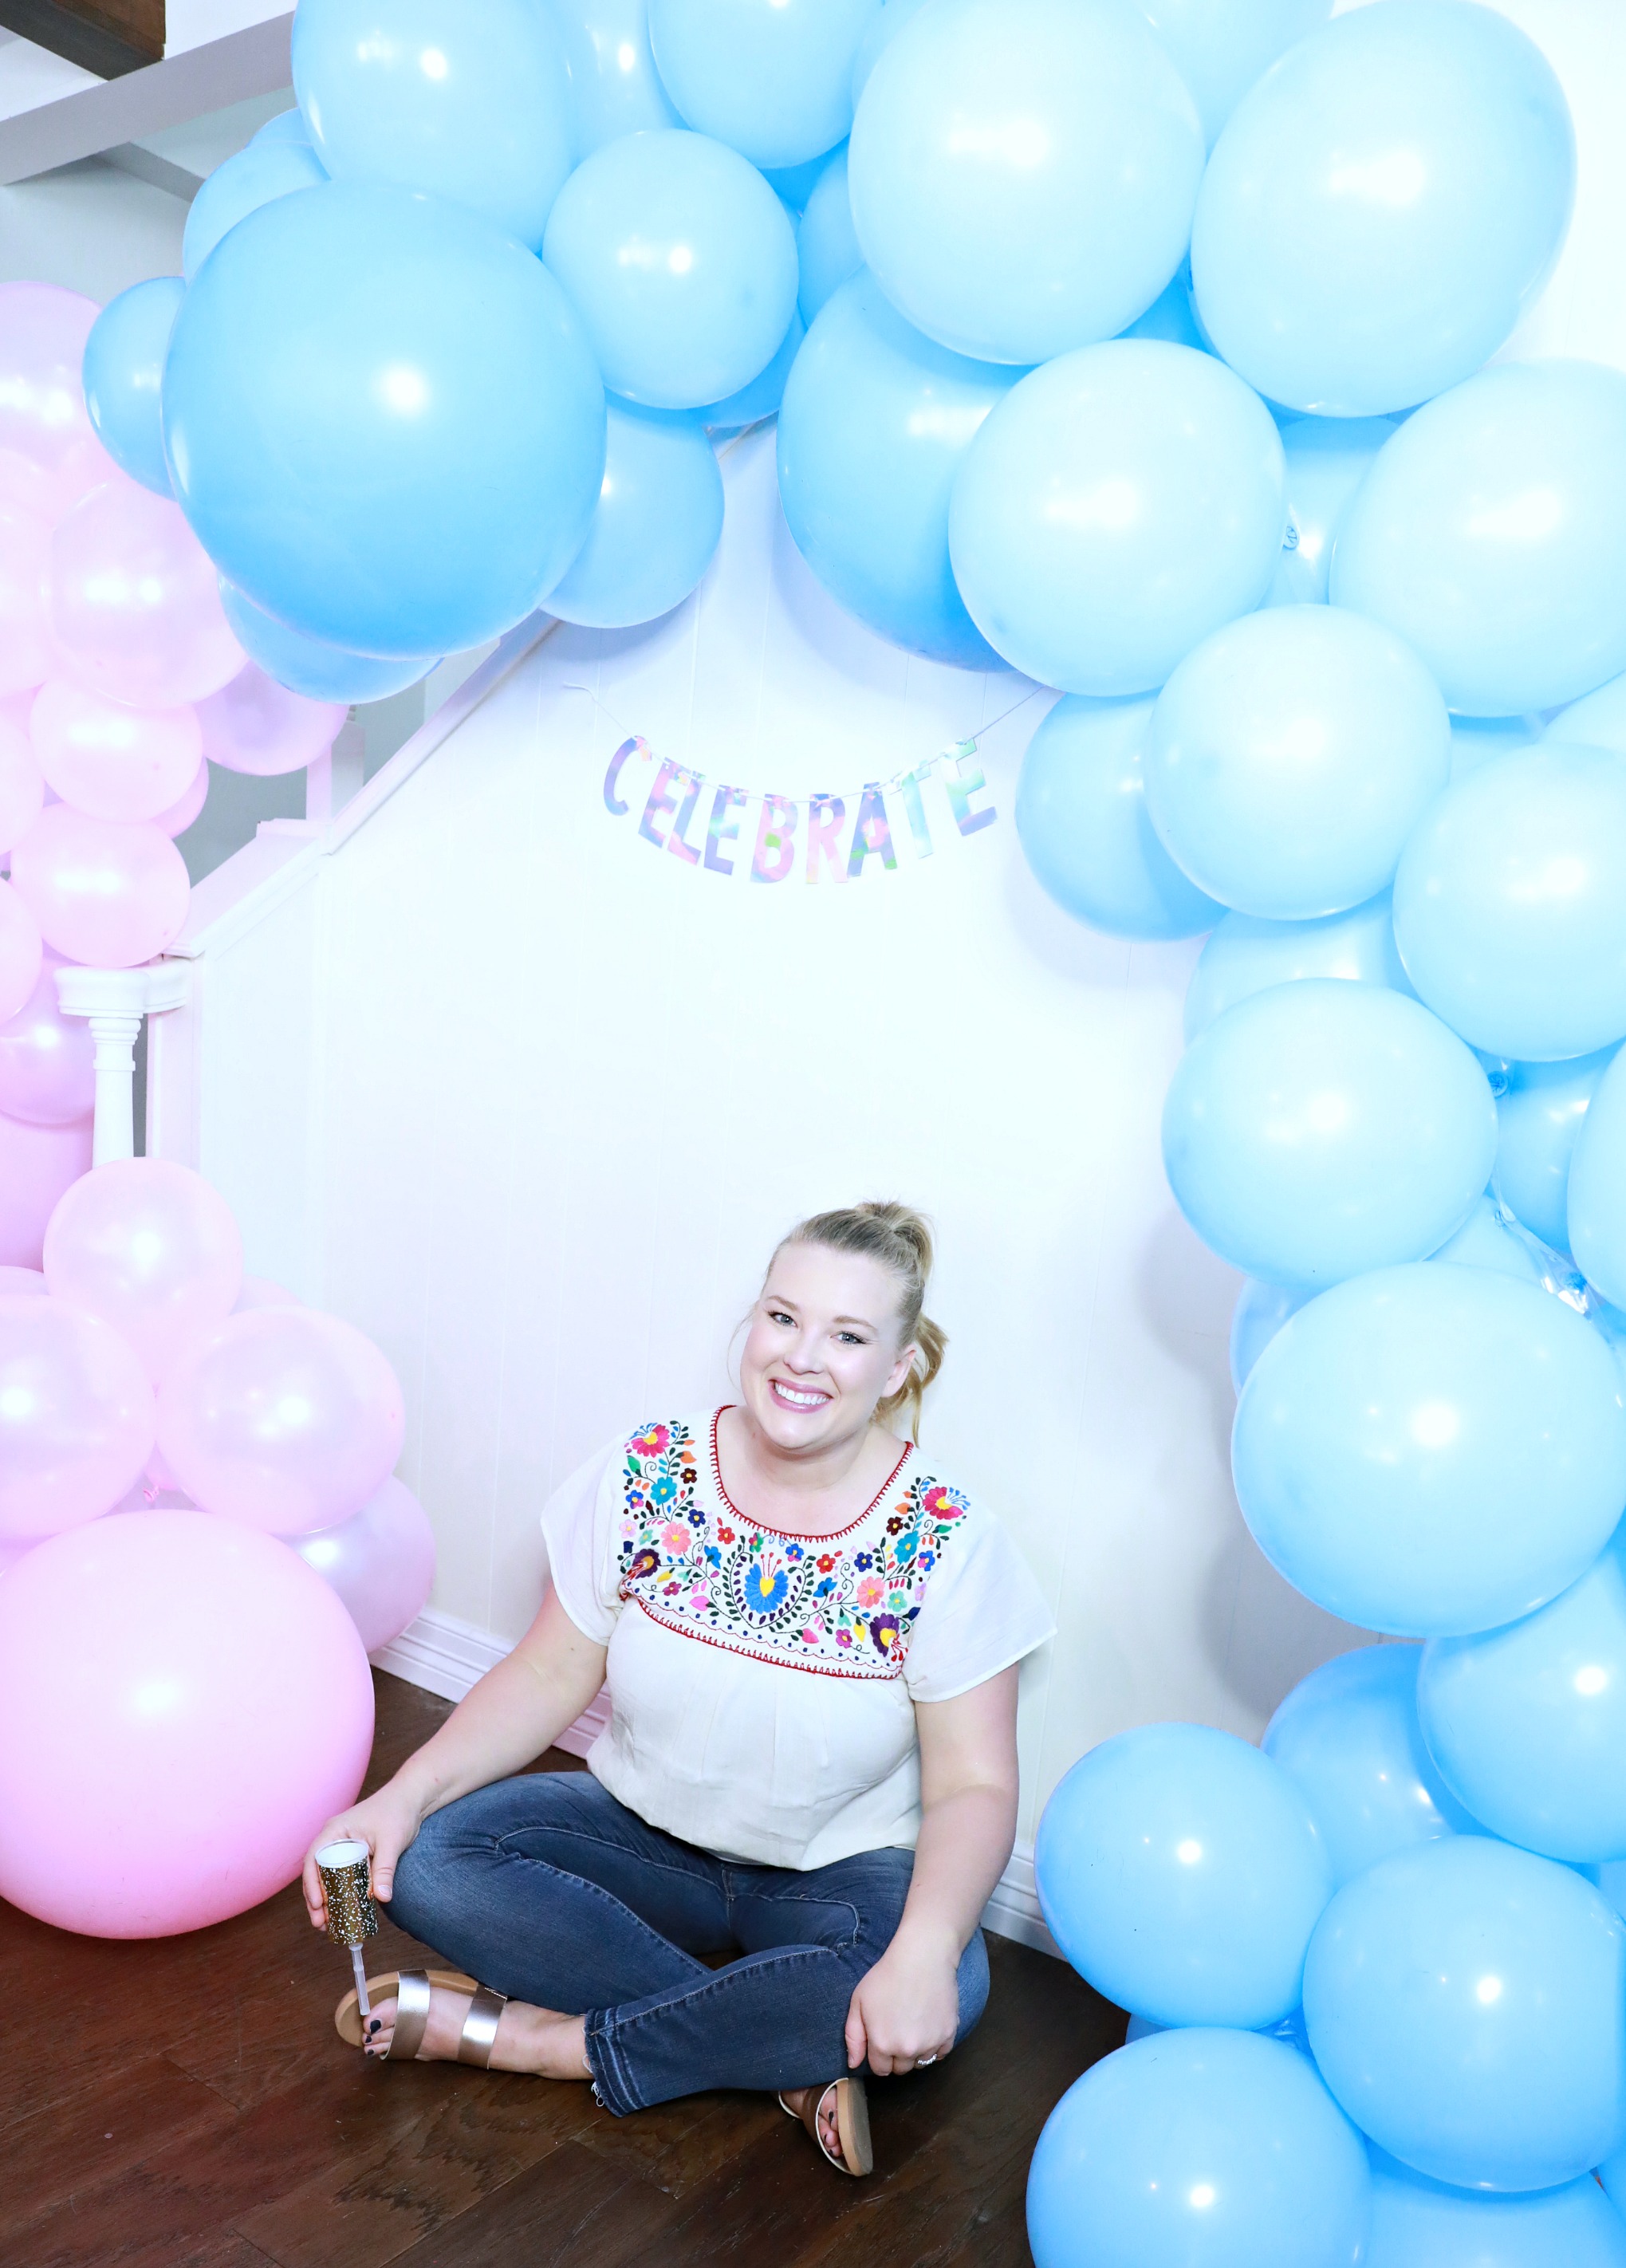
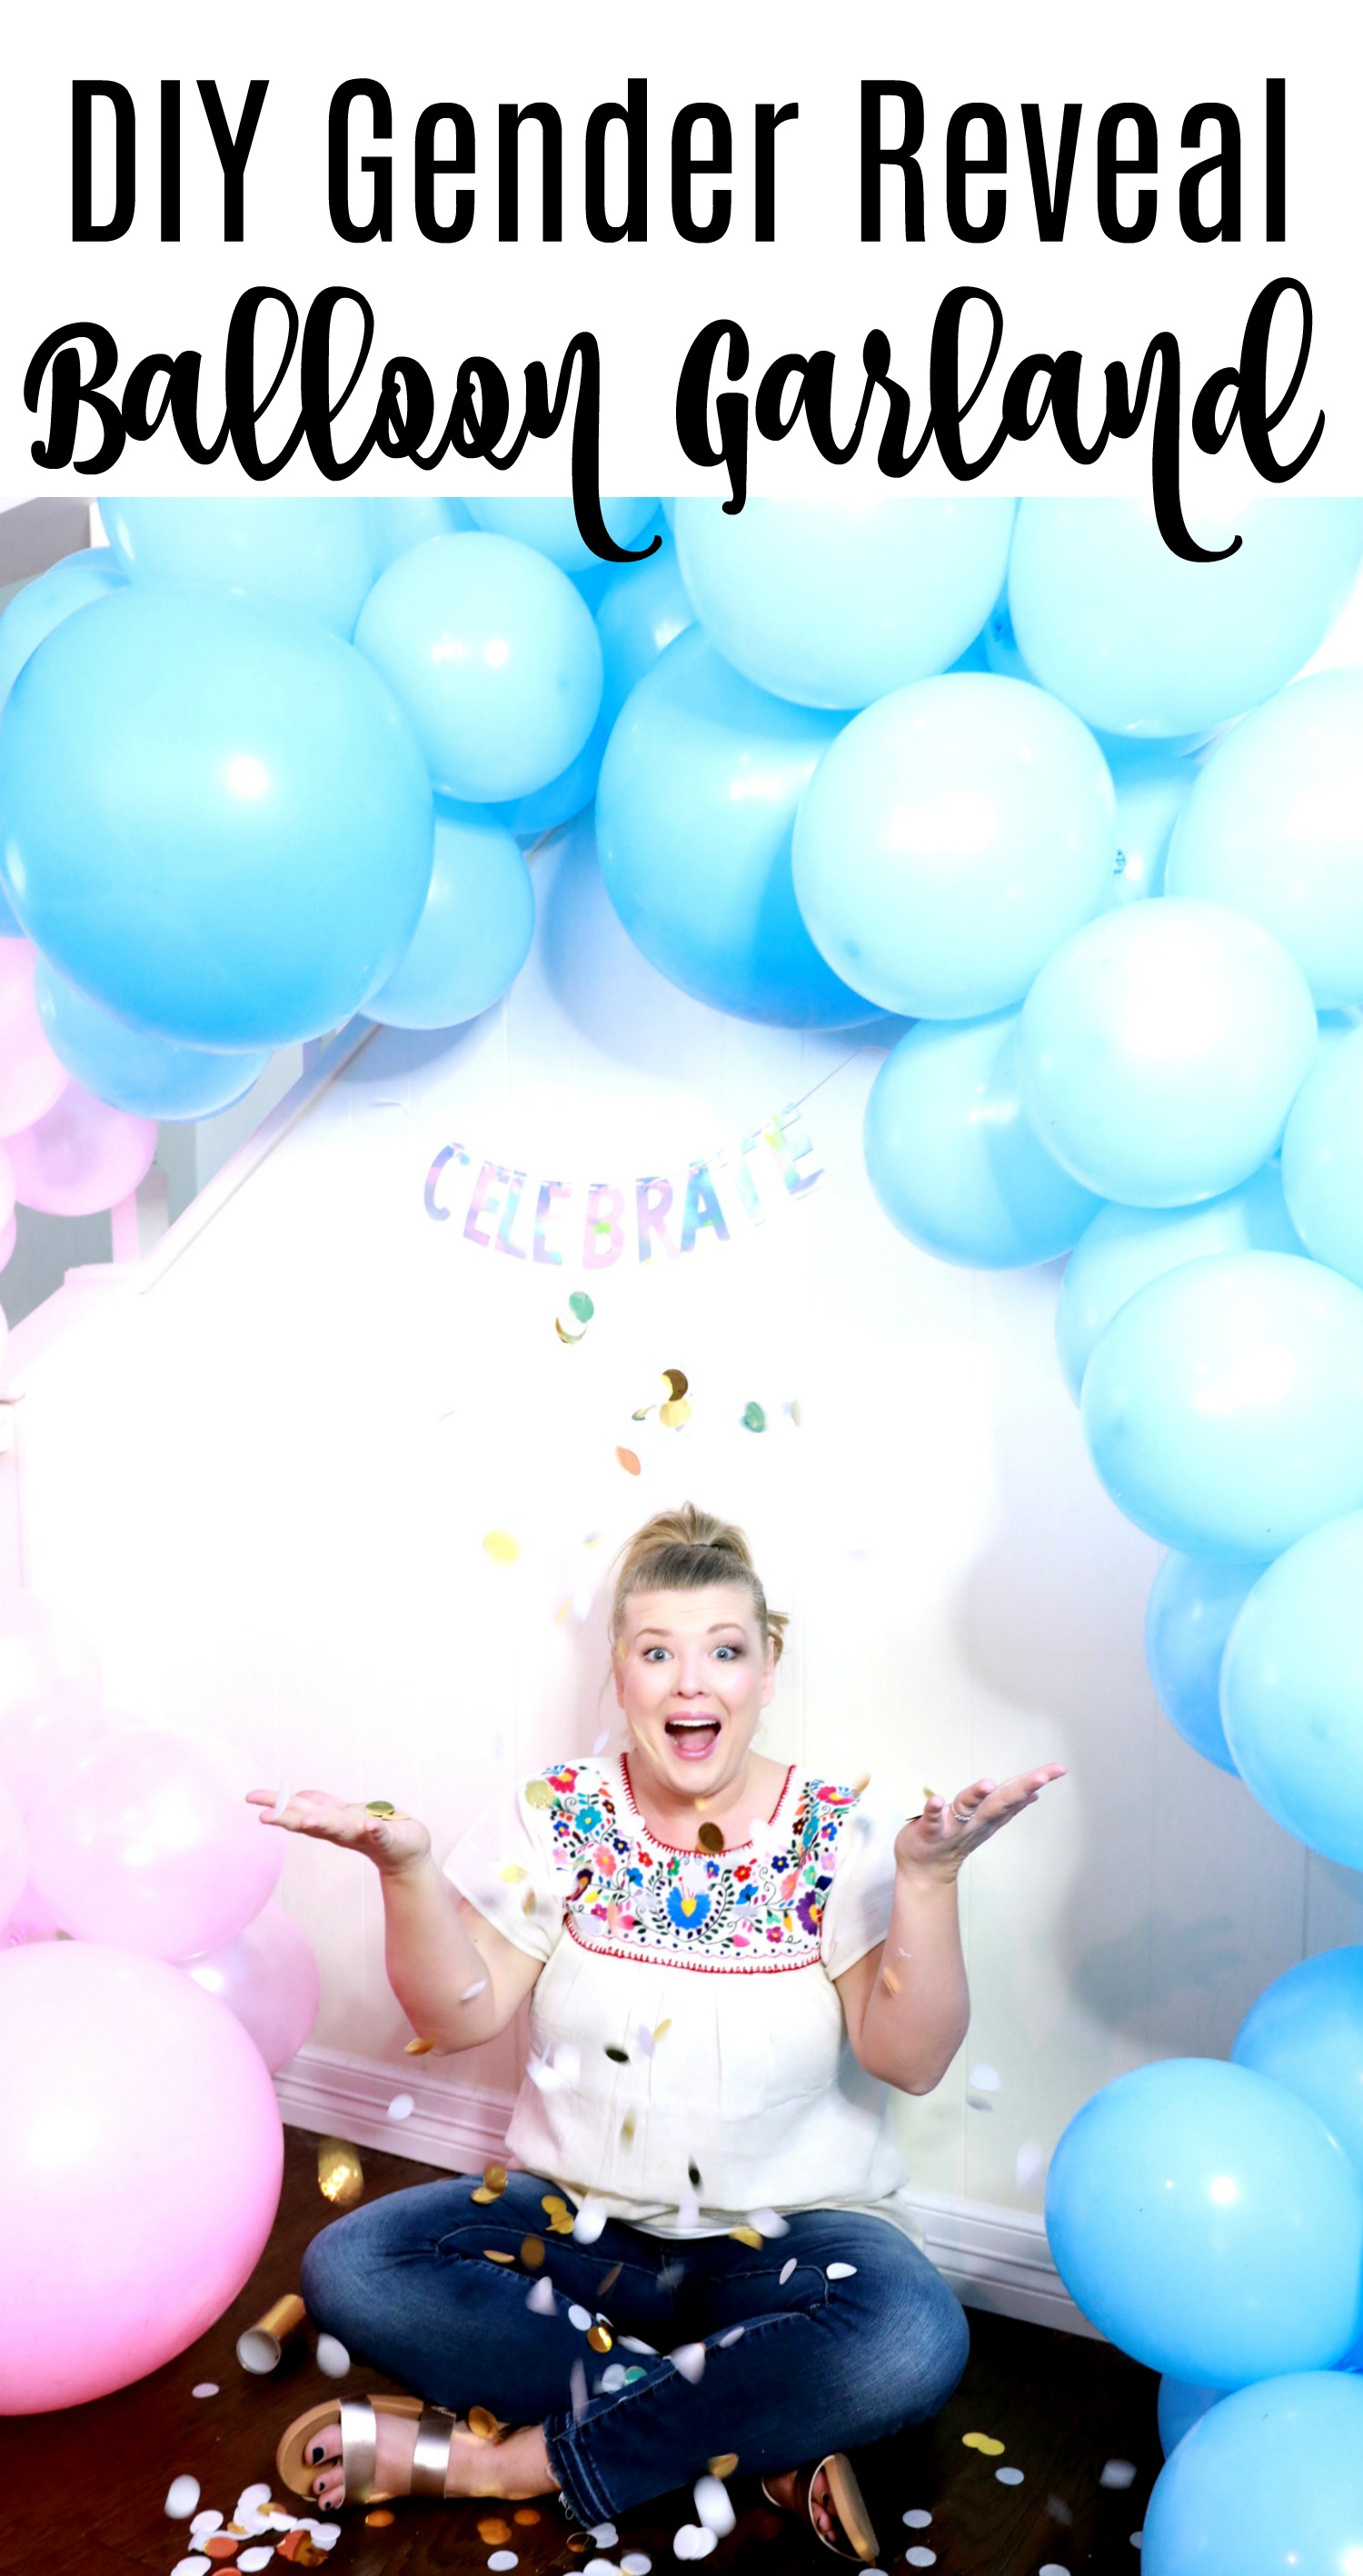
This gender reveal balloon garland is the perfect decoration idea! It is the perfect backdrop for your gender reveal party and is a cheap and fun idea!
Who doesn’t love celebrating a new baby? I may not be having anymore babies but, I definitely love throwing a party for everyone else’s baby. The gender reveal party trend is so much fun and creating unique gender reveal party decoration ideas is even more fun!
I created this easy balloon garland for a friends Gender Reveal party and it was a huge hit. It was the perfect backdrop to find out if the baby is a he or a she and everyone loved it!
Don’t let this DIY project intimidate you! When I say it is super easy to make, it is no exaggeration. It was so easy you should expect to see balloon garlands at every party I throw from here on out.
Here is what you need for your Gender Reveal Balloon Kit:
*affiliate links below
Balloons: I used 3 different sizes of balloons in 2 different colors
Pink Balloons:
Blue Balloons:
Tying Tool for Party Balloons- this is a LIFE SAVER!
Now it’s time to make the balloon garland. Before we get started, make sure you have large trash bags on hand. As I blow up the balloons I divide them out by size and color in each bag.
How to Make the perfect Gender Reveal Backdrop!
Step 1
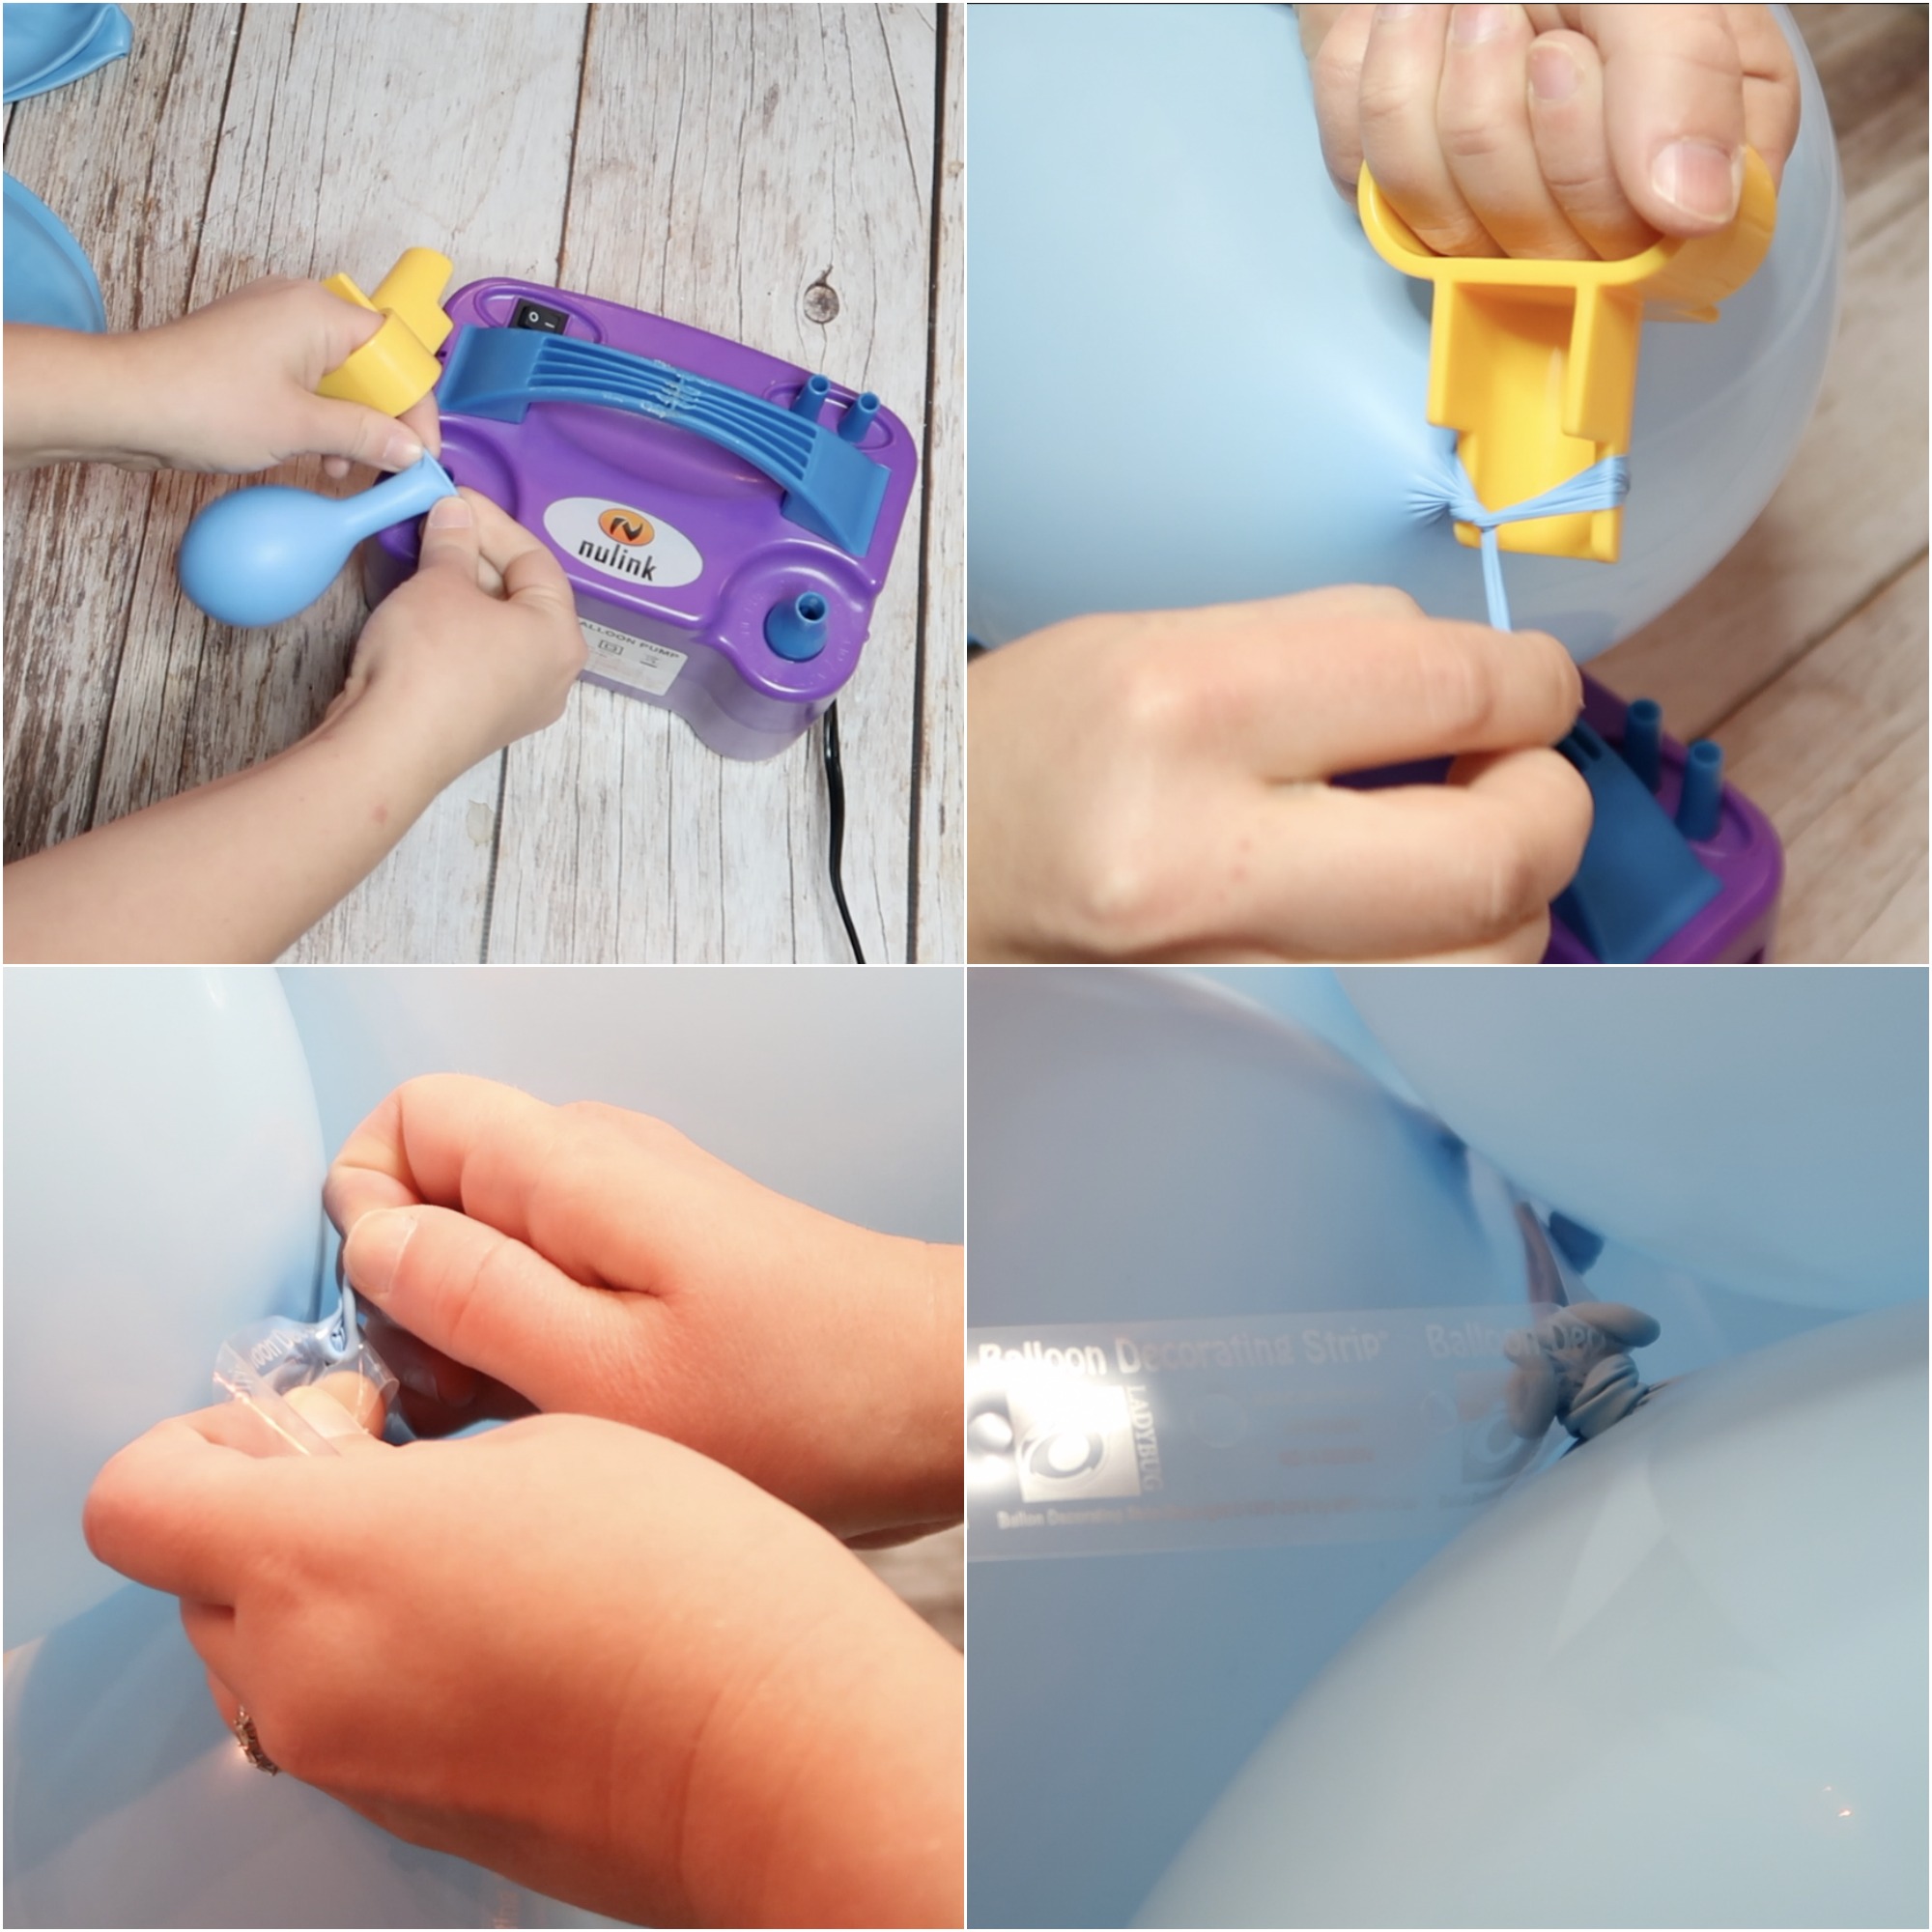
First things first, blow up all of the balloons! using the electrical pump and balloon tying tool will make this process go by quickly. I think I blew up all of my balloons in about 30 min. Make sure you have all of them blown up before you get started. I used 30 of each for the 9in and 5in. Blow up 3 of the 36 in. Divide up your balloons by size and color.
Step 2
Because this is a gender reveal party we did one side blue and one side pink! Using the balloon tape, you will thread the end of the balloon through the hole on the tape. Make sure the know pulls through so it does not come off. I made sure that there was very minimal space between each balloon. As I started moving down the tape I evenly spaced the 36 in balloons throughout.
Step 3
Once you have the blue side to the length that you want it, it is time to start on the 9in pink balloons. Again, make sure that there is no space between the balloons and that the pink and blue side are touching. You want to make sure the garland is one giant piece. Don’t forget to space out the 36in pink balloons as well!
Step 4
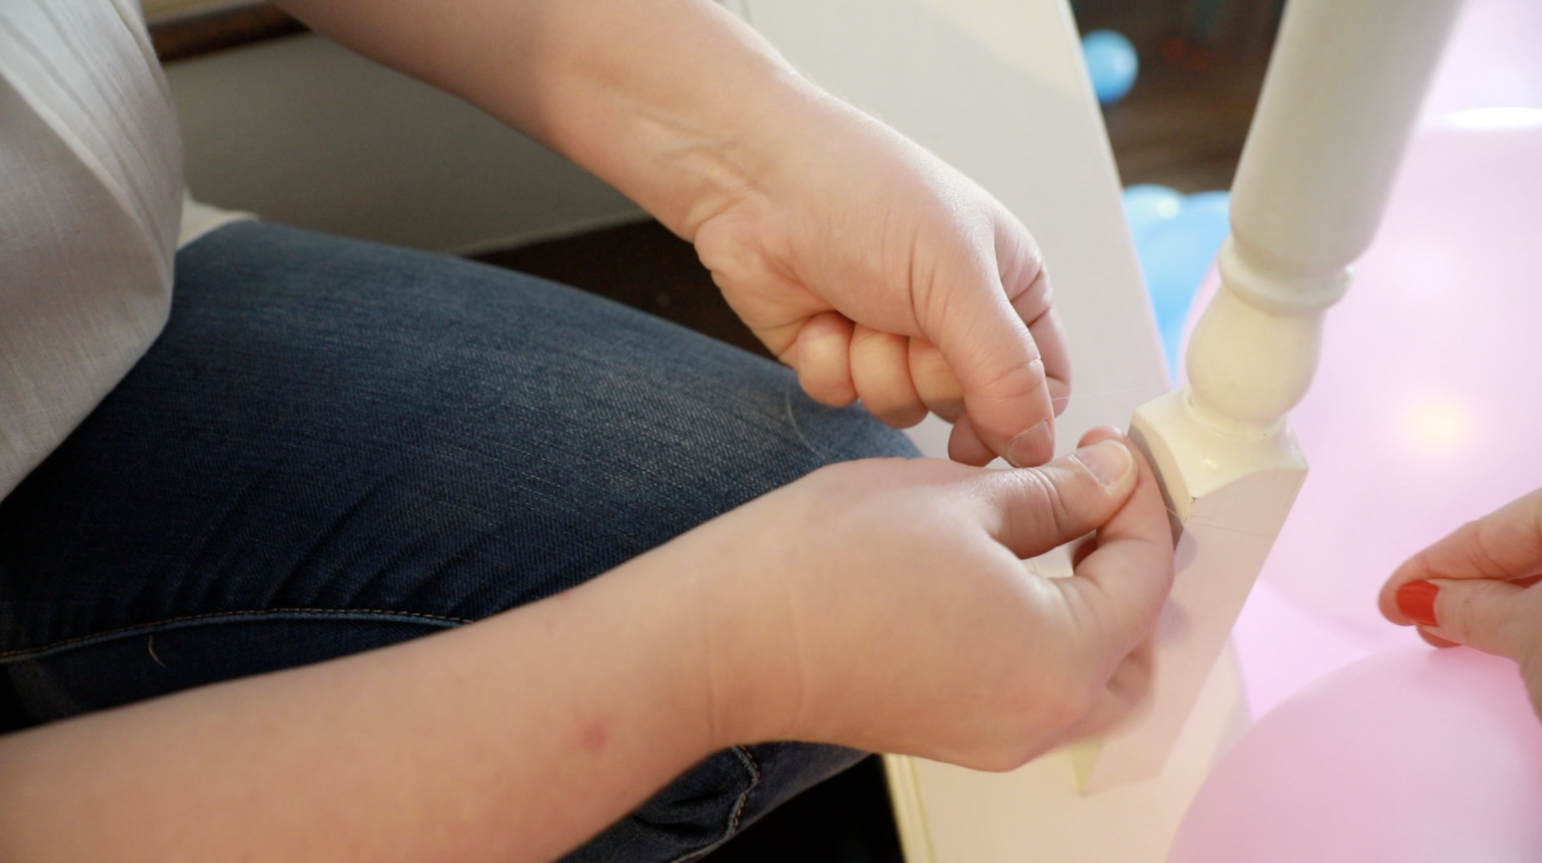
It’s time to hang the garland! Don’t worry, I have not forgotten about the 5in balloons. I used fishing line to hang the balloons. Depending on where you put it you could also use command hooks. Whatever you use, make sure that you tie or hook it to the balloon tape and not the balloon for a secure hold.
Step 5
Now that you have your 9in and 36 in balloons on the garland it is time to add the 5in. The small balloons are the ones that really add great texture and give the garland a fun look. For the garland that I created for my friend they did not want the smaller balloons (I wish we would have added them) but it still looks great! With your low temp glue gun, simply add a few dots of “hot” glue to the 5 in balloon and place it in the garland. I always like to bunch the smaller balloons within the larger balloons. Continue to add them until you feel it is full enough. It really is just your preference. You can’t go wrong!
Can you add different balloons to your balloon garland?
Yes! That is what I love most about this party background. You can literally add any color balloons to match your party. You can also add metallic balloons as well, they are so pretty! It is all in the look you are trying to portray.
Can you string balloons onto a string?
Of course! If you prefer, you can use fishing line and a crochet needle to string the balloons together. Simply thread the needle with the fishing line and puncture the balloon below the knot close to the end. I have tried both ways and the balloon tape was easiest for me!
Can you do different colors?
Yes! You can add as many colors as you want. I would stick between 5-7 colors if you want a variety. Anymore than this could start to not look cohesive.



Leave a Reply