This is a sponsored conversation written by me on behalf of Cricut. All thoughts and opinions are my own.
You can turn any project into a keepsake with the Cricut Maker 2 Engraving Tip. The engraving tool for the Cricut Maker expands your options for creating even more. Here is everything you need to know about the Cricut Maker engraving tool and a fun tutorial to create your own Engraved Farmhouse Bathroom Decor!
There is nothing I love more than spending a day in the craft room creating cute decor for our house. As you know, I am a fan of all things industrial farmhouse. We finished our shiplap bathroom a while ago but we had an empty space above the toilet that was just begging for an ironic but cute piece of decor.
When I found out about the new Cricut Engraving tool I know I had to create the perfect sign to hang in that open space. Yes, you read that right. Cricut now has an engraving tool and it’s the best thing ever! With the engraving tool you can write personalized text or create monograms, draw decorative flourishes and embellishments, or inscribe your favorite quotes on a keepsake. You can even engrave Cricut Metal Sheets or anodized aluminum to reveal the silver beneath. How fun is that!
Cricut Maker Engraving Metal
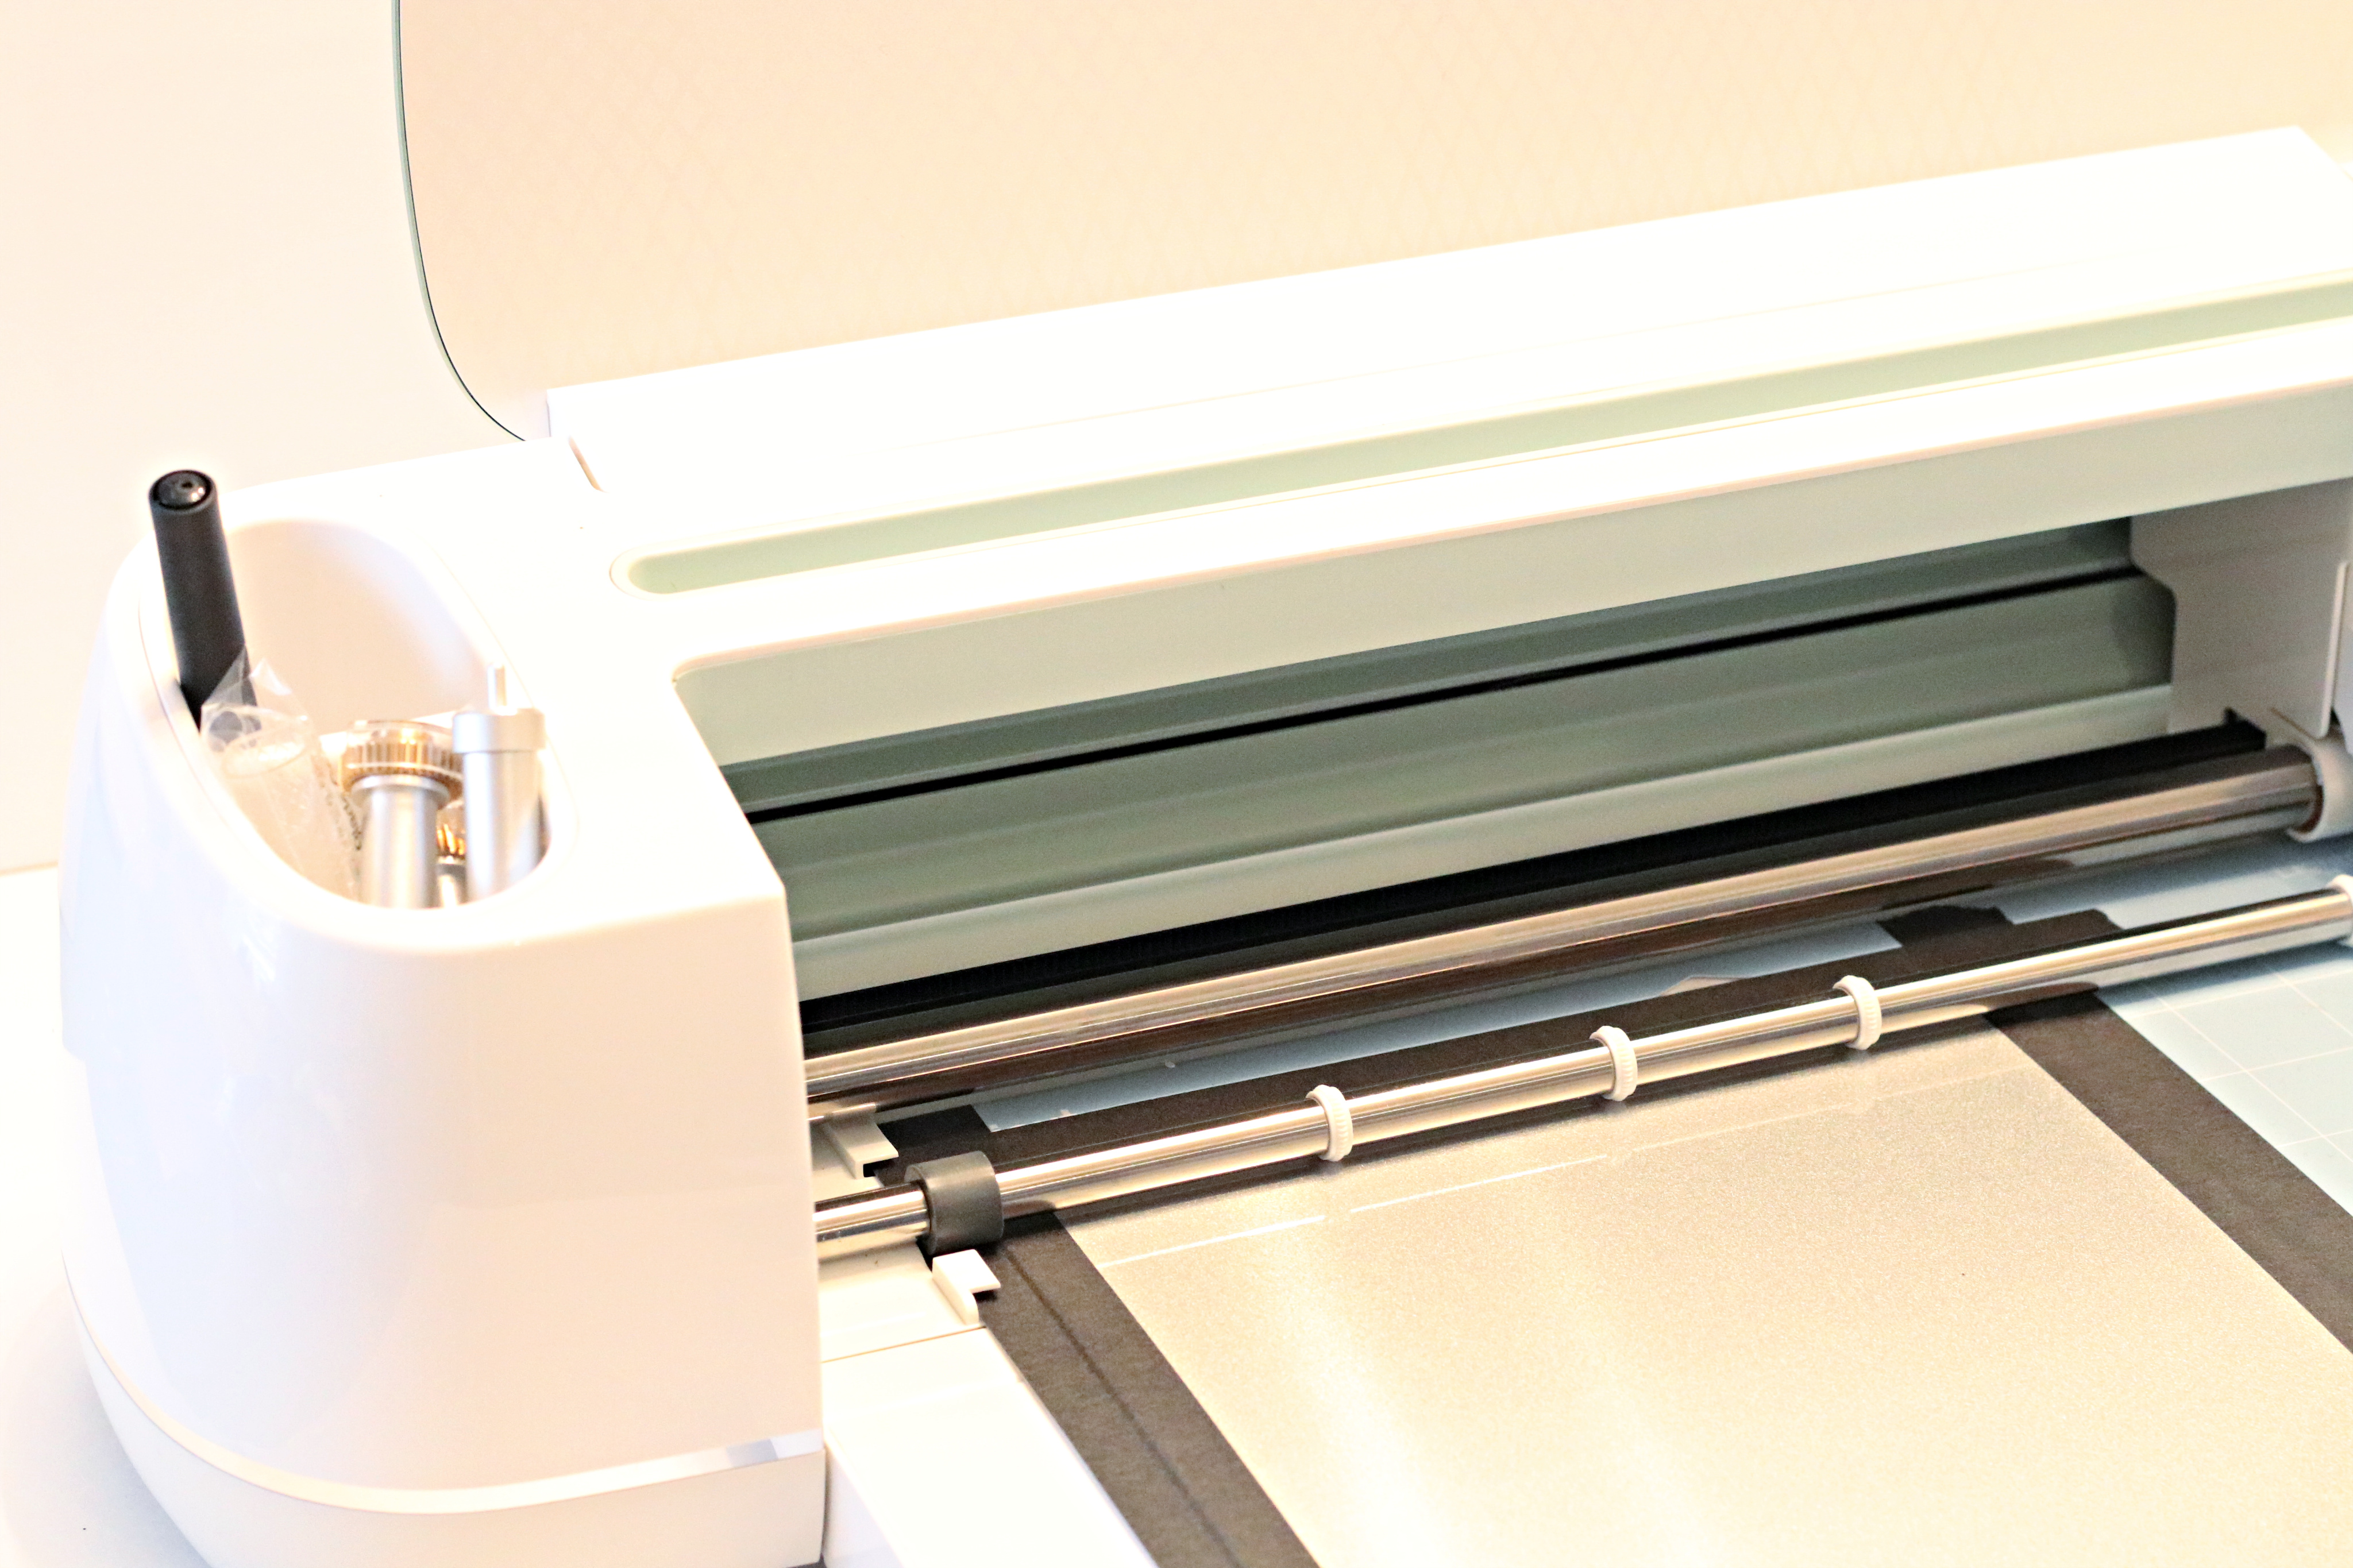
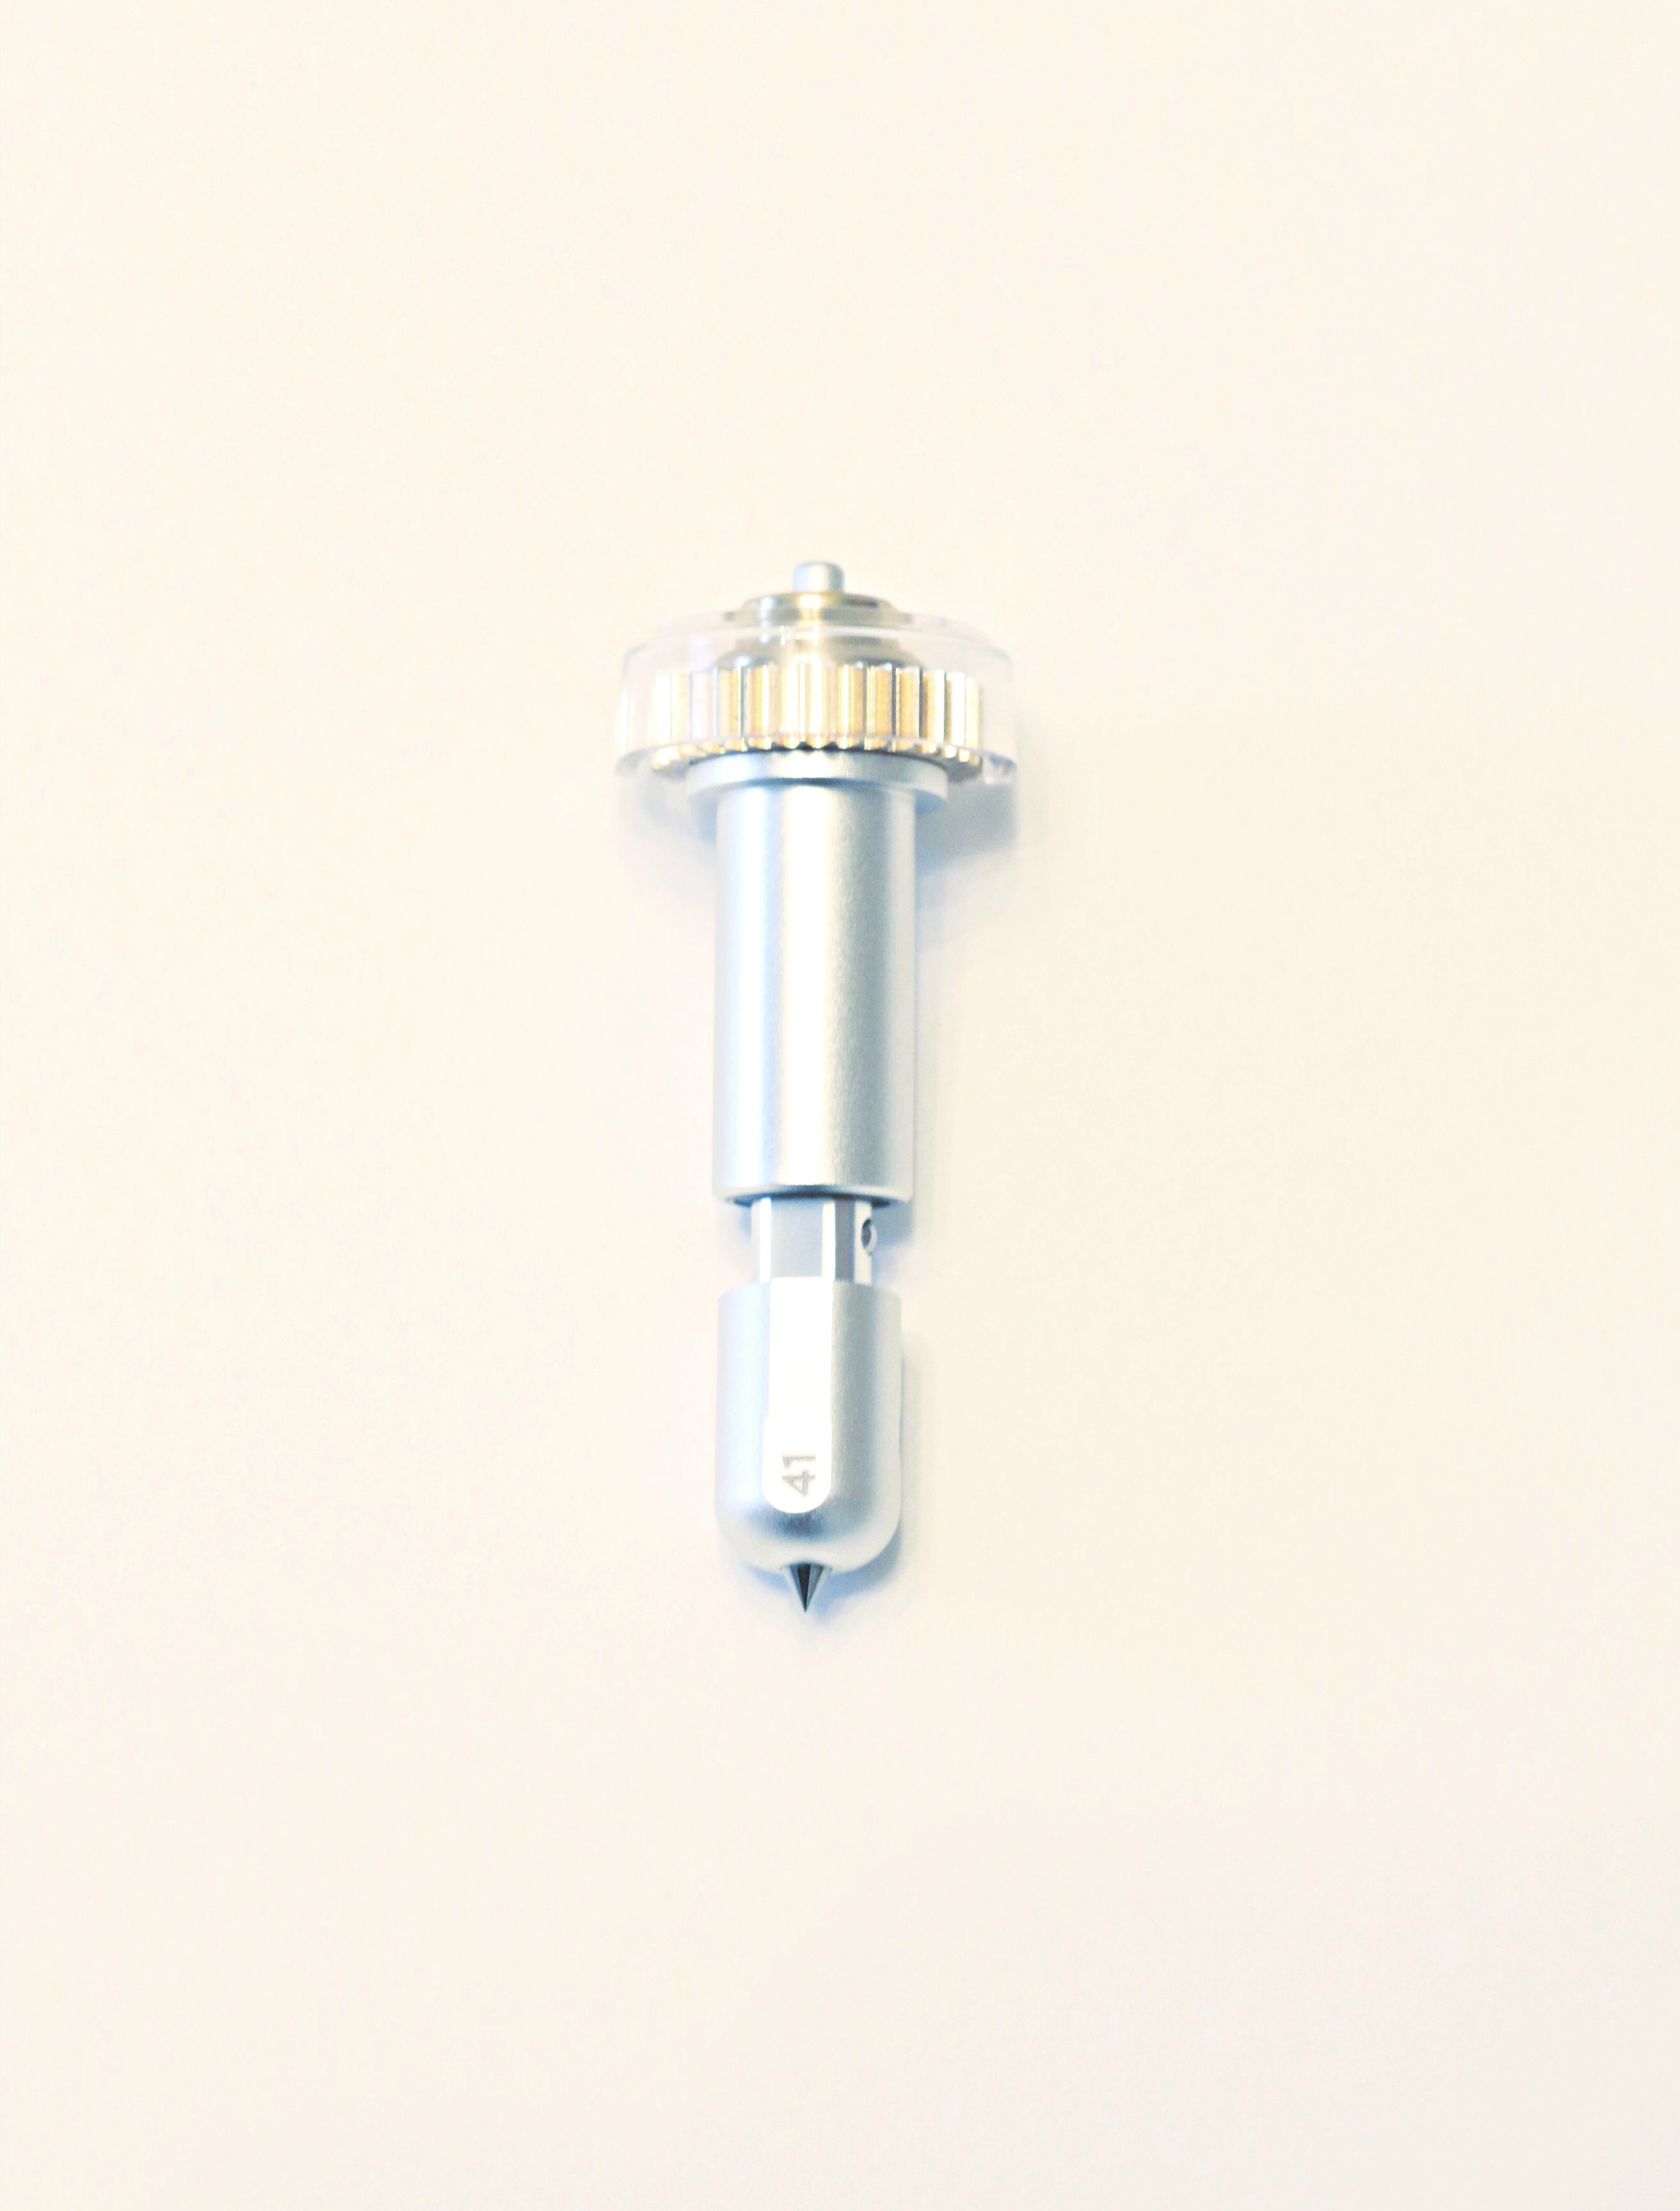
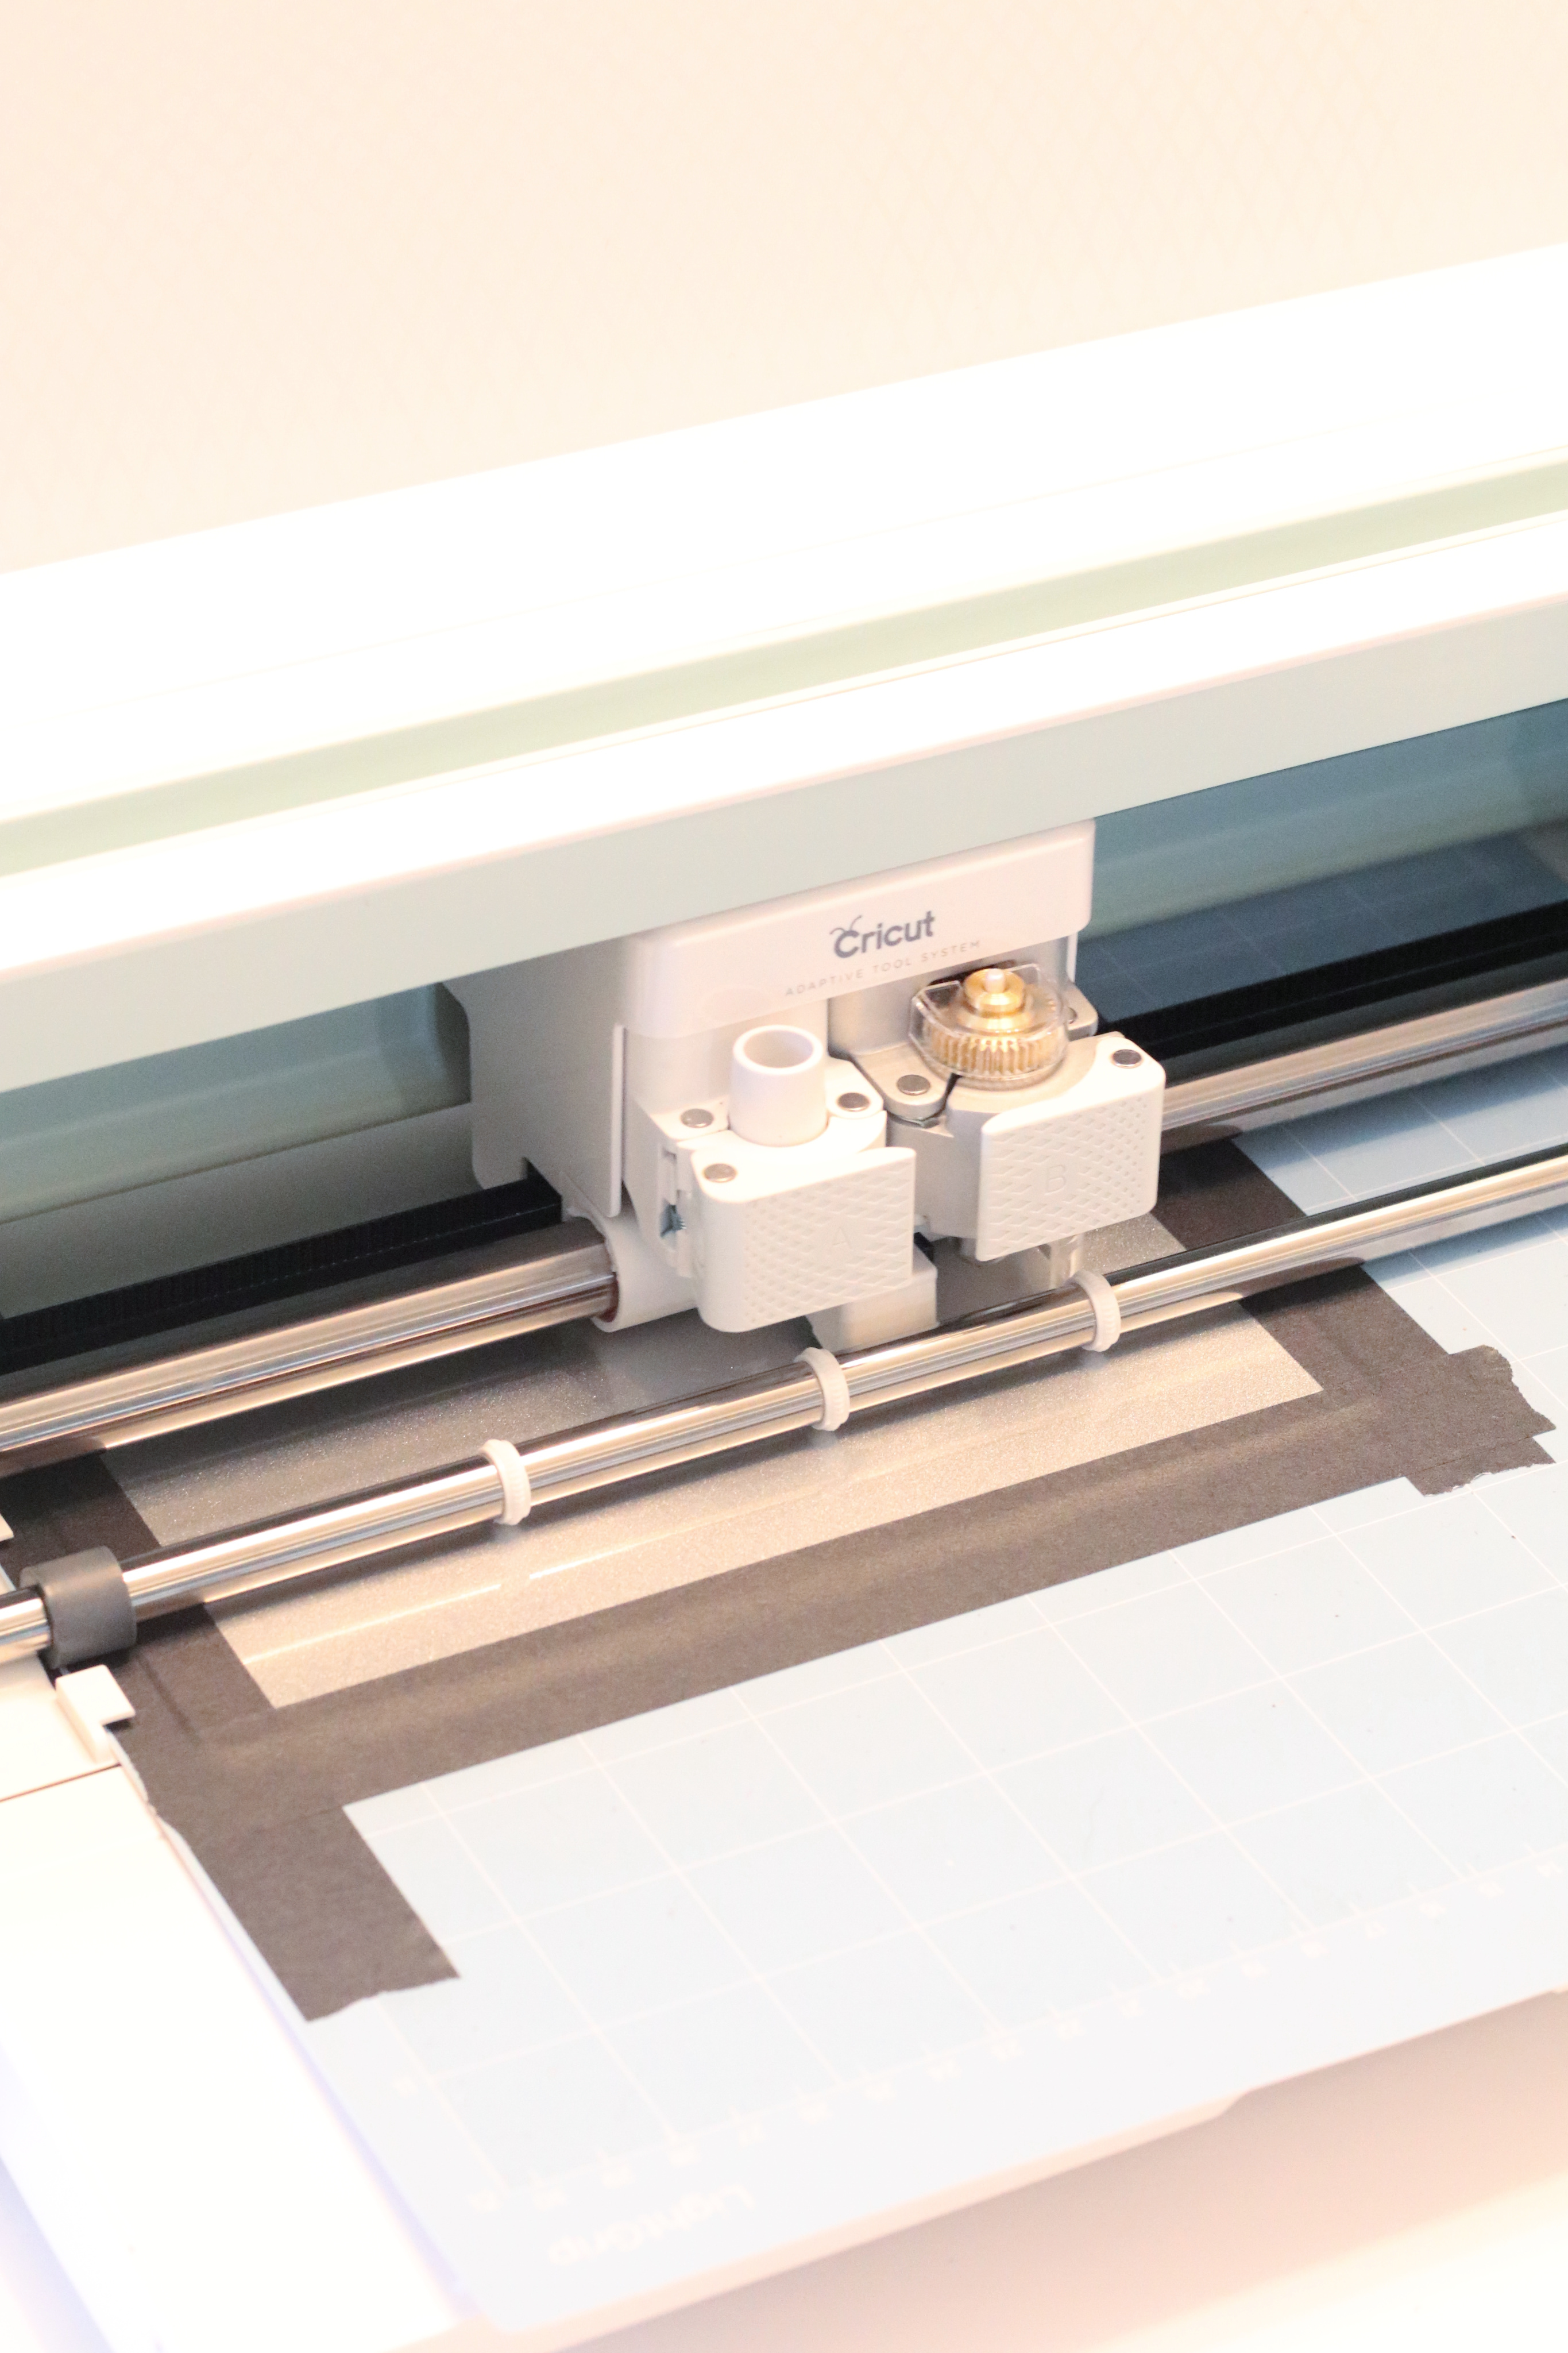
To make your DIY Bathroom sign, you have to start with using the Engraving Tip “41” by Cricut. Right now this tip only works with the Cricut Maker. The Cricut Maker has an adaptive tool system using the QuickSwap Housing. The Quick Swap Housing has a gear on it and you can switch out the tip on it by pushing in the button on top, gently remove the tip and then attach the new one. The QuickSwap can be used with the Basic Perforation Blade, Wavy Blade, Fine Debossing Tip and the Engraving Tip.
*These do not work with the Cricut Explore.
Now that you have your Cricut Maker and engraving tool ready to go, it is time to make this adorable DIY funny bathroom sign!
Materials:
Engraving Tool “41”+ QuickSwap Housing
Ribbon (optional)
Although this project may seem difficult, it is one of the easier projects I have done. If you are just getting started with your Cricut Maker, you may be interested in checking out these posts as well: DIY Vinyl Balloon Signs with the Cricut Maker and Cricut Easy Press 2 Review.
Here is the Flush It sign design I created in the Cricut Design Space.
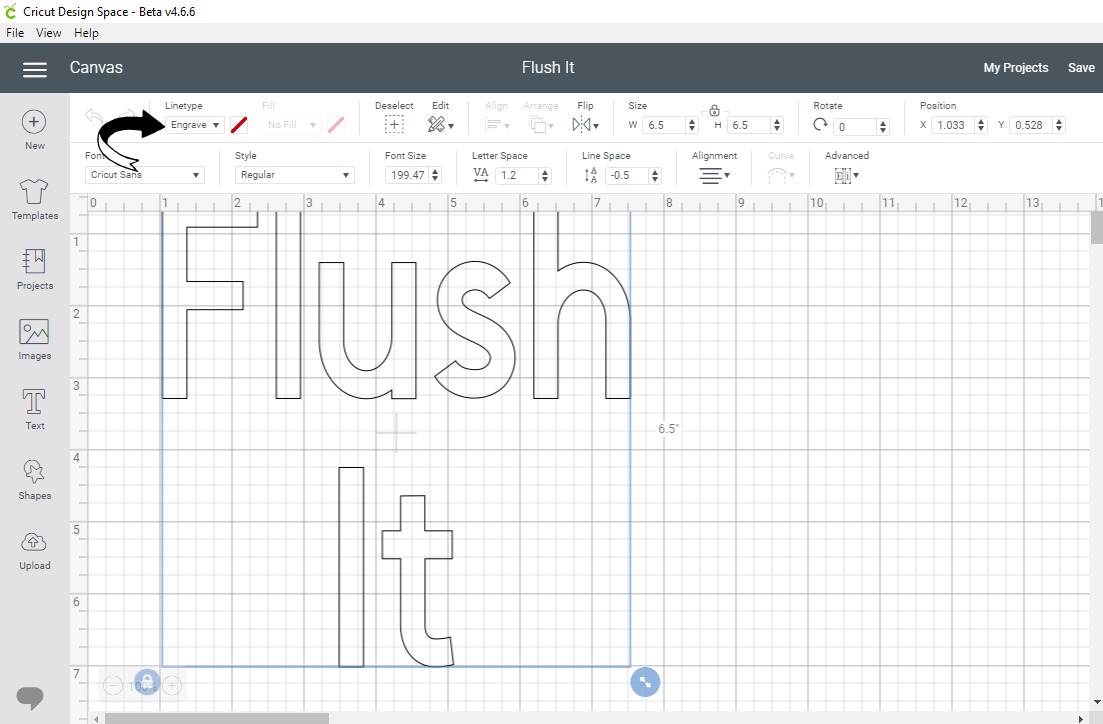
When using the engraving tool, you have to set up your supplies a bit different than you normally would. First, be sure to check that in the Design Space you change the linetype to Engrave. This will change your image to just show the outline that will be engraved.
For the 8×8 sheet this design left about an inch on each side. If you are using the 5X7 Aluminum Sheets or the 4X4 Aluminum Sheets be sure to adjust the design accordingly.
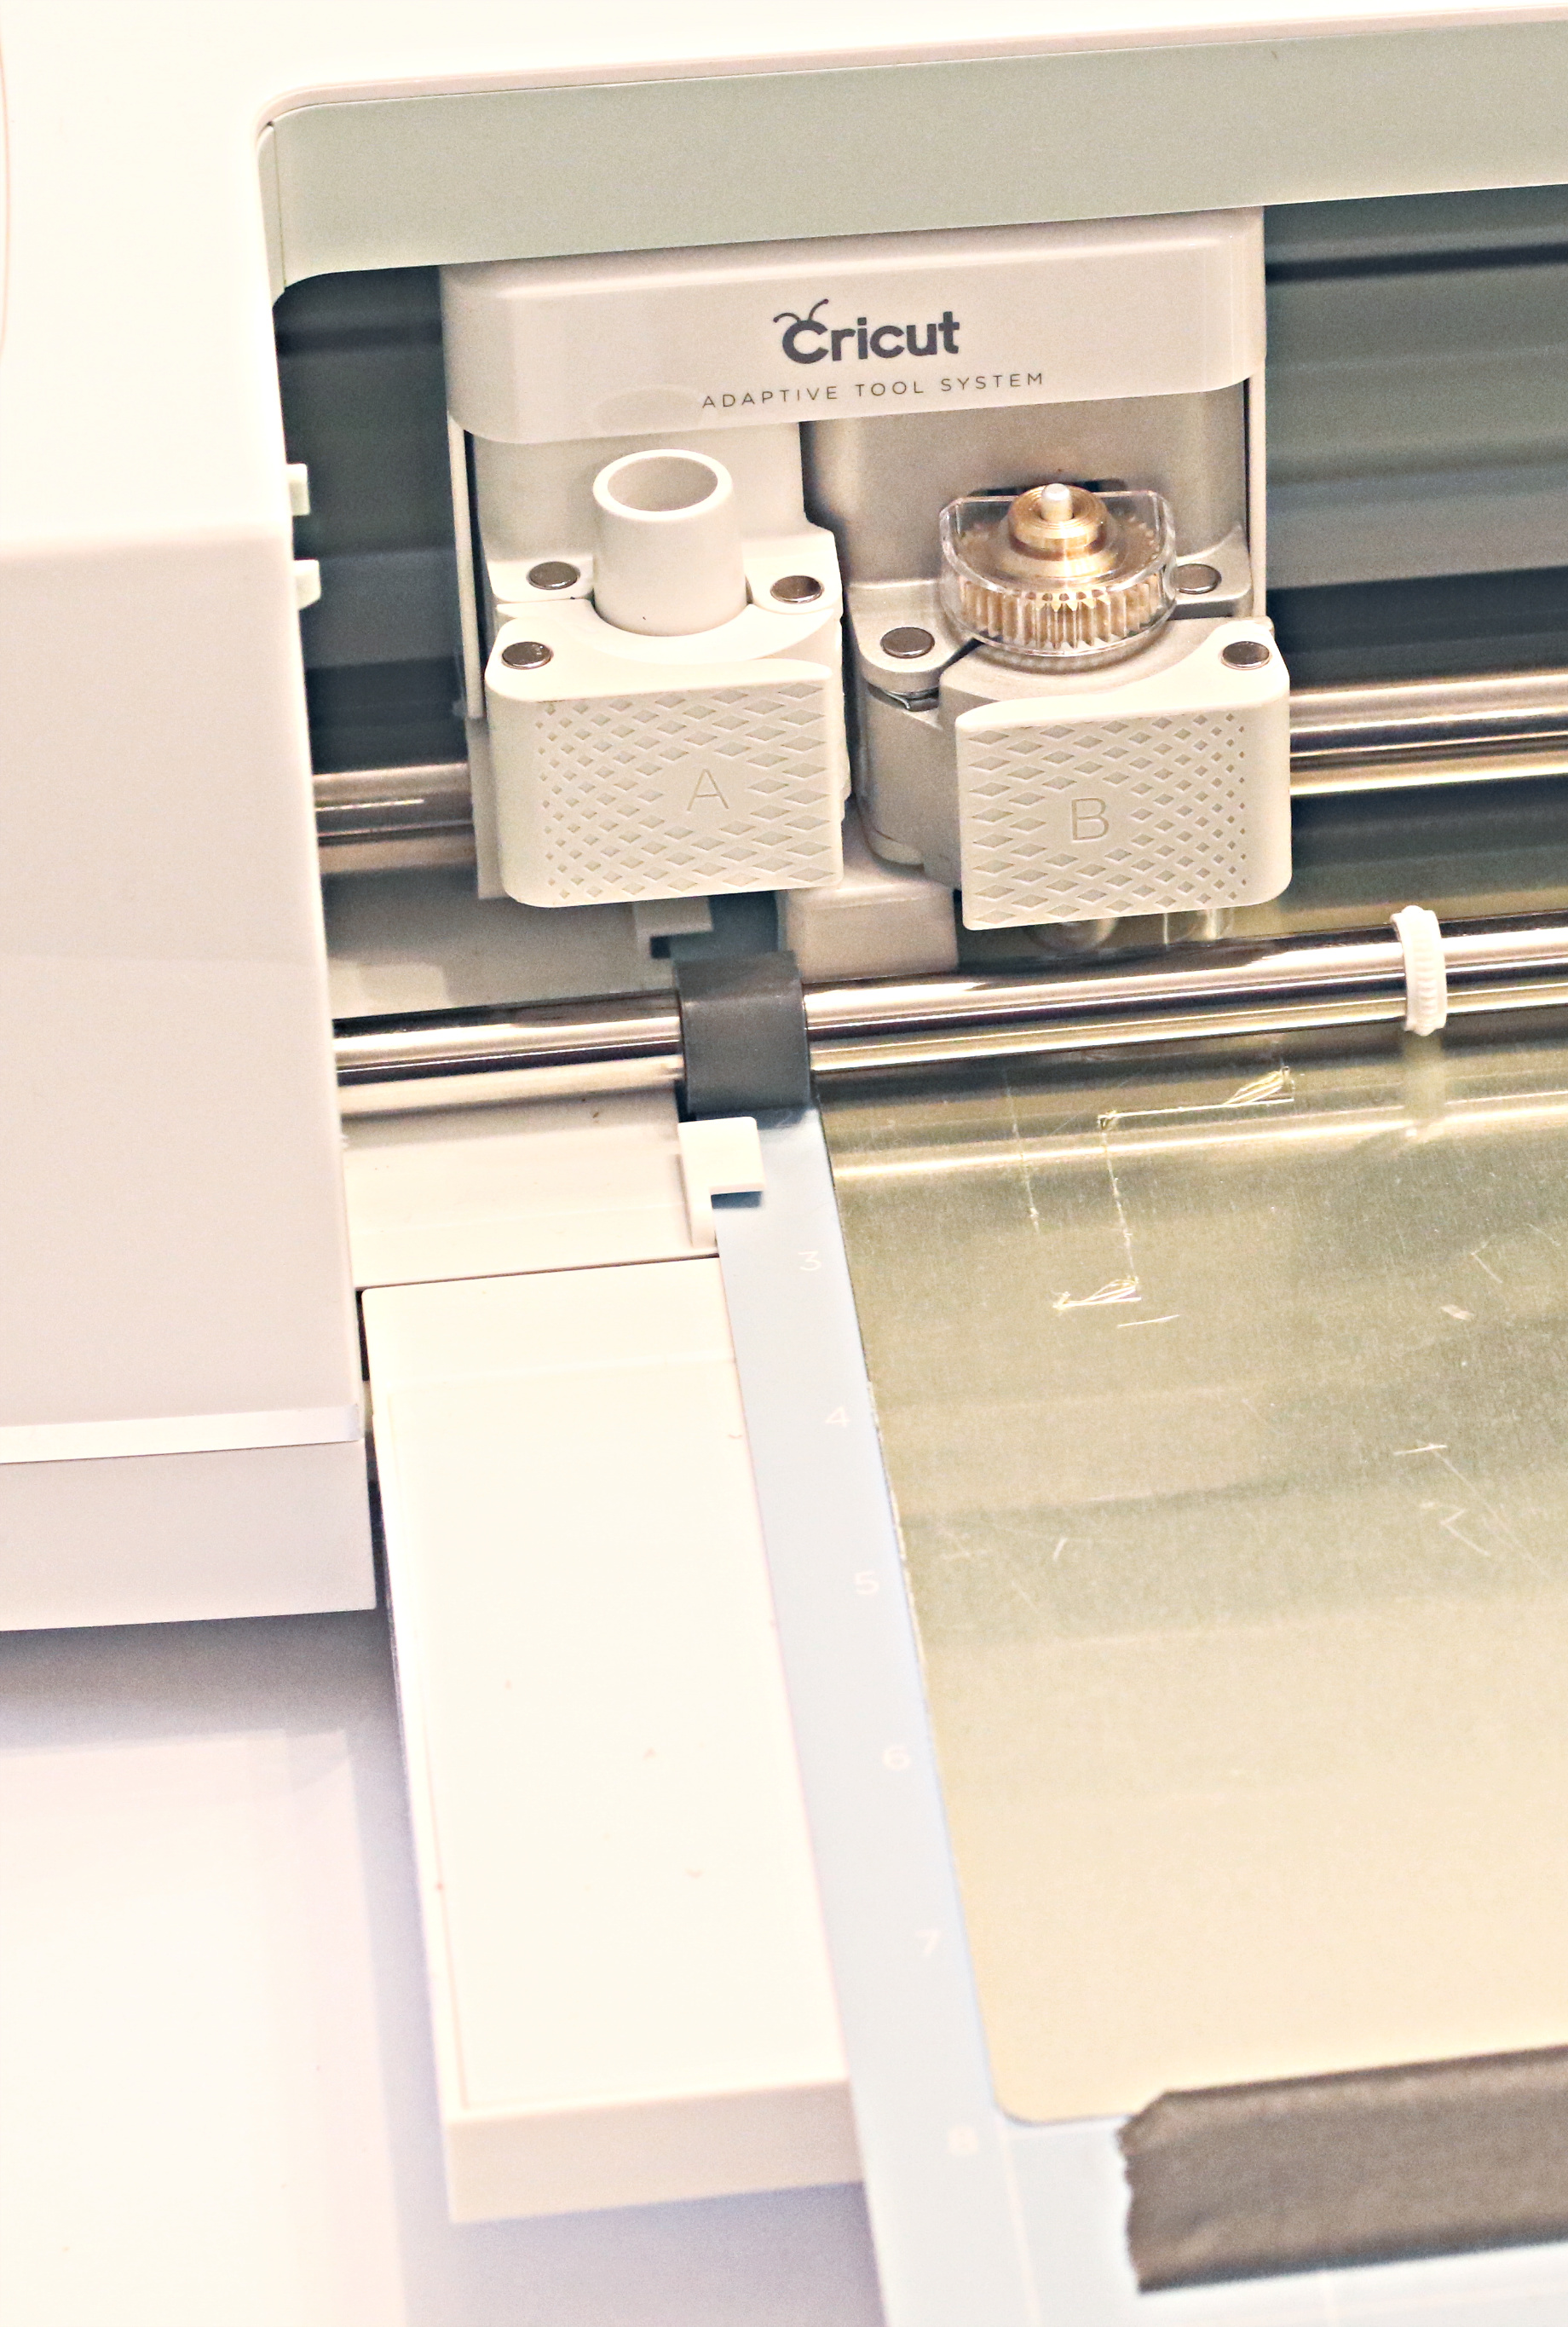
Also, make sure that you are secure the Aluminum Sheets to the Standard Grip Mat with masking tape to ensure that it does not move.
Now it’s time to engrave! Insert the engraving tool into the B slot on your Cricut Maker. Place your mat in your machine and select Aluminum as your material. Press the blinking C!
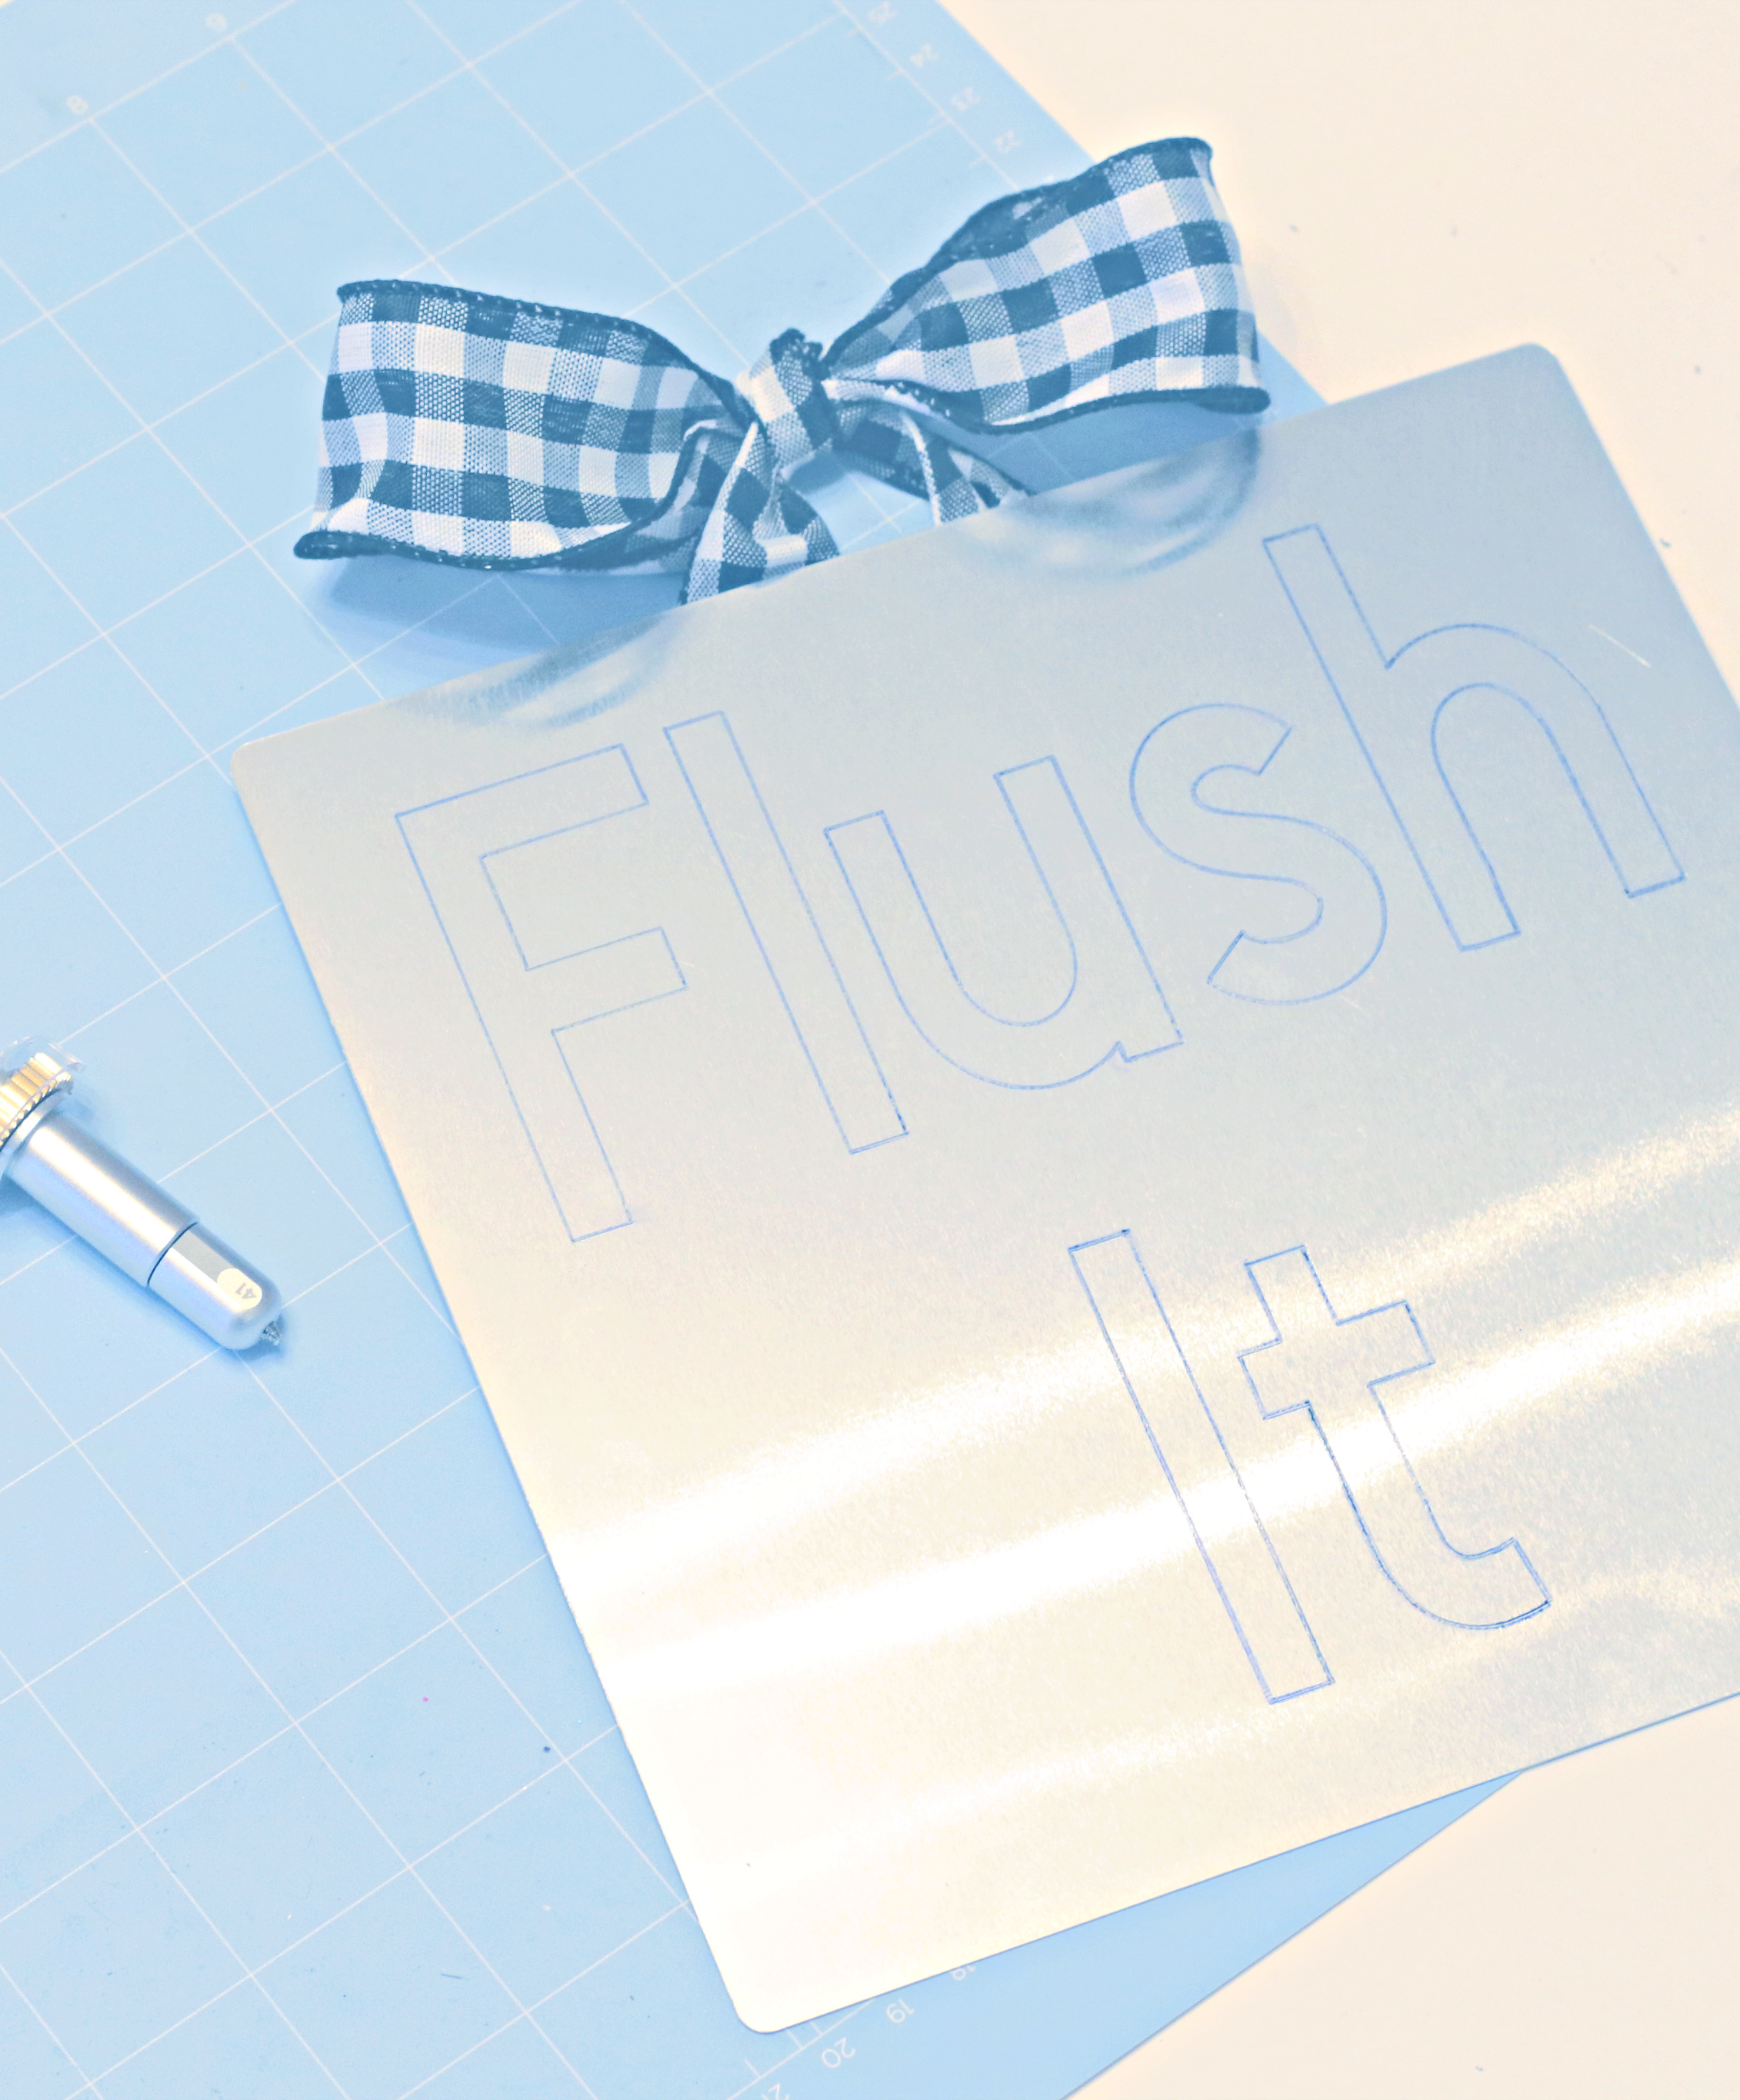
Once your engraving is complete, use a cloth to gently wipe off the flaking metal. It can be sharp to be careful!
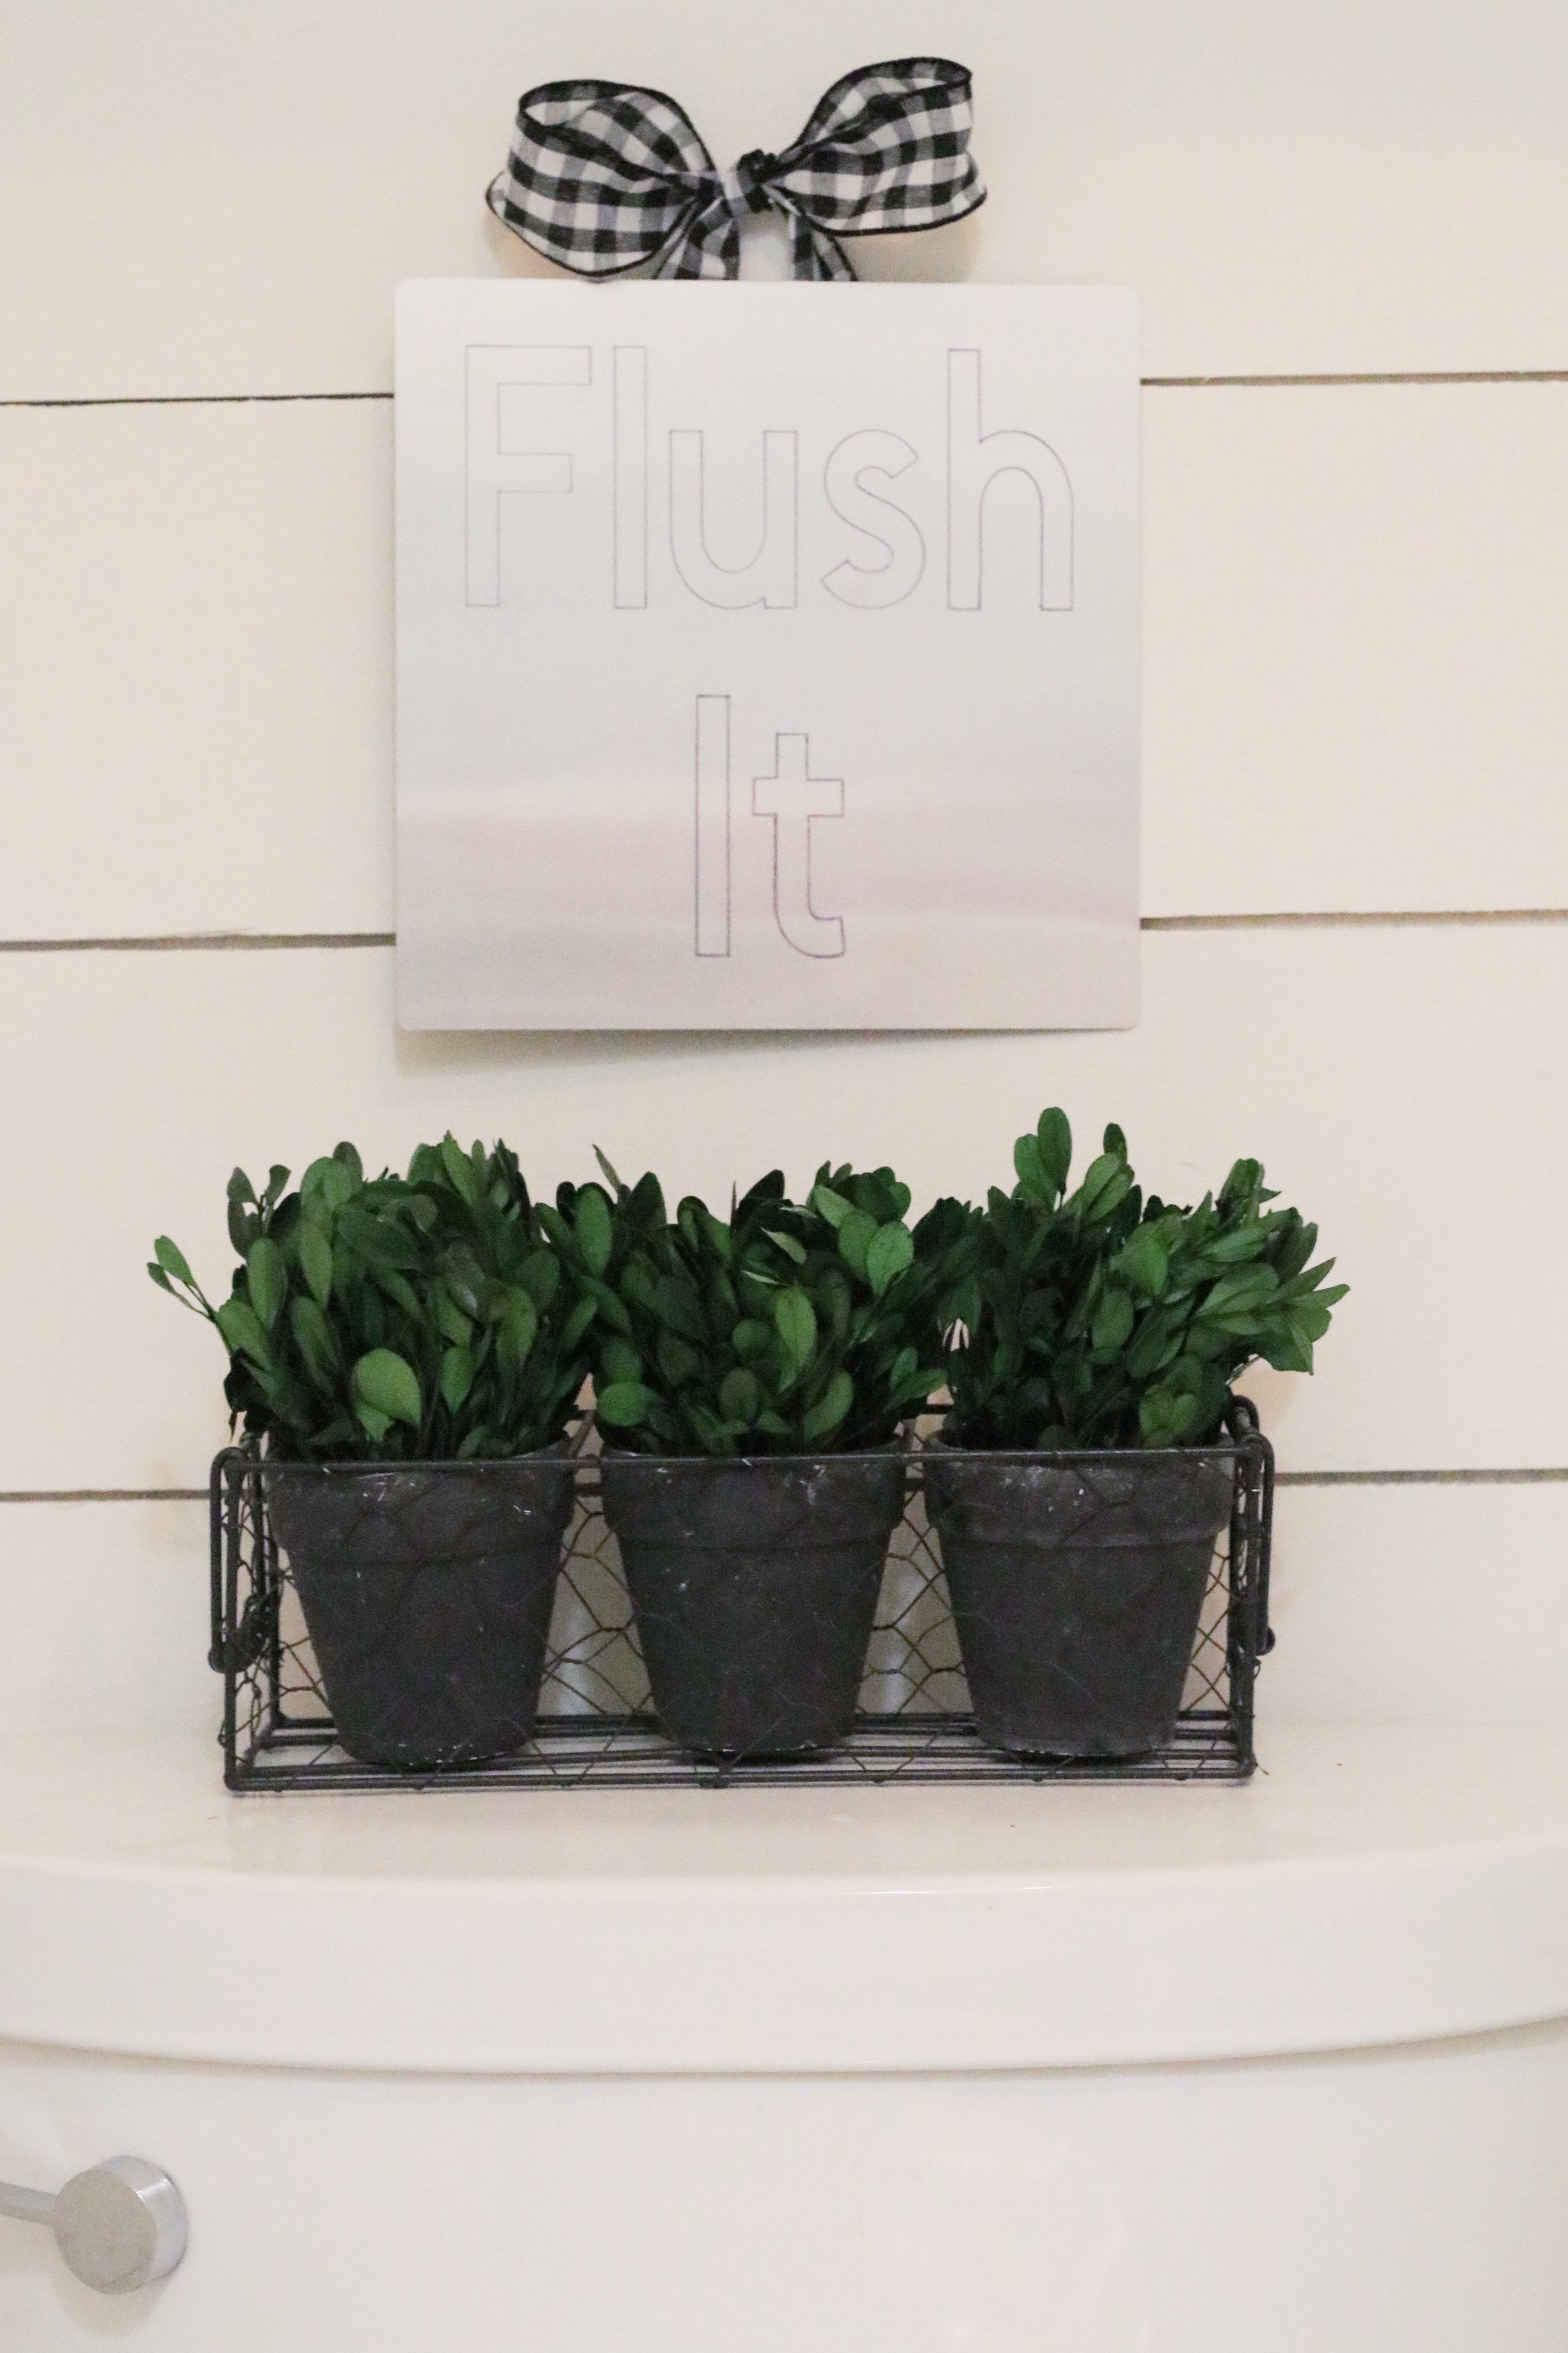
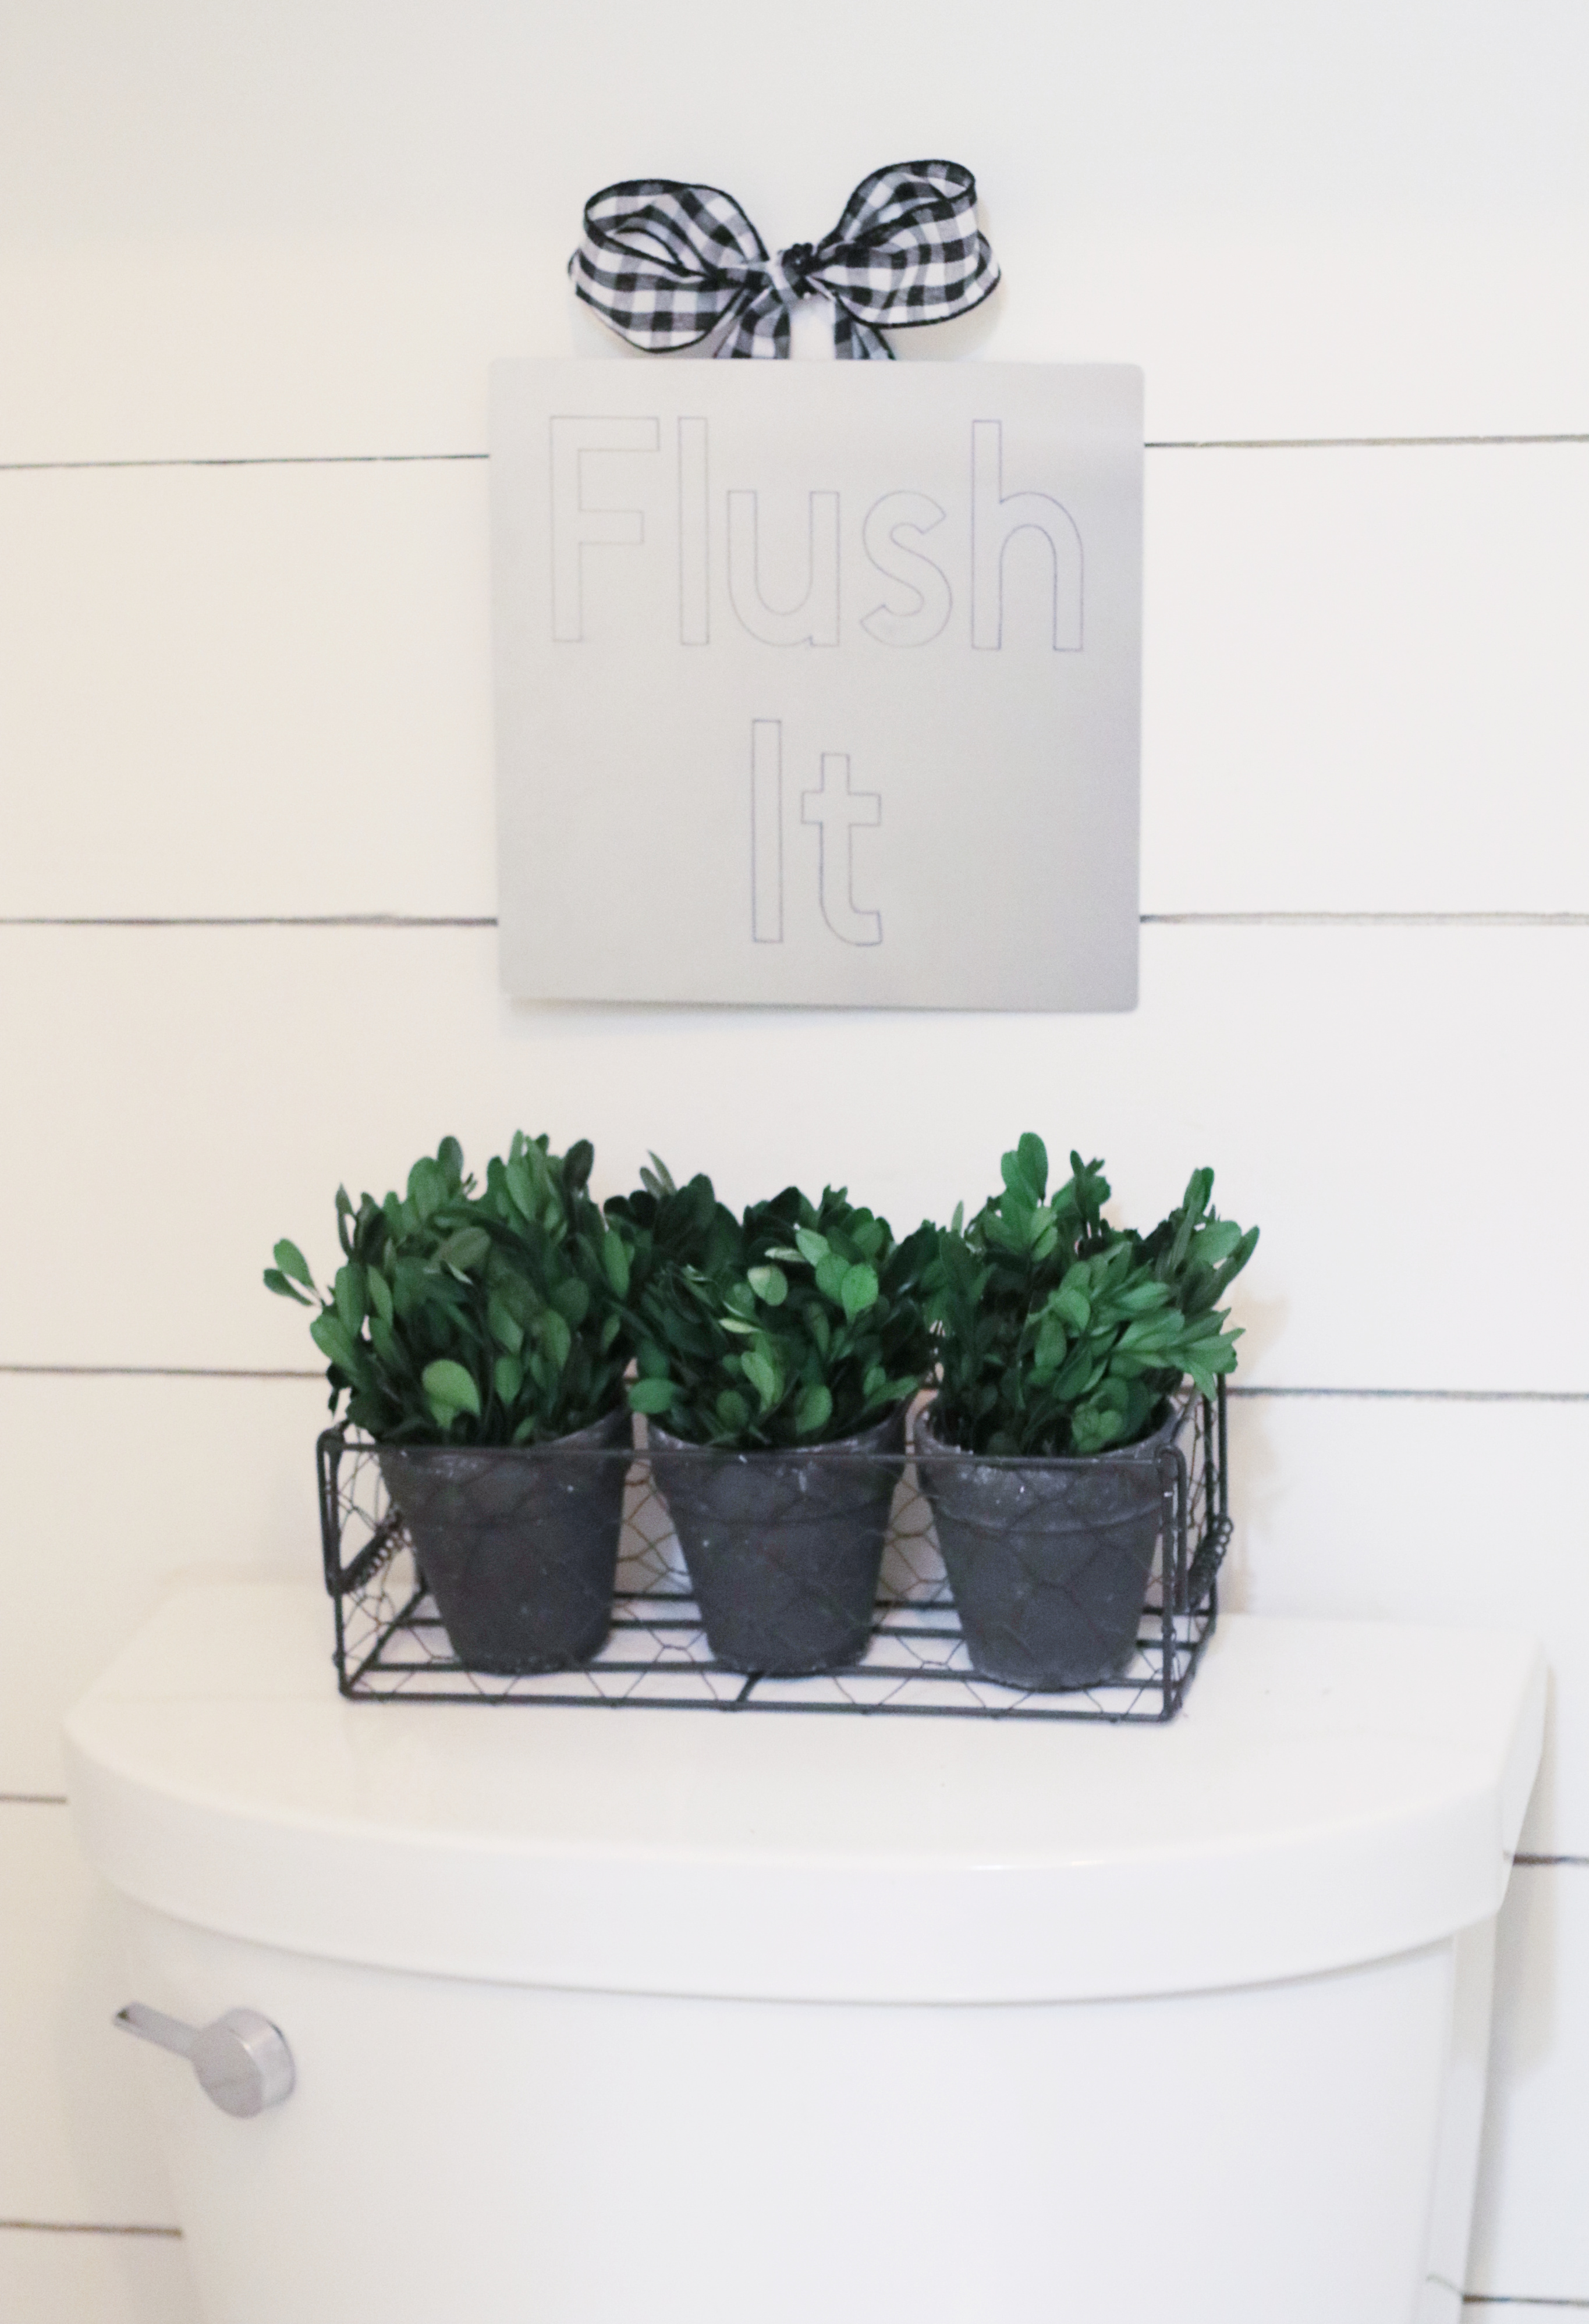
Now, remove your artwork from the grip mat. Once I removed my sign I felt like I wanted to be able to see the letters a bit better. I decided to use a fine tip sharpie marker and traced over the letters that were engraved. The sharpie stained the cut portions and helped the letters to stand out better. I really loved how it turned out!
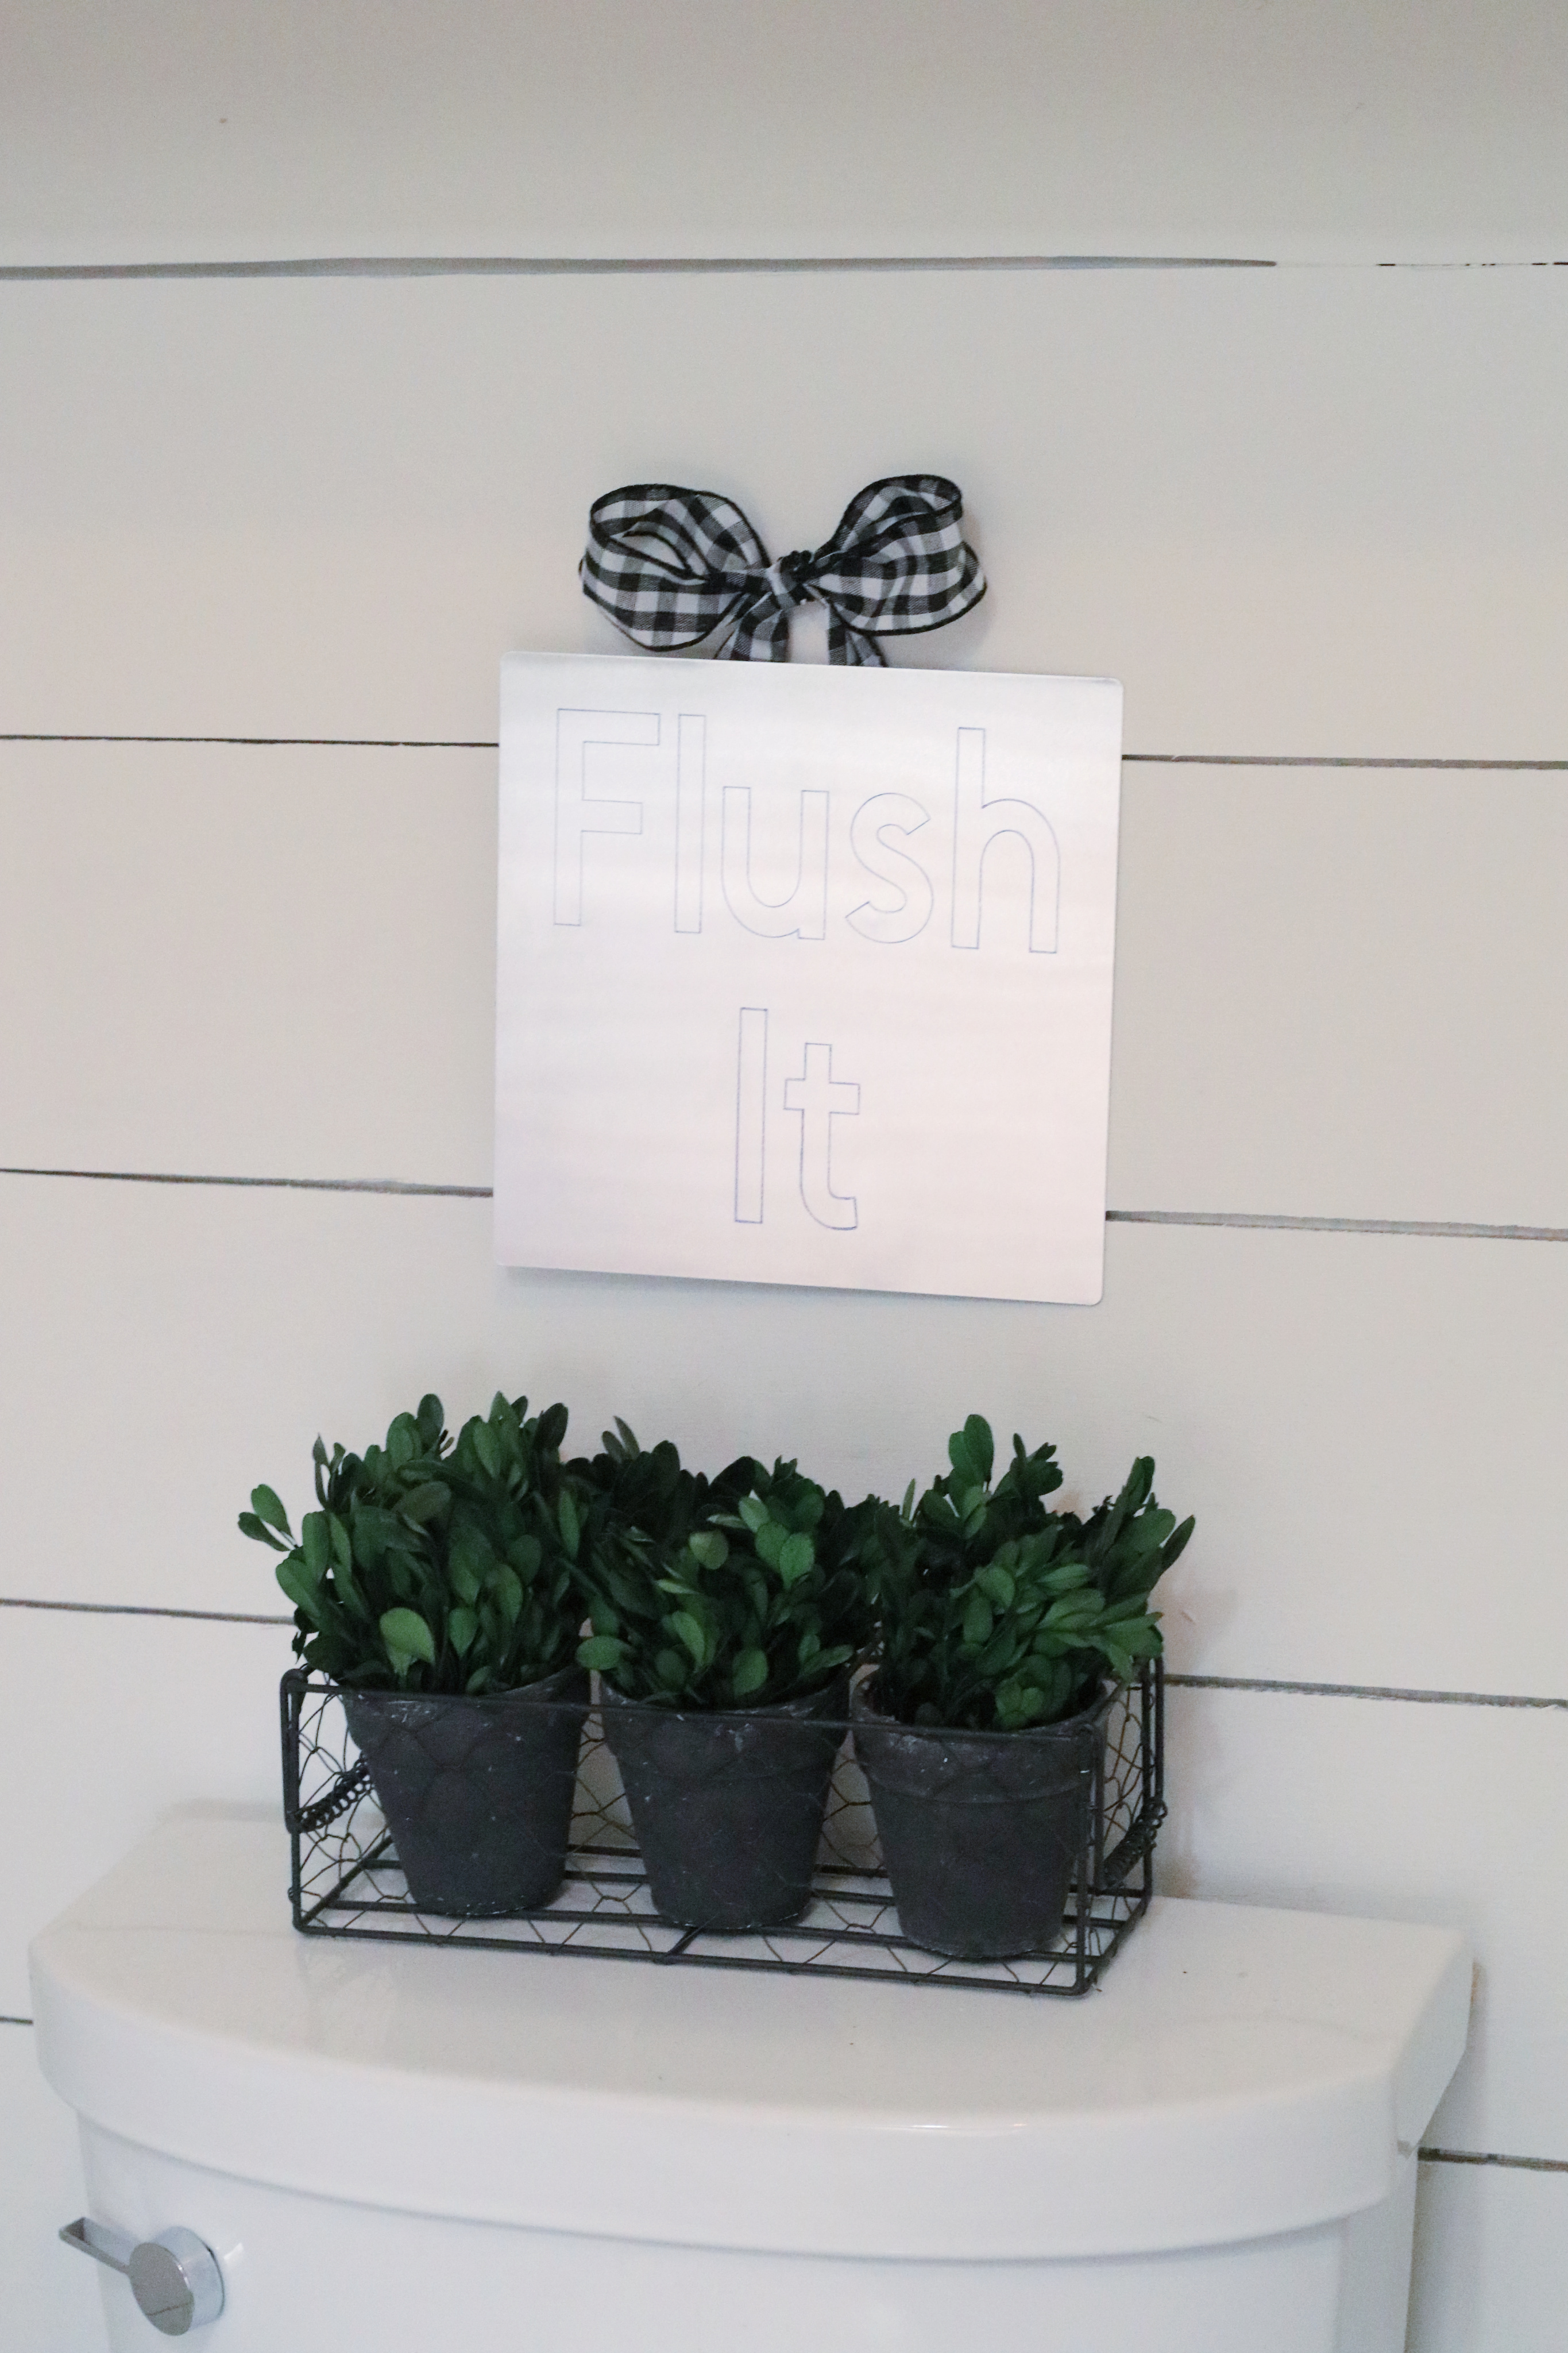
Once your sign is ready add a cute bow using super glue or a hot glue gun and hang it in place! I mean could this GET any cuter?
From start to finish, this project took me a little over an hour and now my little corner of the bathroom looks just perfect.
What do you think? Are you as excited about all of these new Cricut tools as I am? I hope you are because I have more fun projects that I can’t wait for us to all make very soon.


[…] DIY ENGRAVED FARMHOUSE BATHROOM SIGN From Moms Without Answers […]