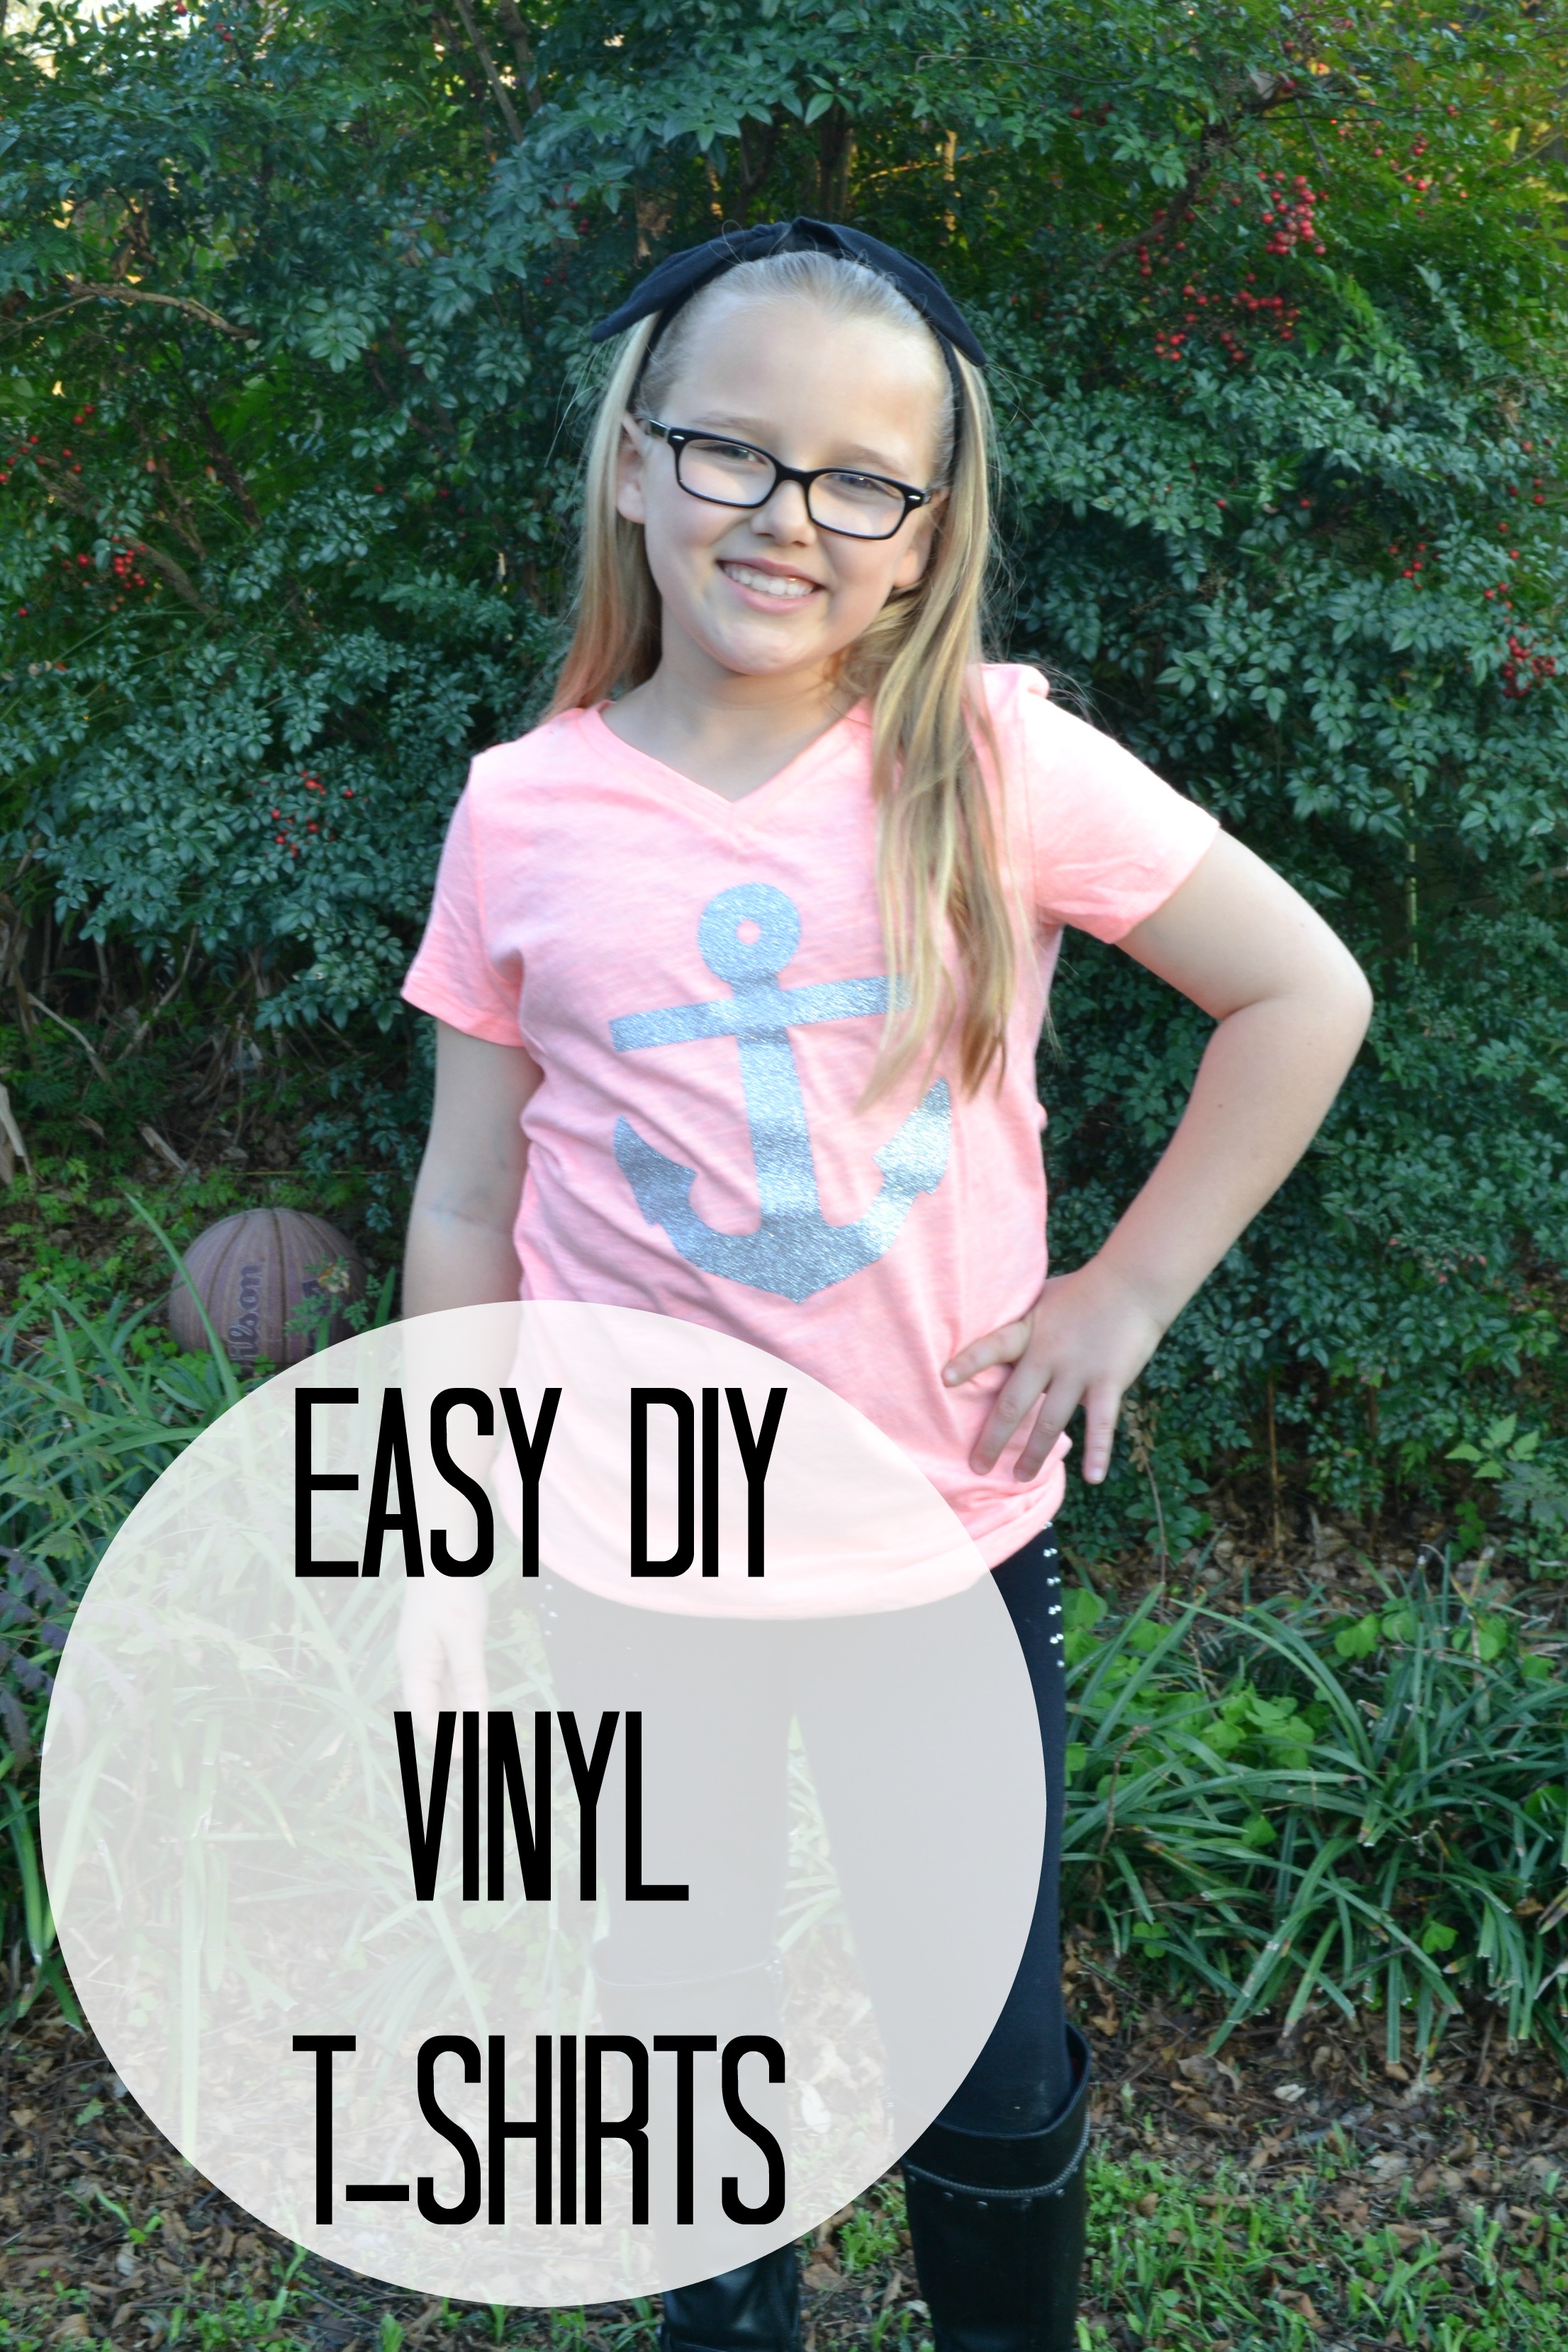
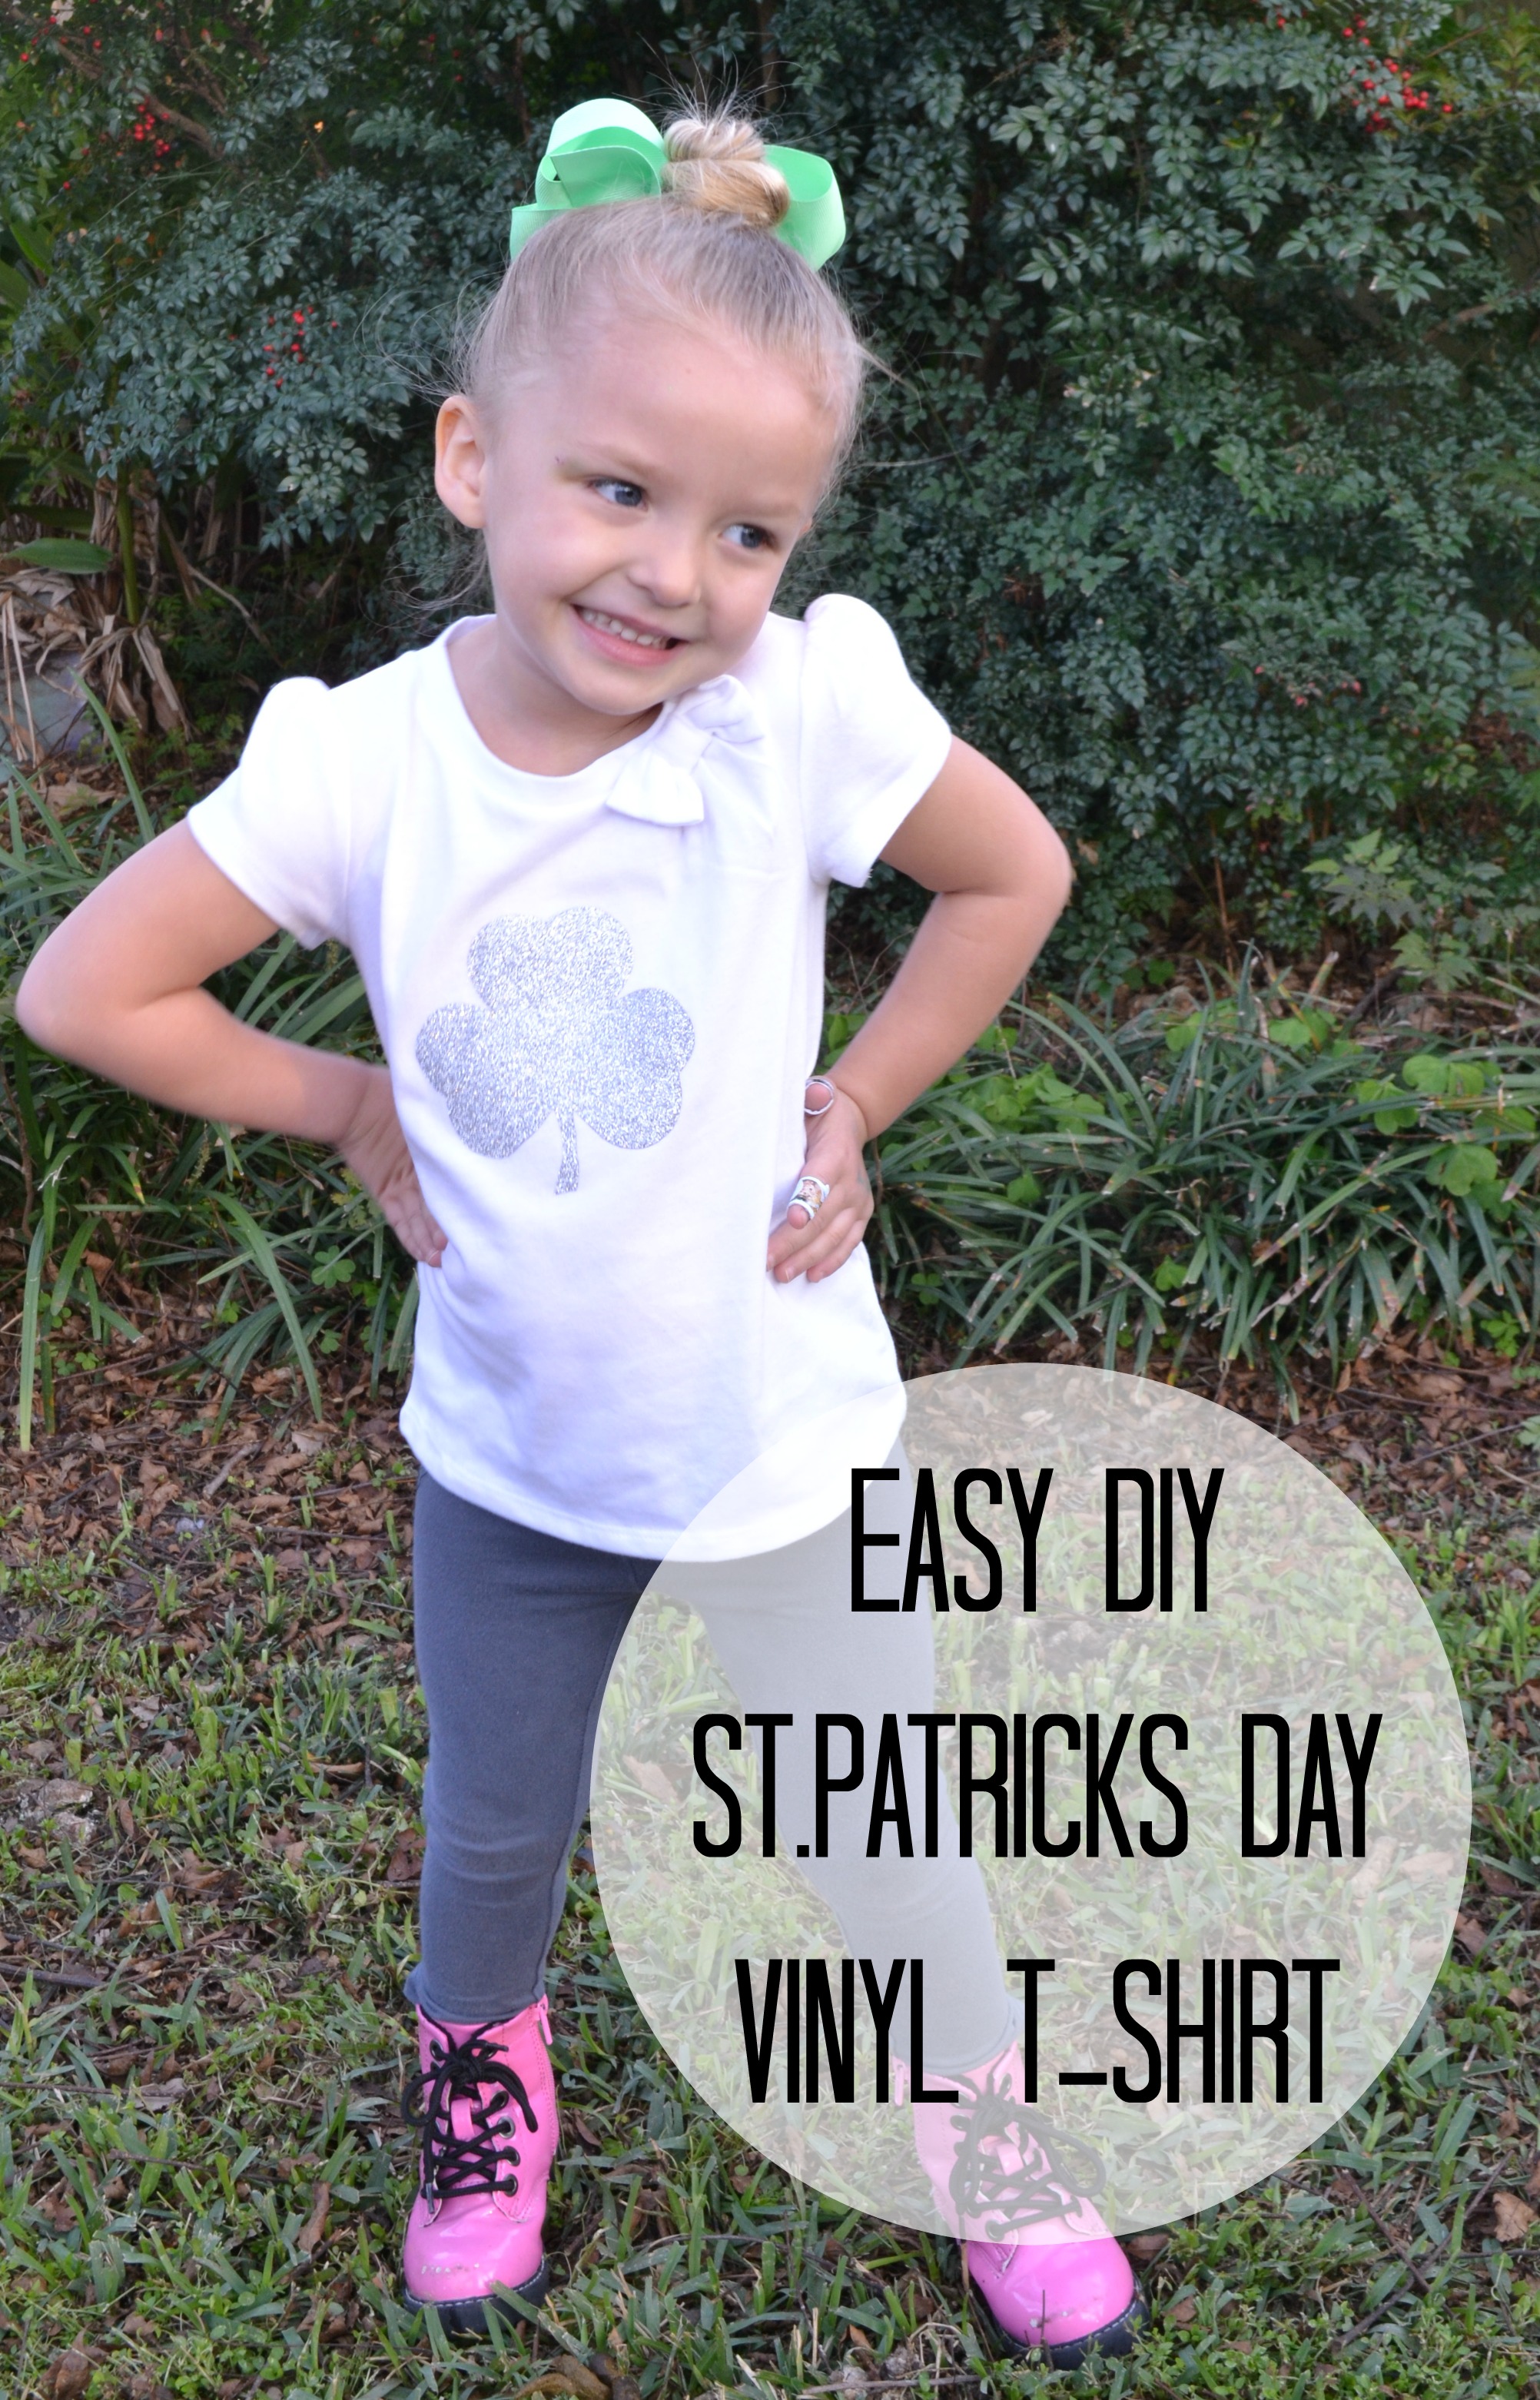
I am super excited to share this fun little project with you guys! Every time I turn around, I am in need of another shirt for my girls for some kind of holiday or event. The only problem, CUTE holiday shirts can cost you an arm and a leg and by the time I run all over town to find what I am “looking for” I could have just made it myself. Which is exactly what I did!
This week I took matters into my own hands and created Easy DIY Vinyl T-shirts for my girls and you know what, I DID NOT even have to use a Cricut! I know, to some of you that is blasphemy and for that I apologize, maybe. But really, I cannot afford a Cricut right now but I sure do love all the cuteness it can create. So, with a Cricut in mind, cute vinyl and 3 super cute models these awesome shirts are perfection….and EASY!
What you need:
1 roll of vinyl (color of your choice)
T-shirts
Scissors or X acto Knife
Stencils/Design
Iron
Cute Models
Tutorial:
First step is to figure out exactly what you want on your shirts. I went with 3 different options for 3 little girls. I did an anchor, a giant letter E and a clover for St. Patrick’s Day!
I went online and searched for my shapes and letters until I found exactly what I wanted. The key is to find designs that will be easy to trace and easy to cut. You can get as detailed as you want using your X-acto knife. I went with easy shapes to cute down on time!
Once you have your shapes cut out trace them onto the matte side of your vinyl. This is very important, make sure that you draw on the matte side as this is the side that will adhere to your shirt. The shiny side will be the film that you eventually pull off.
Once your vinyl is ready and your iron is heated it’s ready to iron on. Make sure your decal is exactly where you want it, cover it with a thin towel or even a couple of sheets of plain paper and gently run your iron over the covered decal. Make sure to apply the iron for at least 30 seconds.
Remove the cover and gently try to lift the film off of your cute design. If you see any place where the vinyl is pulling from the shirt, simply lay the film back down, cover with your paper or towel and go over it again with your iron.
Once you have the film removed you are good to go and you can wear your shirt immediately!
Happy Friday friends! Michelle and I will be spending the weekend together at Thrive Blog Conference and are super pumped. And while we are there, be sure to watch for something super exciting we have been waiting to share with you! We hope you will love it!


That’s so easy, I think I could do that! Maybe…
It is so easy and really only took about 20 min to make all 3!
What an awesome idea!!! Love it!!!
Thanks friend!
love it! I’m totally not crafty but may try this one…we need themed shirts all the time for themed school days.
You should totally try it. I wish I would have thought of this before Valentines Day!
I think this will be the perfect idea to make my triplets first birthday shirts. Where did you get the vinyl? Or what brand did you use? I can’t wait to try this!
Katie- what a great idea! I actually got the vinyl from Michael’s. I do know that if you look on Pinterest I have seen a pin where you can get the vinyl cheaper. I used the same vinyl you would use for a cricut machine! Share your results with us!
This is just normal vinyl? I thought you could only do this with heat transfer stuff?! (I’m new to this whole silhouette thing). Have you washed them yet? Did they stay on?
It is heat transfer vinyl for a cricut or silhouette. I actually have washed them several times and they stayed on great!
These t-shirts look so cute! I am so inspired by your work and want to try these tutorials. I like this article so much. Thanks and keep sharing.