• About
  • Sponsor / PR
  • Contact
    • Email
    • Facebook
    • Instagram
    • Pinterest
    • Twitter

Houston Mommy and Lifestyle Blogger | Moms Without Answers

We don't have all the answers, but we have all the fun

  • Mom
    • Parenting
    • Mom Life
    • Faith
    • Fashion/Beauty
    • Health
    • Blogging
  • Kiddos
    • Kids Activities
    • Kid Fashion
    • Family Fun
  • Recipes
    • Breakfast
    • Lunch
    • Dinner
    • Appetizers & Sides
    • Sweet Treats
  • Projects
    • DIY & Crafts
    • Home Decor
    • Cleaning & Organization
  • Celebrate
    • Holidays
    • Parties
    • Gifts
  • Shop My FAVES

DIY Vinyl Balloon Signs with the Cricut Maker

June 27, 2019 By Channing Leave a Comment


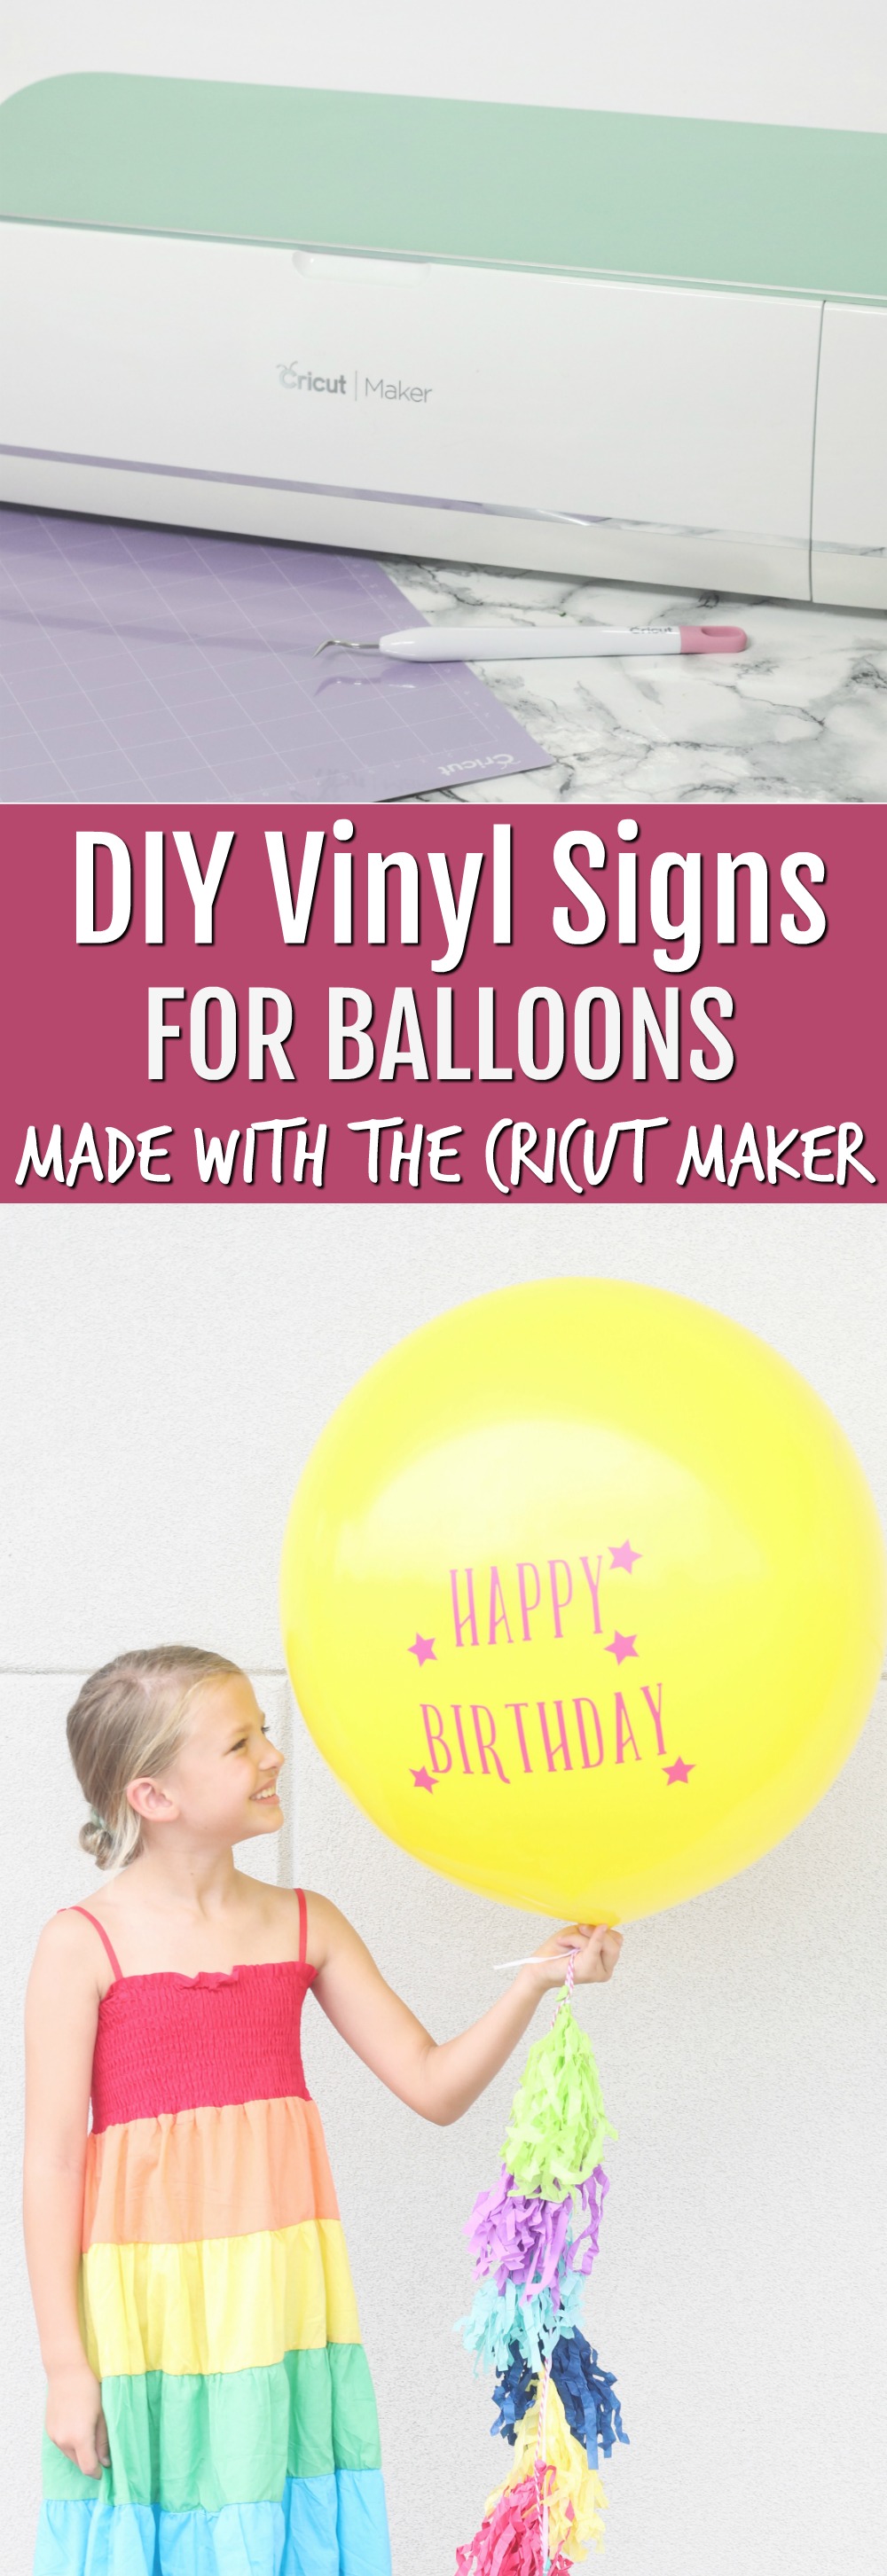
If you need a Cricut Maker review, look no further! Below is everything you need to know about the
Cricut Maker Machineand DIY Vinyl Balloon Signs!

This is a sponsored conversation written by me on behalf of Cricut. The opinions and text are all mine.


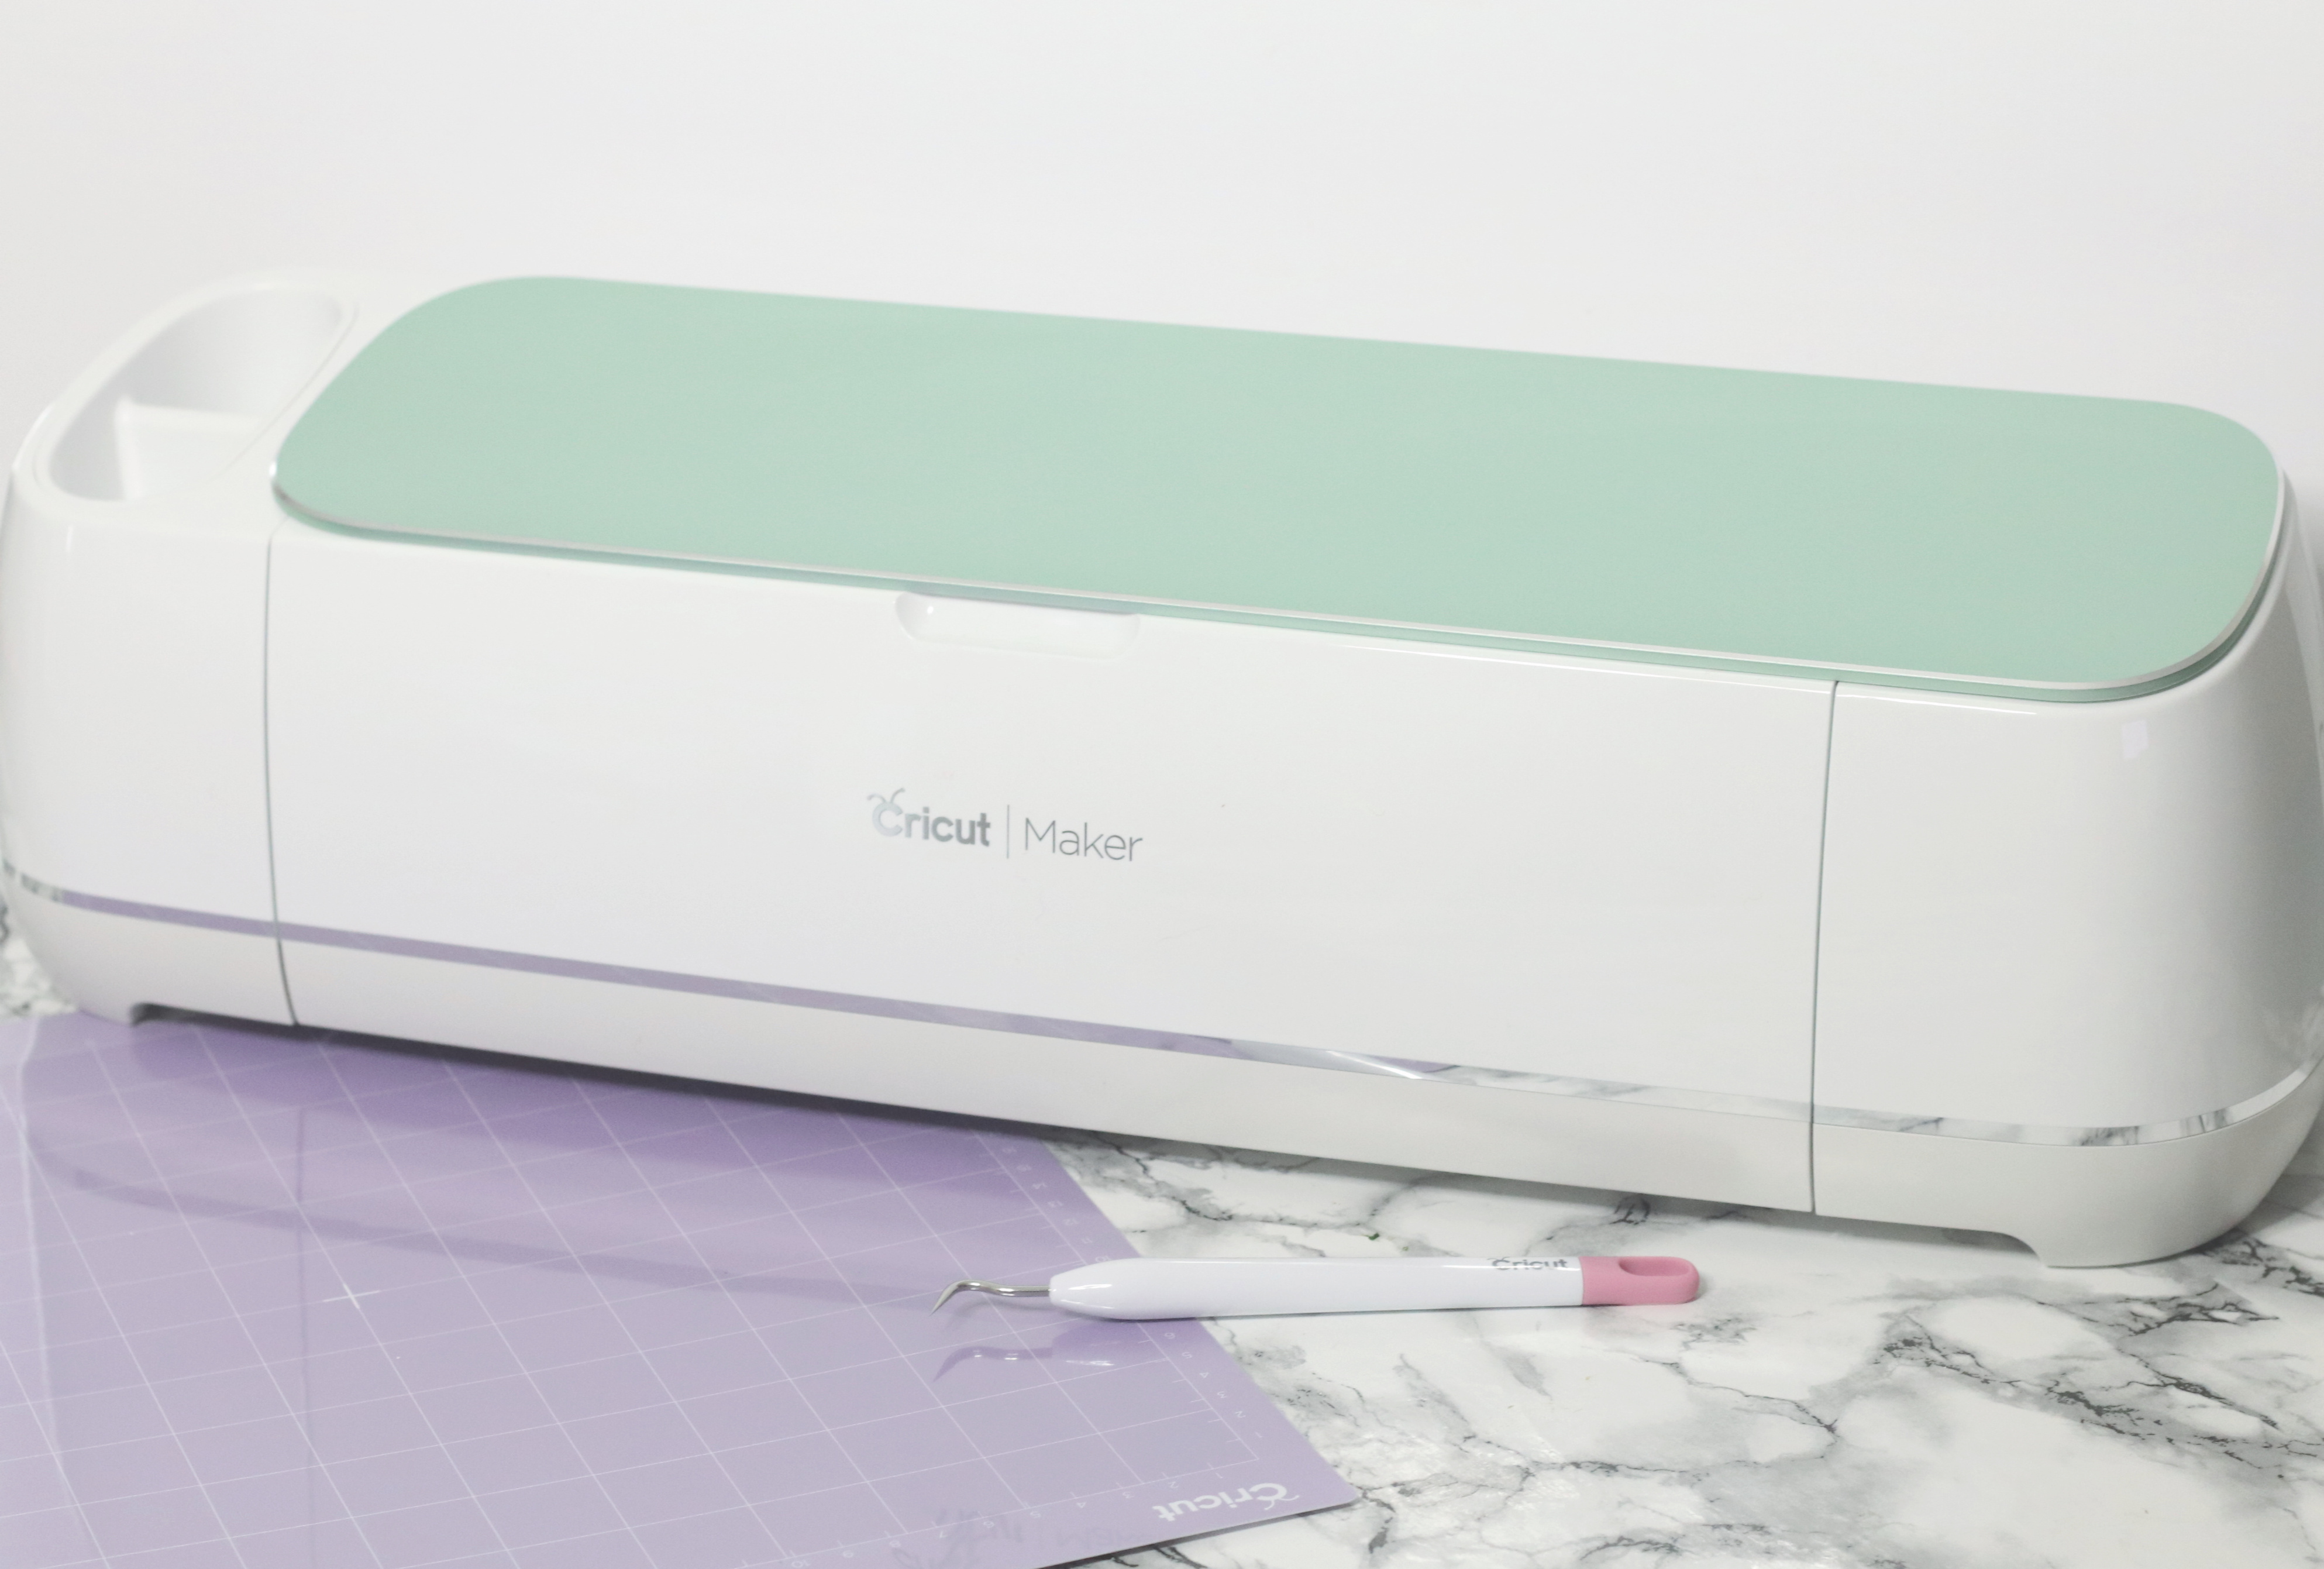
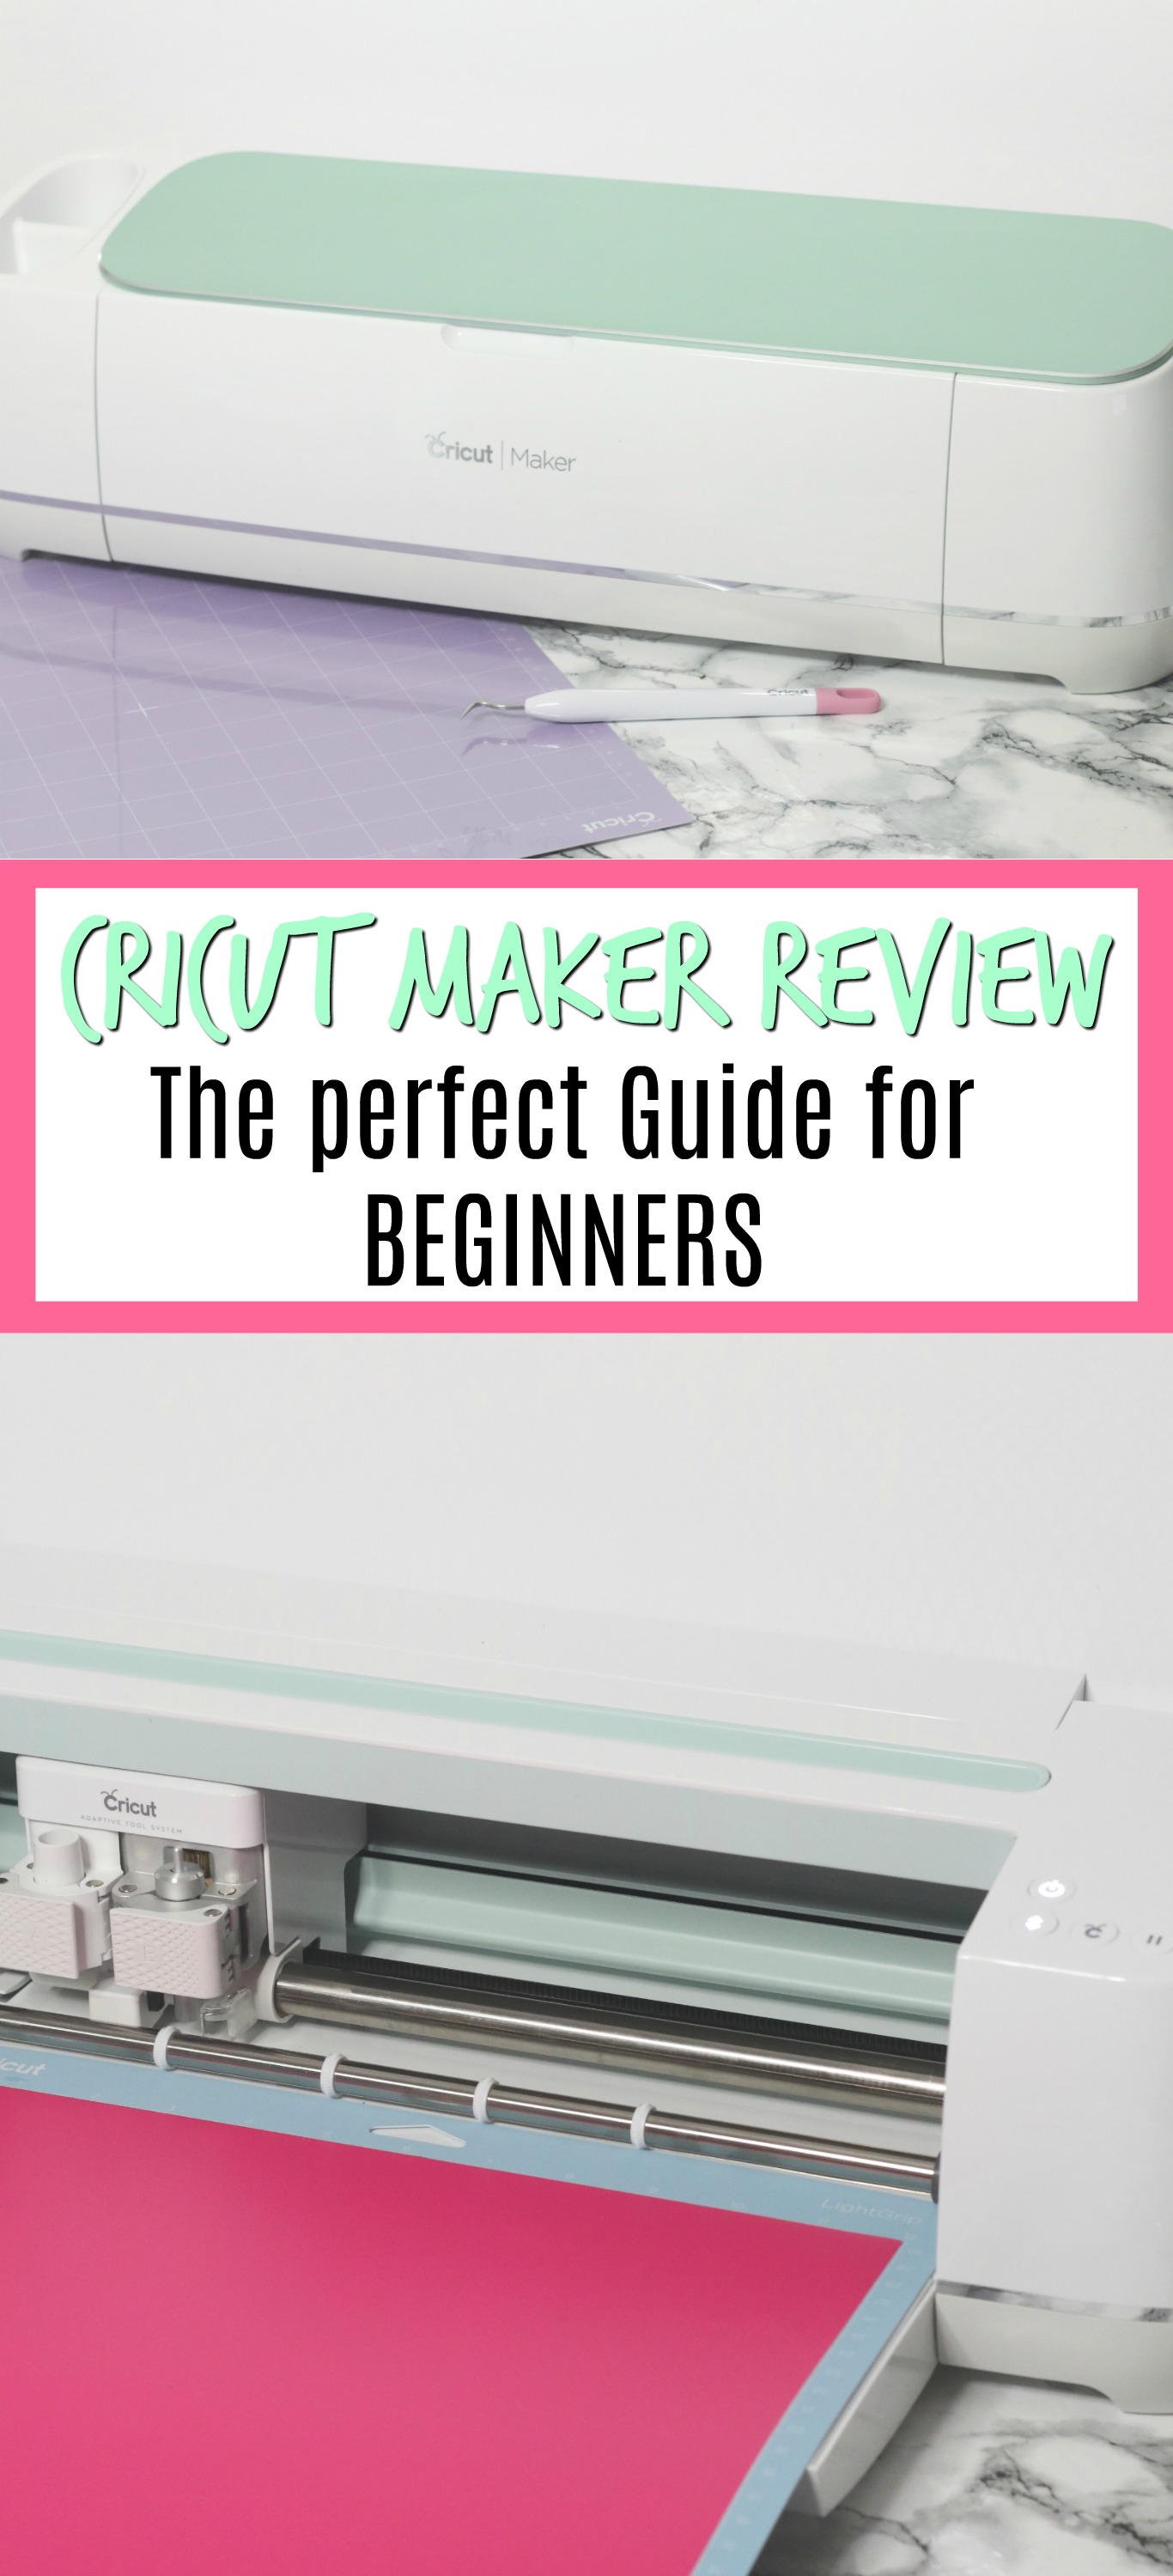
I have a secret I have been keeping from you…I have a new addition to my craft room. Yep, there she is in all of her glory. My Cricut Maker! Isn’t she lovely, Isn’t she wonderful! I would keep going but I can’t wait to tell you about this little gem. I have been working with this little machine for the last few days and I cannot wait to share all about it with you. Spoiler, it is amazing and SO easy to use!

Not only is the Cricut Maker super easy to use but let me list ALL of the things it can cut. It can cut paper, vinyl, iron on, fabric, leather, felt, chipboard, thin metal etc. What makes this so unique about the “Maker”? Other machines use one knife to cut fabric and vinyl. But, the Maker uses different blades to make sure you get the best cut for your projects. 

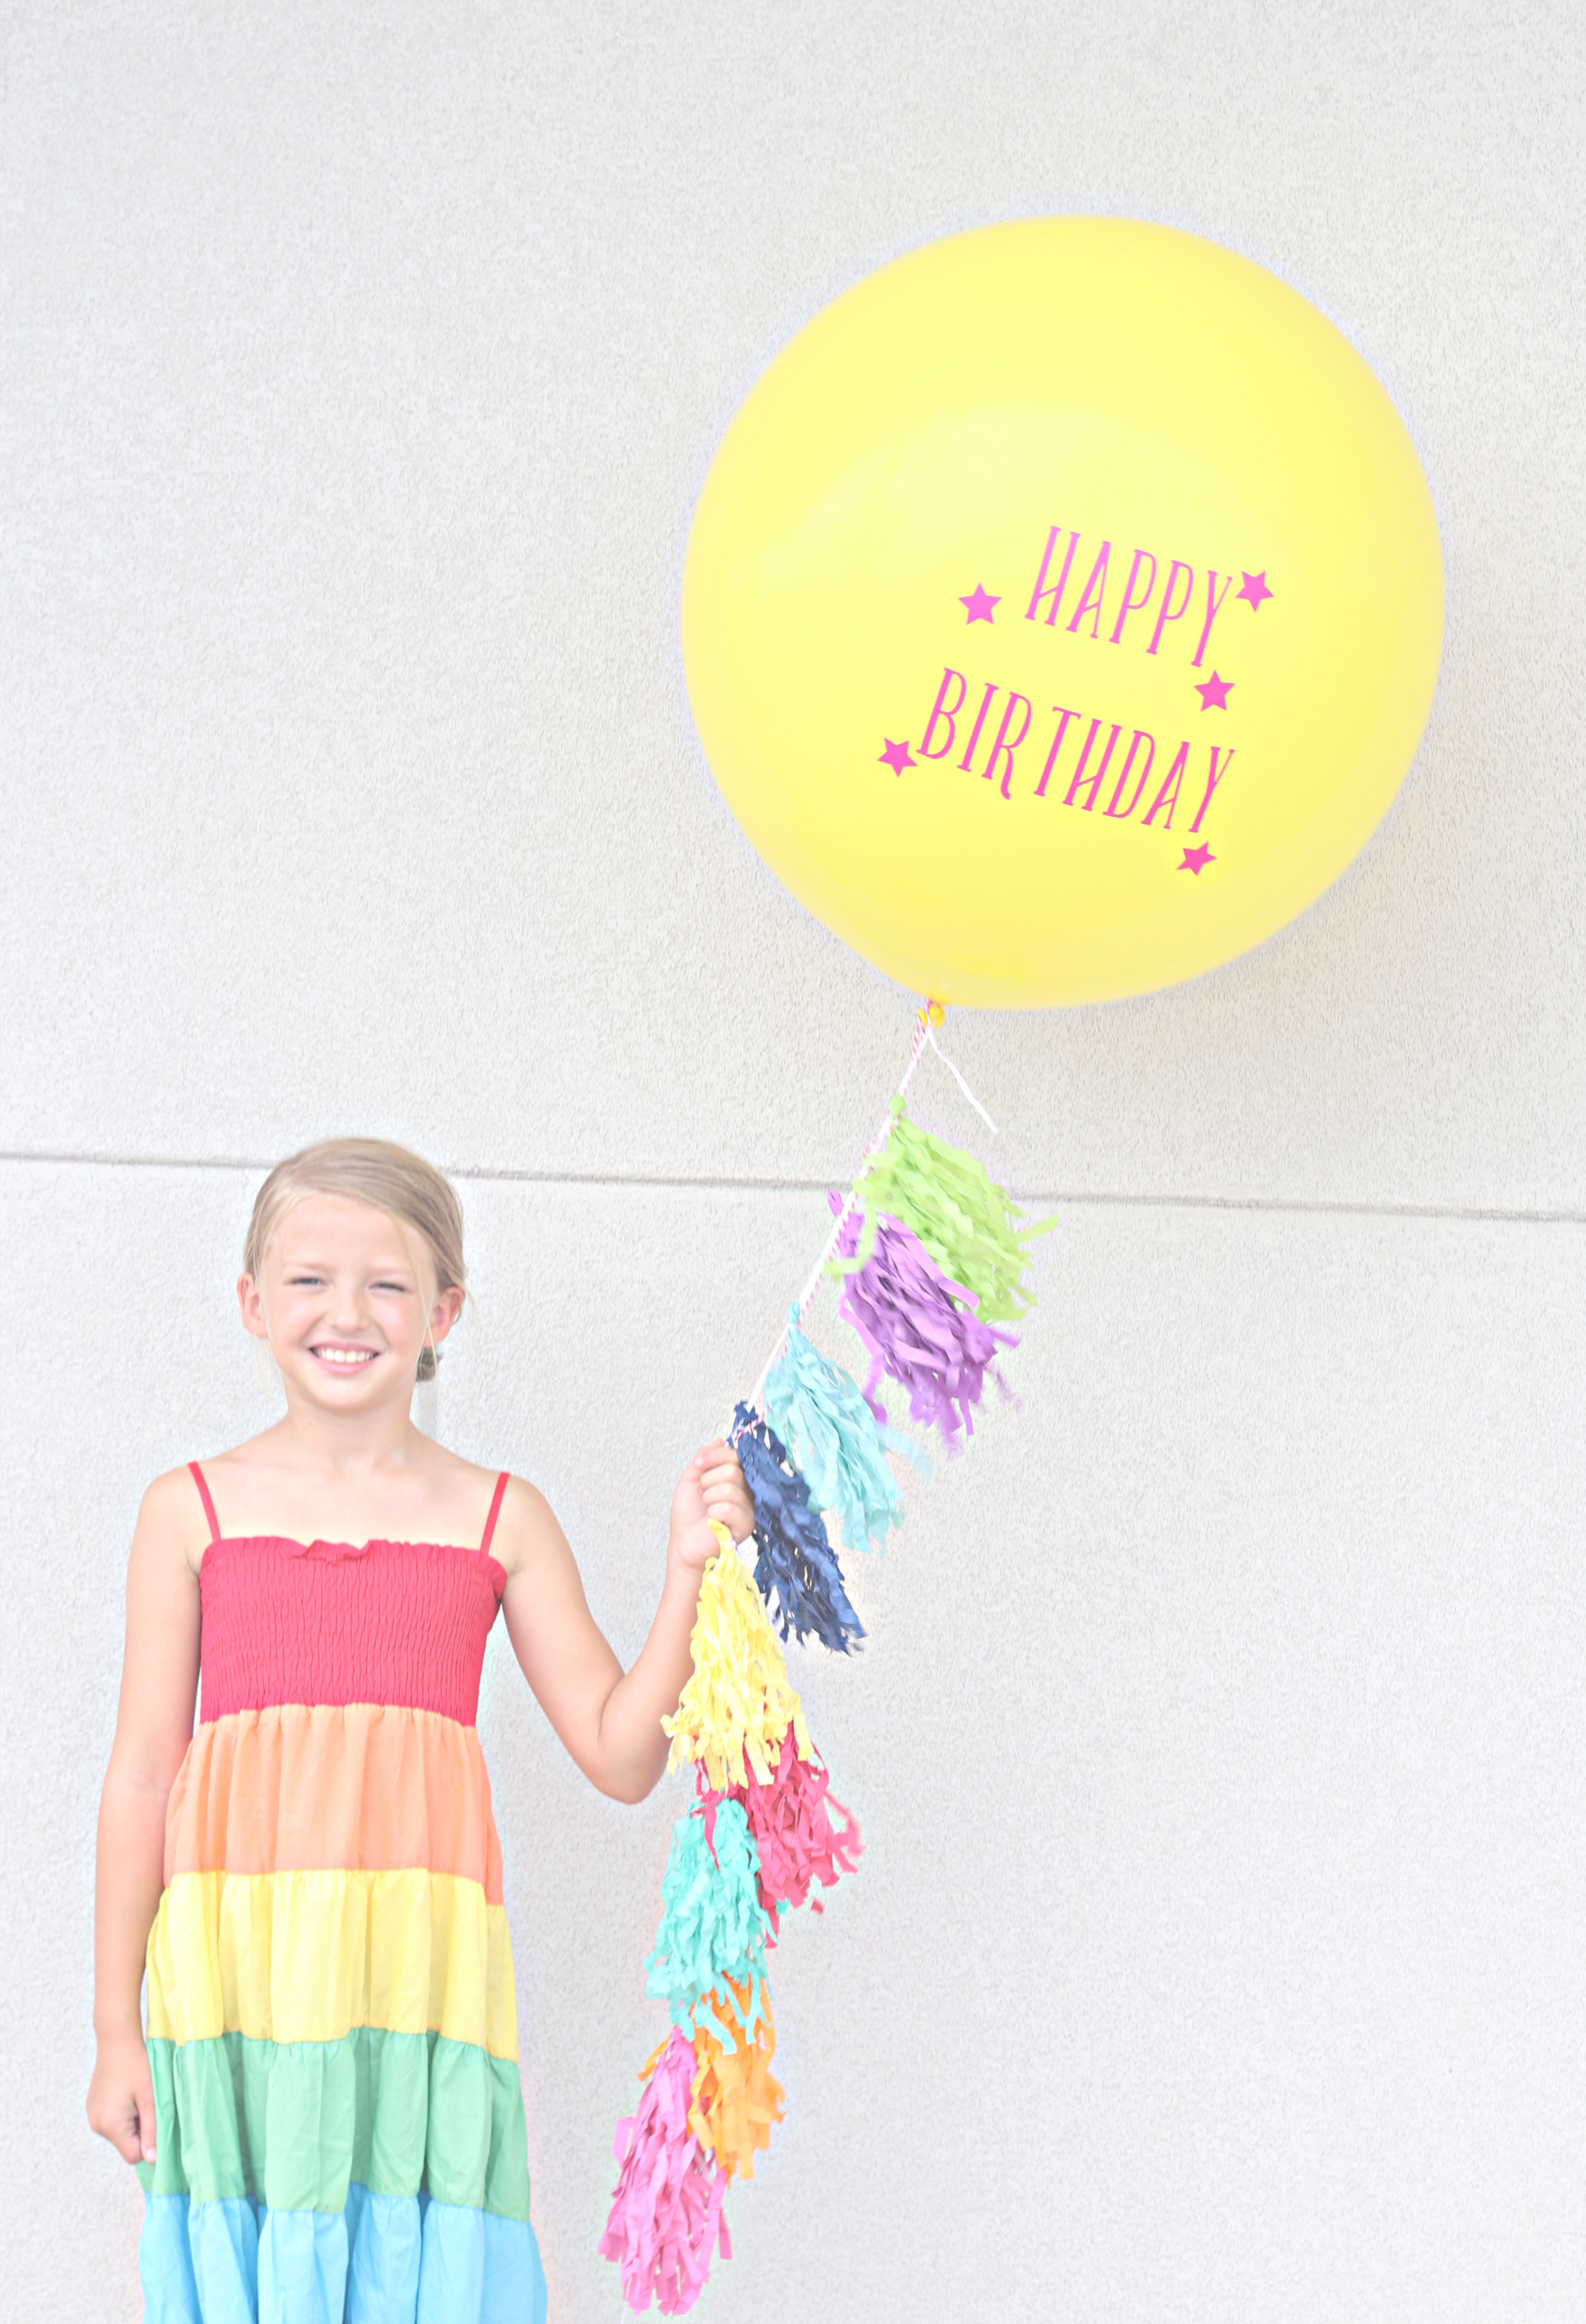
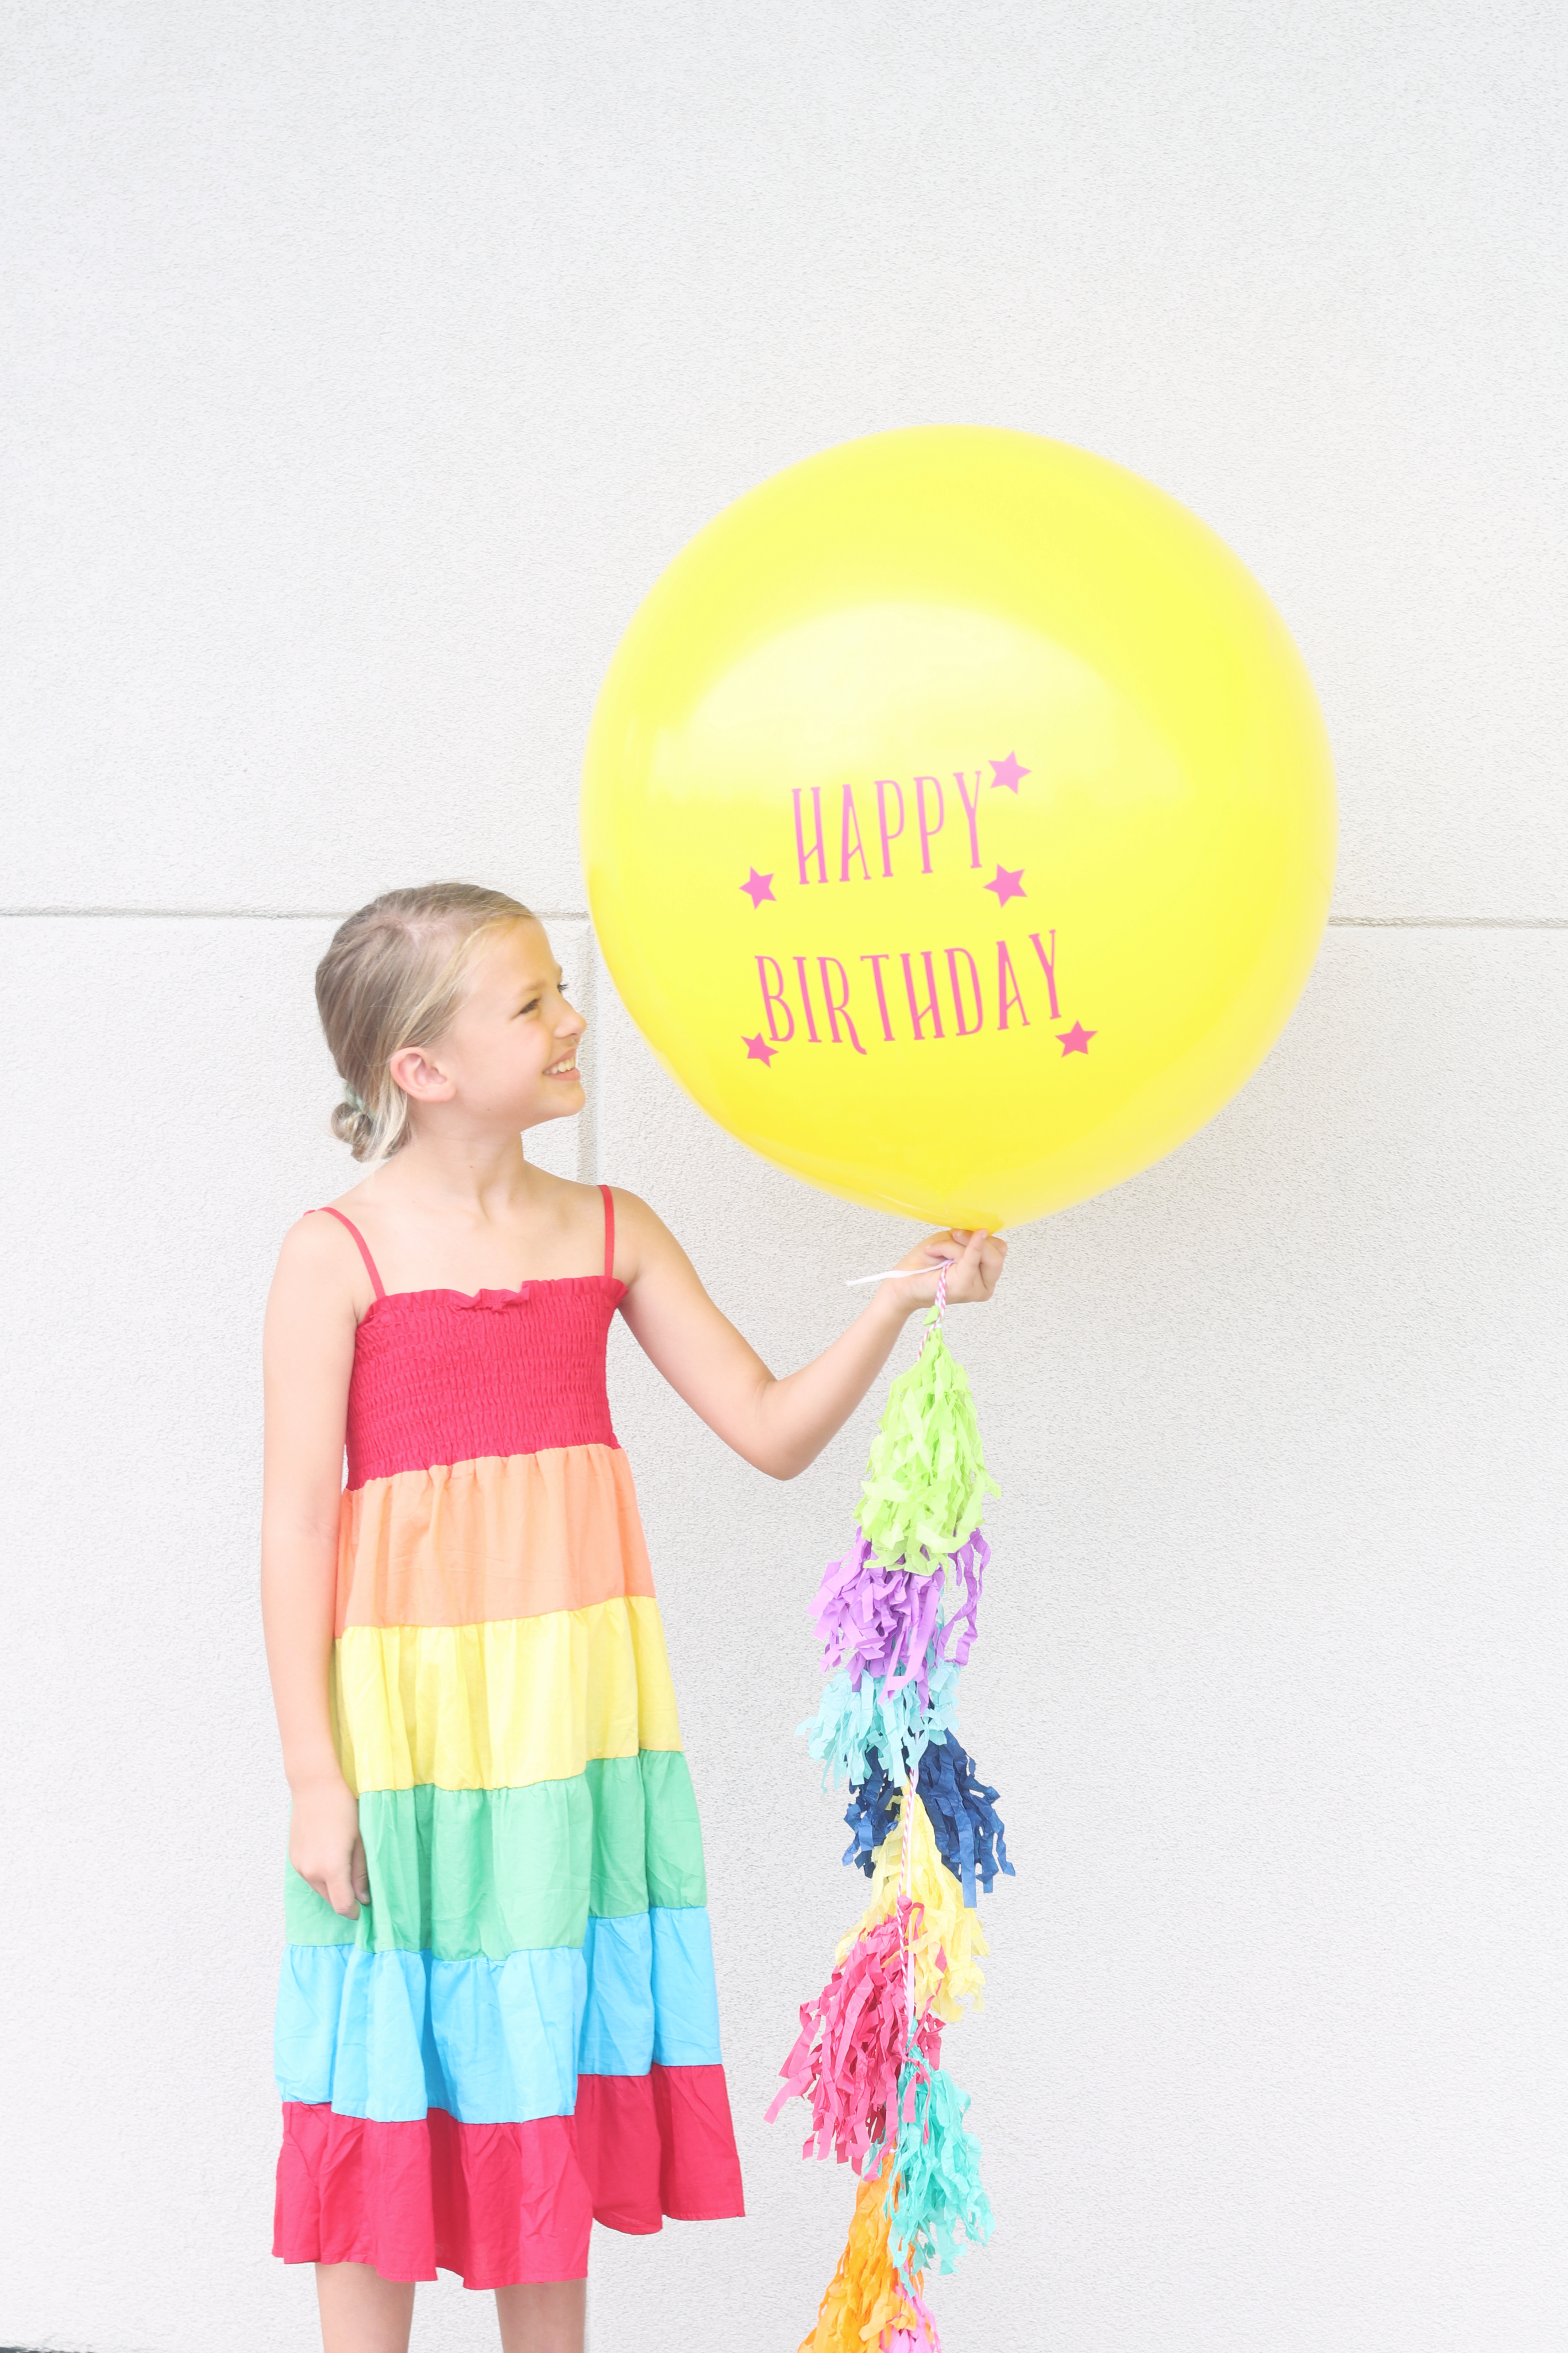
For my first project, I decided to make the cutest DIY Vinyl Balloon Signs for my daughter’s 8th birthday. You’ve seen these balloons! You know, the ones you can purchase that are customized for your party and cost a fortune. Well, with the help of my Cricut Maker I made these fun balloons for a fraction of the cost!

One of the things I love most about using the Cricut Maker is how easy the Cricut Design Space is. It is extremely user friendly and easy to navigate. When creating your project, everything is in the design space and you no longer have to make adjustments to your machine to make sure you are cutting your desired material correctly. 

For this balloon, I wanted to make sure it was a simple design and perfect for her art party. 

Once you know what you want your balloon to say, it is time to get working in the design space. 

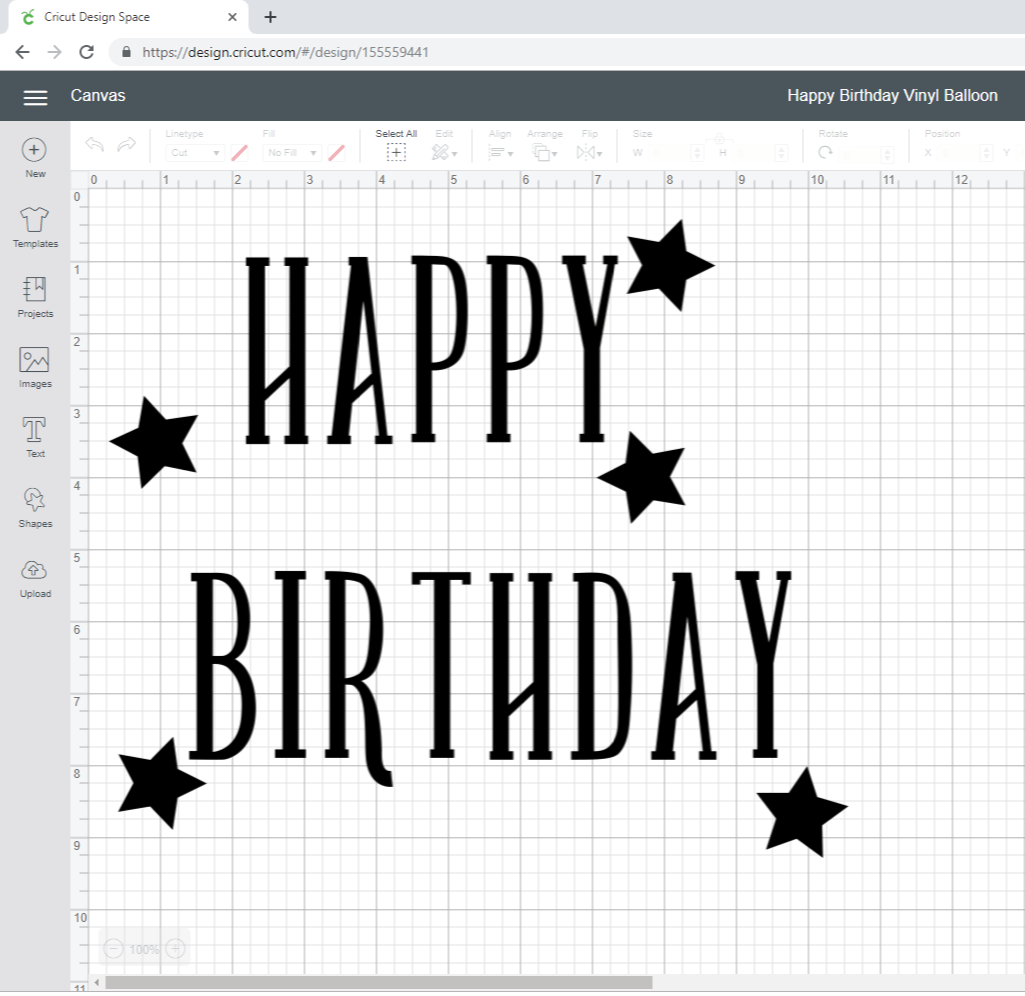
Her is the font that I chose! I also added stars for some extra flair. What I loved most about this font is that it is gender neutral and a great go to any time I need it. Here is the free cut file if you would like to download it to create your own!

Happy Birthday with Stars

Once you have your image ready to go in the design space it is time to make it! Click on make it and the Cricut Design Space will show you a preview to make sure your image is placed correctly and ready to go. 

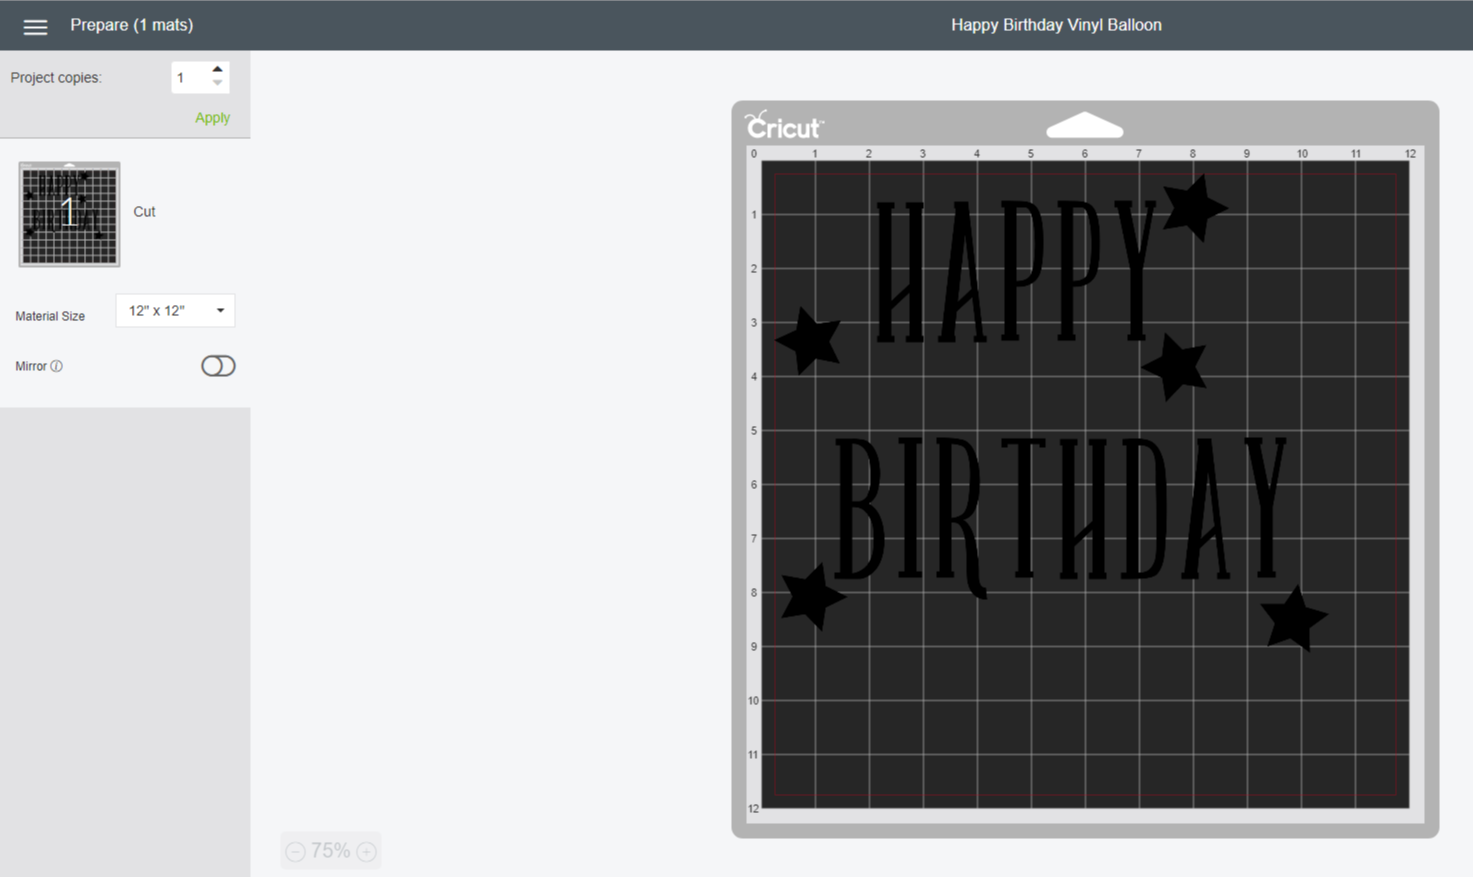
When your project looks just right, click continue and this is where you will check the type of material you will be cutting. If you remember, on other Cricut models you had to turn a dial on your machine to choose your material. But, on the Cricut Maker you choose the material right here in your design space. It will also prompt you to make sure you have the correct blade to cut your project. 

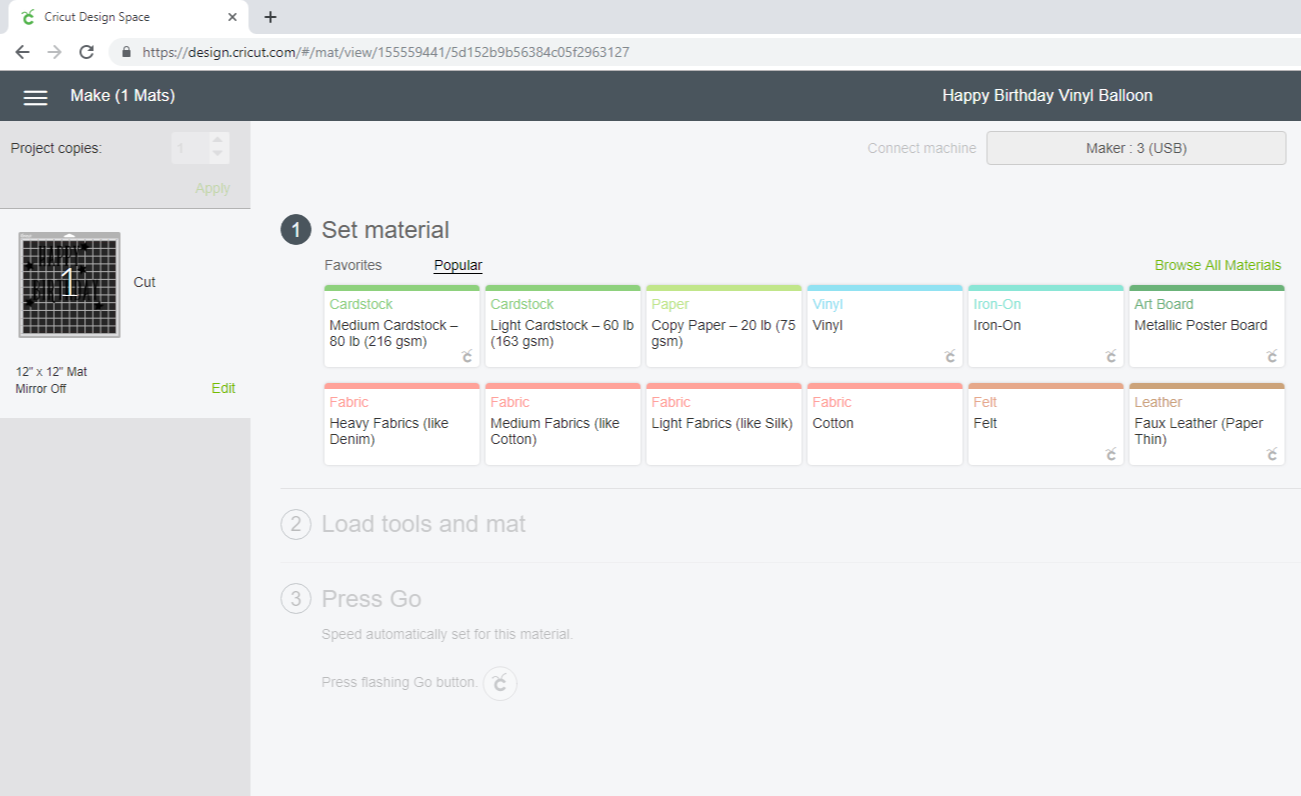
For this project, I chose vinyl. Be sure to check and make sure you always select the correct material. There are TONS of fabric options. Also, if you are doing an iron-on vinyl you must choose the iron-on option. If you choose the incorrect material it could affect the cut. 

Now, it is time to cut!

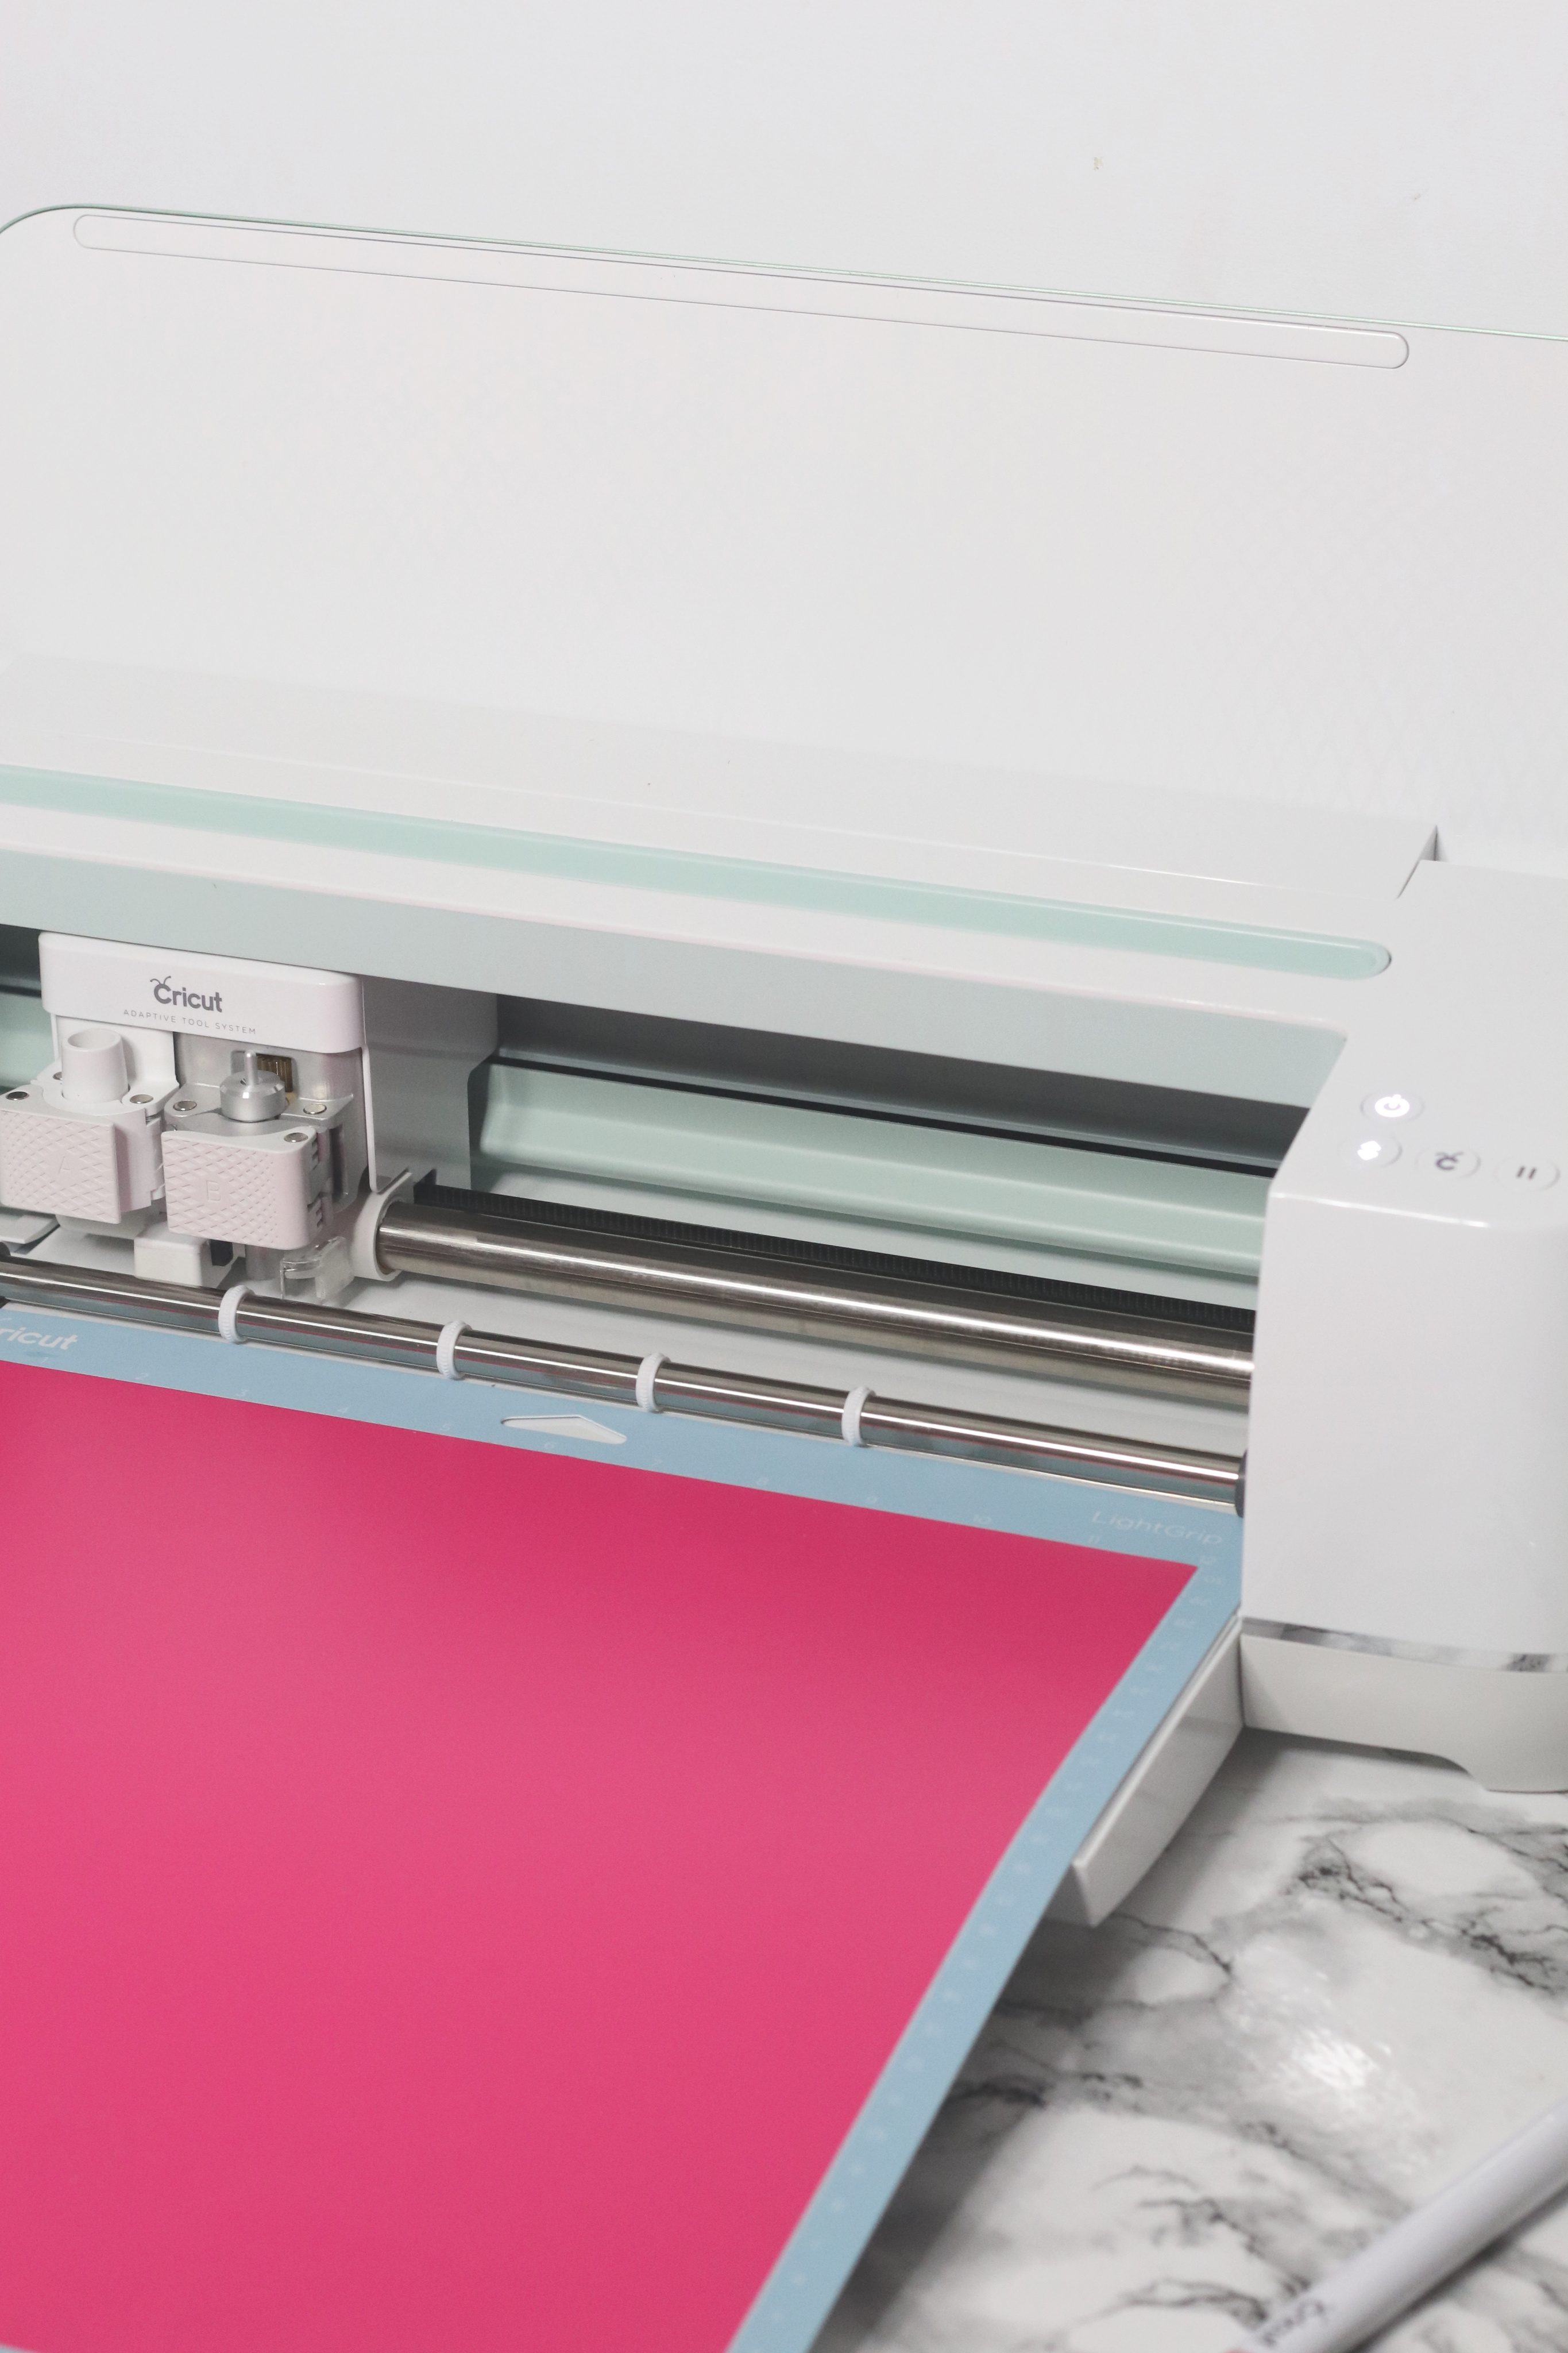
When you are prompted, push the load button and load the vinyl into the machine on a cutting mat. Next, push the Cricut “C” when flashing and ready to go. From there, the machine will take over and cut your project out perfectly!

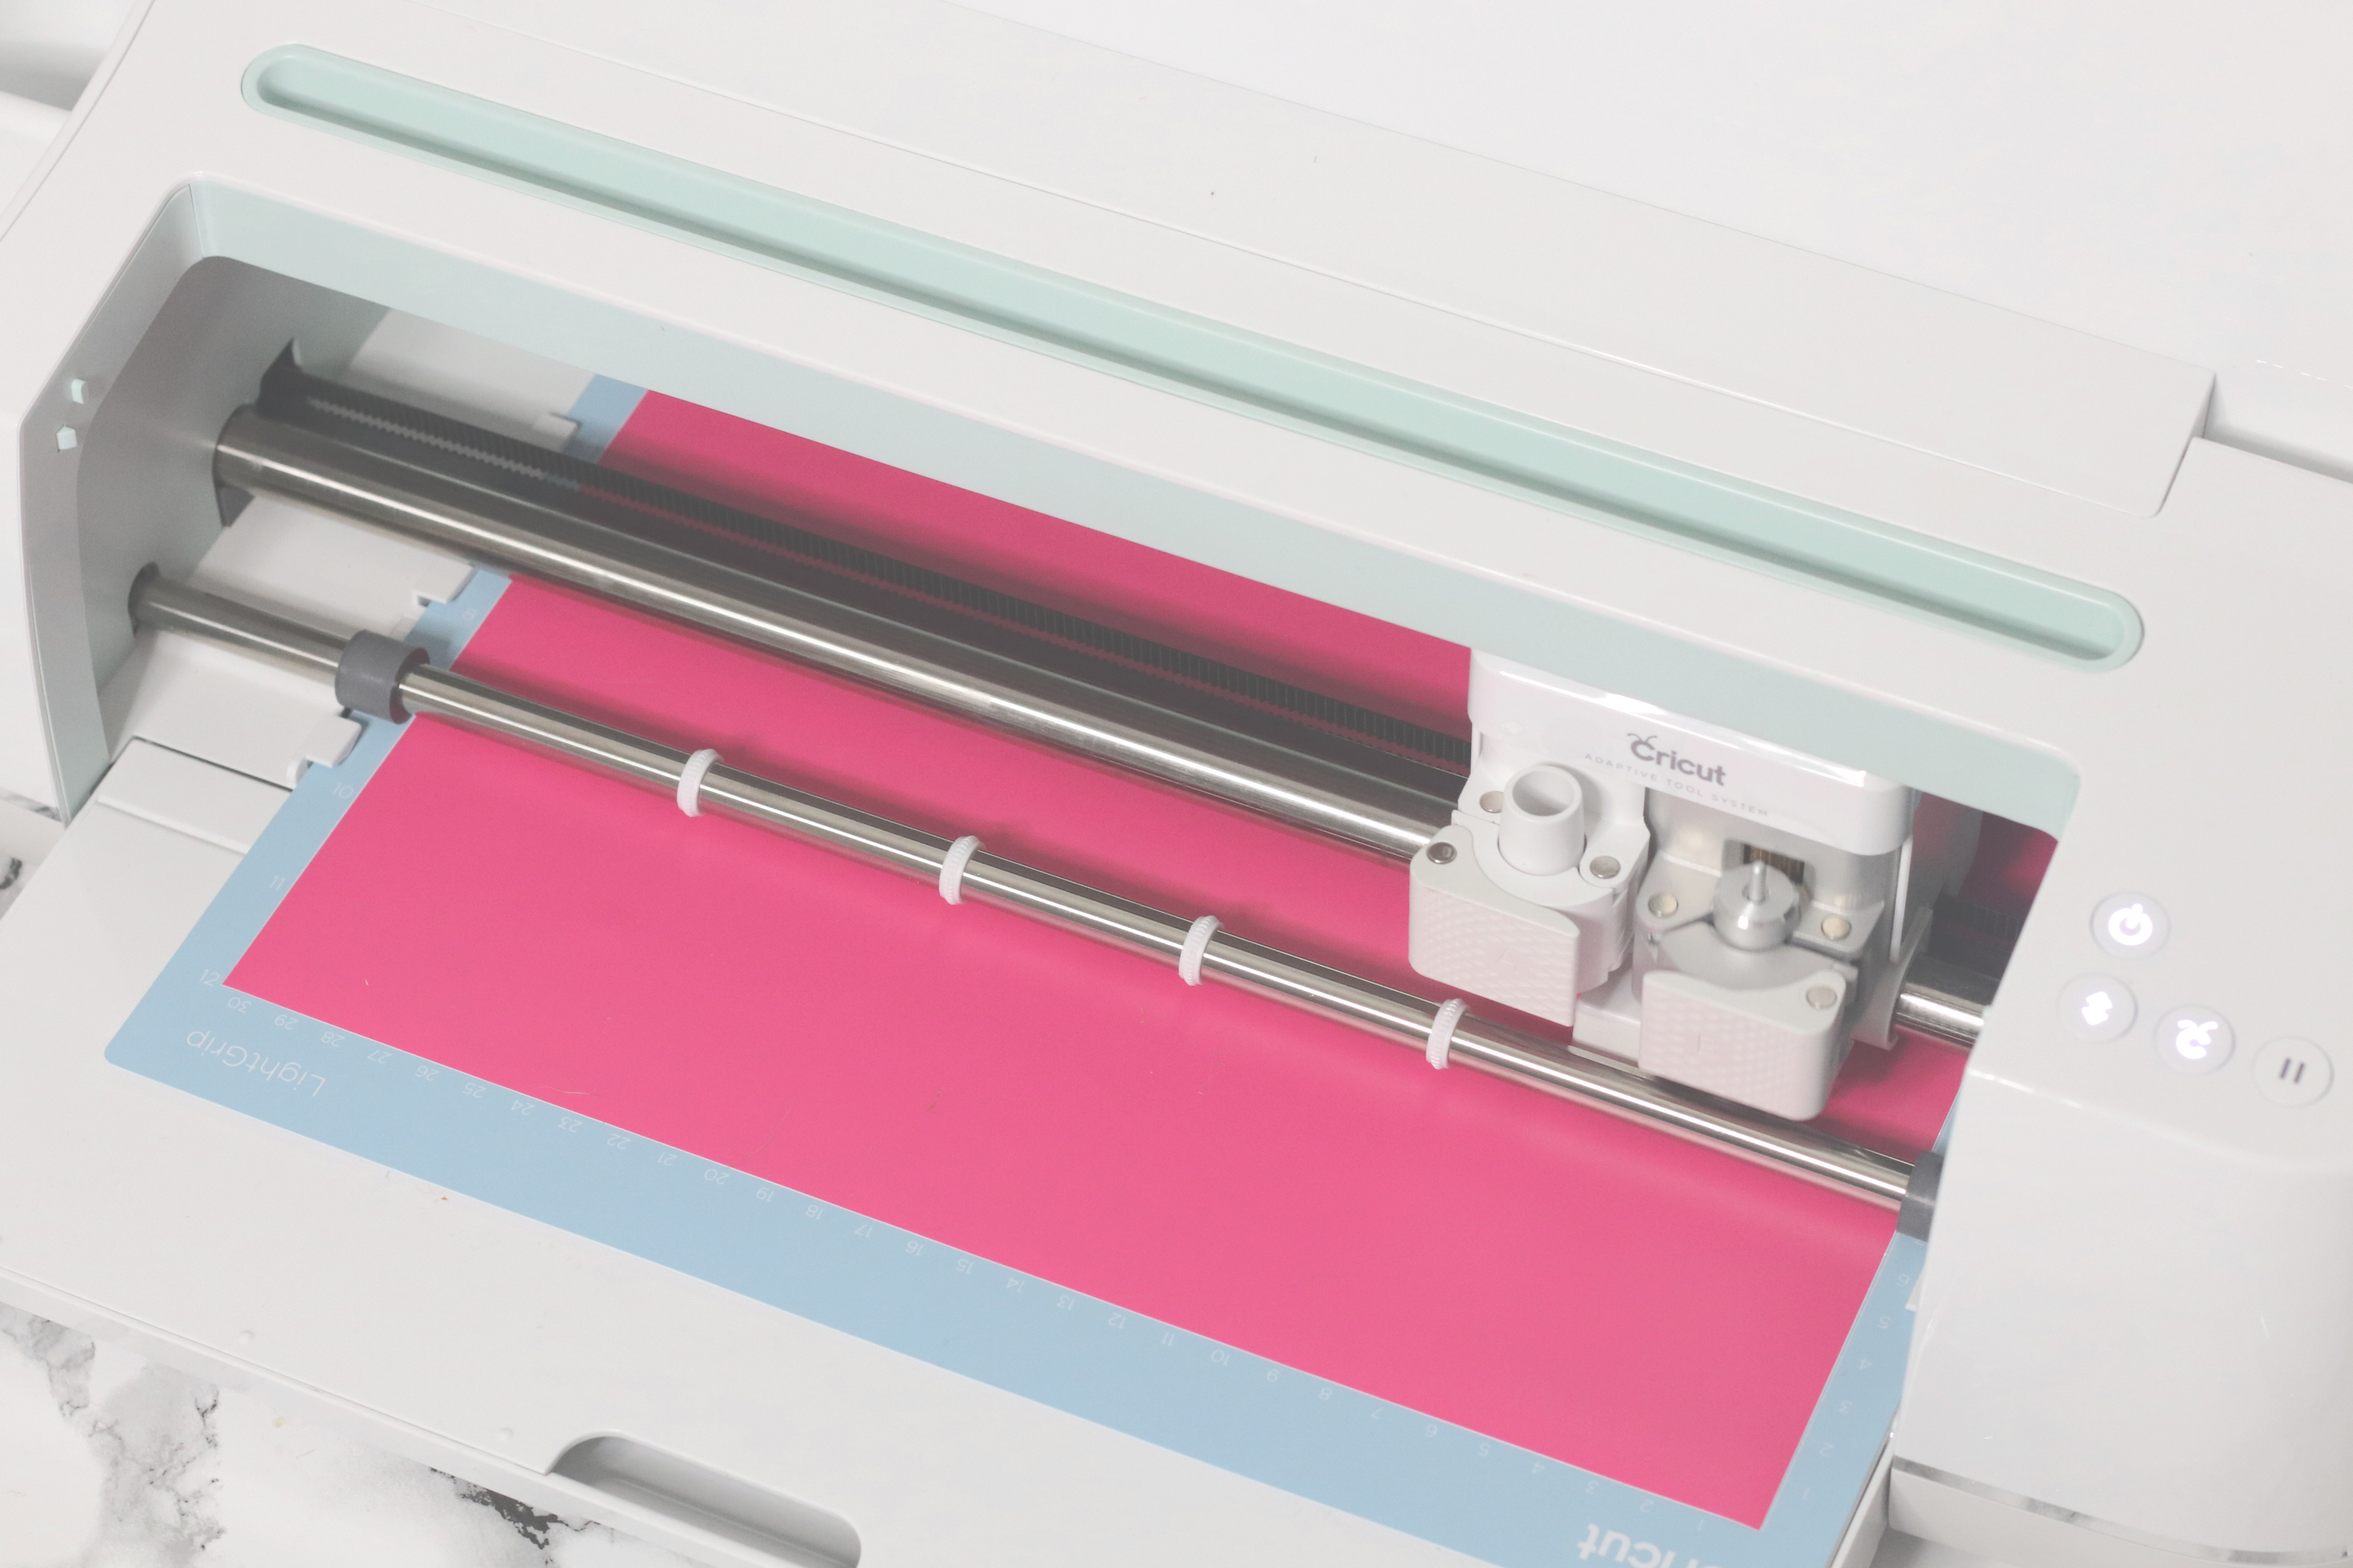
After your final is cut, you will press the arrow button again and unload your mat. How simple is that?

Now, it is time to remove the excess vinyl with a Cricut Weeder. Gently remove the vinyl that is not apart of your image and you are left with your cute Happy Birthday sign!

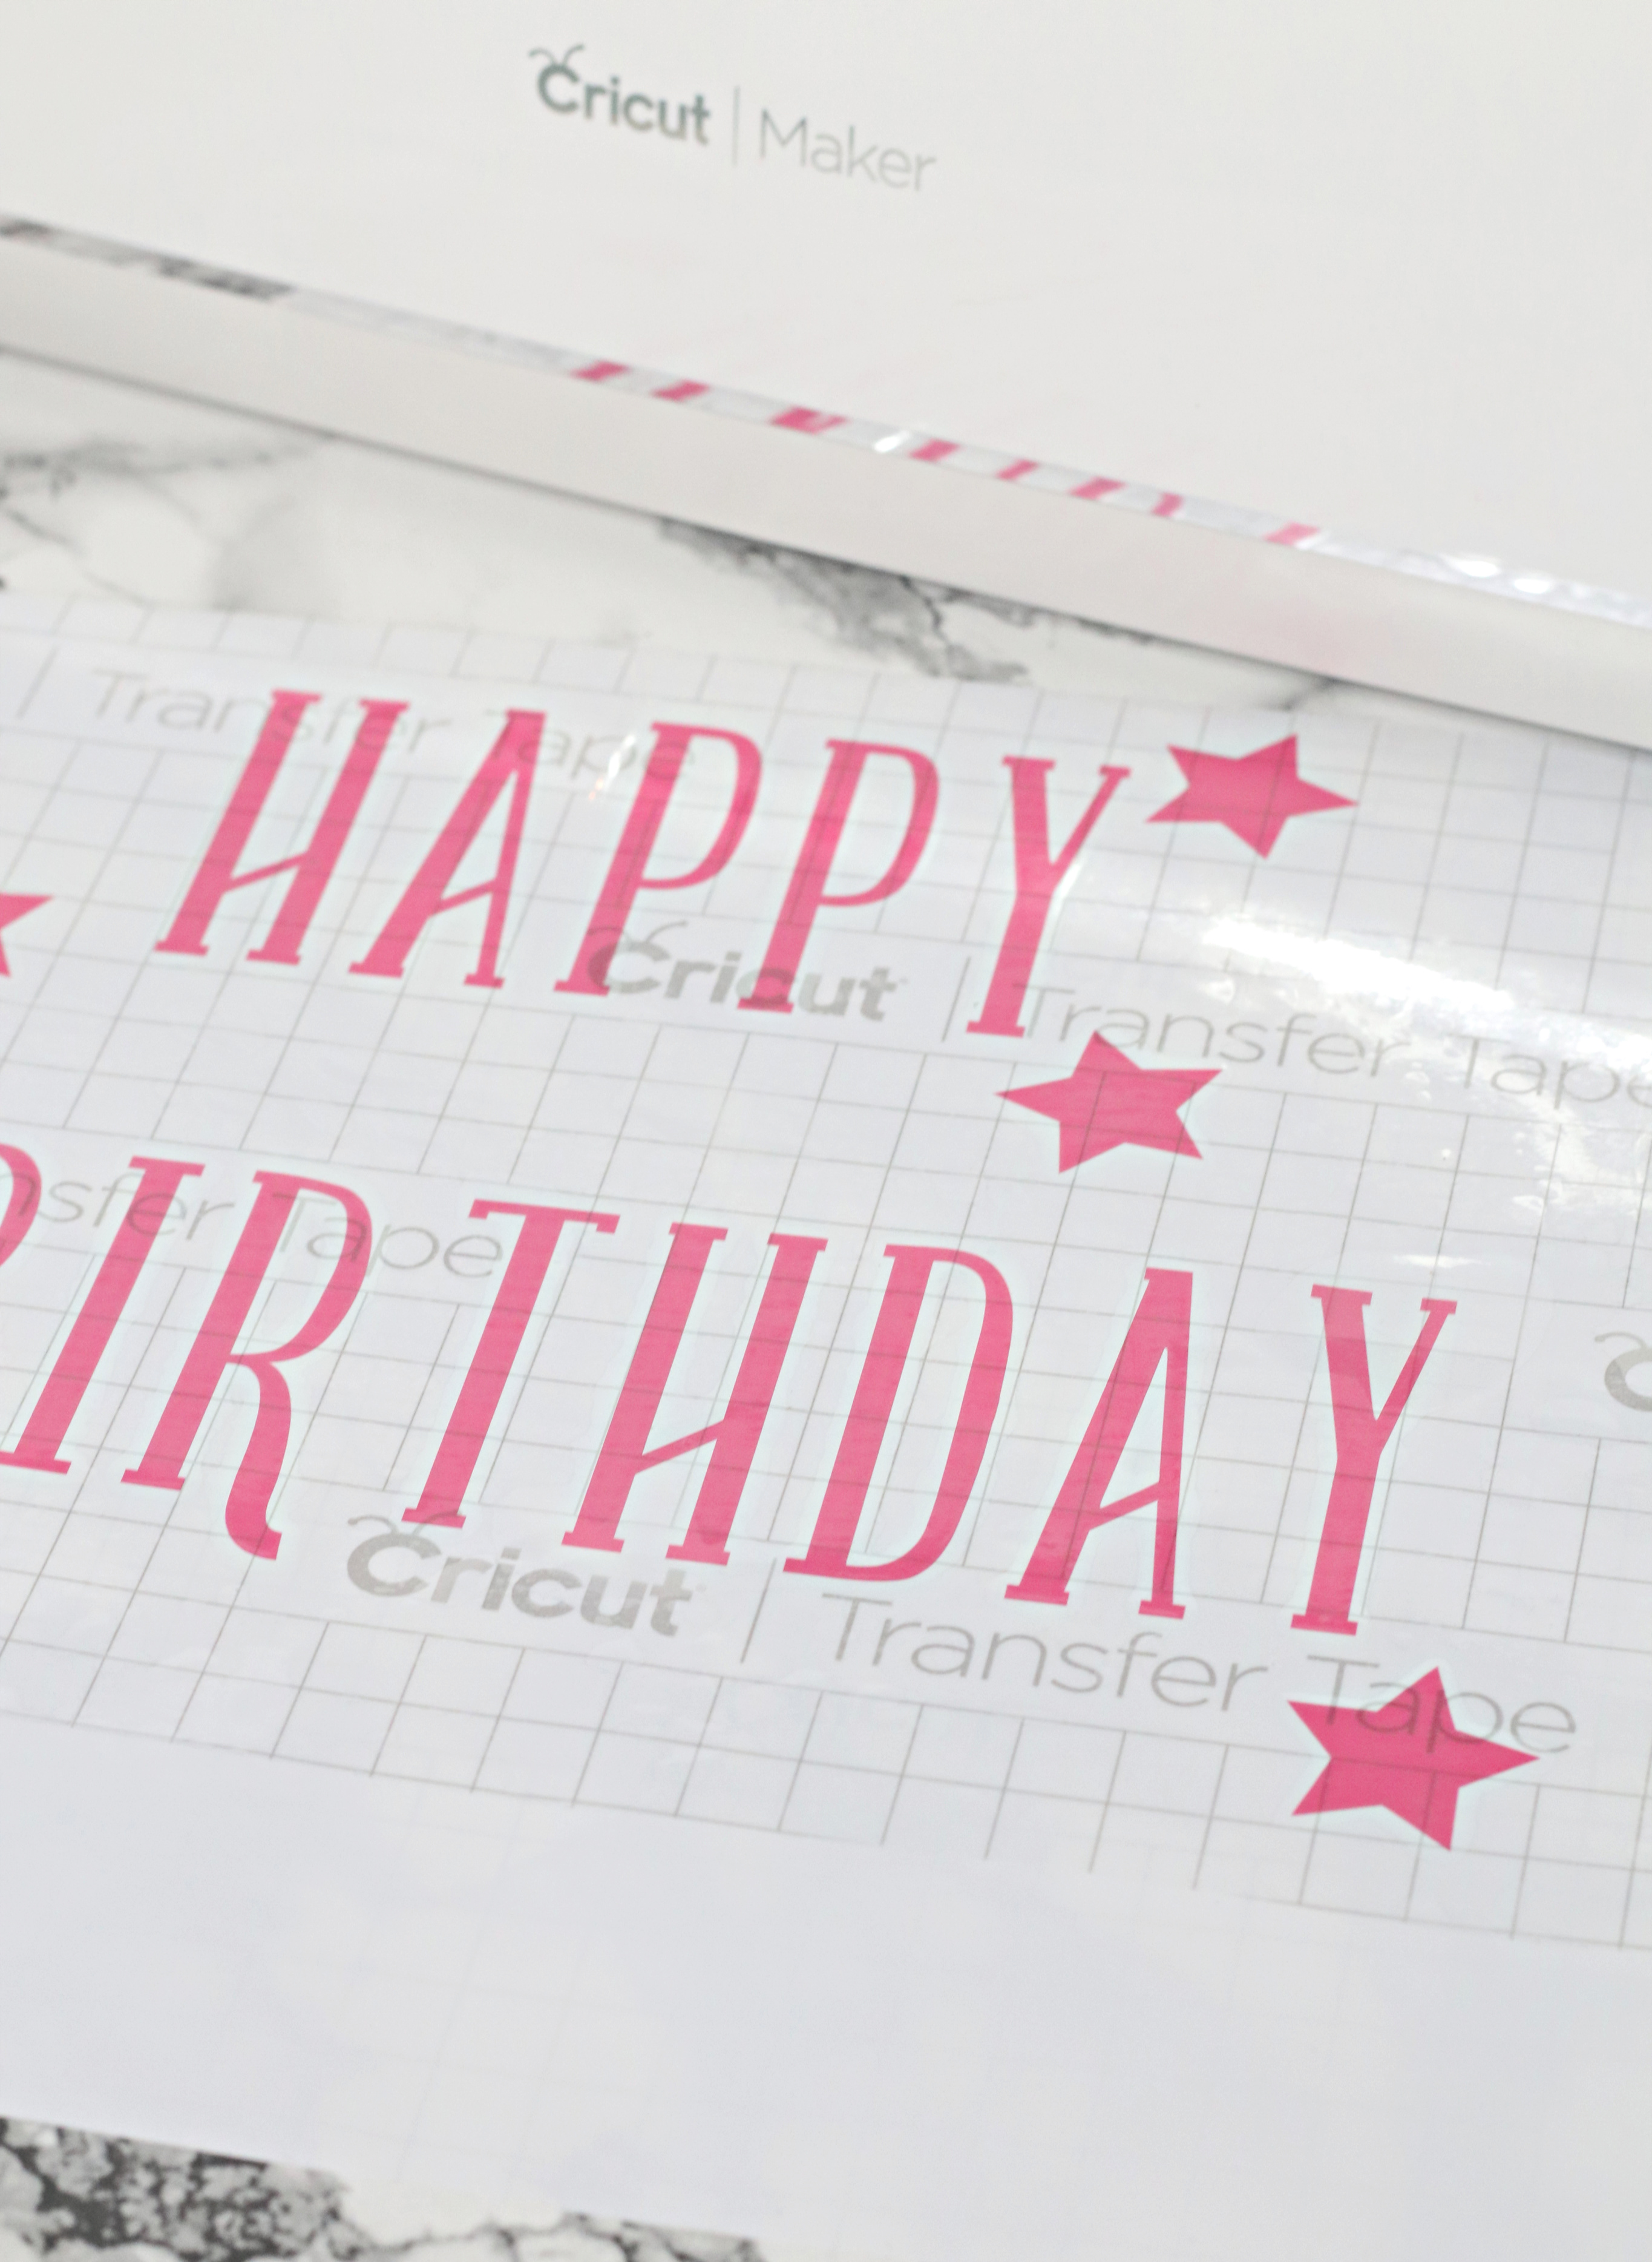
Now that your vinyl is ready we have to use transfer tape to put it on the balloon. The transfer tape will go on the back of your image and allow it to be removed from its backing. It will then be like a sticker and be ready to place on the balloon. 

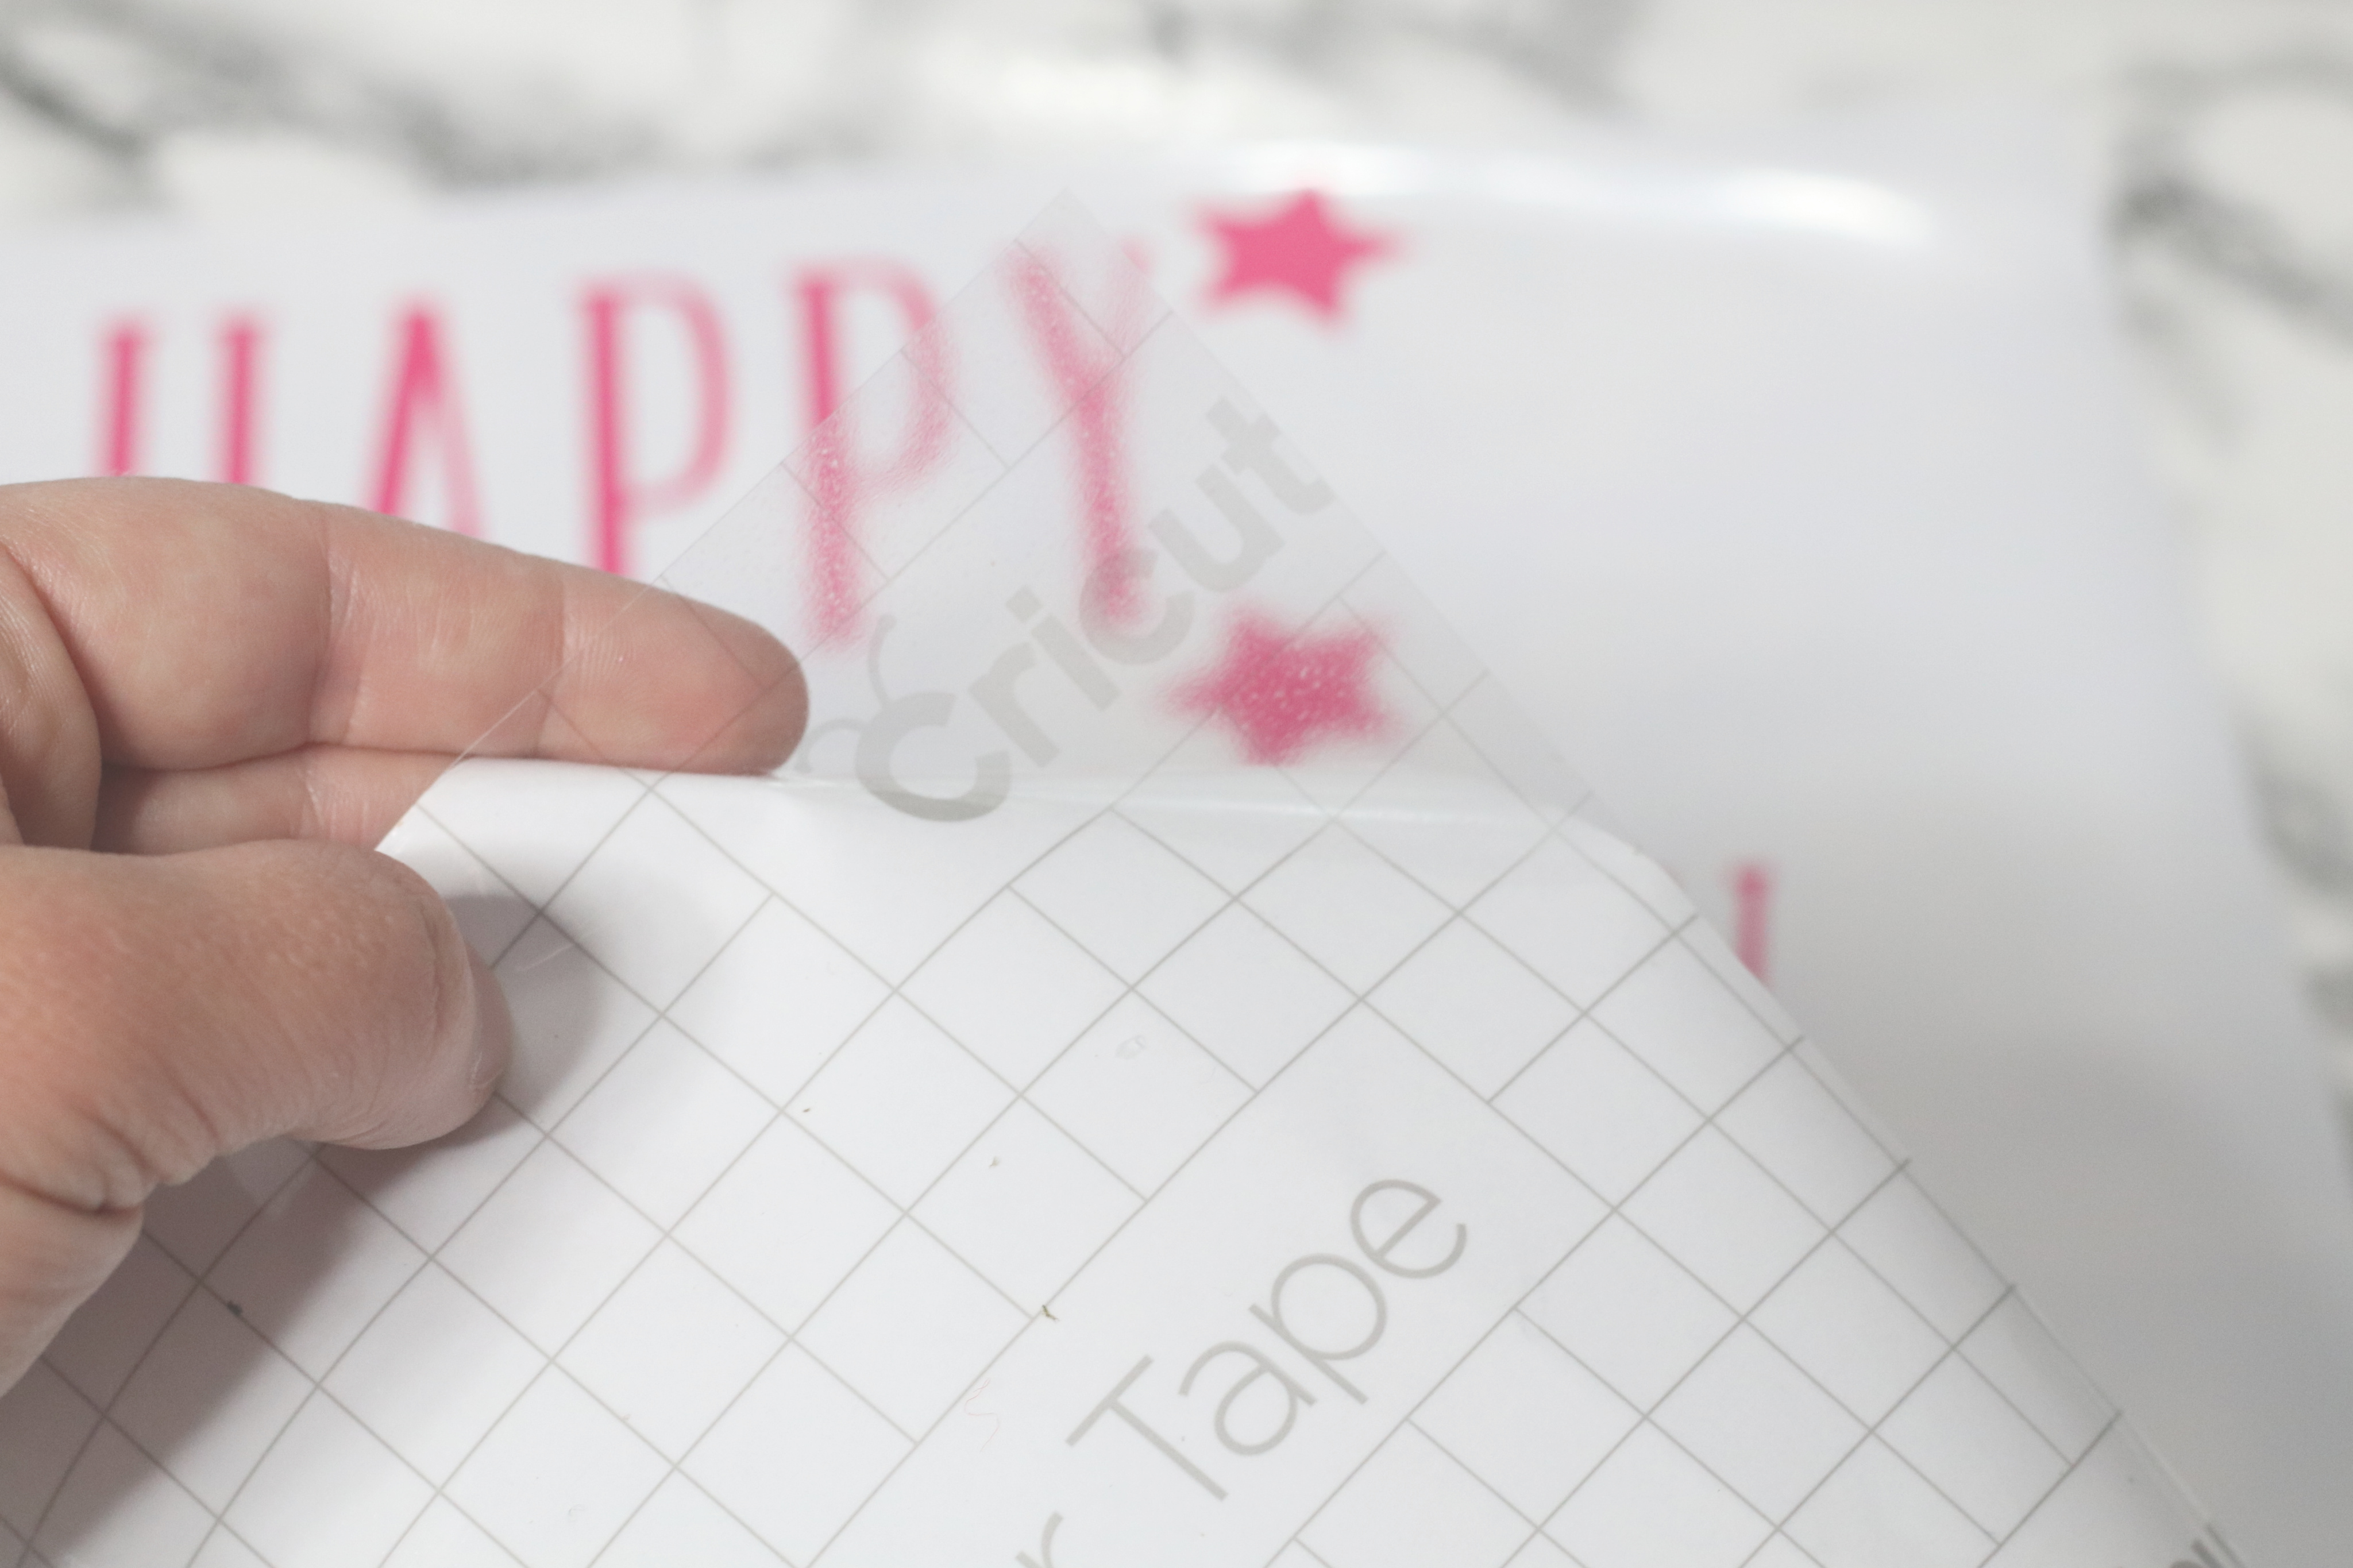
Gently place your “sticker” onto your balloon. Make sure you do not push to hard and pop the balloon. You also may have to cut slits on the side of the transfer tape to make sure the letters are flat and do not have bubbles in them. 

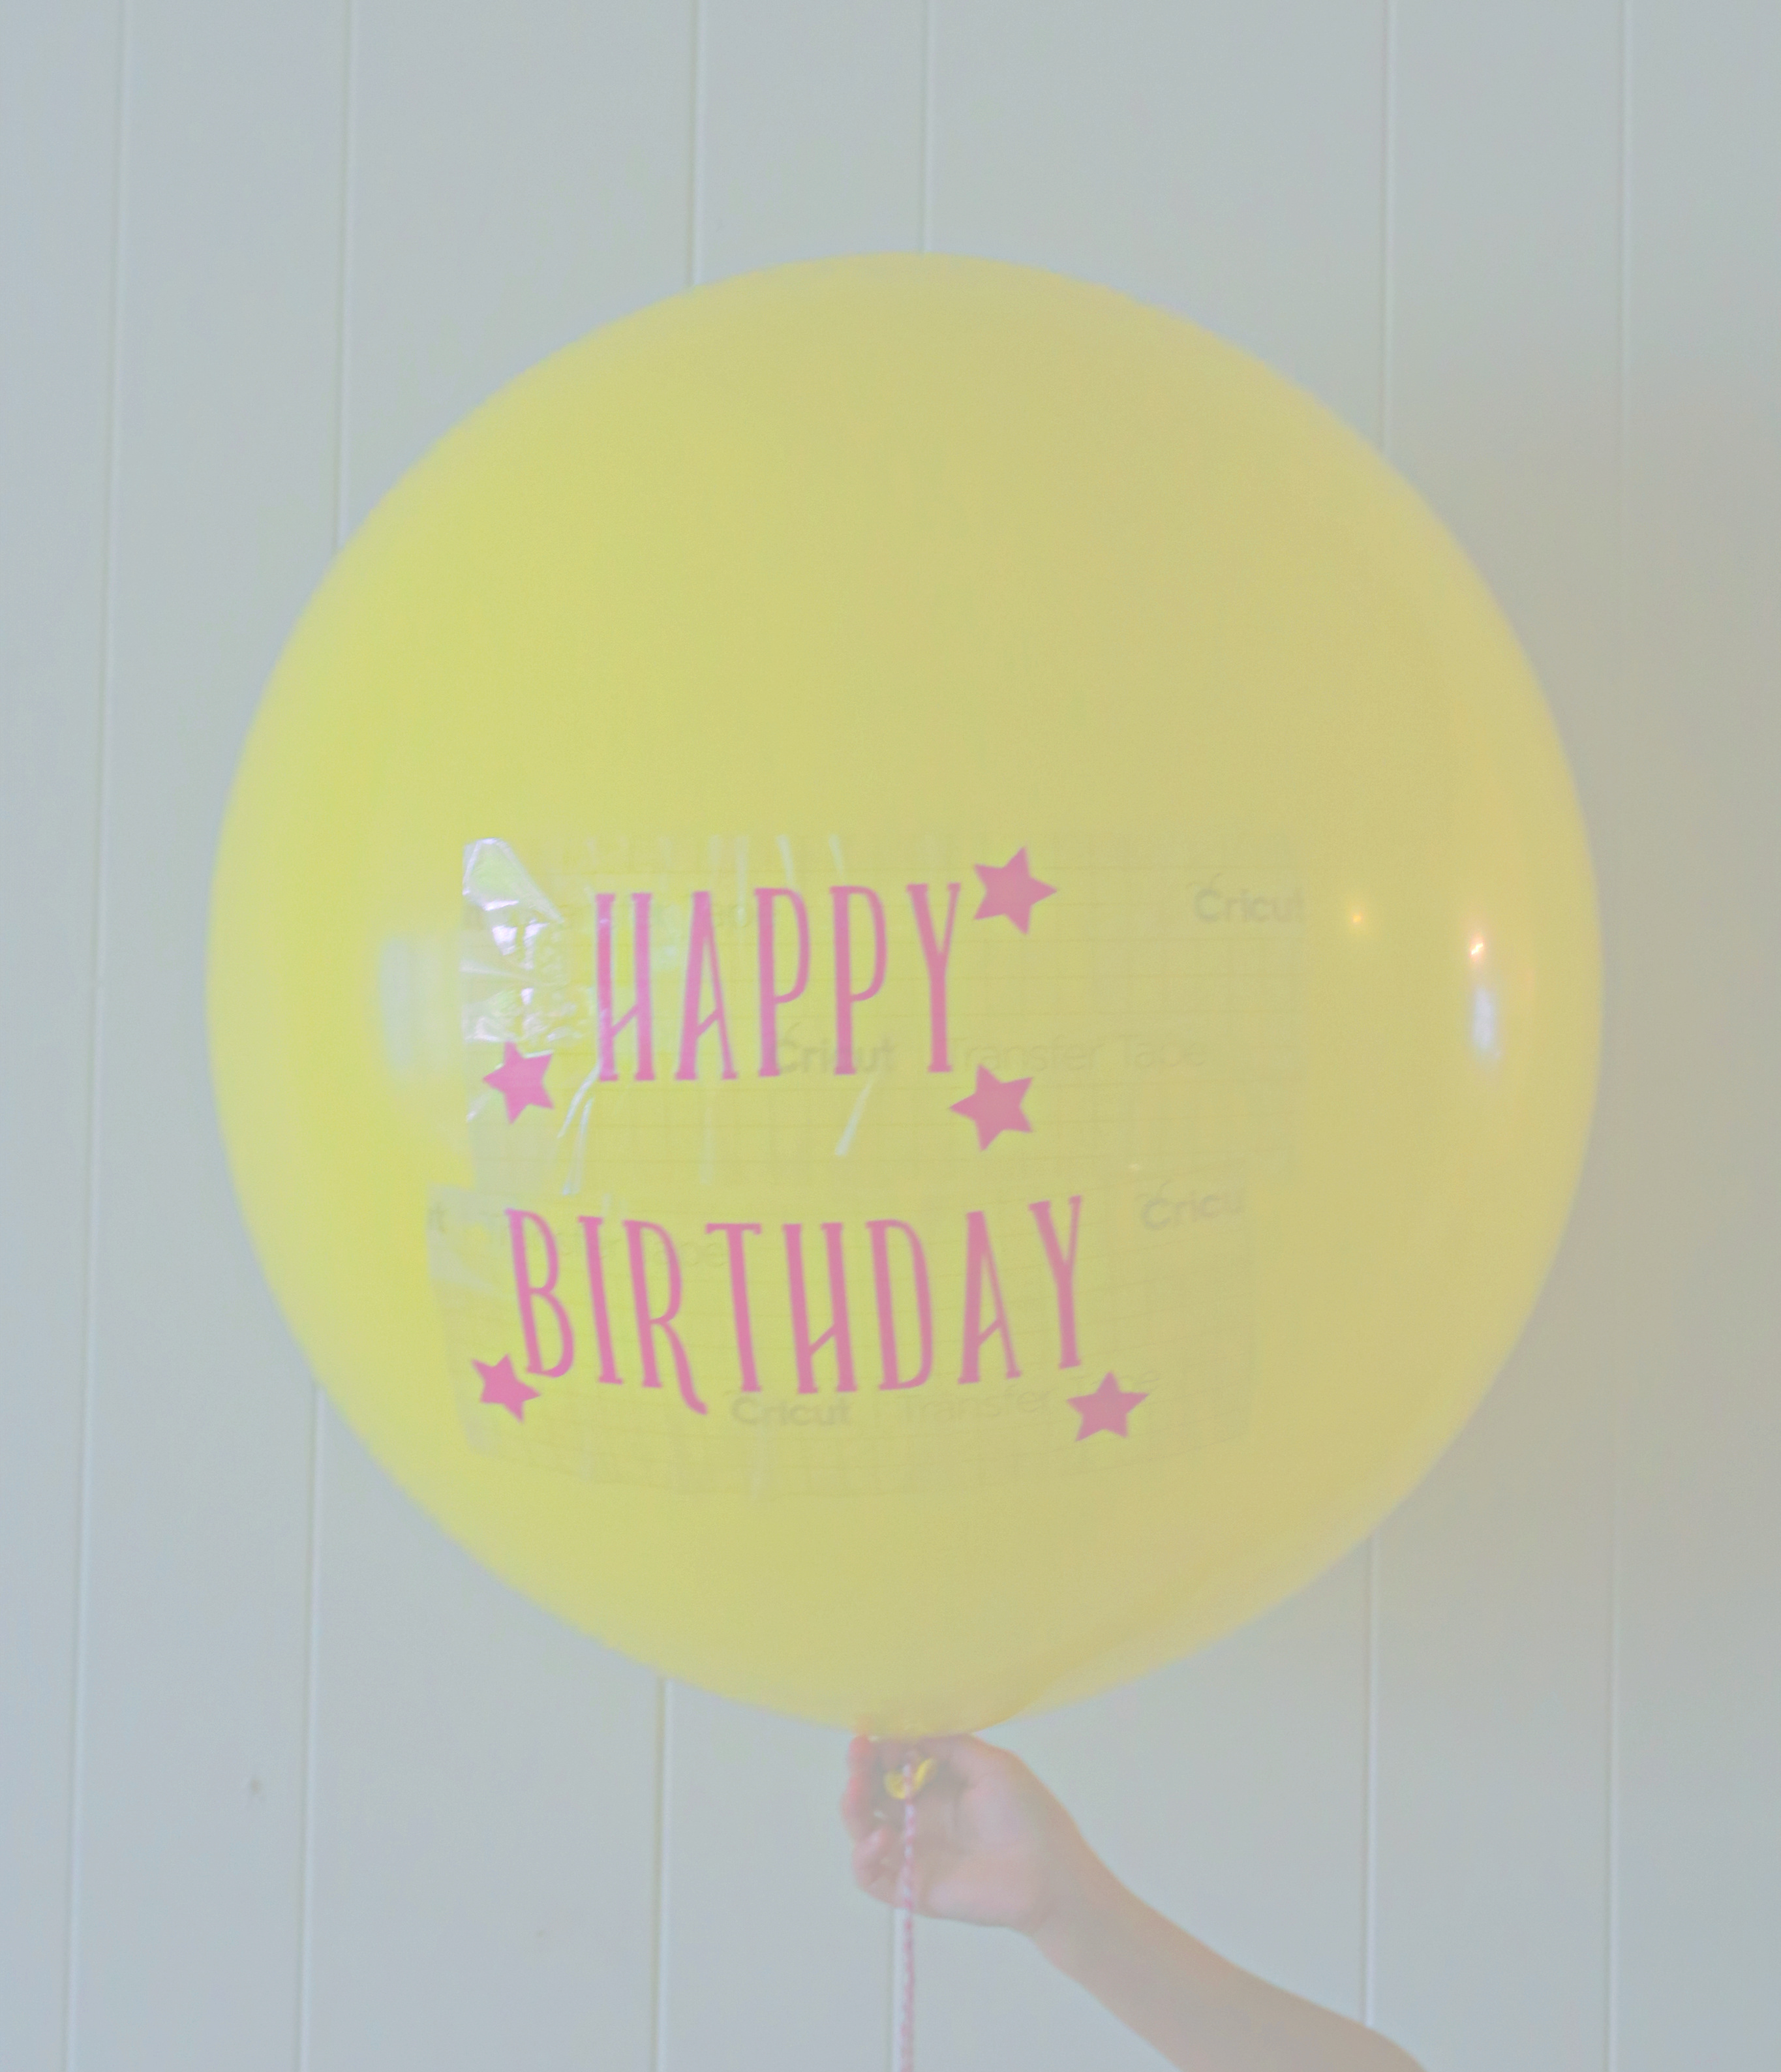
Gently remove the transfer tape from the back of the vinyl and you are ready to go! To take your balloon to the next level, use a fun tassel with your balloon ribbon. 

Overall, I am so impressed with the Cricut Maker. It is so user friendly and has been perfect for so many projects. I have so many fun ideas and cannot wait to share them all. 

Don’t forget to check out some of my other fun Cricut Crafts:

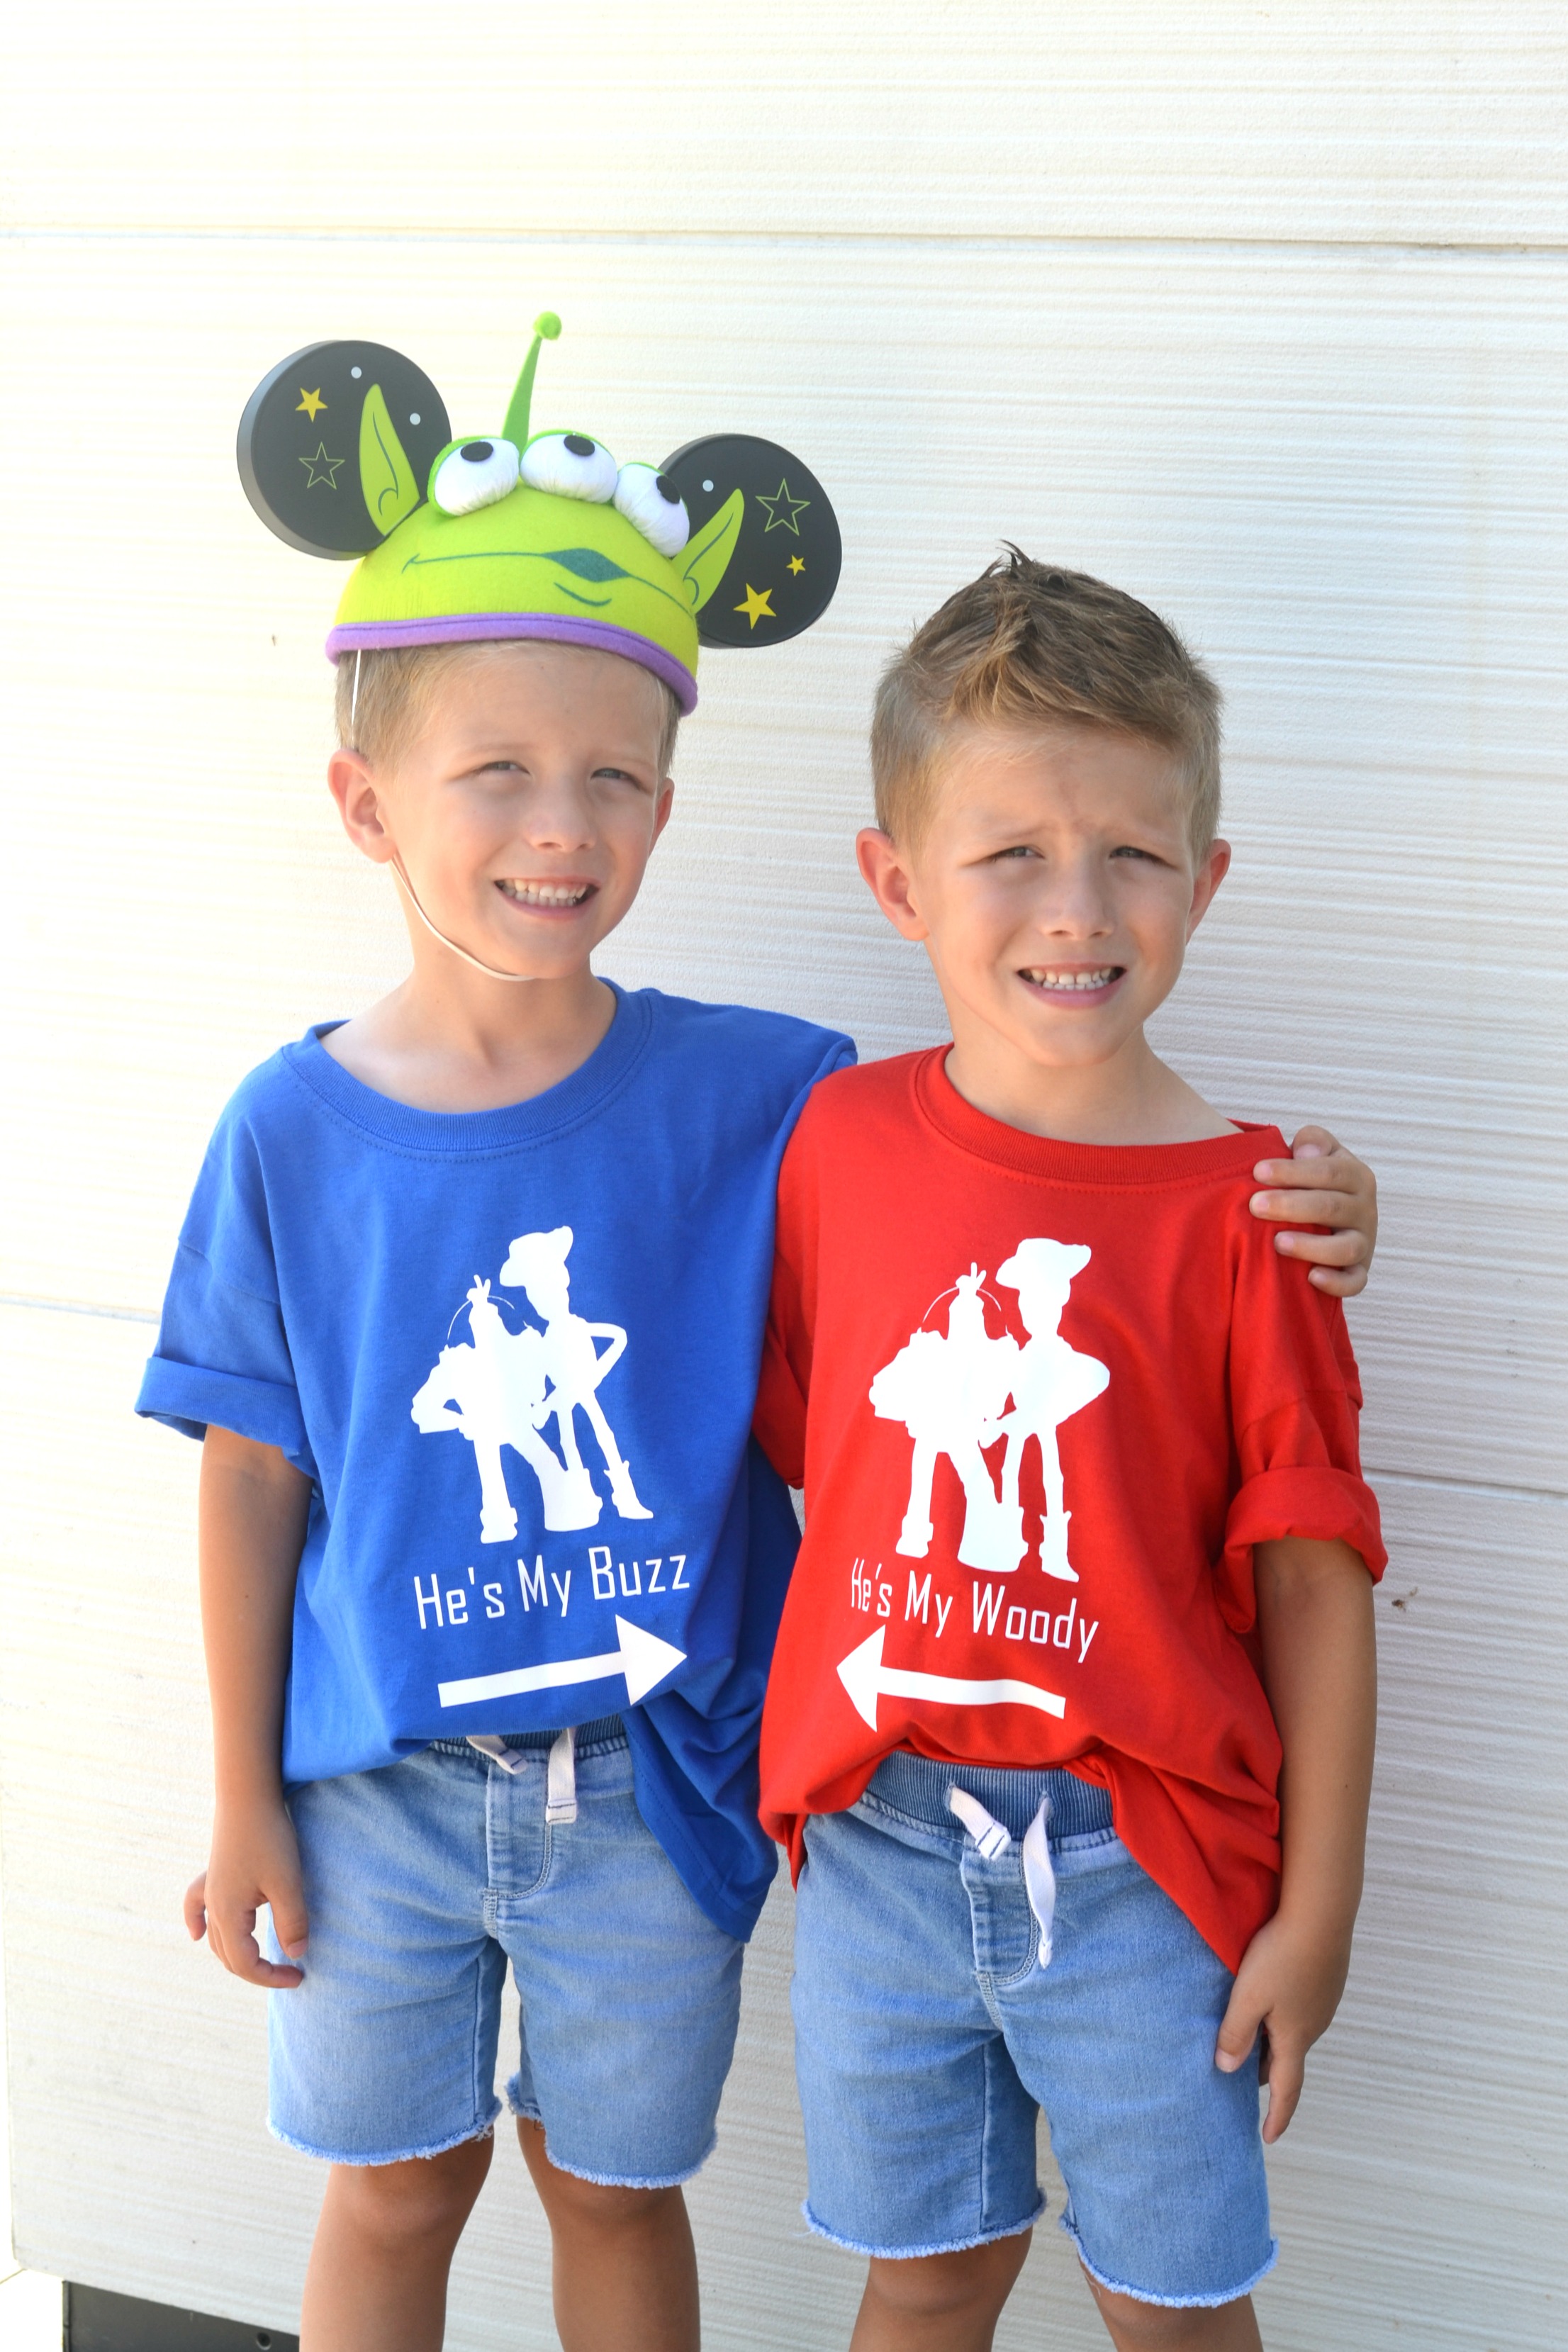
DIY Disney Toy Story Shirt with Free Cut File

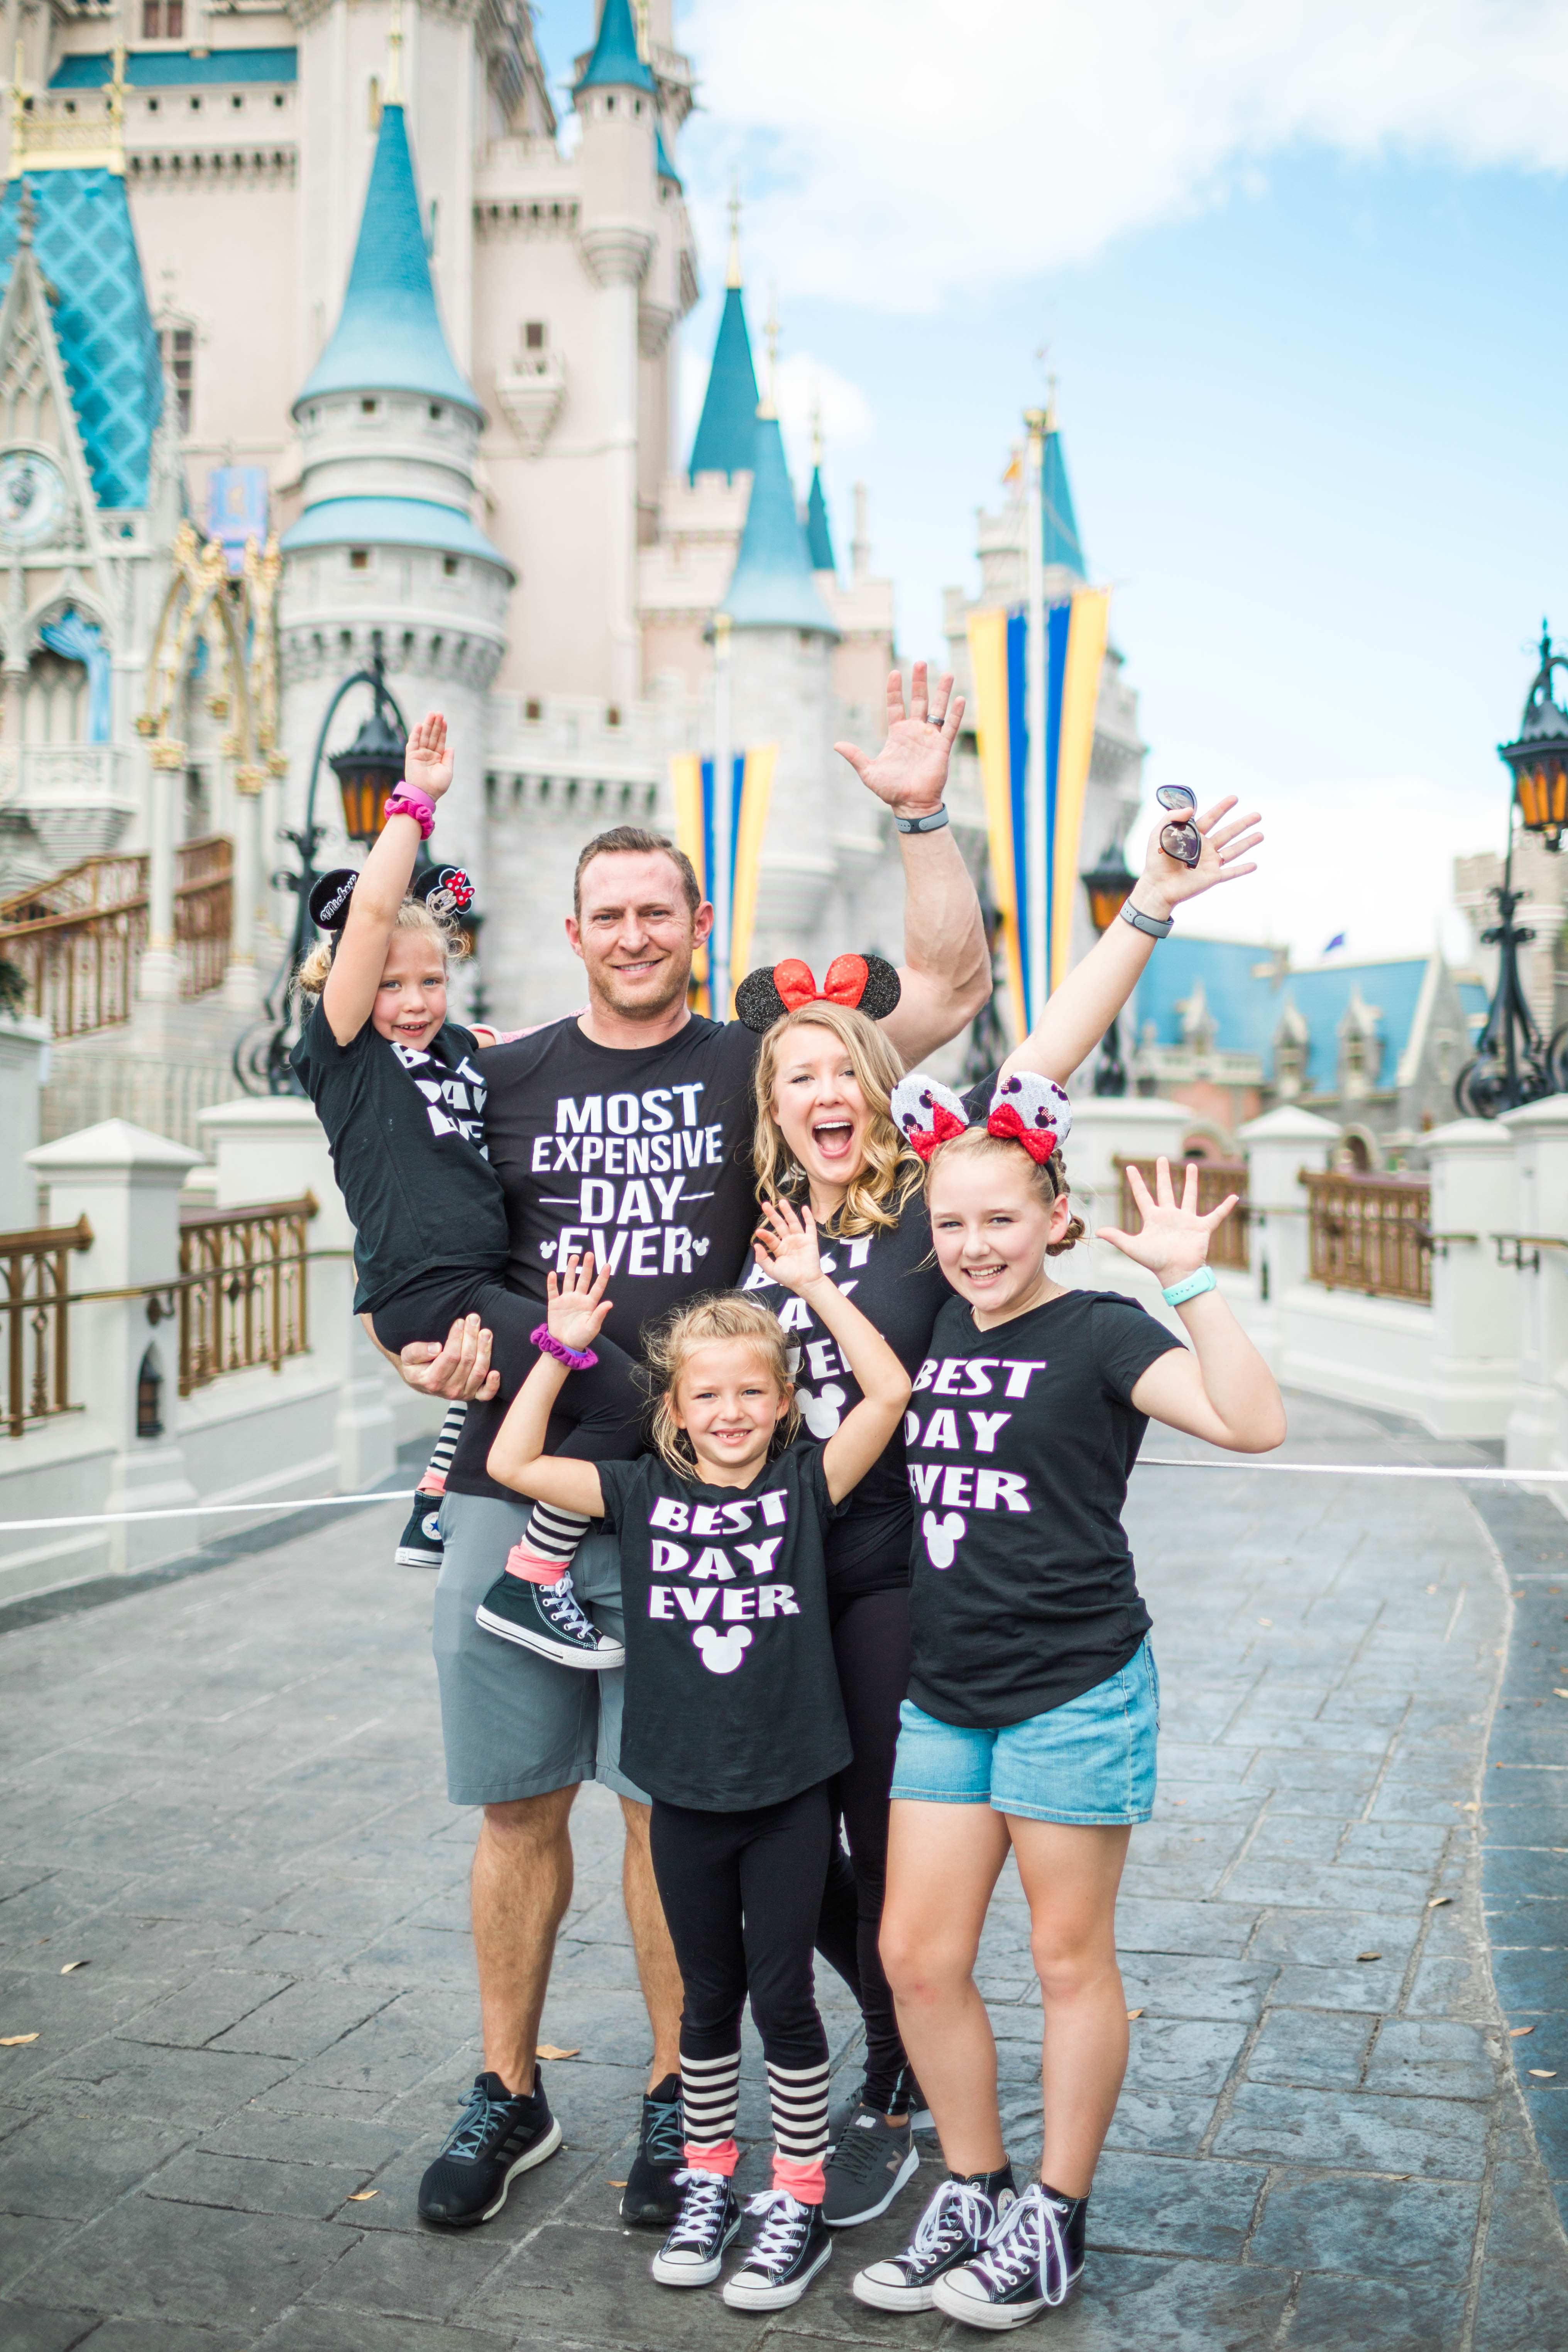
Best DIY Disney Shirts for Families with Free Cut File


0 Shares

Filed Under: DIY and Crafts

« Team Snack Ideas for Kids with Post Cereals
Cricut EasyPress 2 Review- Do you need one? »

Leave a Reply Cancel reply

Your email address will not be published. Required fields are marked *

Hi, friends! I’m Channing. I am mom to 3 amazing girls and wife to my fire fighting hubby, Eric. I loving sharing all things mom life related – recipes, DIY’s, real mom talk, crafts and more! 

Insta-Moms: @momswoa

Instagram post 17951785348338518 Happy 4th from these little cuties. It looks A LOT different this year but we are still having fun.
.
.
.
#happy4thofjuly #happyfourth #fourthofjuly #redwhiteandblue #momblog #houstonmomblogger #momofgirls
Instagram post 17856710153004179 #blackouttuesday
Instagram post 17864637601827512 This is what happens on day number 3,568,743 of quarantine: ice cream sundaes for DINNER. We have been spending endless time together and decided it was time to start a new family tradition, so we picked up the new DIY Sundae Kit from @baskinrobbins! The kit comes with 2 pre-packed quarts of ice cream, 3 toppings, an entire can of whipped cream and cherries! Ice
cream for dinner will now be a weekly staple. The kids are definitely not complaining! It’s a fun day with a Sundae! 
Comment below and tell me your favorite Baskin Robbins flavor!

#QuarantineCreations #IceCreamforDinner #FamilyTraditions #ad
Instagram post 17855065096958471 Some of my #DisneyMagicMoments have been with some special moms in my life! So, I’m playing along and sharing some of these moments with you.

I have spent time with old friends and new and the magic is always there. 
If you scroll back far enough, you will see my first Disney experience and the moment I fell in love with Disney with my own mom! 
I would love for you to play along and share your favorite Disney moments with the moms in your life! Don’t forget to use hashtag #disneymagicmoments! I tag @pixiemousemichelle, @fivefortheroadblog and @mrsblinks! 
Happy Mother’s Day! 😘😘
Instagram post 17873430769680209 Happy Cinco de Mayo! 🌮 What is your favorite Mexican dish?

I could eat Mexican for every meal of everyday! If your looking for the perfect recipes to make for dinner, I’ve got you covered. 
Head on over the the blog for all of my favorite dishes! These enchiladas NEVER disappoint! I promise you will LOVE all of these recipes! 🎉
Instagram post 17885629336528535 May the 4th be with you! We cannot wait for the day that we get to be back at Star Wars Galaxies Edge. Batuu, we miss you! #maytheforcebewithyou #may4thbewithyou #disneycreators #batuu #bluemilk #wemissdisney
Instagram post 17850899390014309 Disney is challenging us to share our first pictures with characters! I had to join in the fun and it was the best trip down memory lane. Disney has been threaded throughout my entire life. I pulled a few of my most favorite memories over the years. From partying in the streets during the most epic dance party and meeting our most favorite princesses to me being a kid at Disney myself. Oh, I also had to add a picture of Cinderella’s Castle. She really is the most beautiful cast member of them all! 
@waltdisneyworld we miss you more and more each day. You’ve brought us joy beyond words and we cannot wait for the day when we get to walk down Main Street USA again! 
Ok, now it’s your turn. Find your old photos of your favorite Disney characters and share the magic. Also, don’t forget to tag me. I want to see all your memories too! 
@pixiemousemichelle @ericaligenza and @prettyprovidenceblog it’s time to share yours!#disneymagicmoments #myfirstdisneycharacter #disneycreators #disneyfamily #disneykuds #disneyworld
Instagram post 17904777073435611 EASY EASTER SUGAR COOKIE BARS! [AD] With Easter looking a little different this year, I teamed up with my friends at @hersheys to create a fun Easter treat using items you probably have in your pantry!
These Easter Sugar Cookie Bars are so easy to make. Store bought sugar cookie mix and cute colorful icing is the perfect foundation for @cadburyusa eggs and @reeses eggs. 
Looking for more treat ideas? Check out the fun recipes at https://Hershey’s.com/kitchen/en_us/home.html

Comment below and tell me your favorite Easter recipes! #cadburyusa #reeses #eastertreats #springdessert
Instagram post 18019712191263346 I’m joining my friend @andhattiemakesthree for #happymondaymemory to share some joy and fun around here!
.
.
.
Let’s take it back to the #happiestplaceonearth and our time in Star Wars Galaxy’s Edge! Y’all, I don’t even have words for how amazing it is. And #riseoftheresistance is everything! Check out our video to see for yourself. We miss you @waltdisneyworld and can’t wait to make more memories soon!
.
.
.
Now it’s your turn! Share your favorite memory and let’s spread some joy! #evereveambassador #disneycreators #starwars #disneyhollywoodstudios #stayhome
Follow on Instagram
This error message is only visible to WordPress admins

Error: API requests are being delayed for this account. New posts will not be retrieved.

There may be an issue with the Instagram access token that you are using. Your server might also be unable to connect to Instagram at this time.

As Seen On:

Keep in Touch

  • Bloglovin
  • Email
  • Facebook
  • Instagram
  • Pinterest
  • Twitter

Recent Posts

  • Copycat Disney Churro Ice Cream Sandwich
  • Teacher Approved Educational Resources for Kids
  • 20 Fun Things To Do At Home with Kids

Blog Archive

Copyright © 2025 · Genesis Framework · WordPress · Log in

This website uses cookies to improve your experience. We'll assume you're ok with this, but you can opt-out if you wish.Accept Read More
Privacy & Cookies Policy

Necessary Always Enabled