In just a few short weeks the kiddos will be out for summer vacation. I have been racking my mom brain to try and think of ways to keep us busy this summer. We keep the calendar full of play dates and beach days and VBS etc. but I also like to make sure I have some things on hand at home to cure the “I’m bored” blues.
One thing I know is always a sure bet is a sensory table. You can change them up weekly with water, sand, water beads, scissors and paper, and so much more so I thought that Tanner Manor needed a sensory table to add to our summer fun. Problem is that sensory tables are kind of pricey. The local teacher supply store has them for upwards of $100 and I knew we couldn’t pay that. I started searching and begging the husband and finally convinced him to create a DIY Sensory Table.
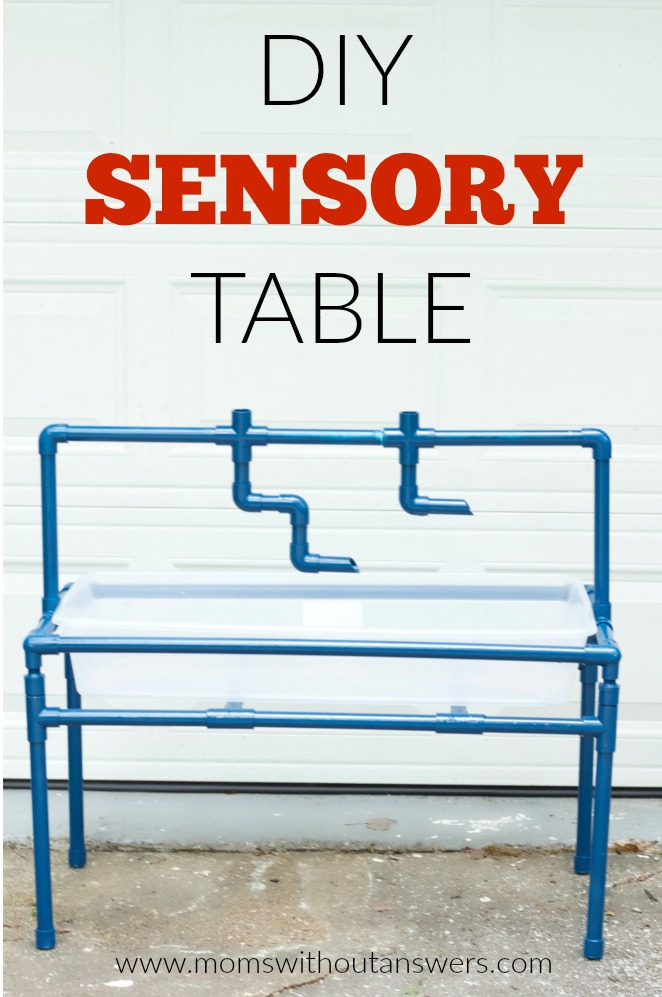
It was a quick and easy weekend project and I already know it is going to provide endless fun this summer.
To make your own, here is what you need to get started:
* We used 3/4 in PVC pipe for this project
4 10ft. PVC Pipes
PVC Pipe Cutters
PVC Glue
10 T Joints
4 Elbow Joints (one with 3 pipe openings for the top four corners)
8 Elbow Joints (for the funnel area on top)
4 Caps
2 Cross Joints
Spray Paint (optional)
1 under the bed tub measuring 35.5 inches long, 16.5 inches wide and 6 inches deep
2 Funnels (found mine in the automotive section of Target)
Once you have your supplies gathered it’s time to get to cutting. Here are the cuts that the husband says you need. You may need to make adjustments to fit your tub.
Length of legs: 14.25 inches. Sides: 11 inches, T Connector, 8 inches, T connector, 11.25 inches
Top Sides: 34.25 inches. Tubes under the tub: 14 inches. Ends: 6.25 inches, T connector, 7 inches.
Once it is assembled you will want to glue it together using your PVC glue. And then, if you chose you can paint your table or leave the PVC pipe in it’s natural state.
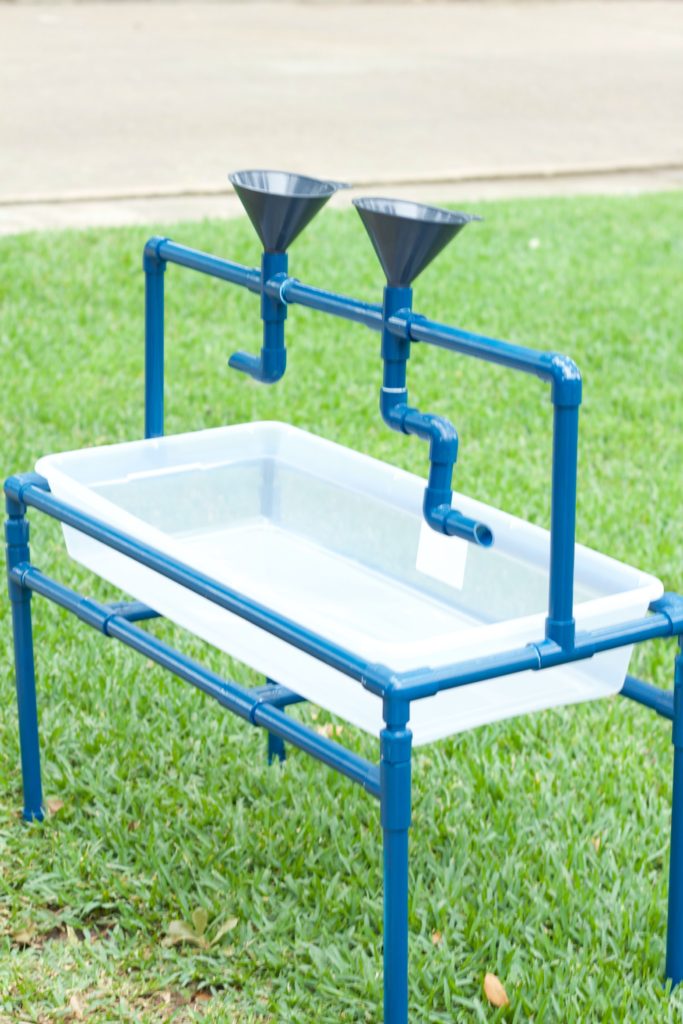
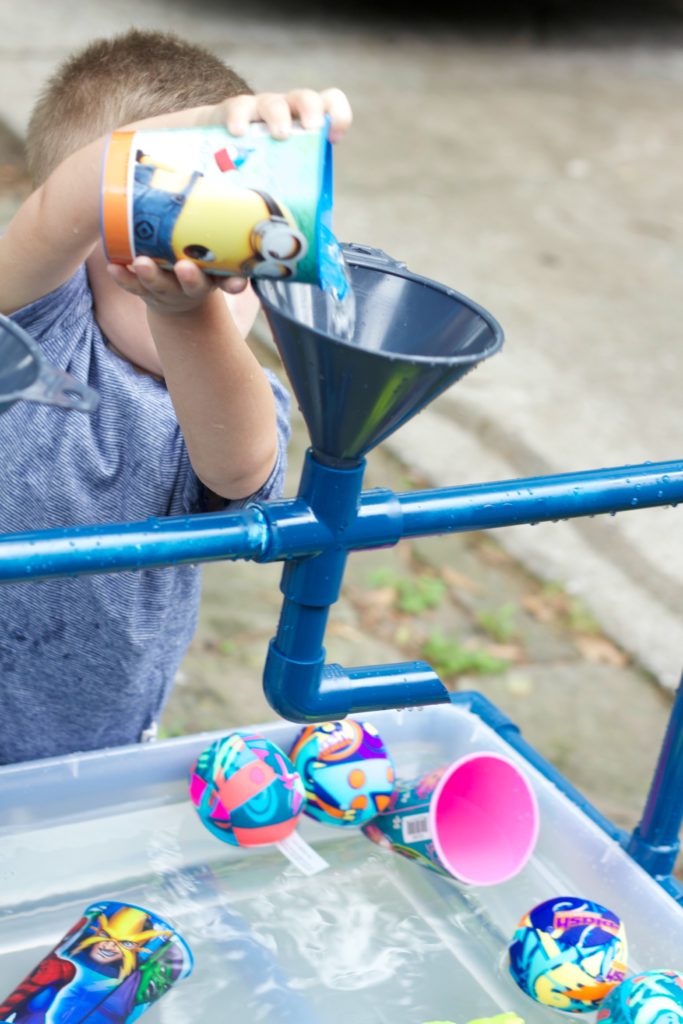
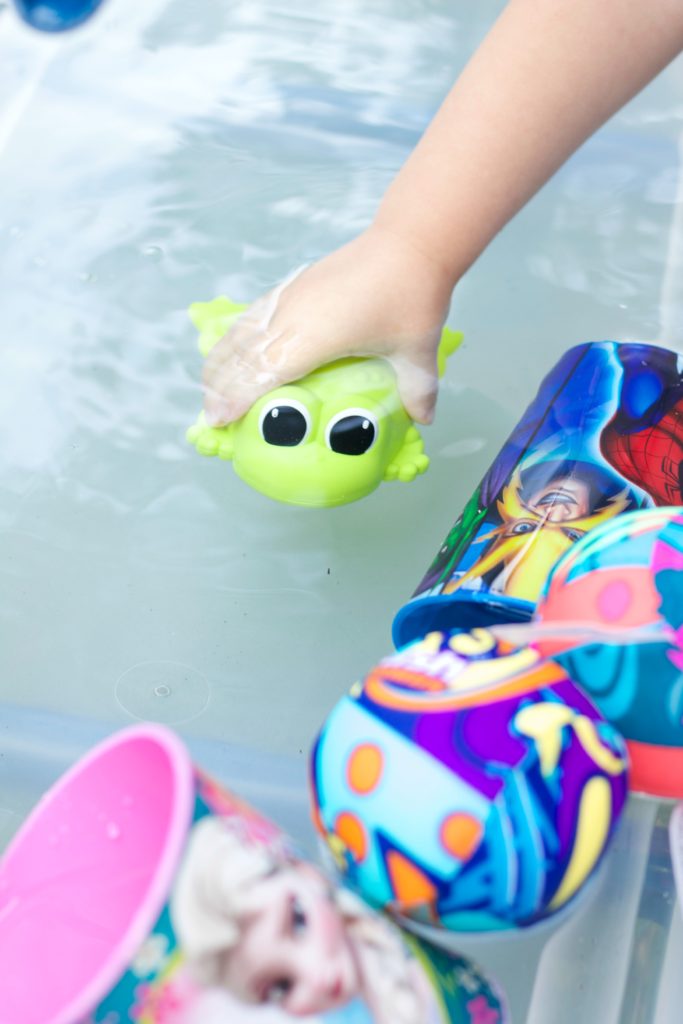
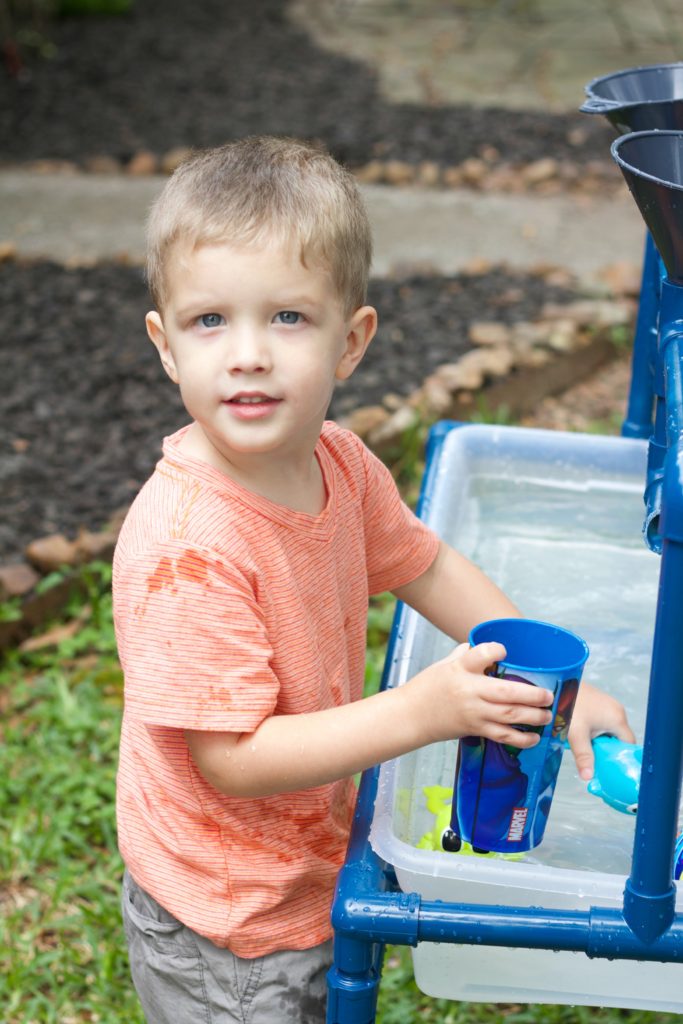
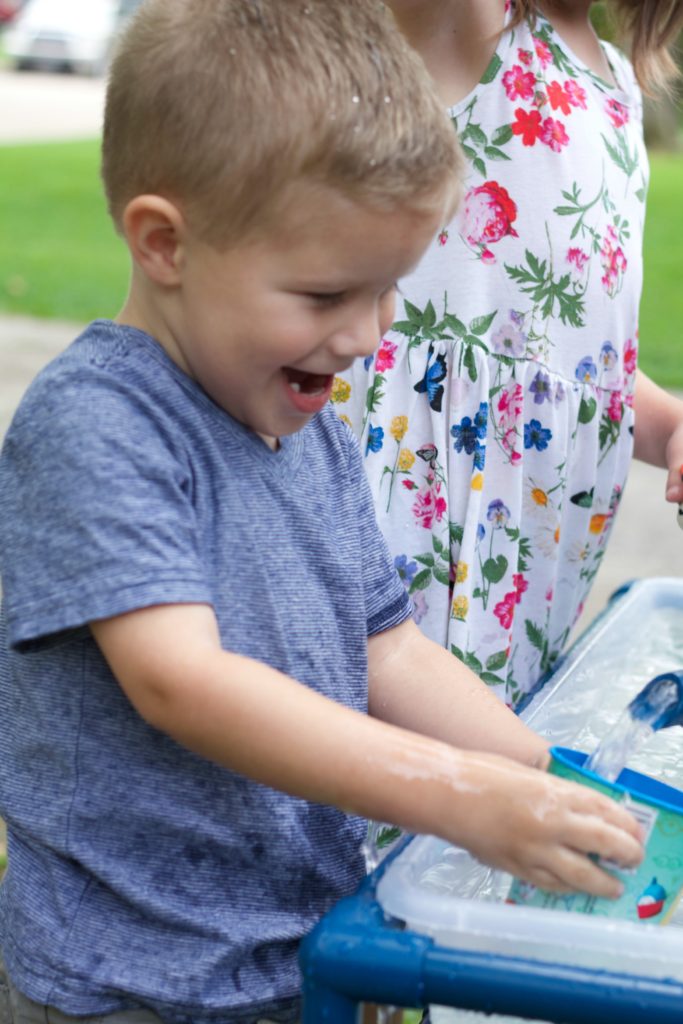
My kiddos watched their Daddy and I work on this all weekend so between thunderstorms I filled it up quickly with water and we grabbed some of our bathtub toys and they played for a solid hour squealing and playing before the rain started again. I have no doubt we will get to use this over and over this summer.
Best part other than being easy to make, was it is affordable. We spent about $50 total which included the paint and the tub and so that was less than half the cost of the sensory table at the teacher supply store.
What would you put in your sensory table? I highly recommend them and honestly this was a super easy project that I can already tell is going to bring a lot of fun this summer.


Leave a Reply