This DIY Plaid Christmas Pajamas for the Family was created with the help of the Cricut Maker and Infusible Ink. They are perfect for the holiday season and everyone in the family will love them!
This is a sponsored conversation written by me on behalf of Cricut. The opinions and text are all mine.
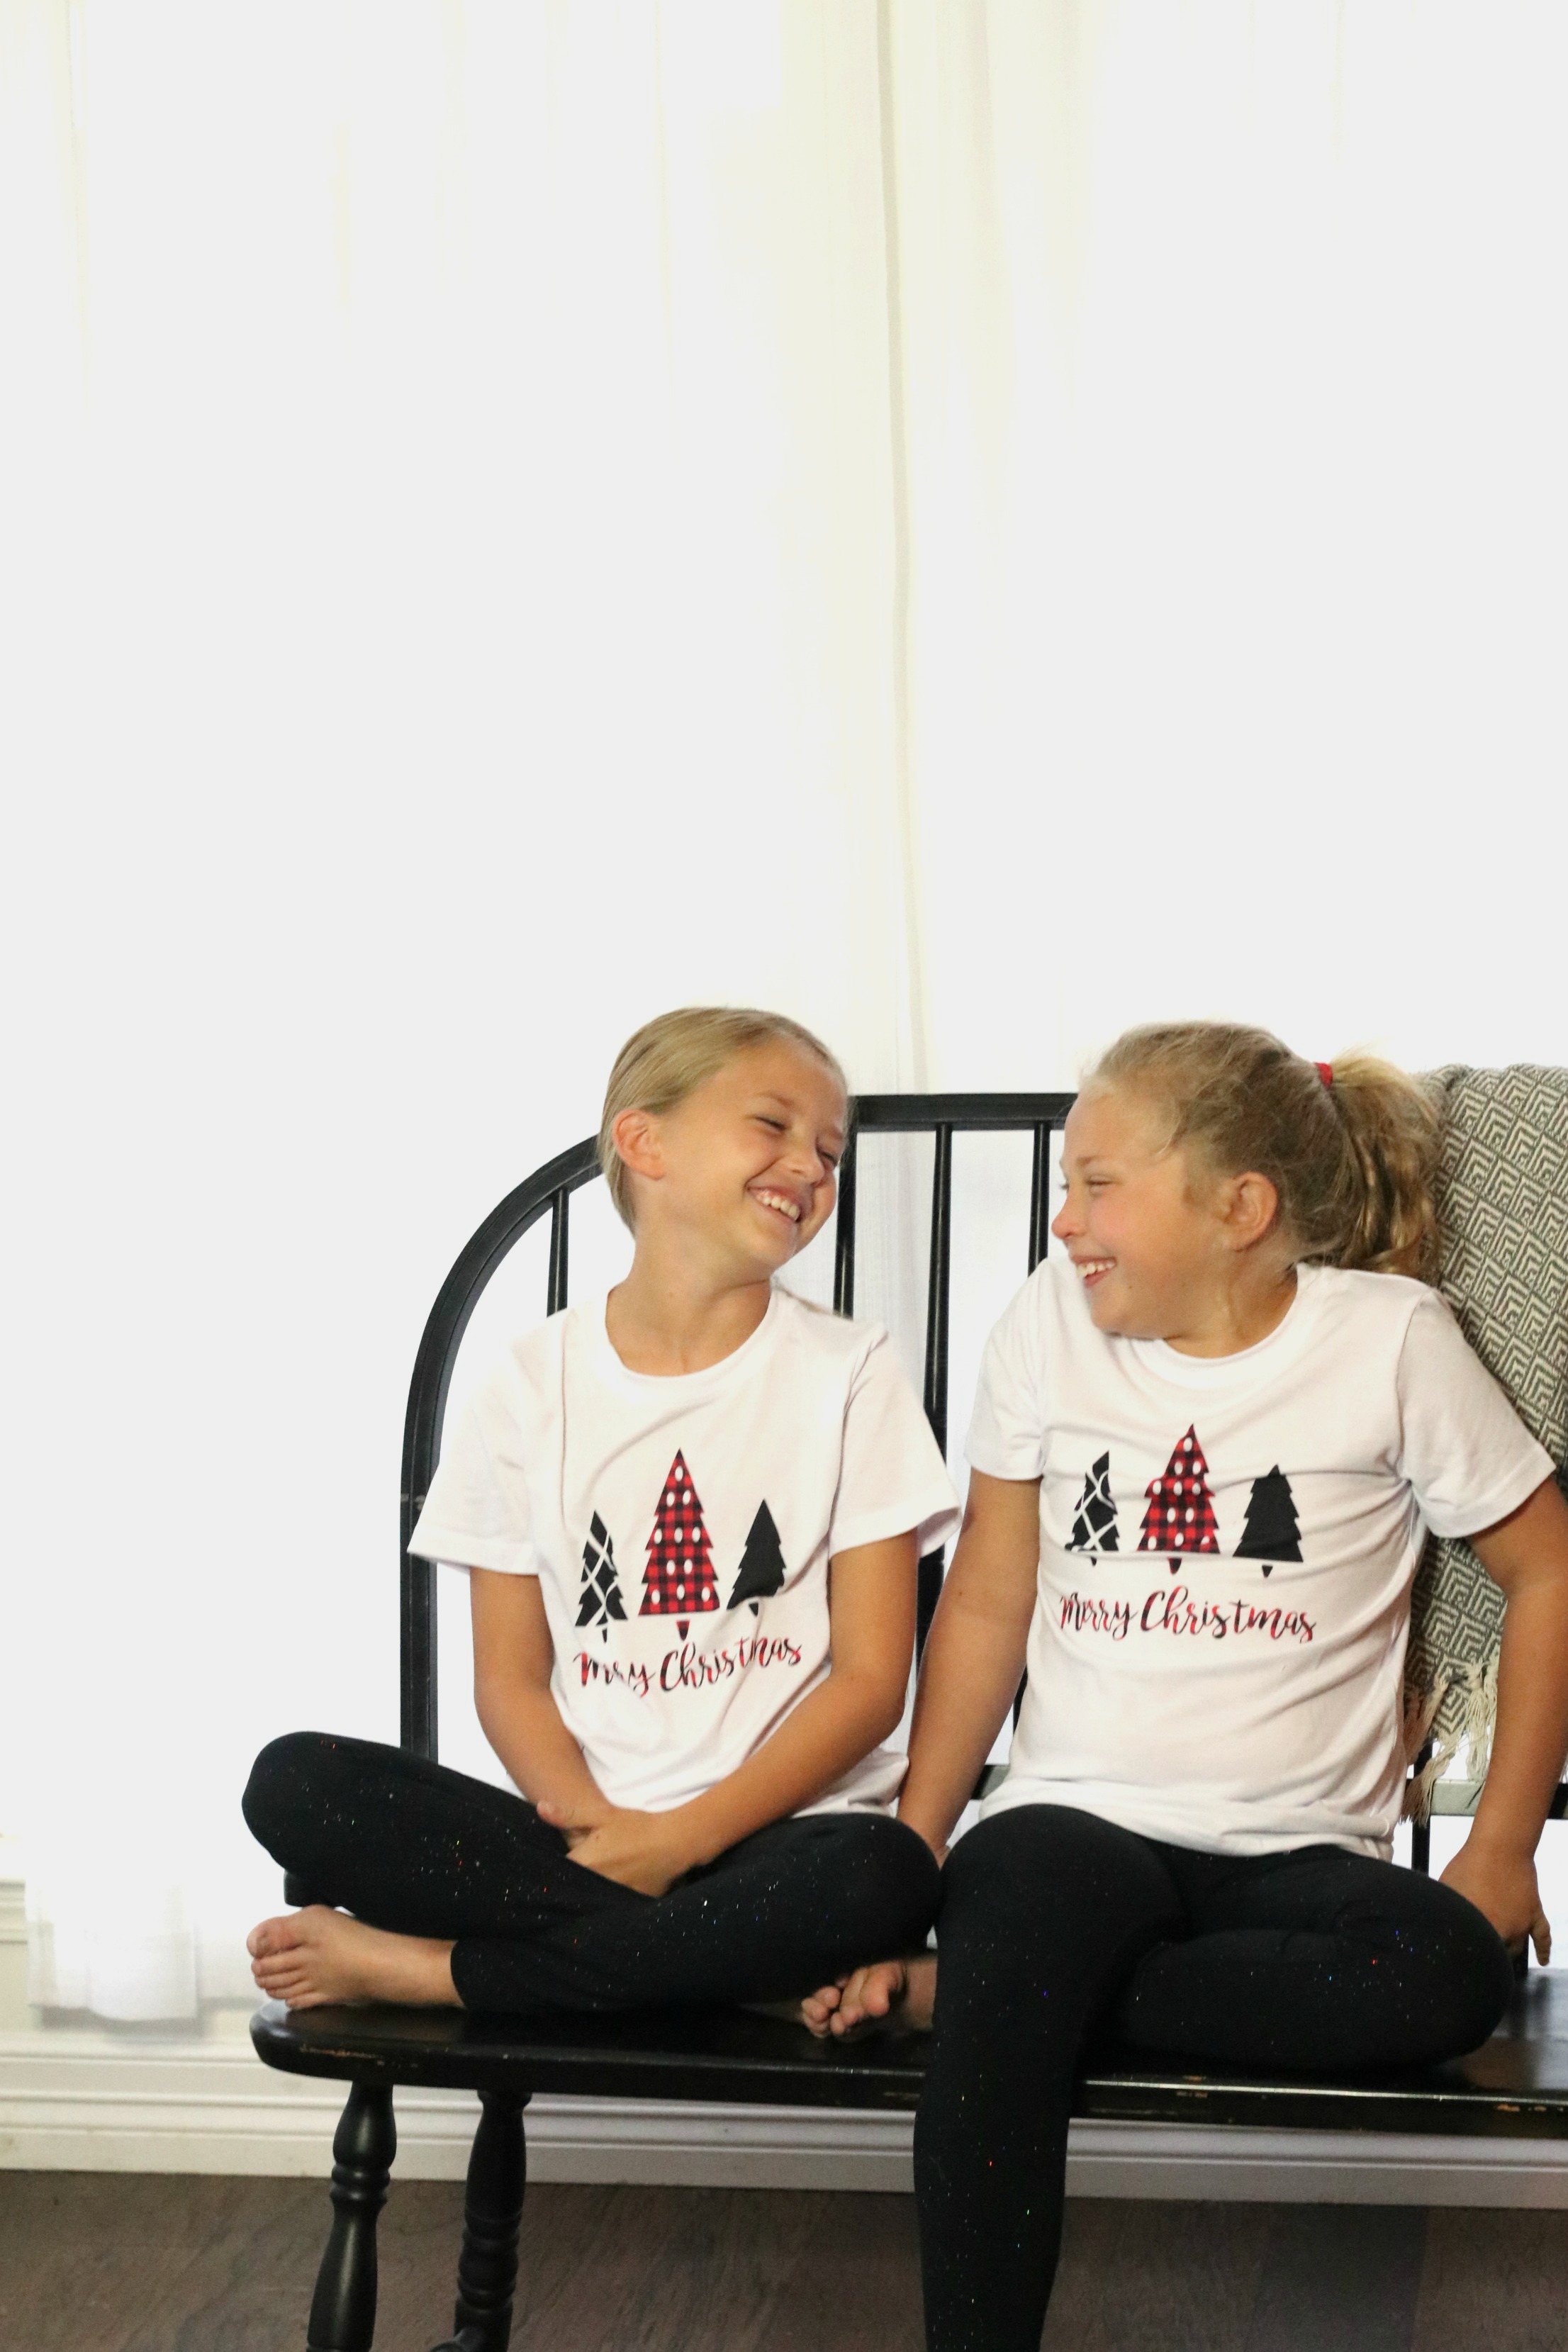
Hey friends! Are you getting ready for the Christmas season? You know that I am. I literally wait all year for this time of year, it is my absolute favorite! I have wanted to make DIY Matching Christmas Pajamas for a while now and this past week, I finally got to it and made these adorable shirts. It took no time at all and my girls love them!
In the past, I used my Cricut Maker to whip up this DIY Address Sign and these Vinyl Balloon Signs . I used it again to make these pajamas but, for the first time I used the Cricut Infusible Ink Transfer Sheets for this project. They are amazing and so fun to craft with!
Here is what you need to make your own Christmas Pajamas for the Family!
- Cricut Maker
- Cricut EasyPress 2
- Cricut T-Shirt Blank
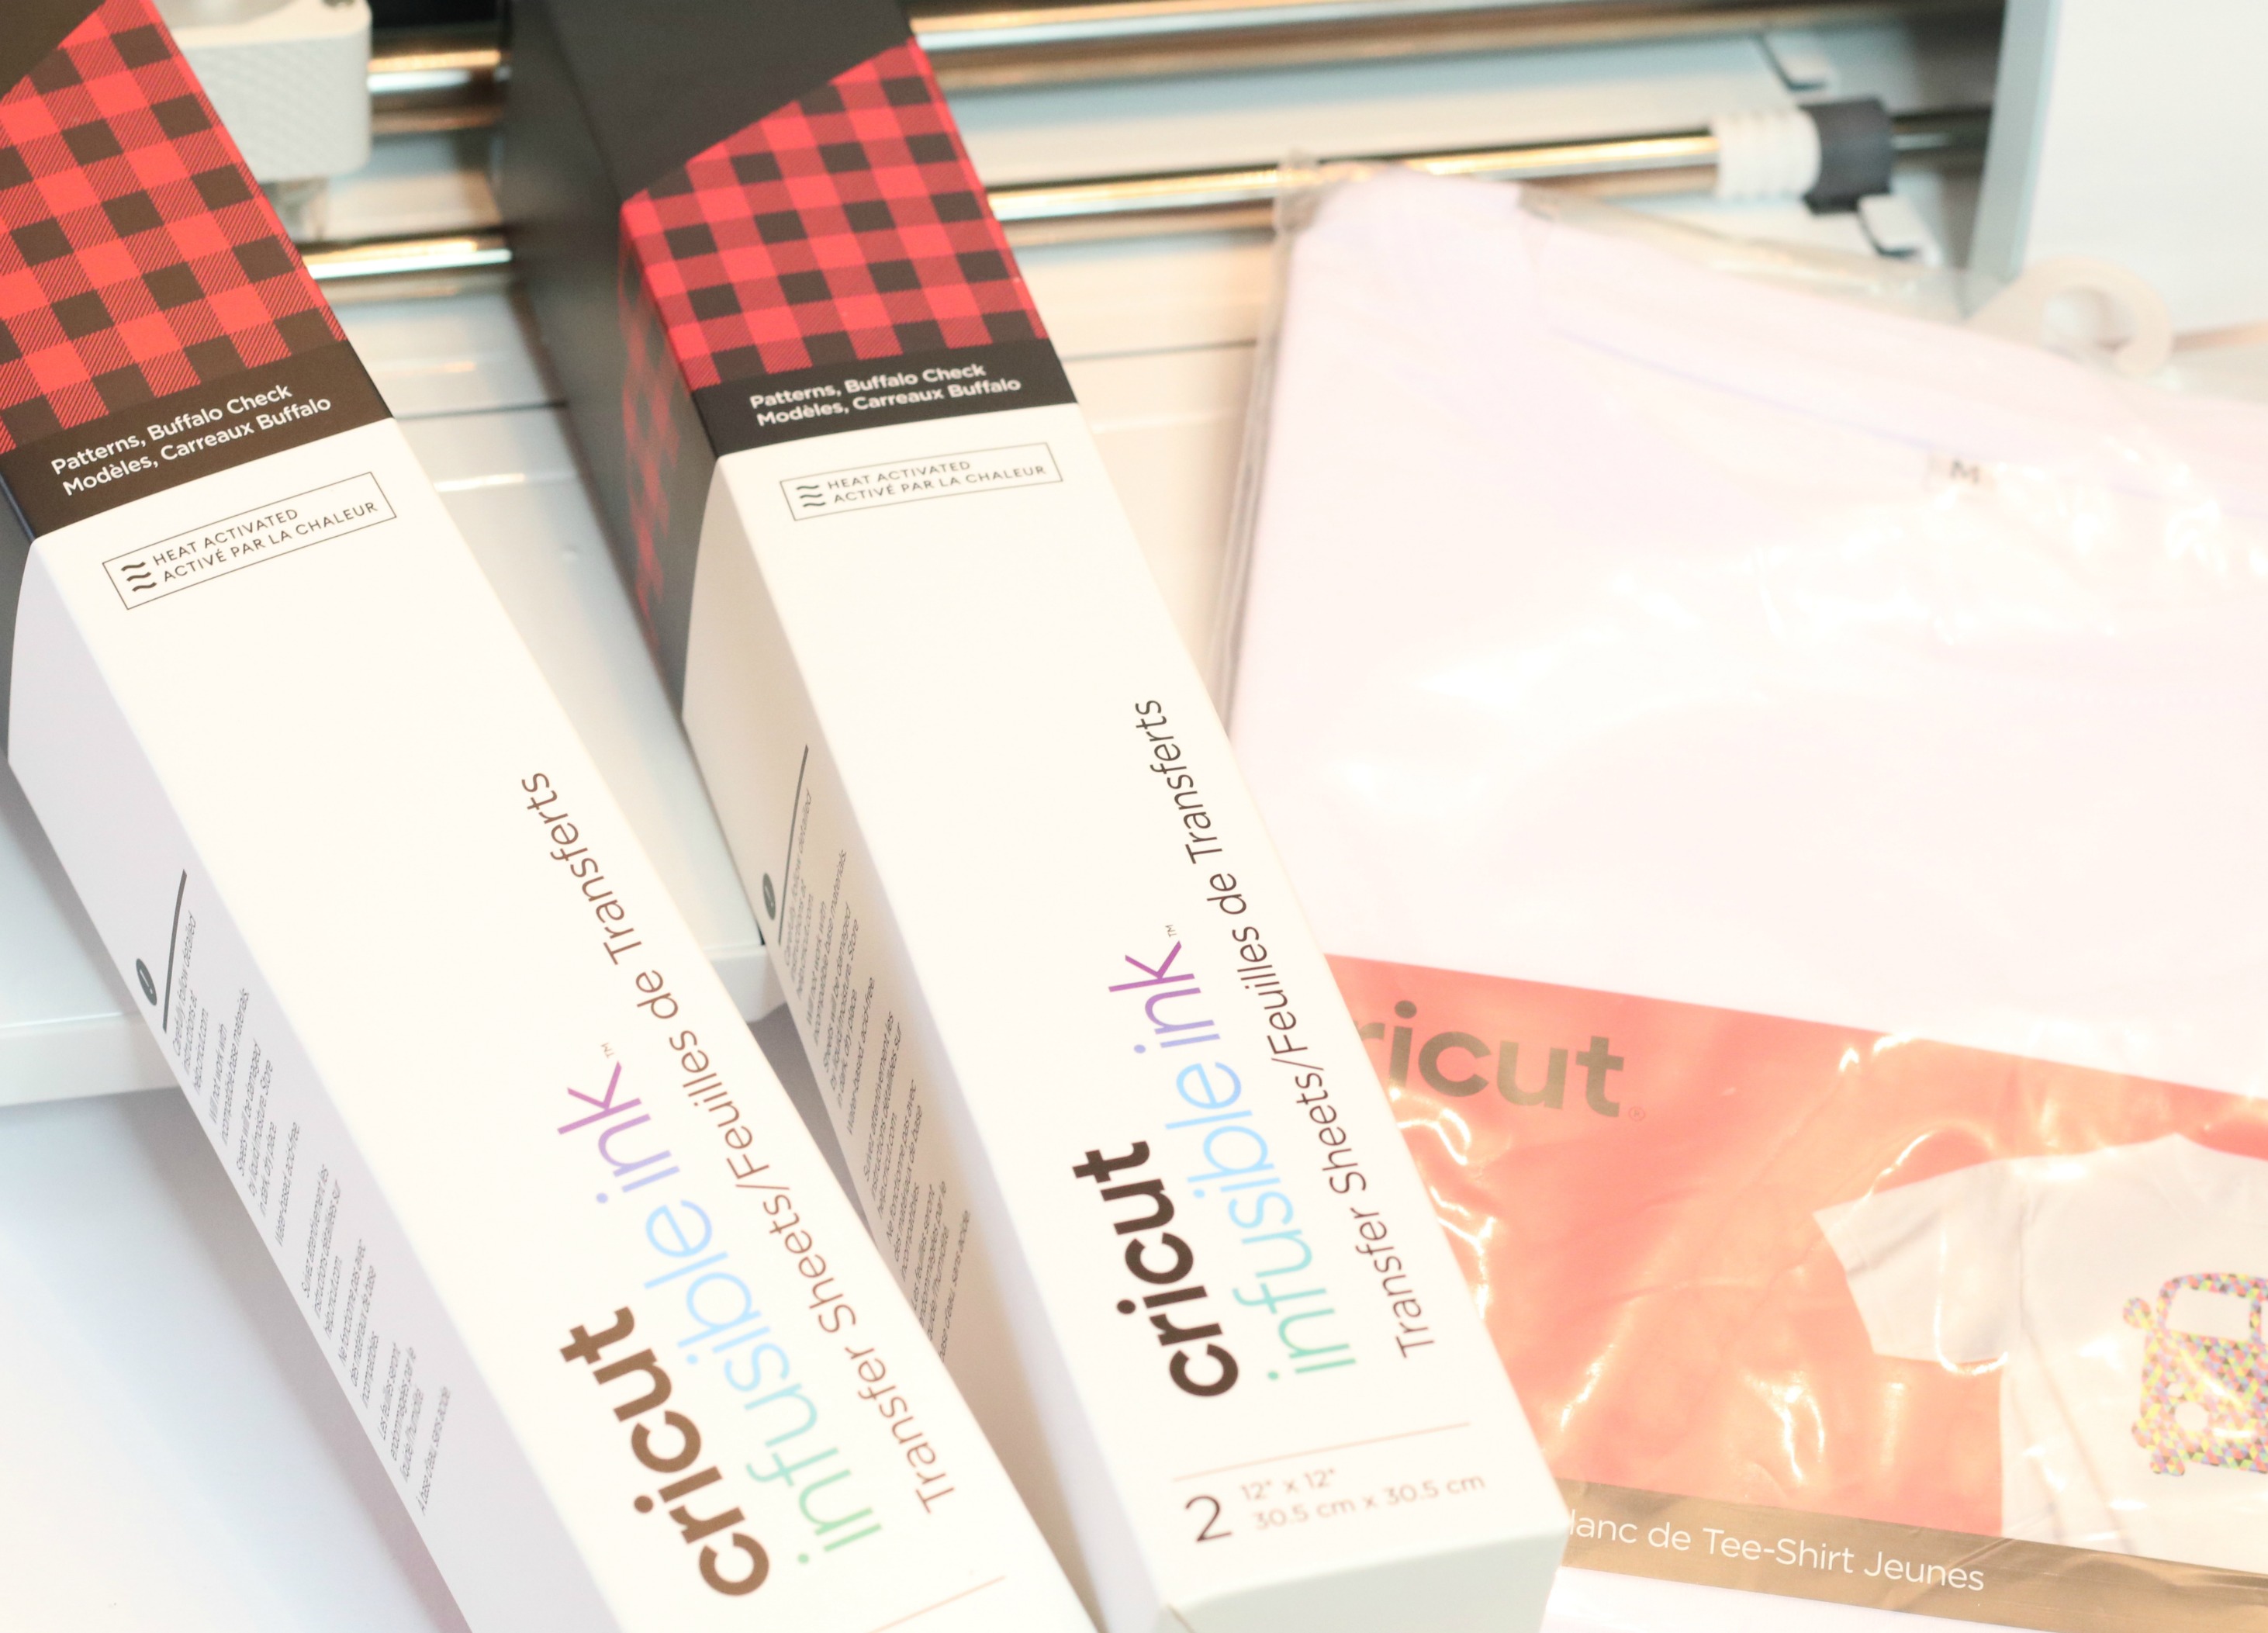
- Cricut Infusible Transfer Sheets
- StandardGrip Mat
Matching Christmas Pajamas
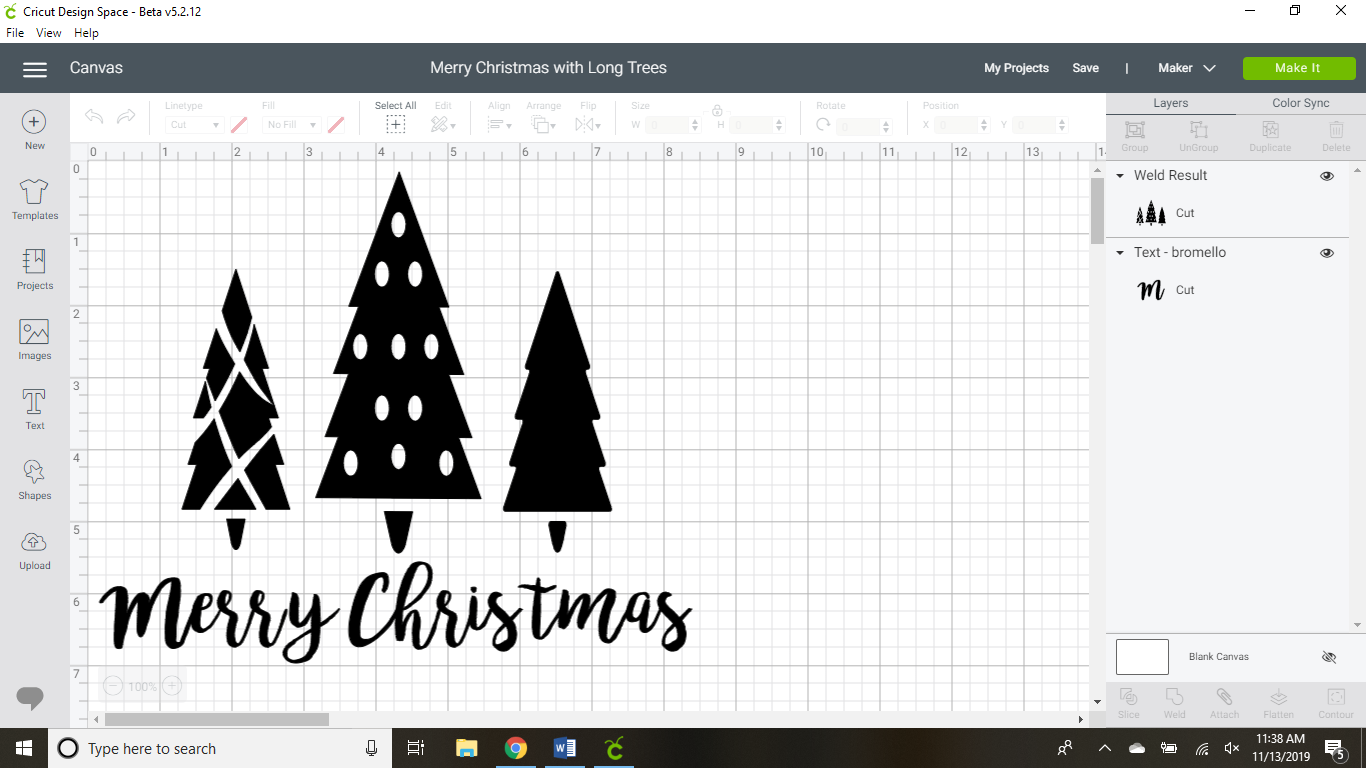
I just love Christmas trees and when I found these images in the Cricut Design Space, I knew they were perfect! I wanted a design that would be great for the whole family and thought this would be perfect. Because this was my first time using the Infusible Ink Transfer Sheets I cut each image individually. Here is the link for the full image.
If you want to use different colors and patterns like I did, here are the links to each tree and the wording separately.
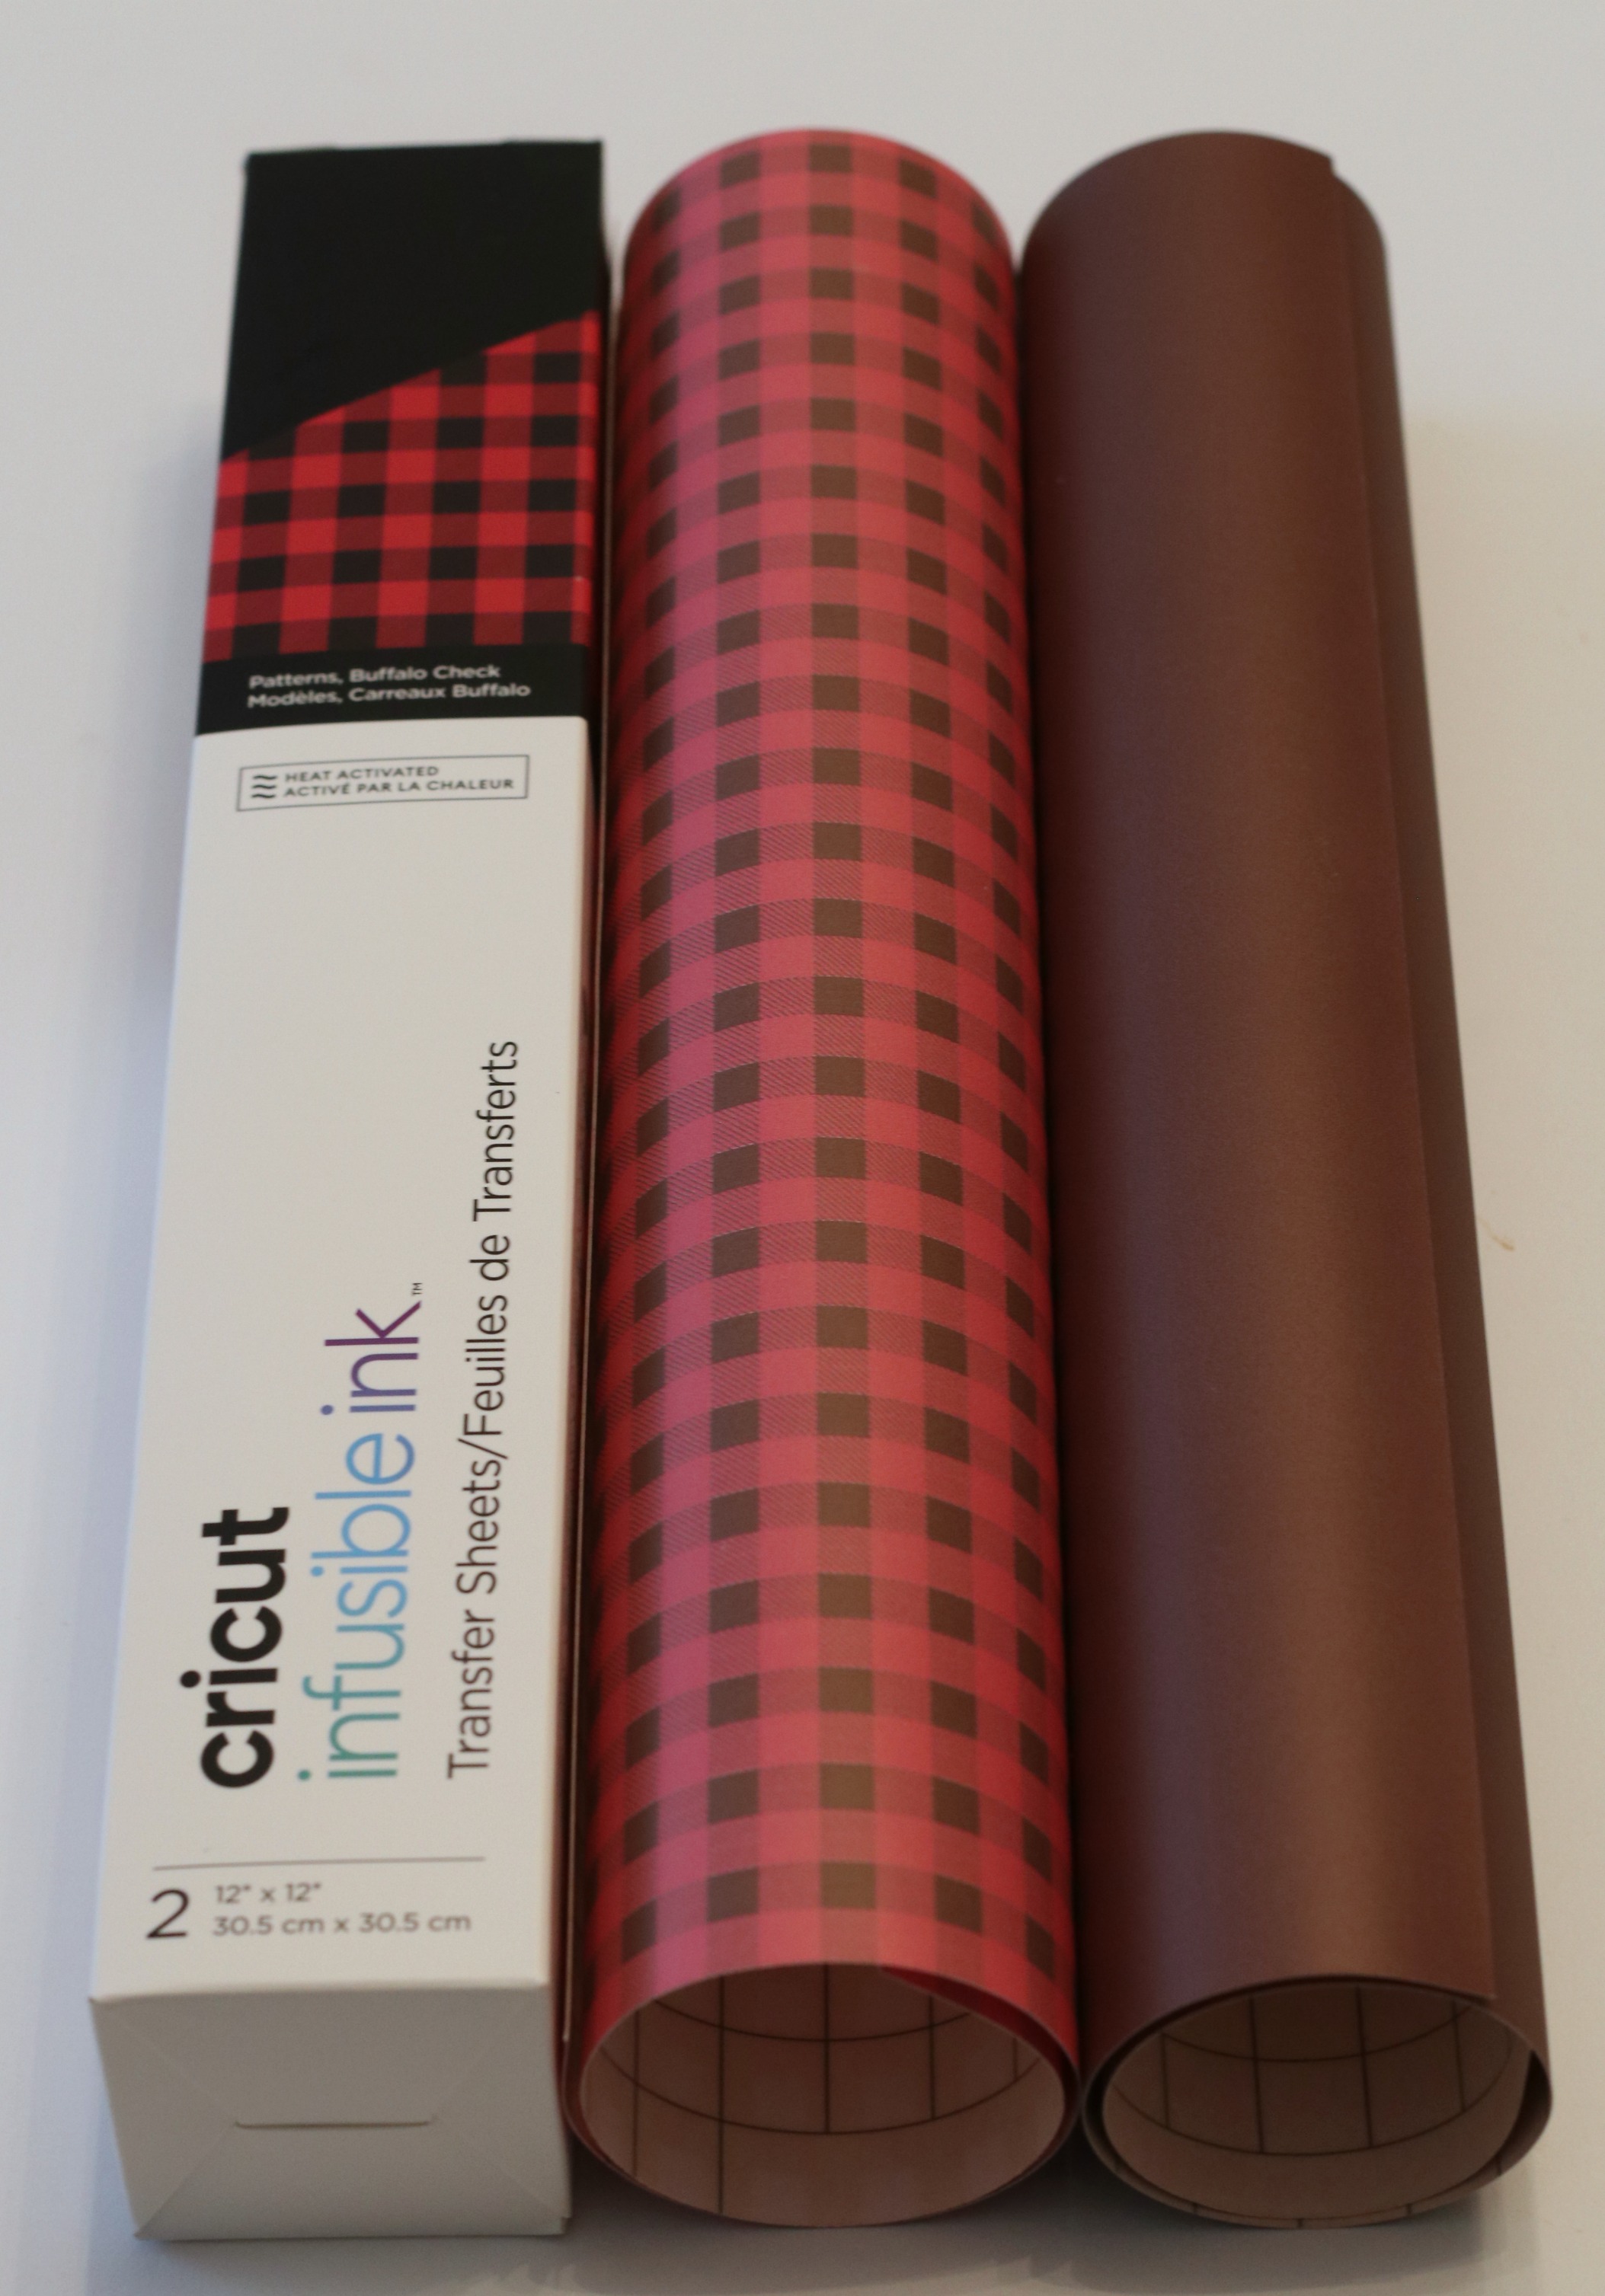
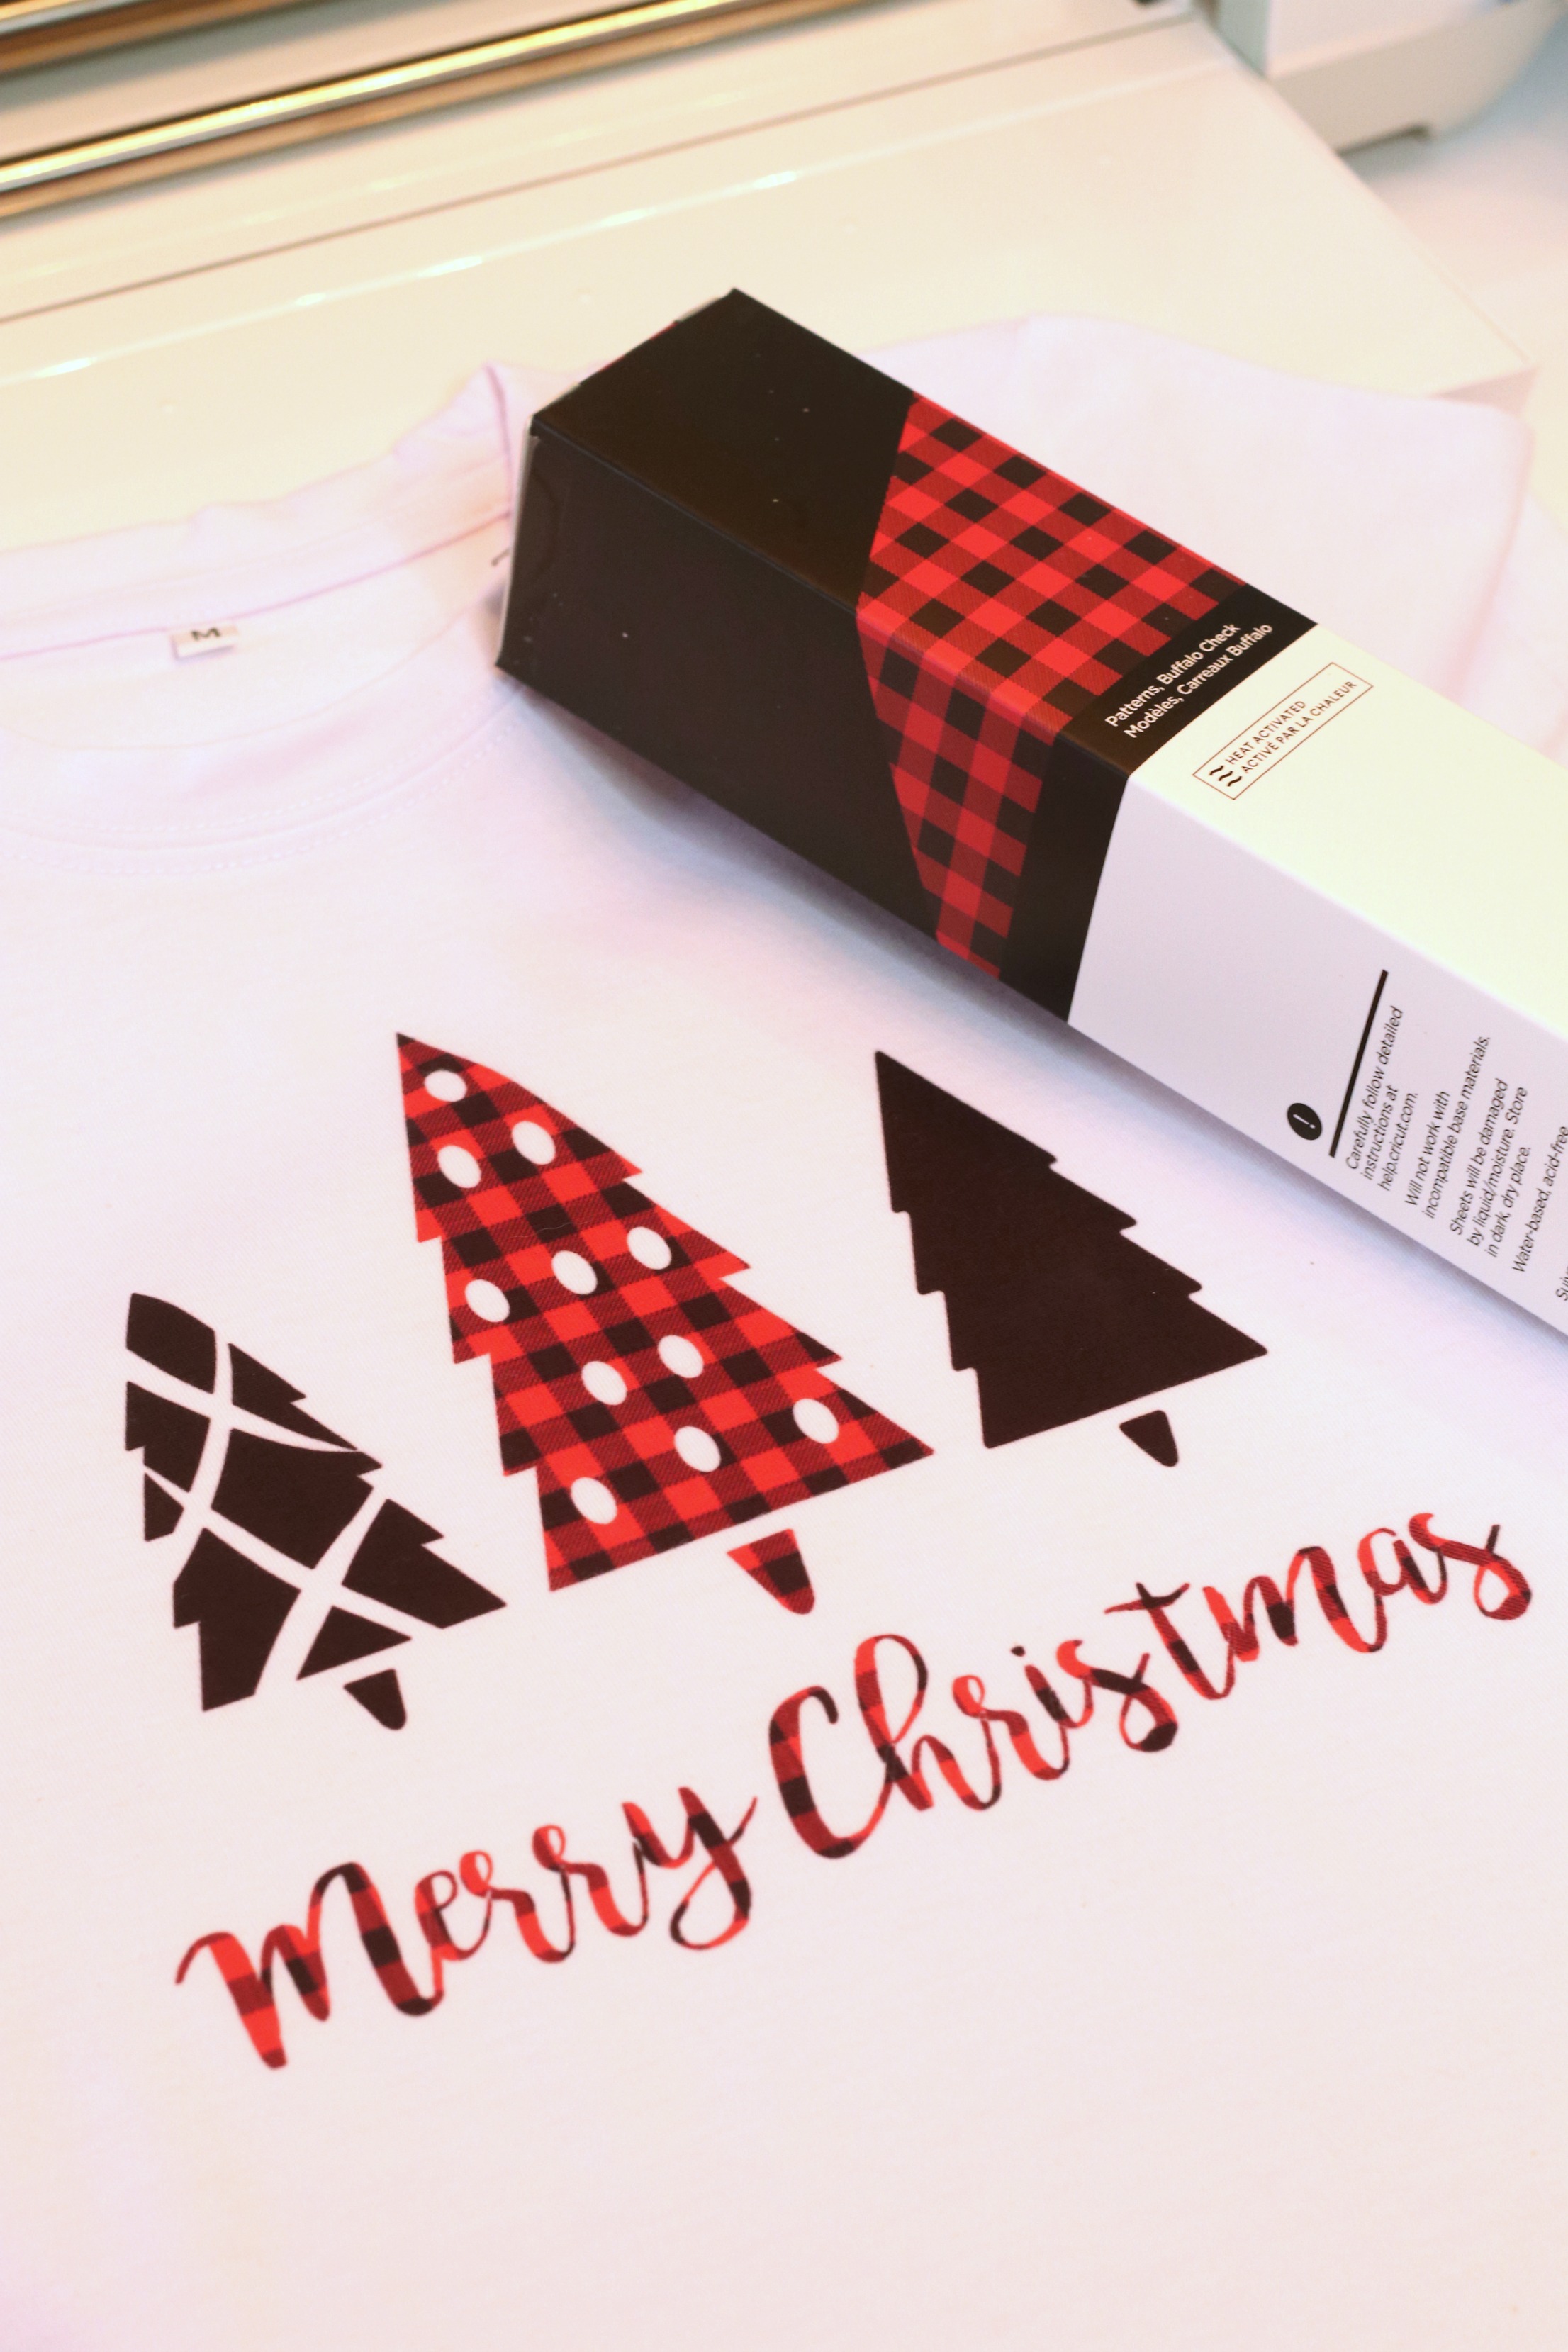
There are so many cute print options for Cricut Infusible Ink Transfer Sheets. I decided on the Buffalo Check for the perfect classic Christmas feel.
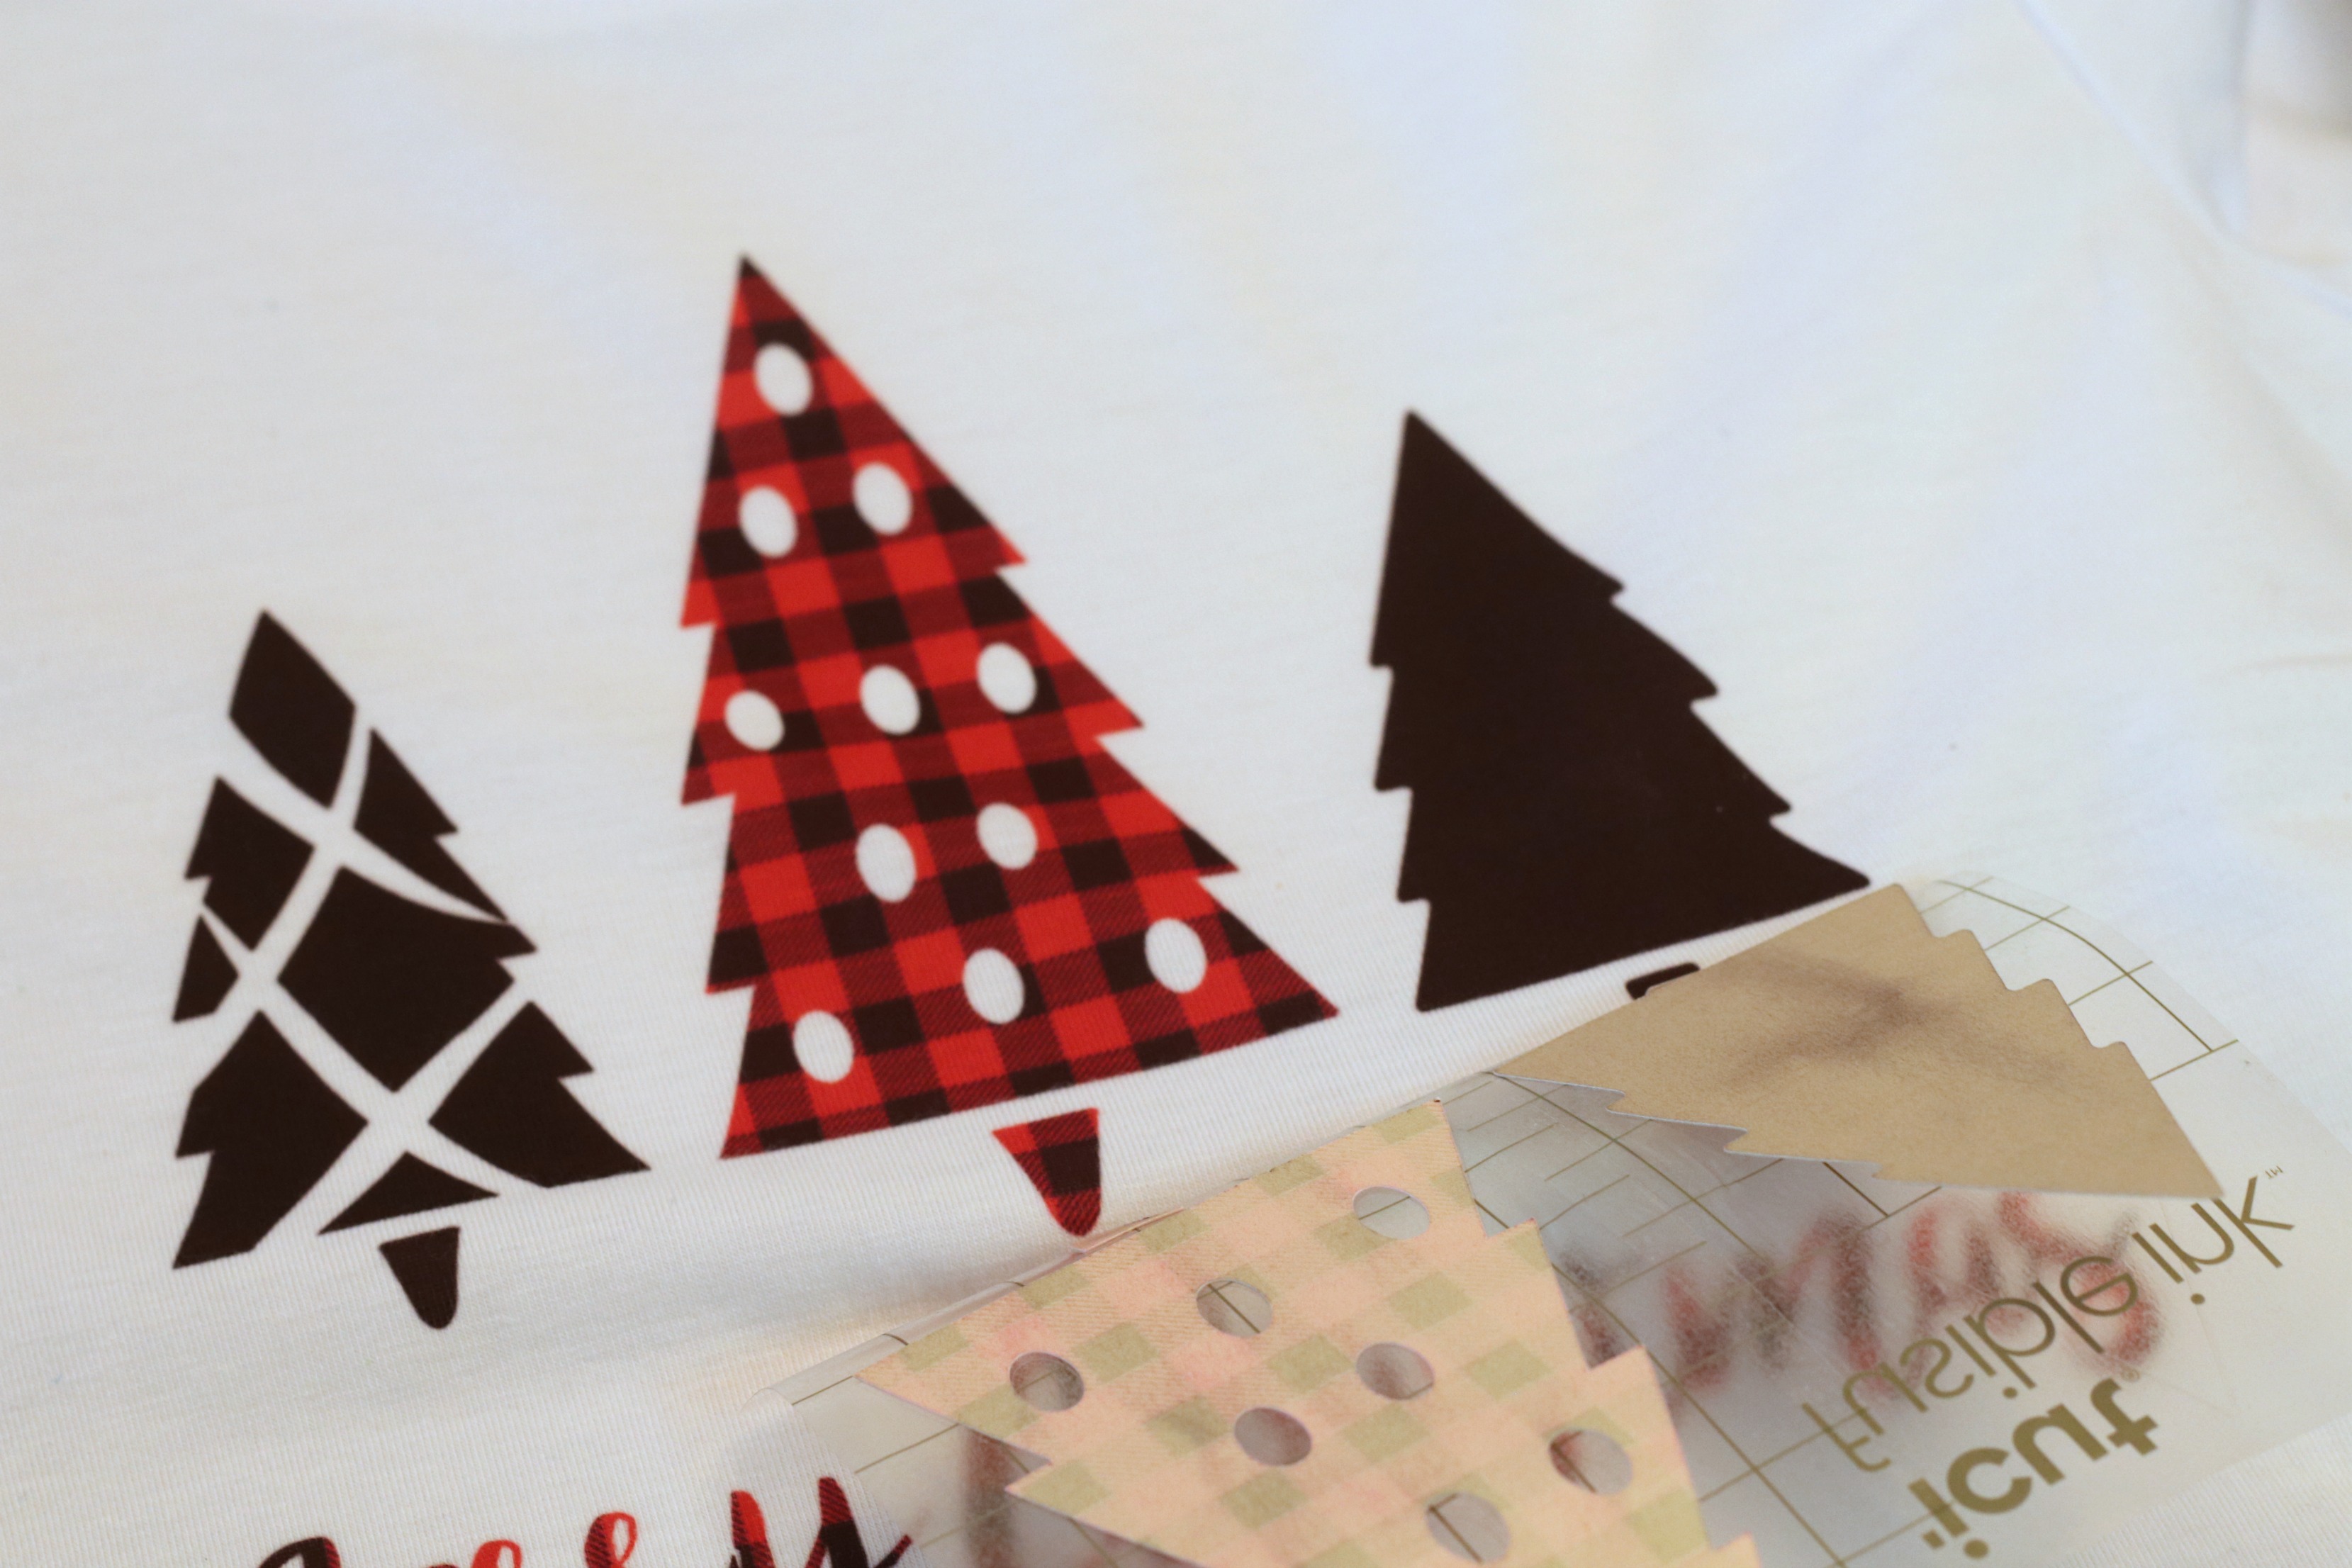
Note: when you are using the Infusible Ink sheets, the color is not as vibrant as it is before you heat press it. As you will see, when you apply the heat the colors transform and will be a bright red and black.
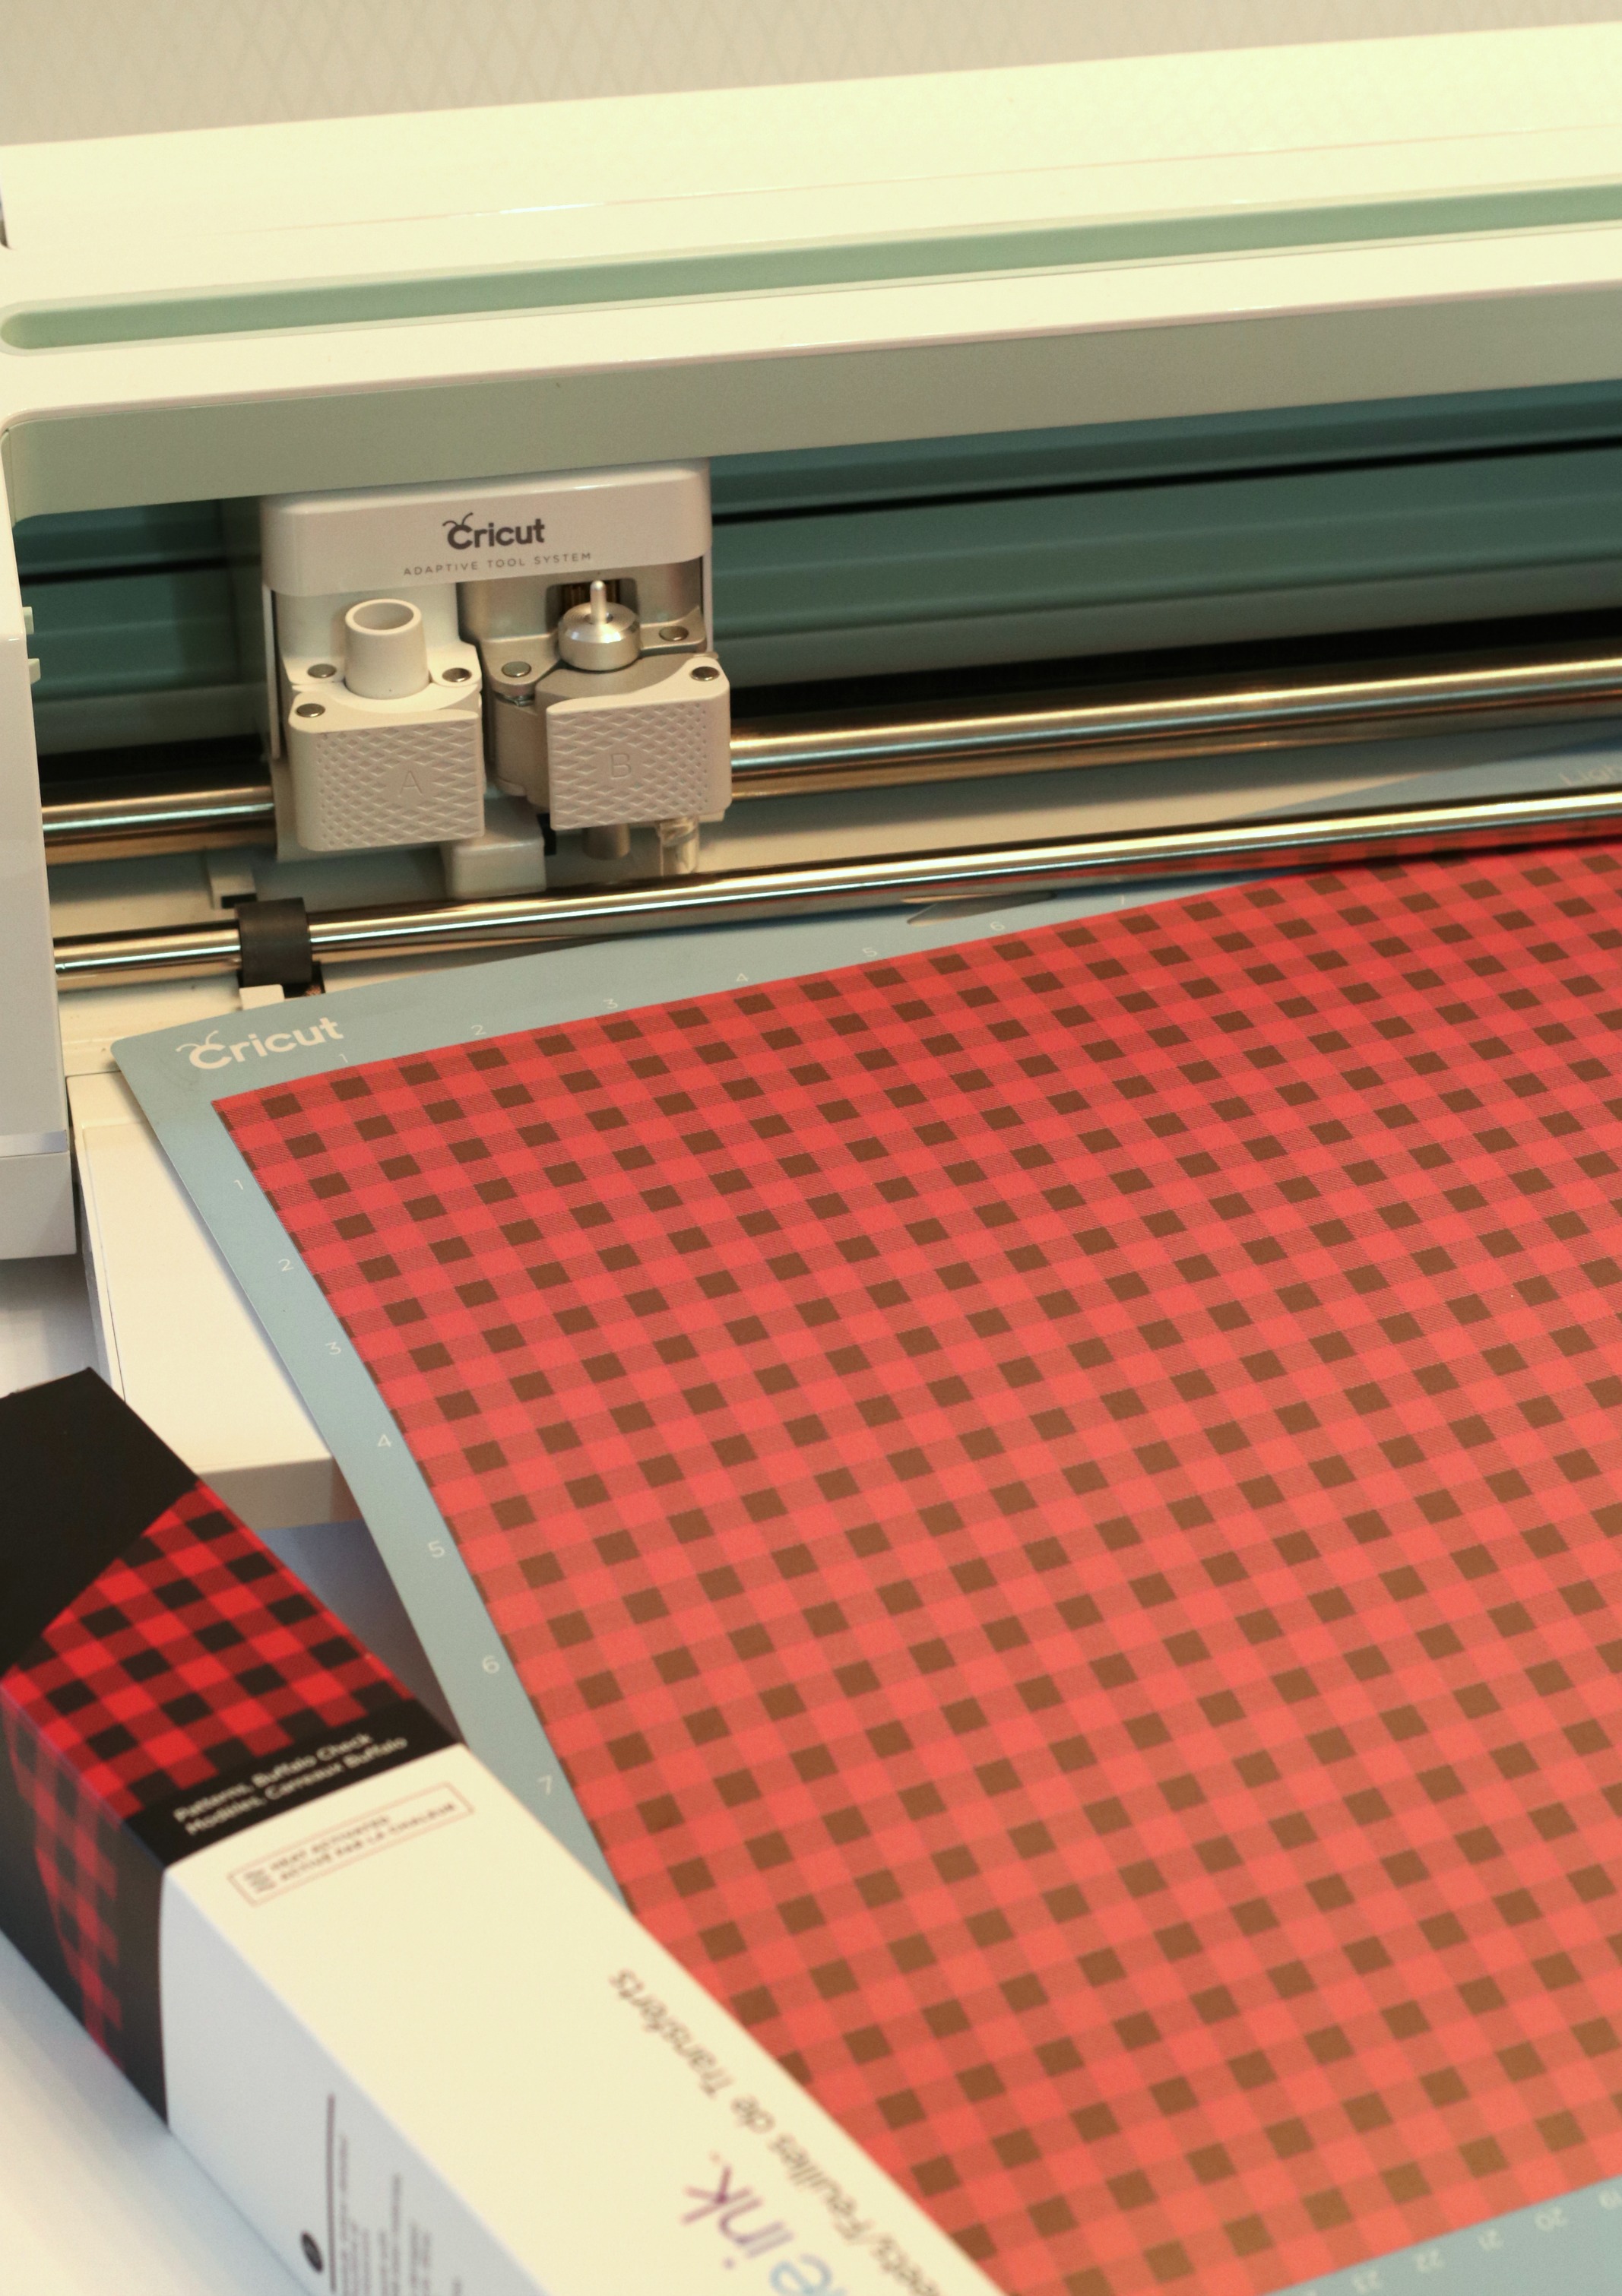
After you have decided on your image it is time to start cutting! I was nervous to start the cutting process but was happy to find out it is the same as cutting Iron-On Vinyl.
Cricut recommends using the StandardGrip (green) mat for cutting. I used the blue and it worked out great as well. Place your transfer sheet print or color side up for cutting.
Once your image is ready to go, be sure to MIRROR your image before cutting. Remember that you will place the image pattern size down before applying the heat press.
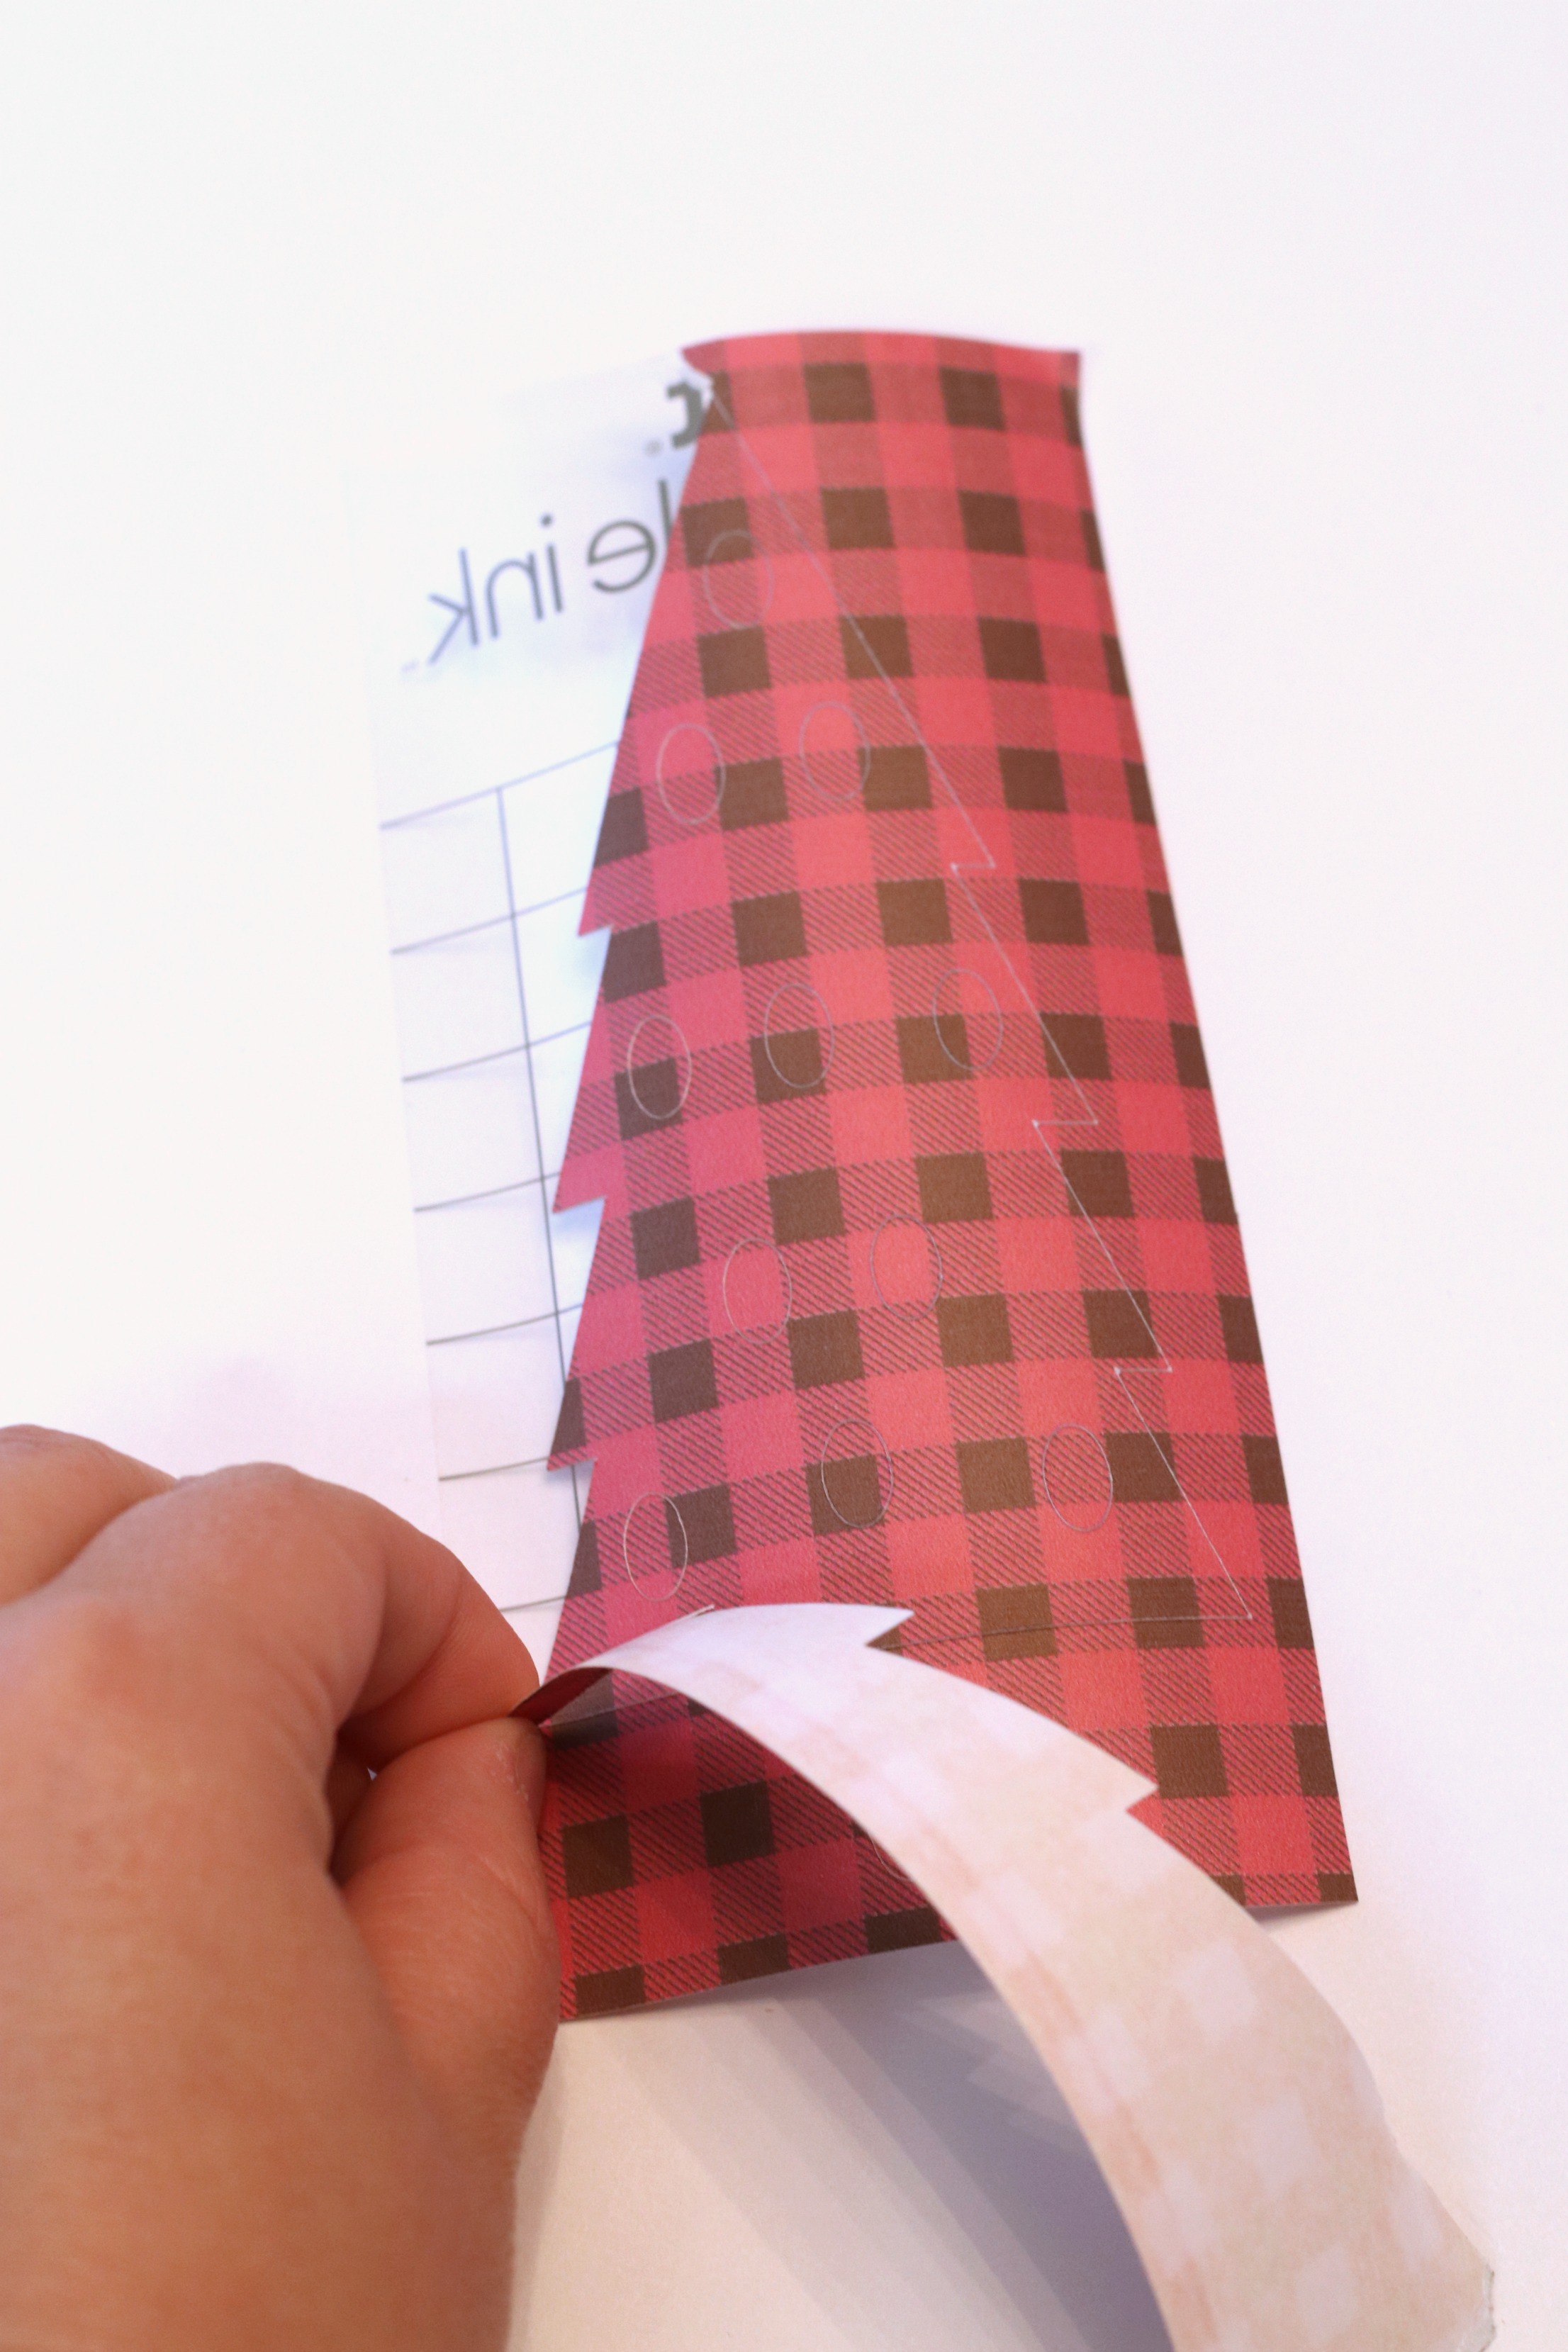
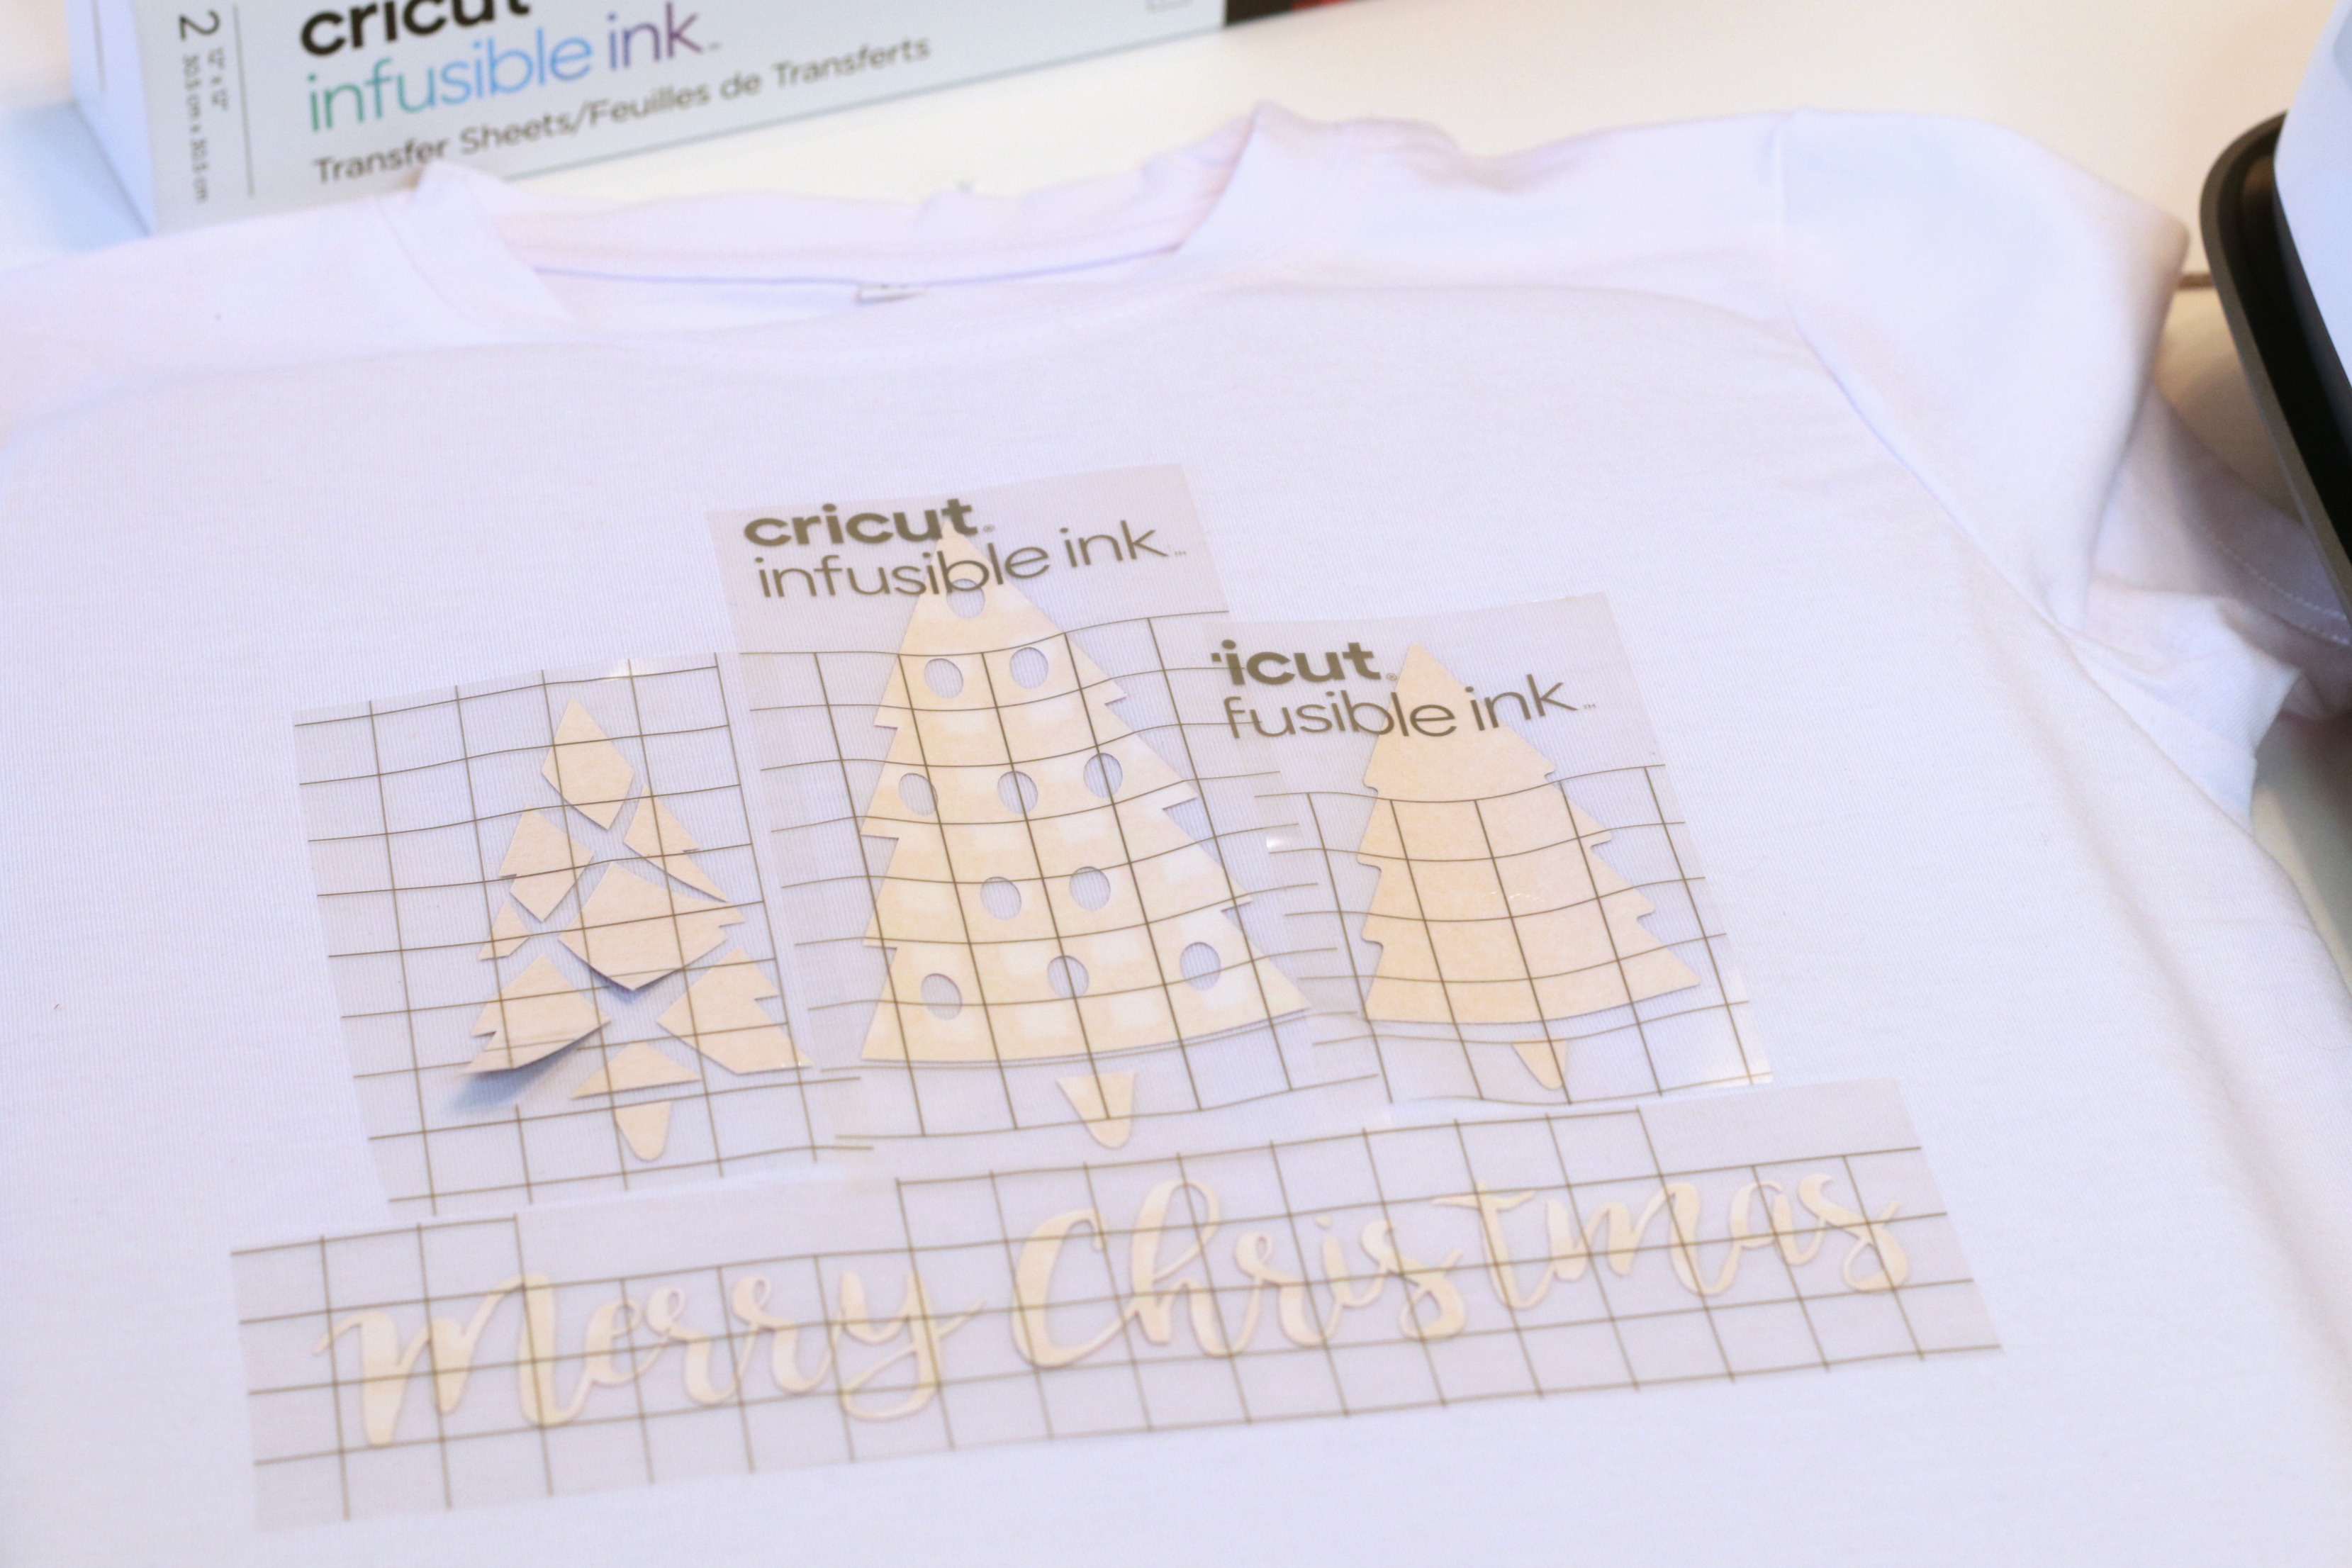
After you cut the images it is time to remove the excess material. A big difference between removing iron-on vinyl and Infusible Ink is that you can actually remove the excess infusible ink by just peeling it off. You may want to use tweezers to get small pieces but it really is easy to remove.
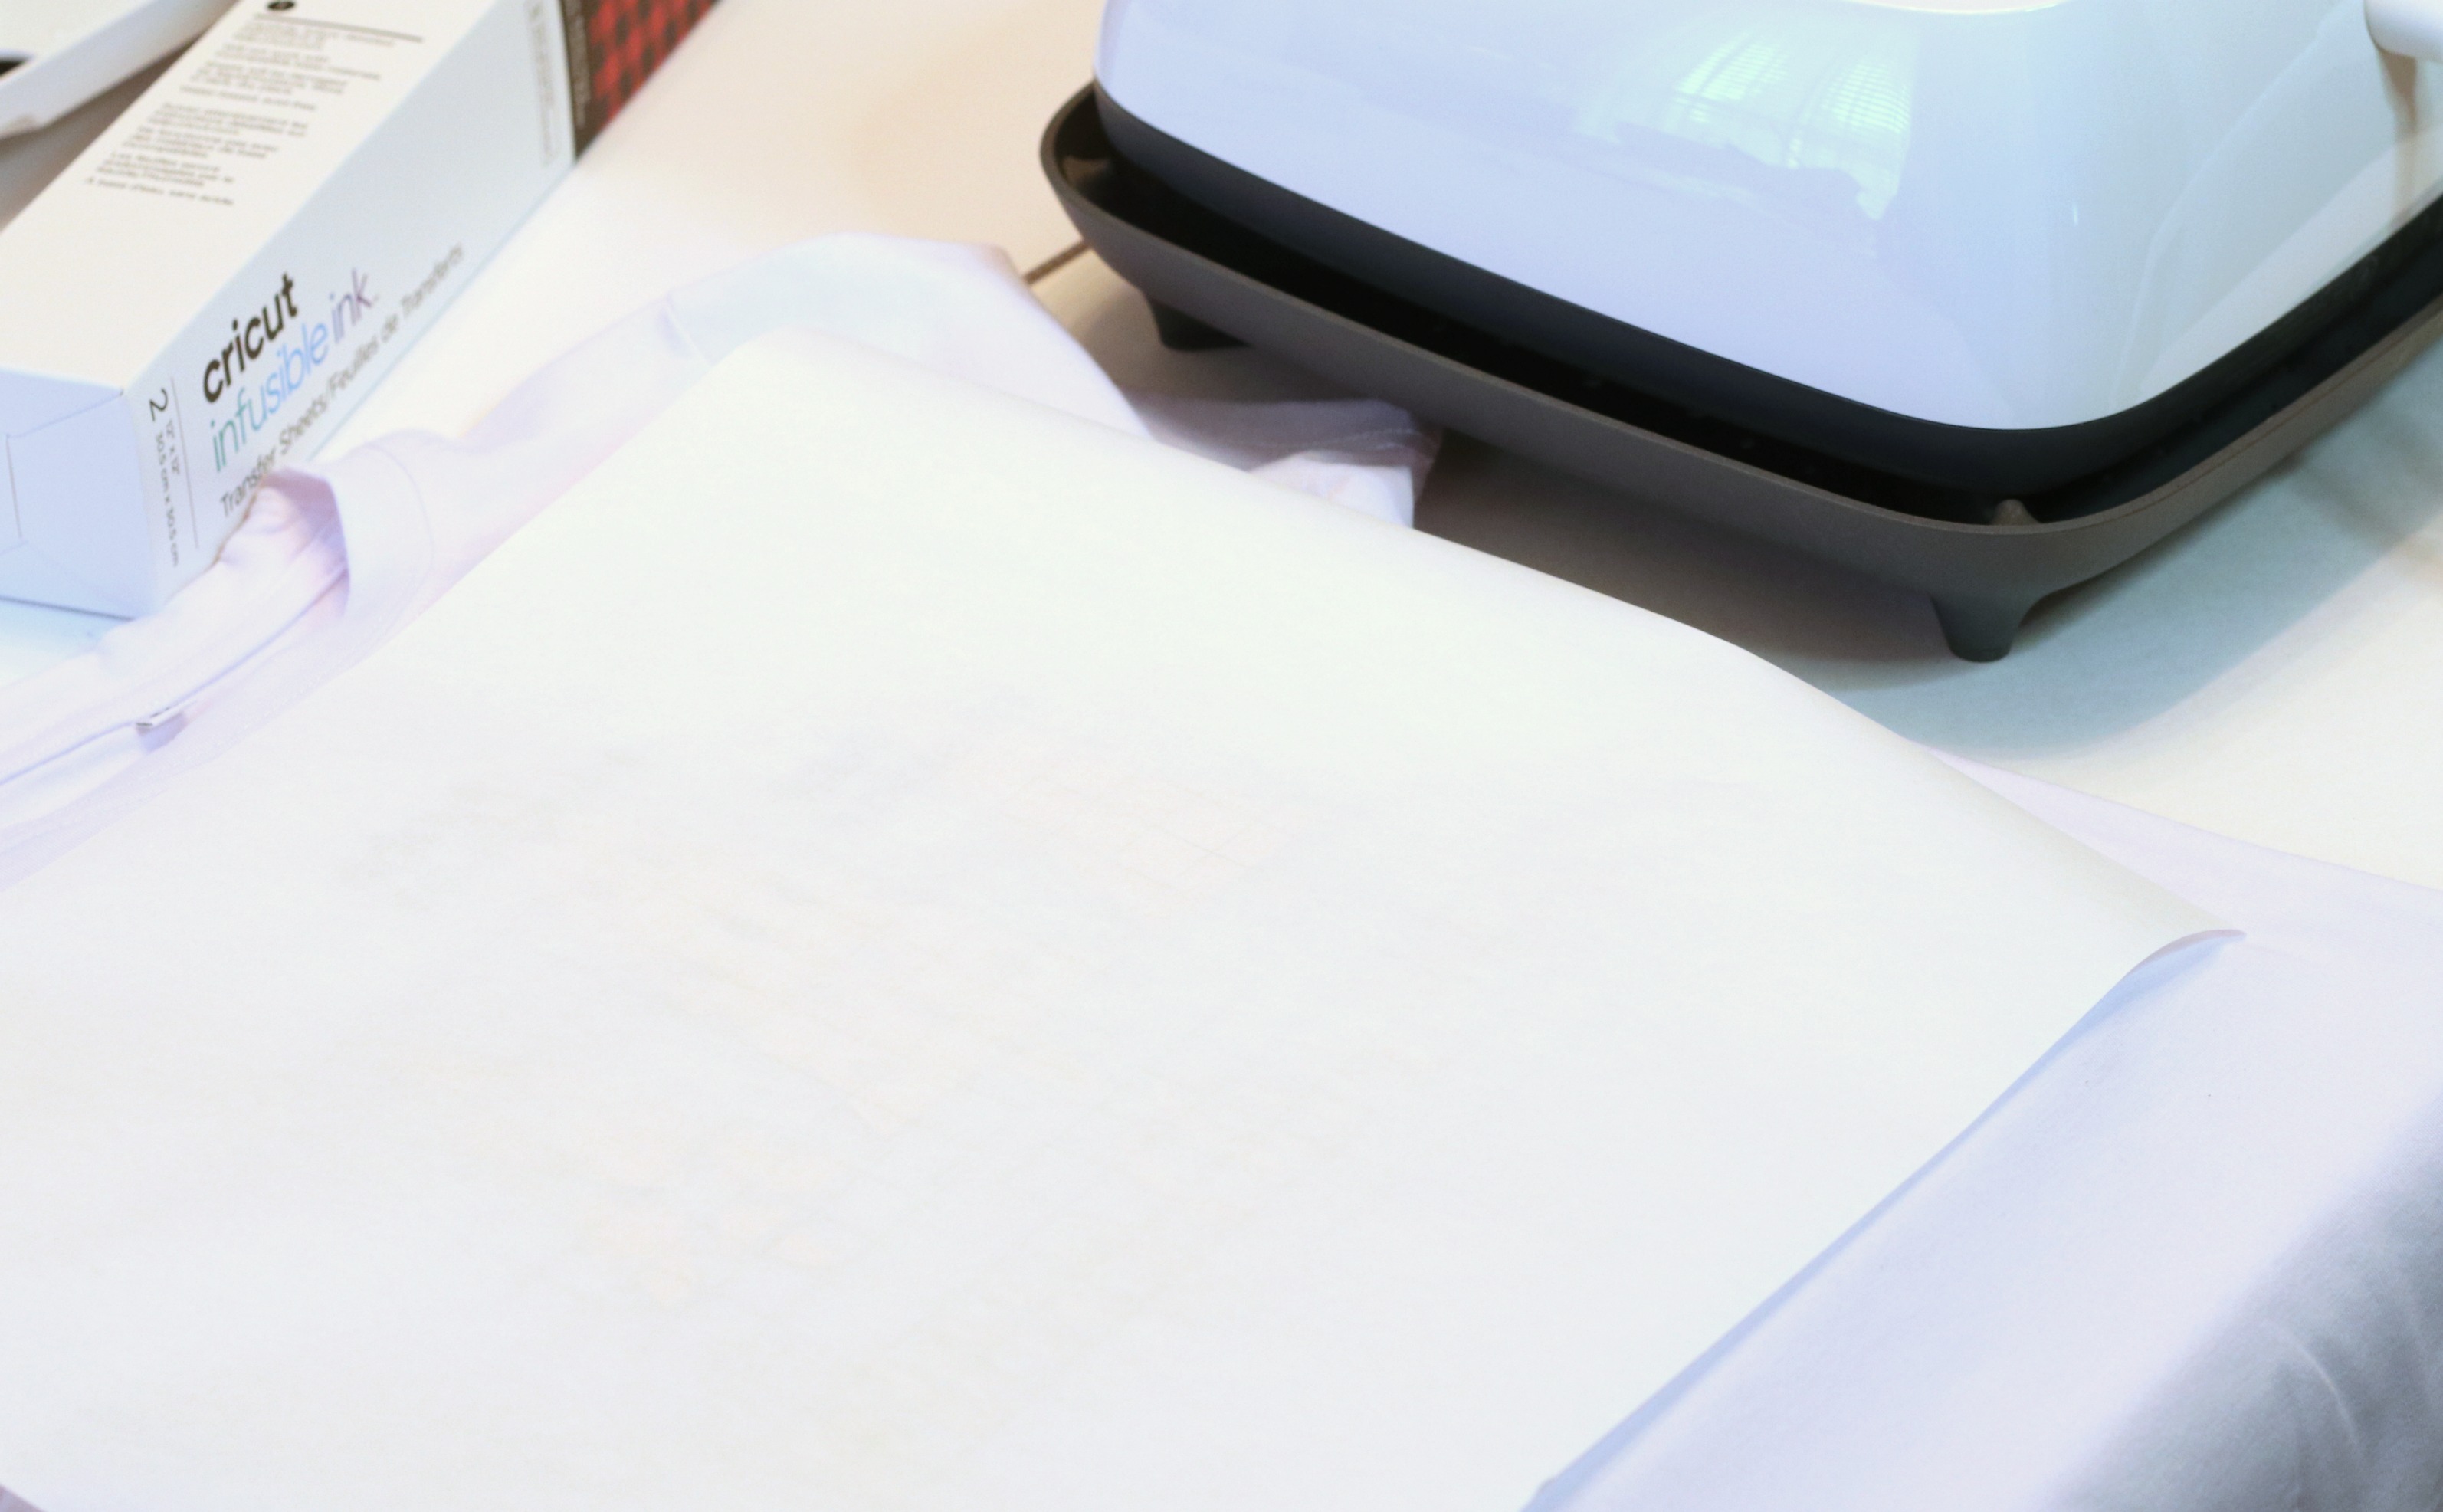
Now it’s time to place your image on the shirt. Again, be sure to put the image “paper” side down and cover the image with the butcher paper provided in the Cricut Infusible Ink package.
Once you have it ready to go it is time for the heat press process.
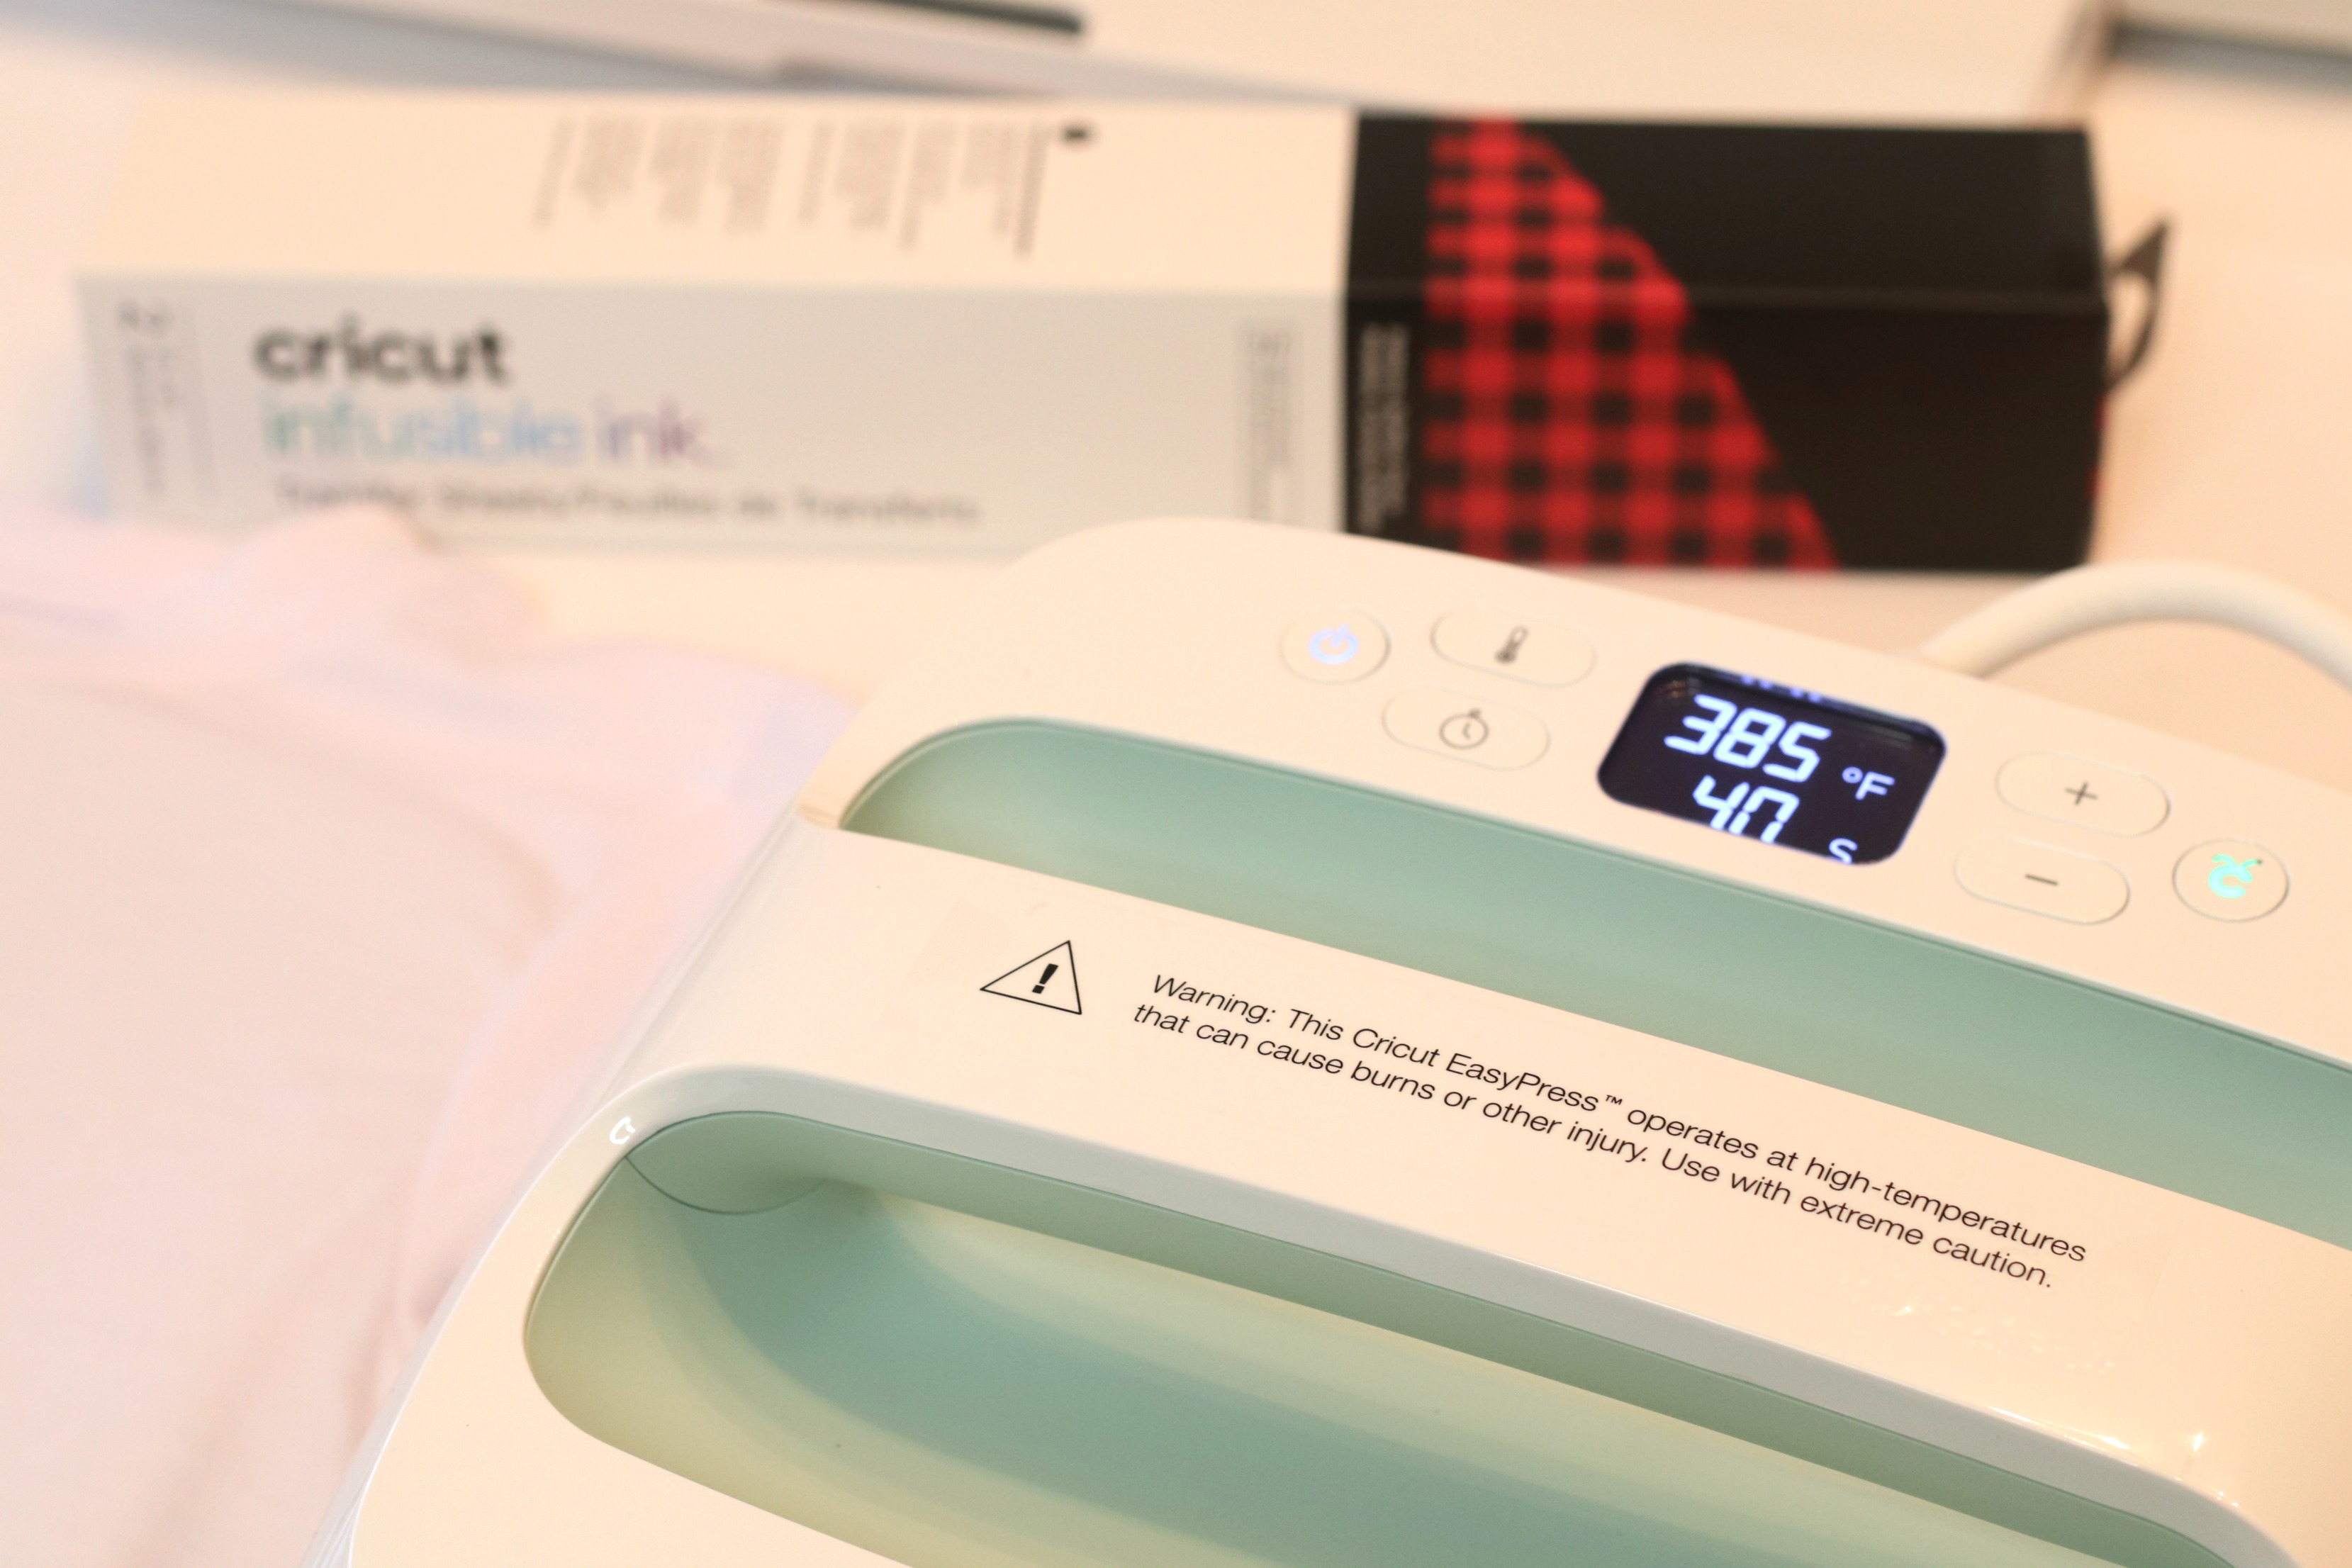
Set your EasyPress2 to 385 degrees F and for 40 seconds. If you have not adjusted your heat and temperature before, simply use the thermometer button and clock button on the left.
Apply the EasyPress 2 for 1 rotation. Let image cool then gently remove the transfer sheet. Notice that the paper backing will also come off with the plastic cover. When you apply the heat press, the color transfers to the shirt and off the paper backing.
I absolutely LOVE how these Christmas Pajamas turned out! Now, it’s time to make all of the gifts I can think of!




[…] Moms Without Answers made some really cute Christmas pajamas with the new Cricut Infusible Ink. Check out this simple project that you can customize for your own family. […]