Happy Friday friends! If you follow us on Instagram you know that my 2 littlest beauties just turned 3 and 4.
Please excuse me while I compose myself. Where have my babies gone?
Ok, back on track. Everly and Ellie’s birthdays are just 9 days apart but instead of doing 1 giant party and making it easy on everyone (Mom) we will be holding 2 parties in 2 weeks. I apologize to all of you attending both.
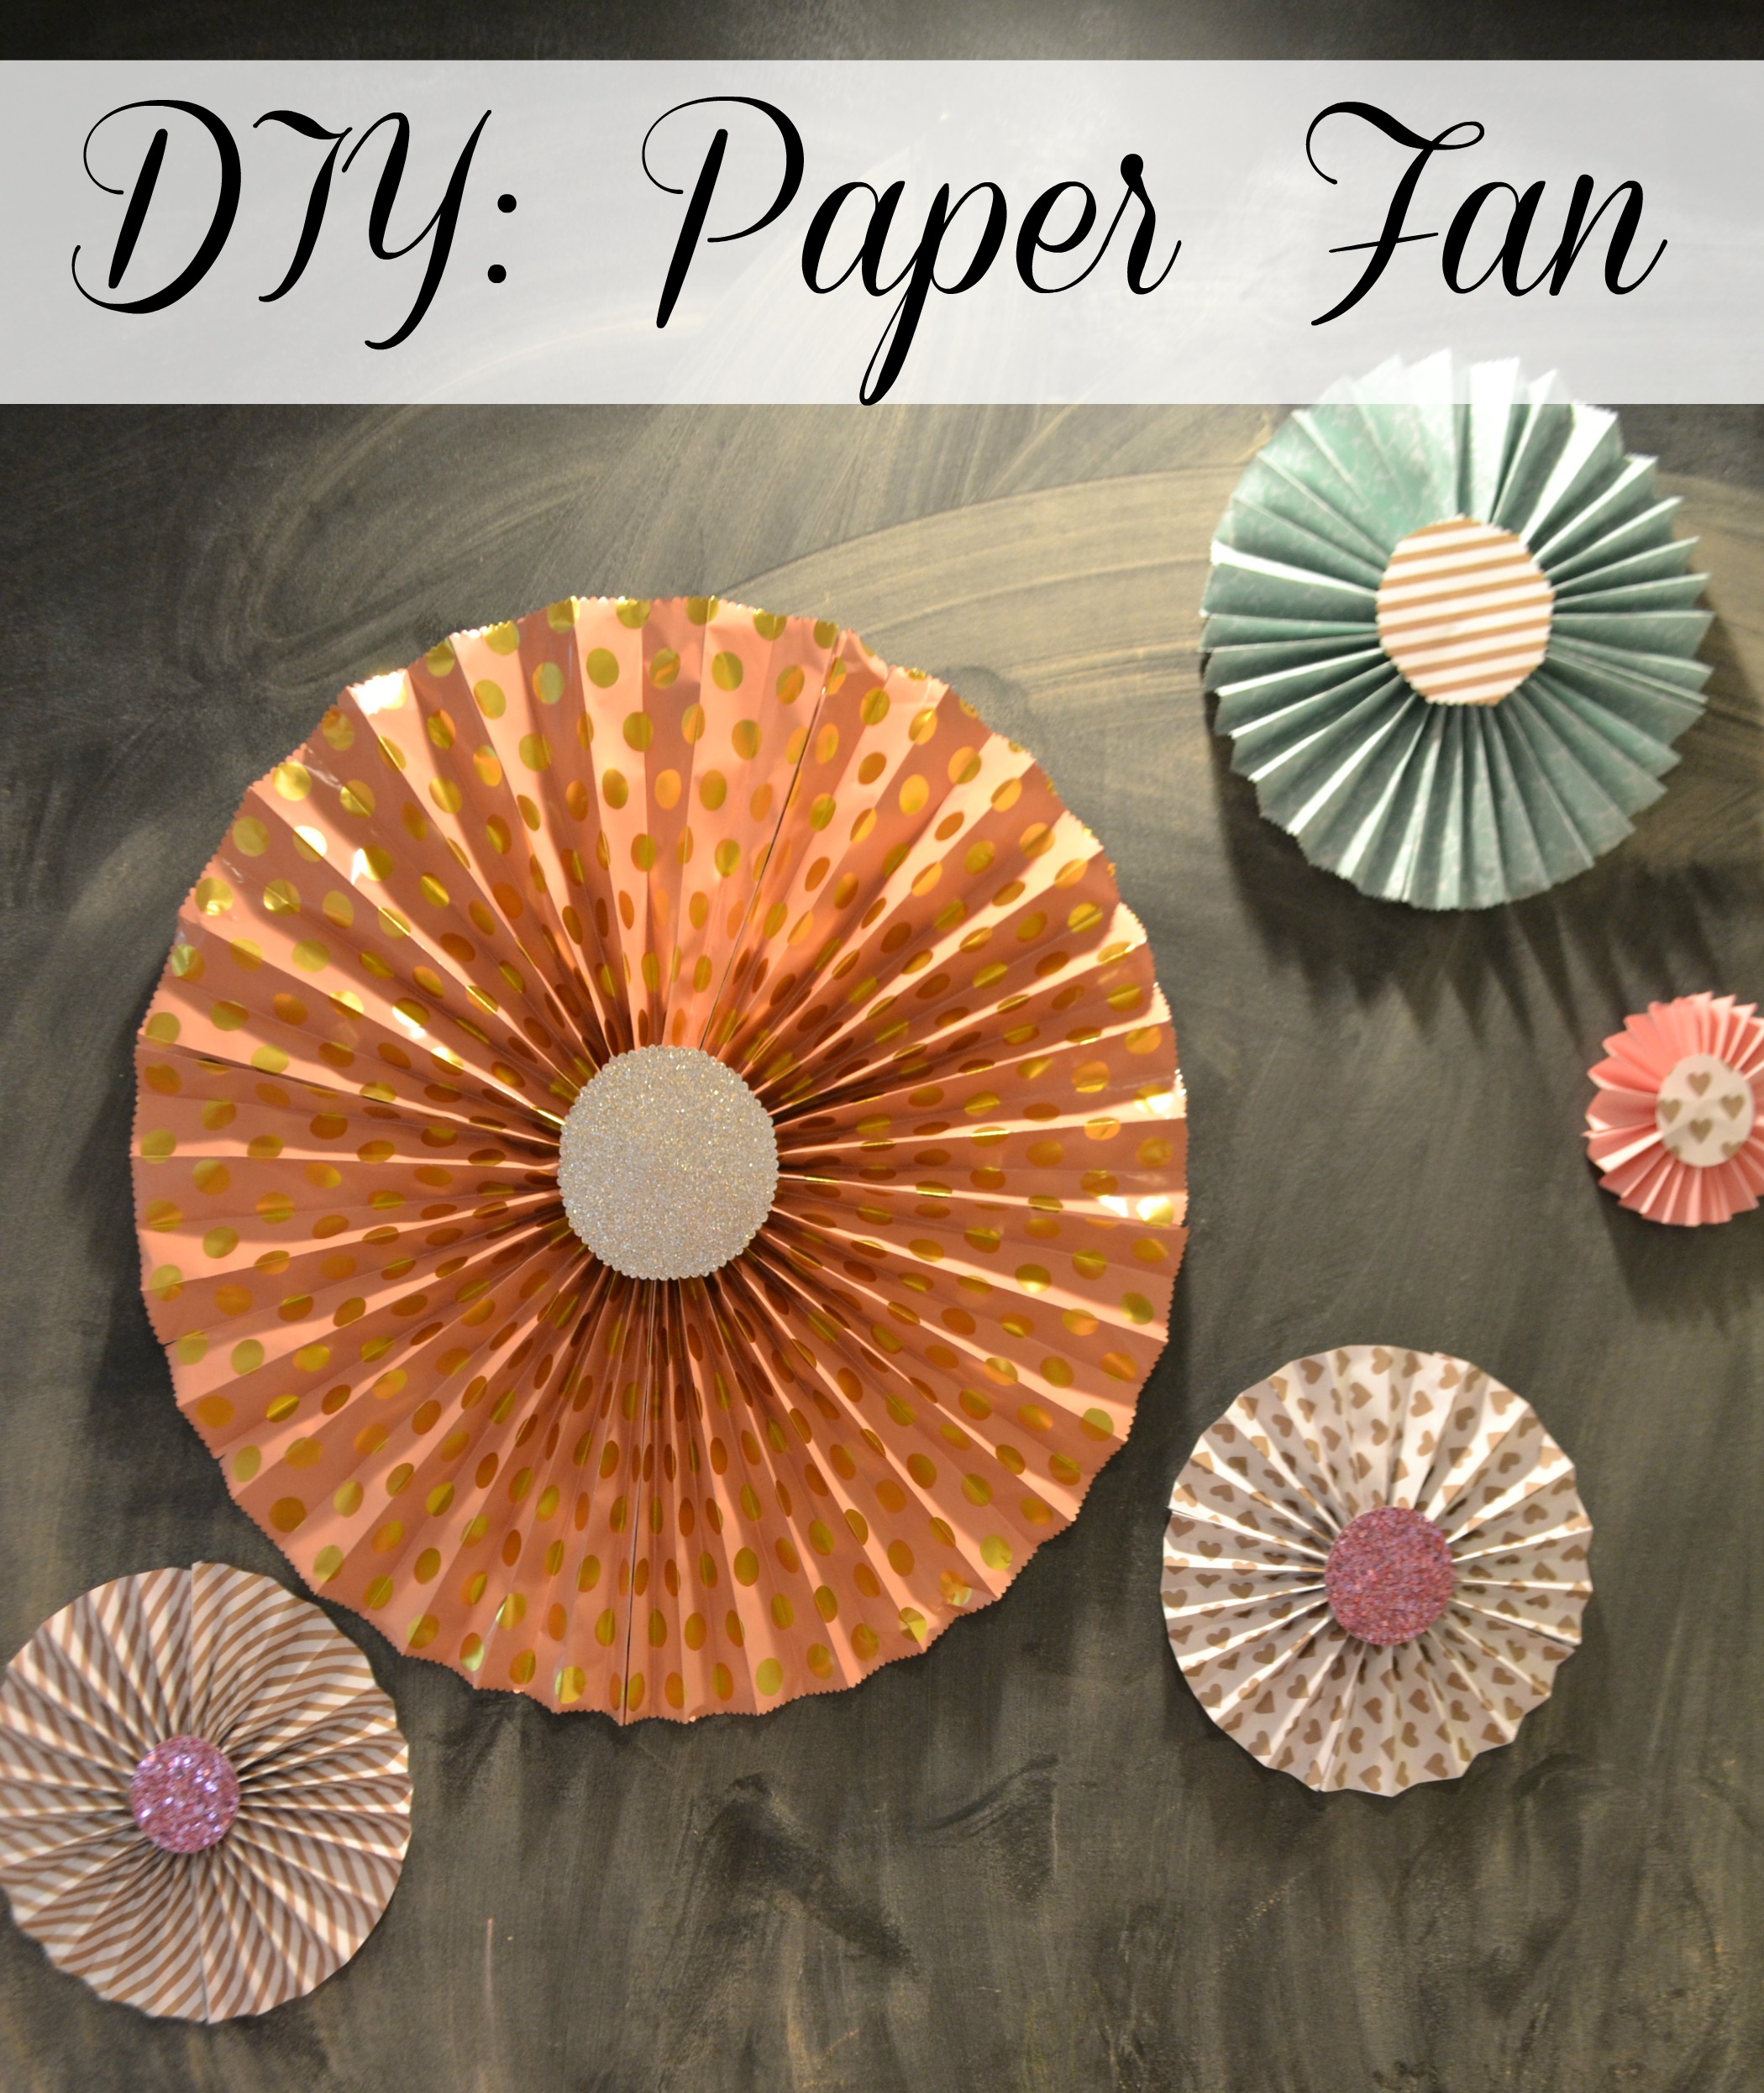
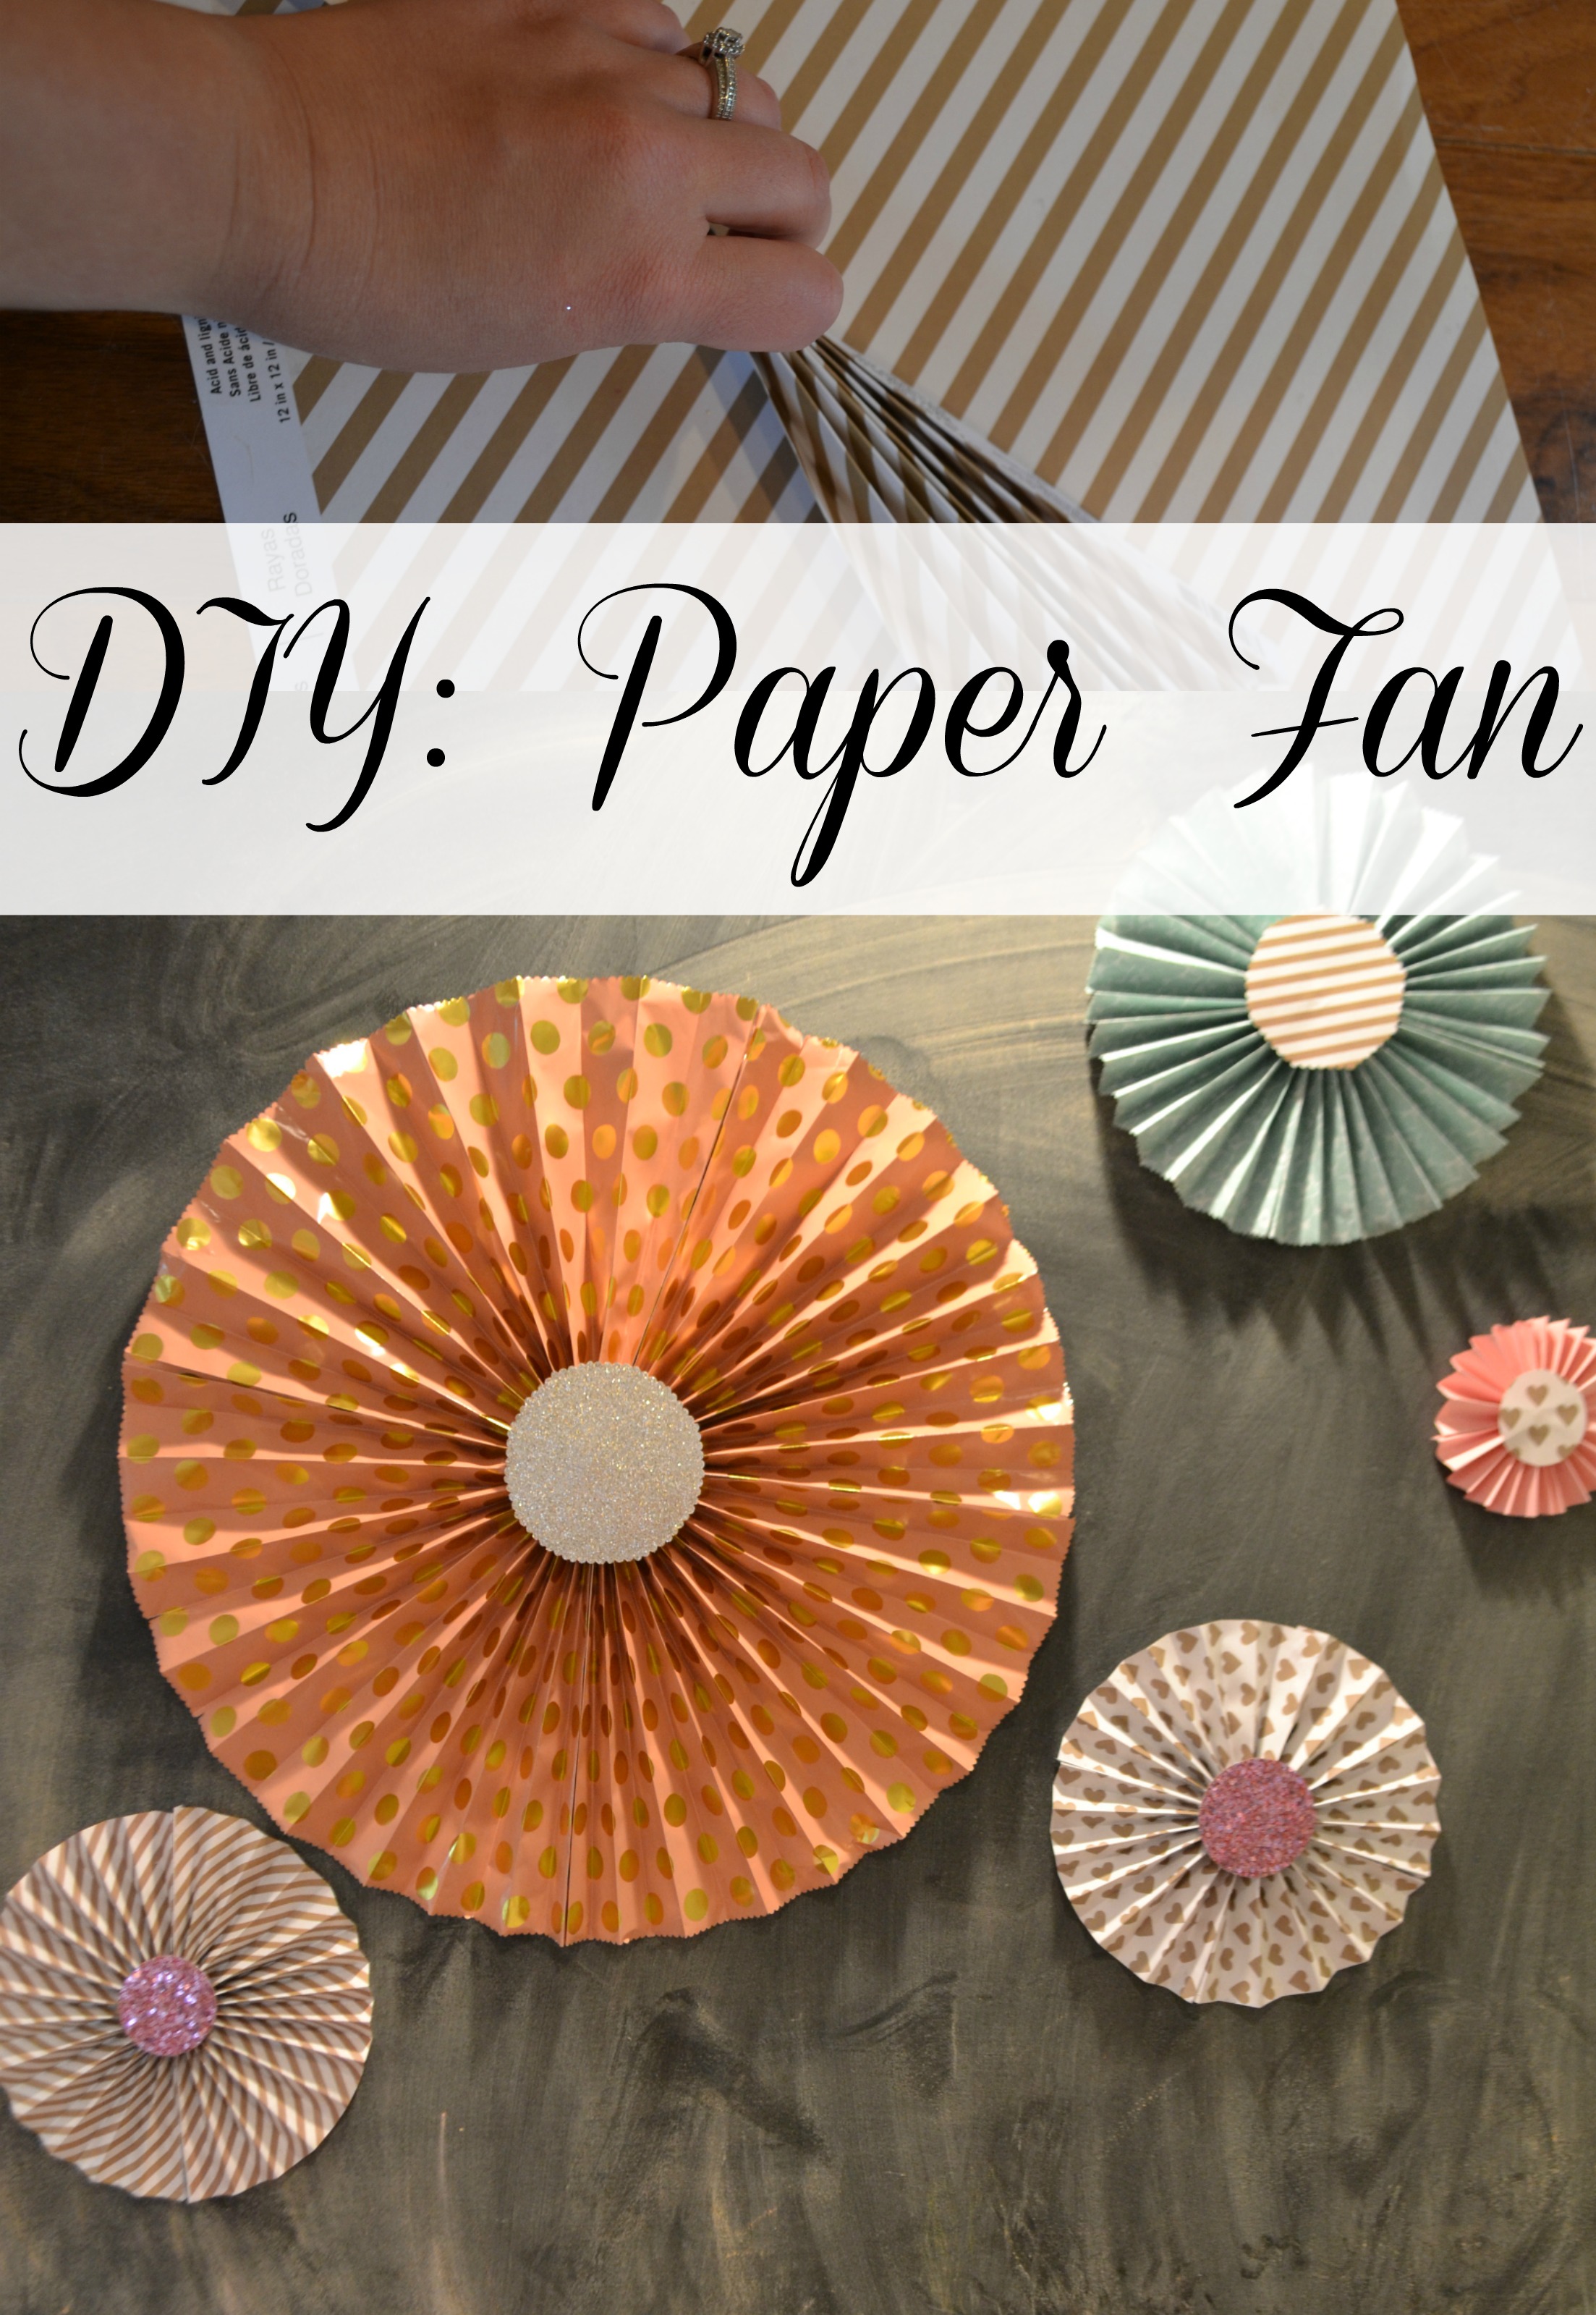
Birthday palooza will start with Everly’s Ballet Birthday party this weekend and I am having so much fun with her decorations. I had to give you all a sneak peak of the DIY: Paper Fans before the party even gets here!
First though, check out these invites. Are they not the cutest?
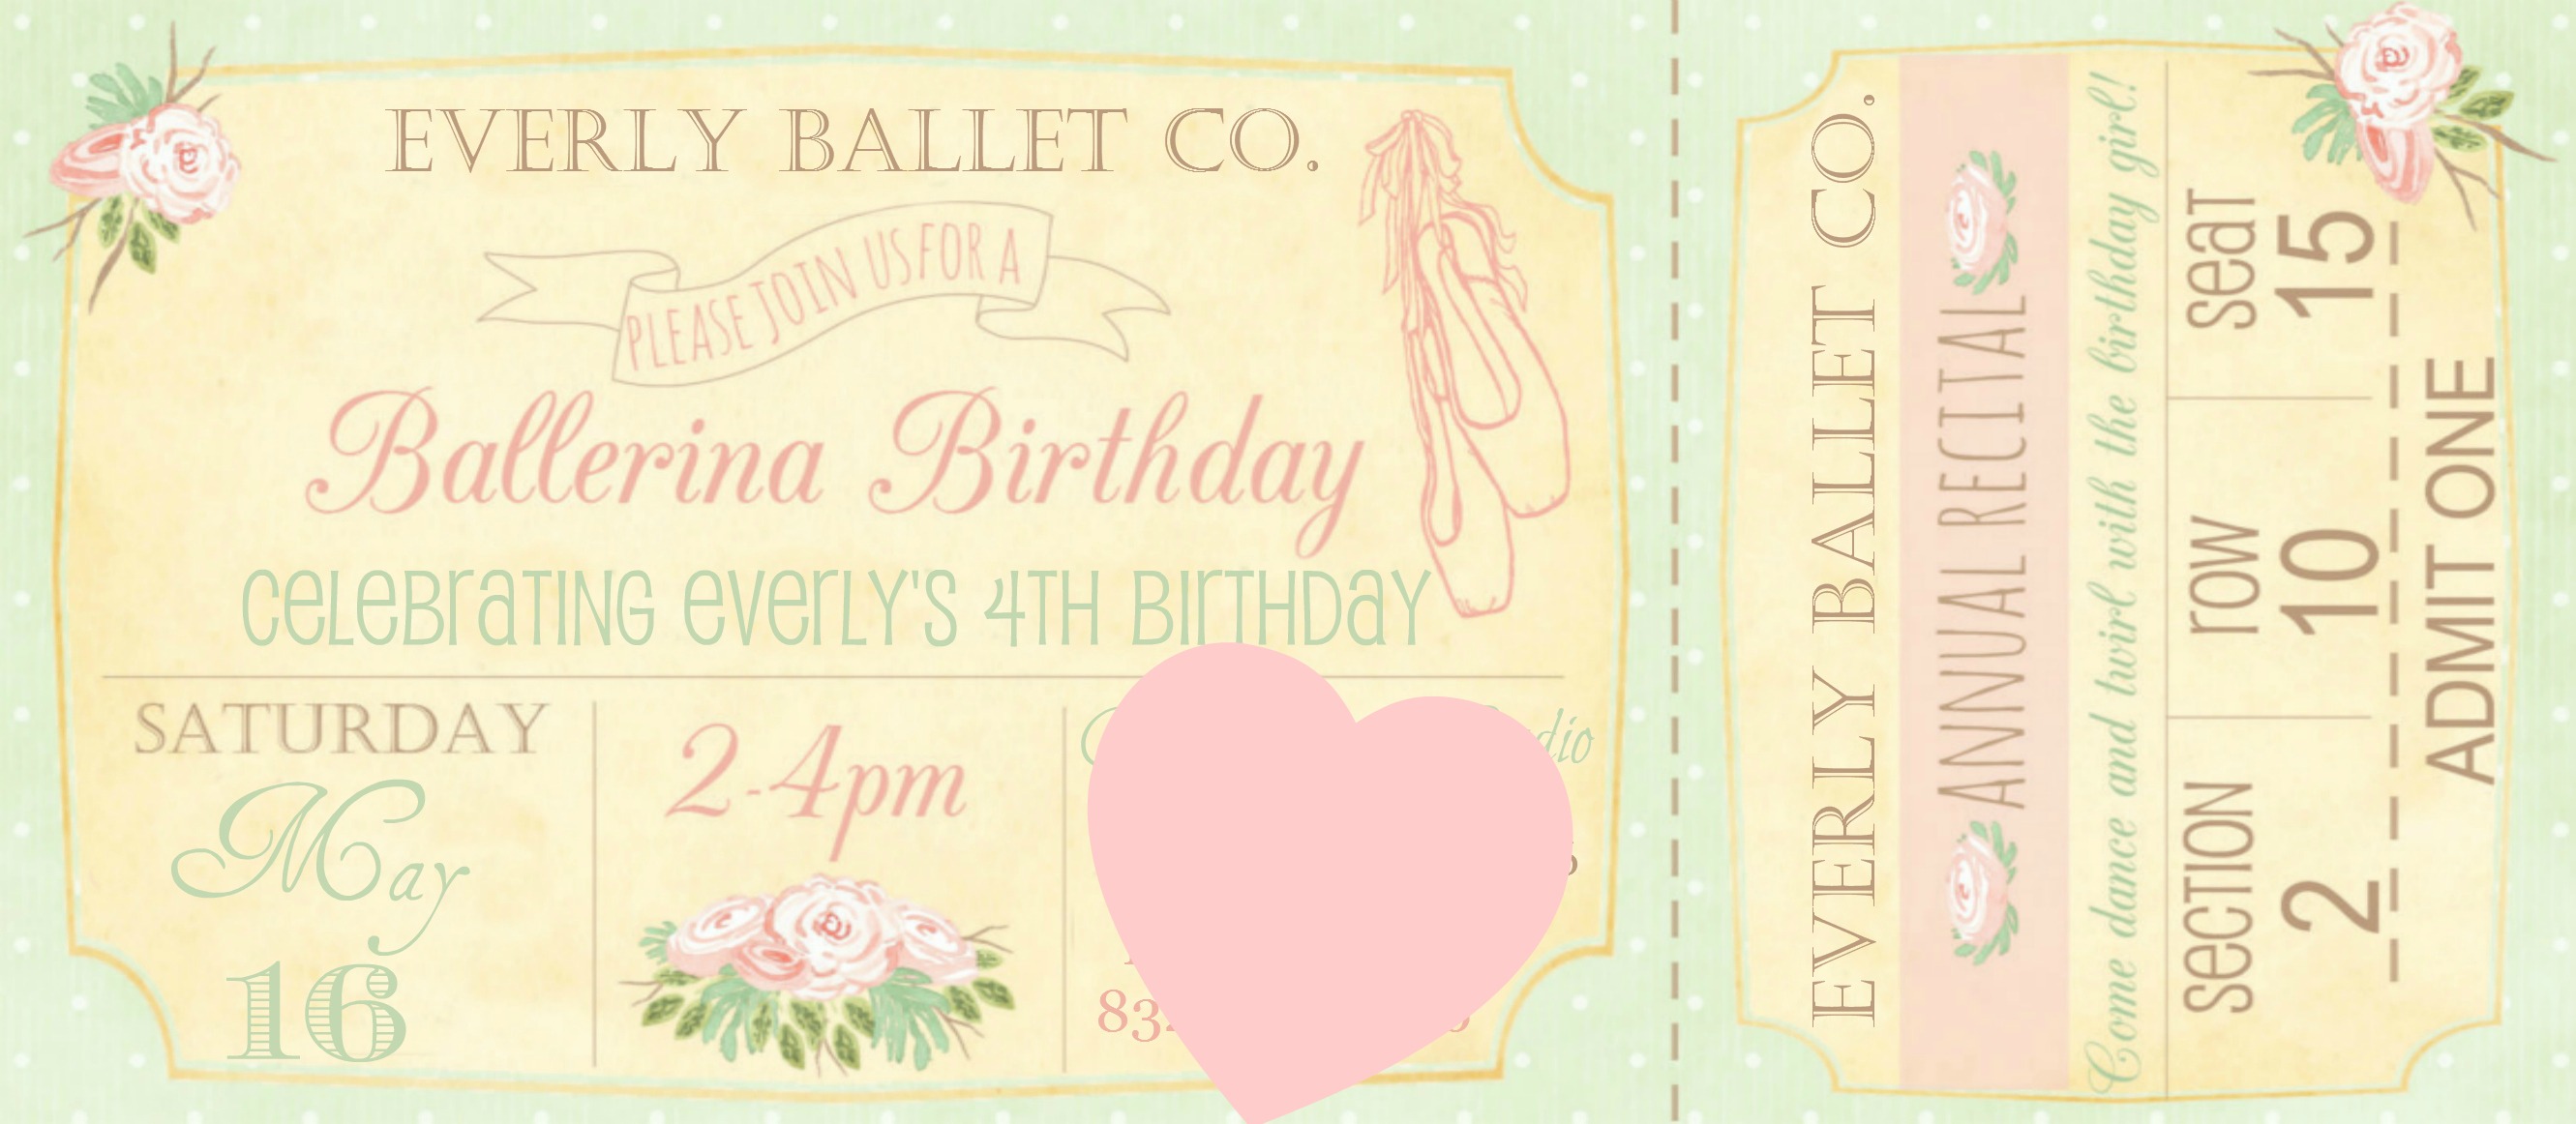 I got these little beauties here from The Milk & Cream Co. Her work is all so good, you must check her out!
In keeping with the theme of the invite we will have lots of pinks and light green at Everly’s ballet party and I am obsessed these DIY Paper Fans.
I told you they are the cutest! And even better, they are cheap and easy to make. You can make these paper fans to match any theme and jazz them up as much as you wish.
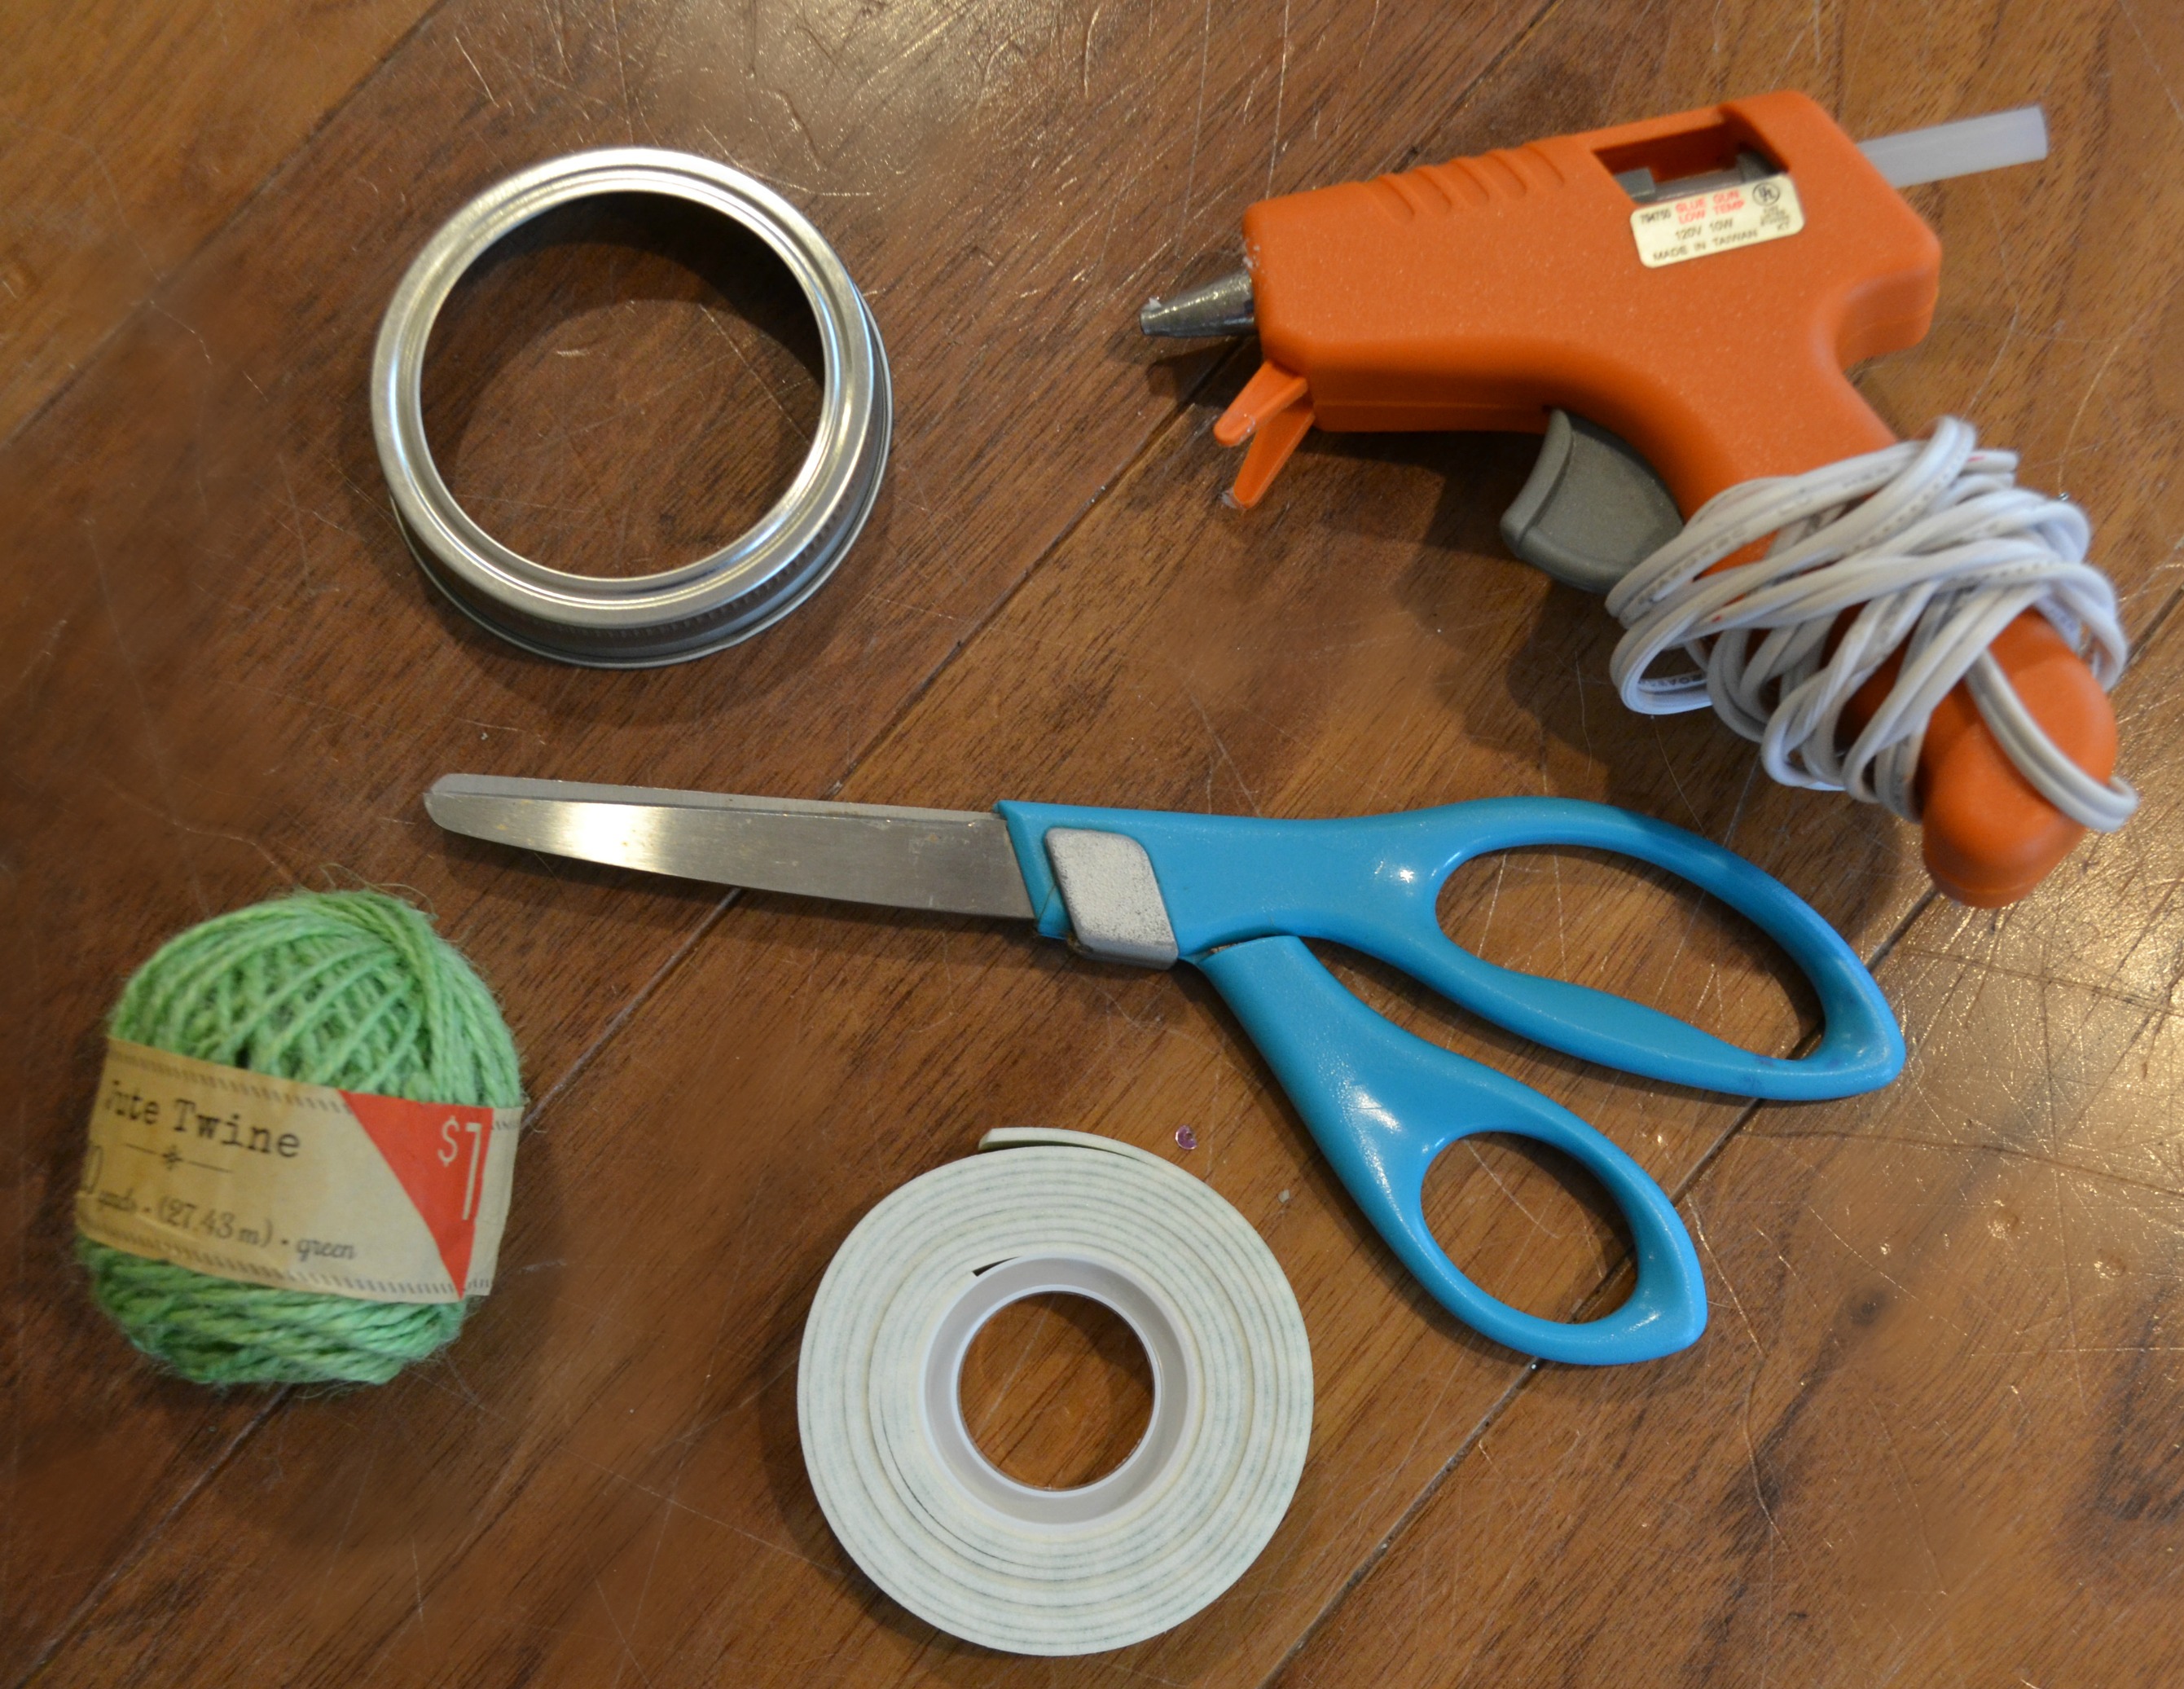
Here is what you need to make them…
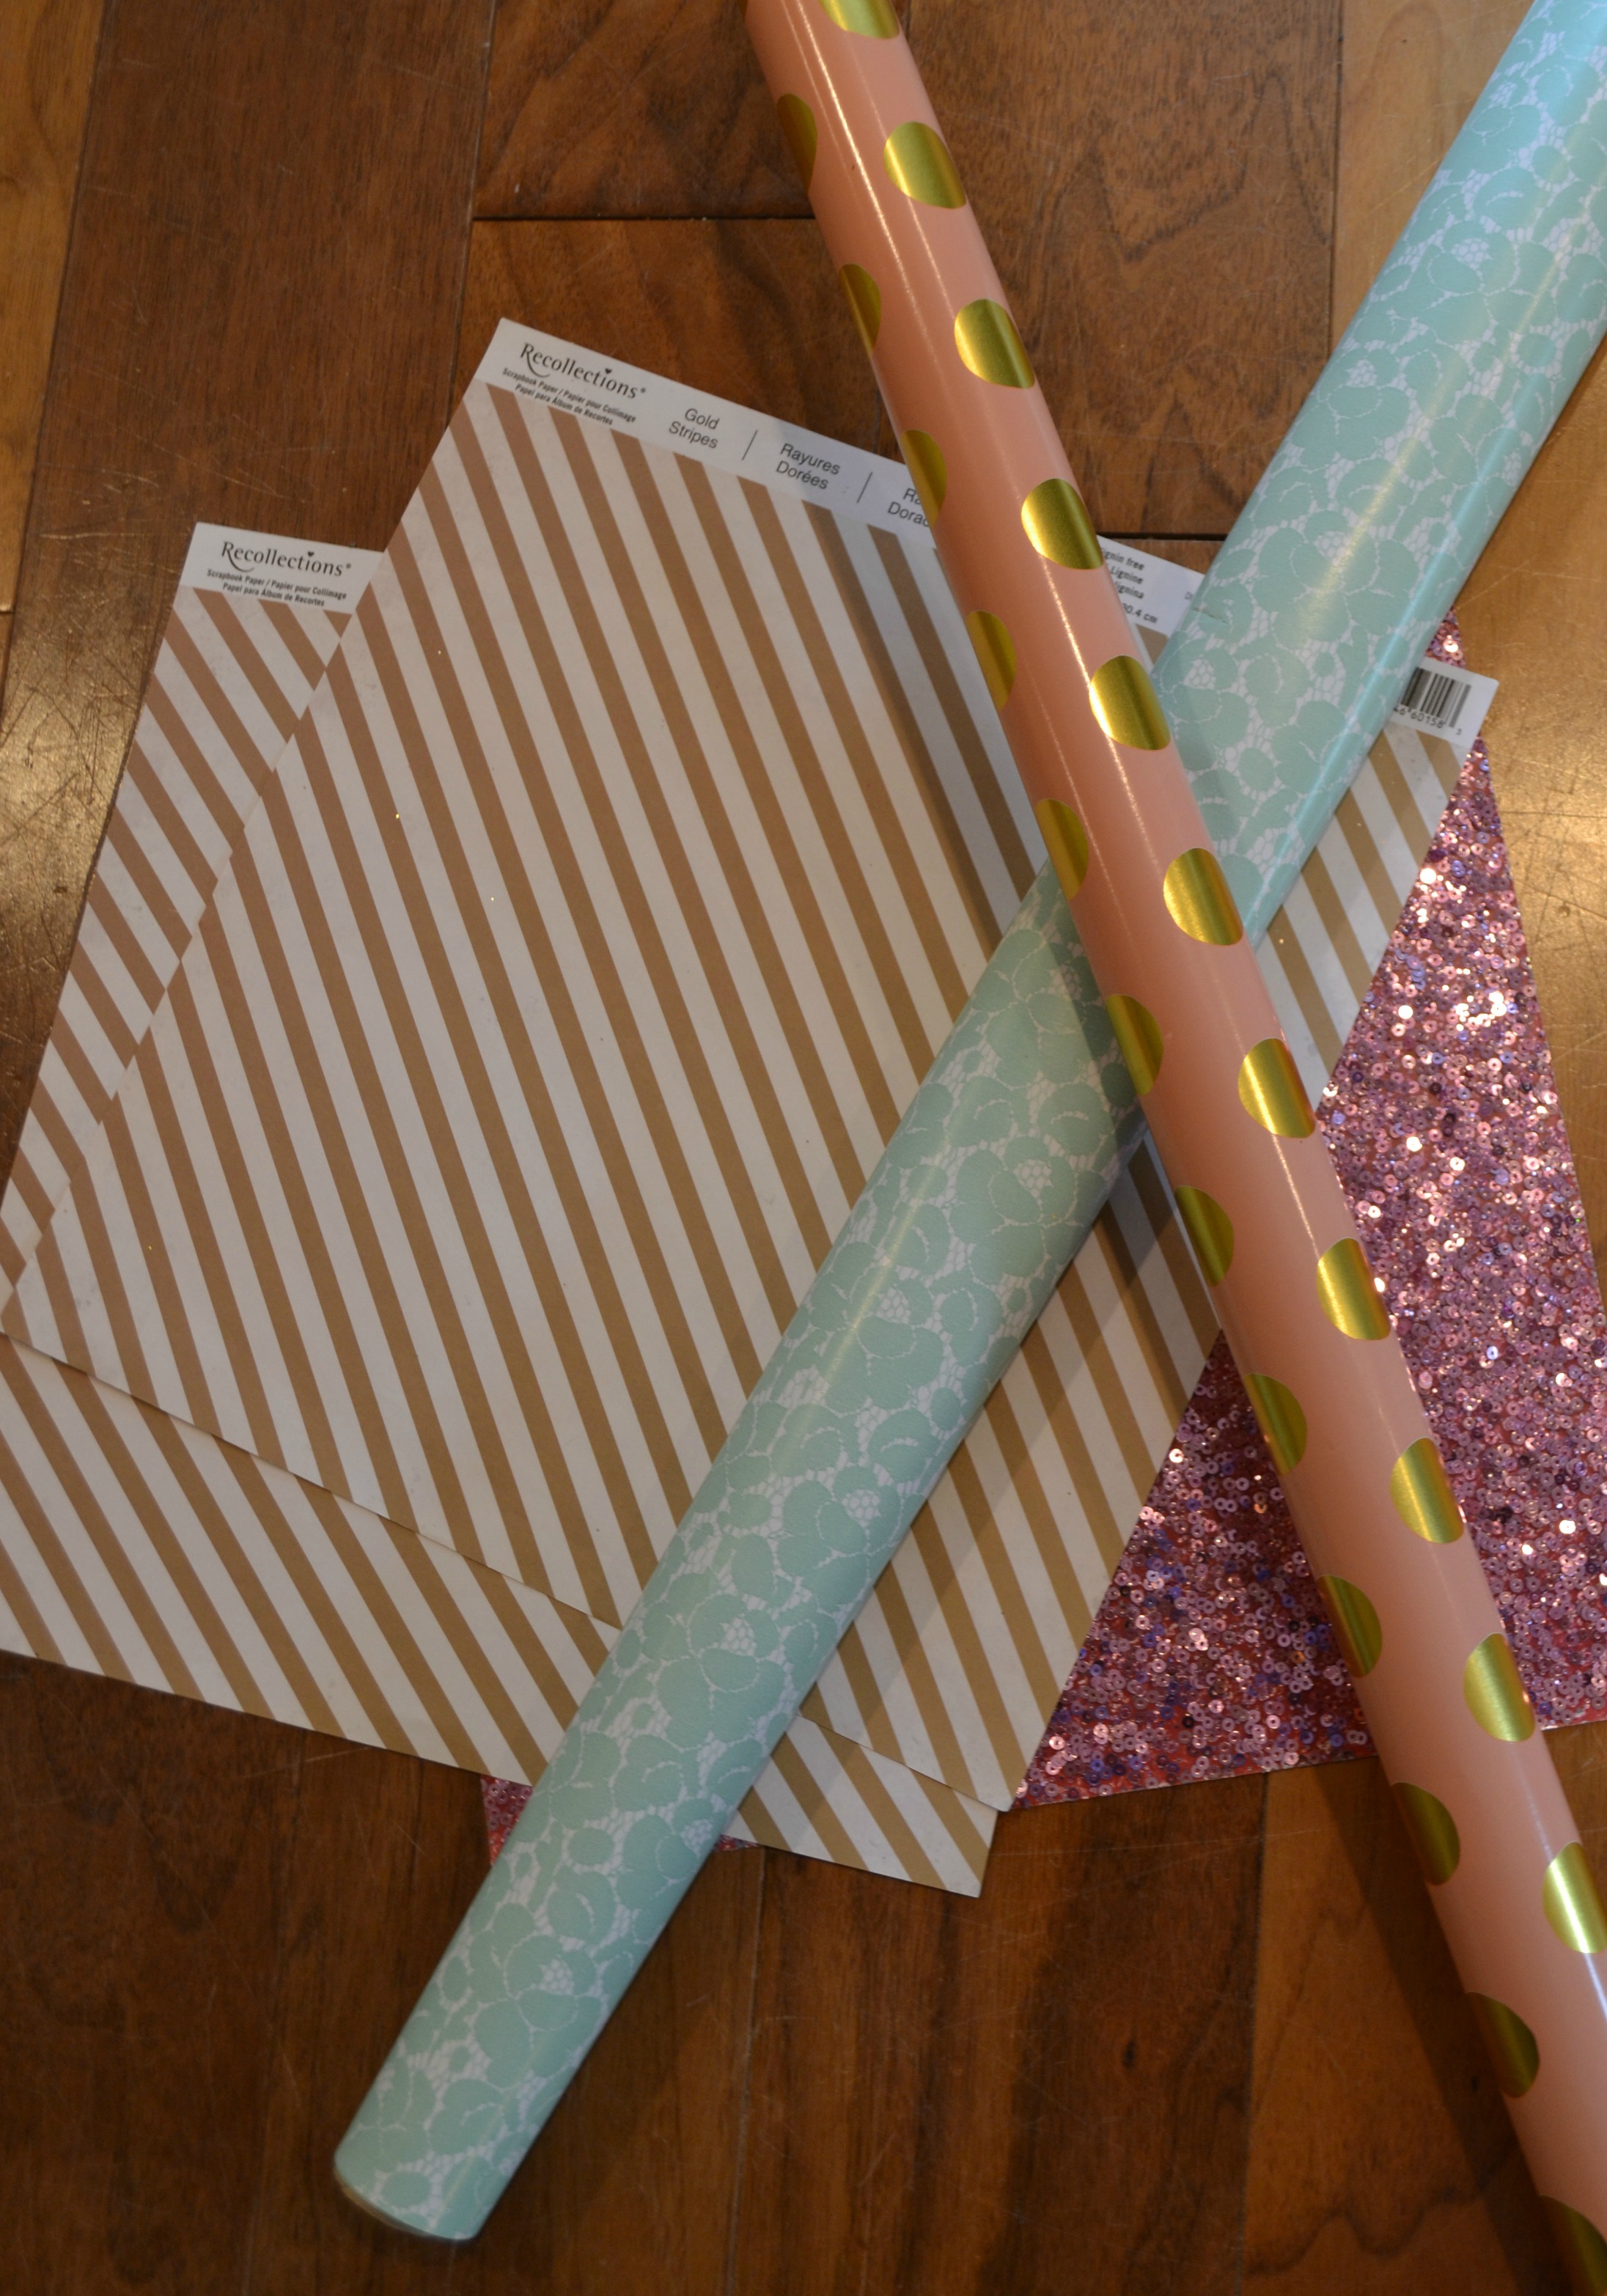
Cute Paper is key! You can use wrapping paper or scrap book paper. I used a little of each.
Also…
Glue Gun
Scissors
Twine
Mounting Tape
Round Lid or Cup to Measure for Center of Fan
Making your DIY Paper Fan:
Step 1: No matter what size fan you want to make be sure to start with 2 equal size paper squares. *Your final fan size will be the size of a single square piece before you start folding.
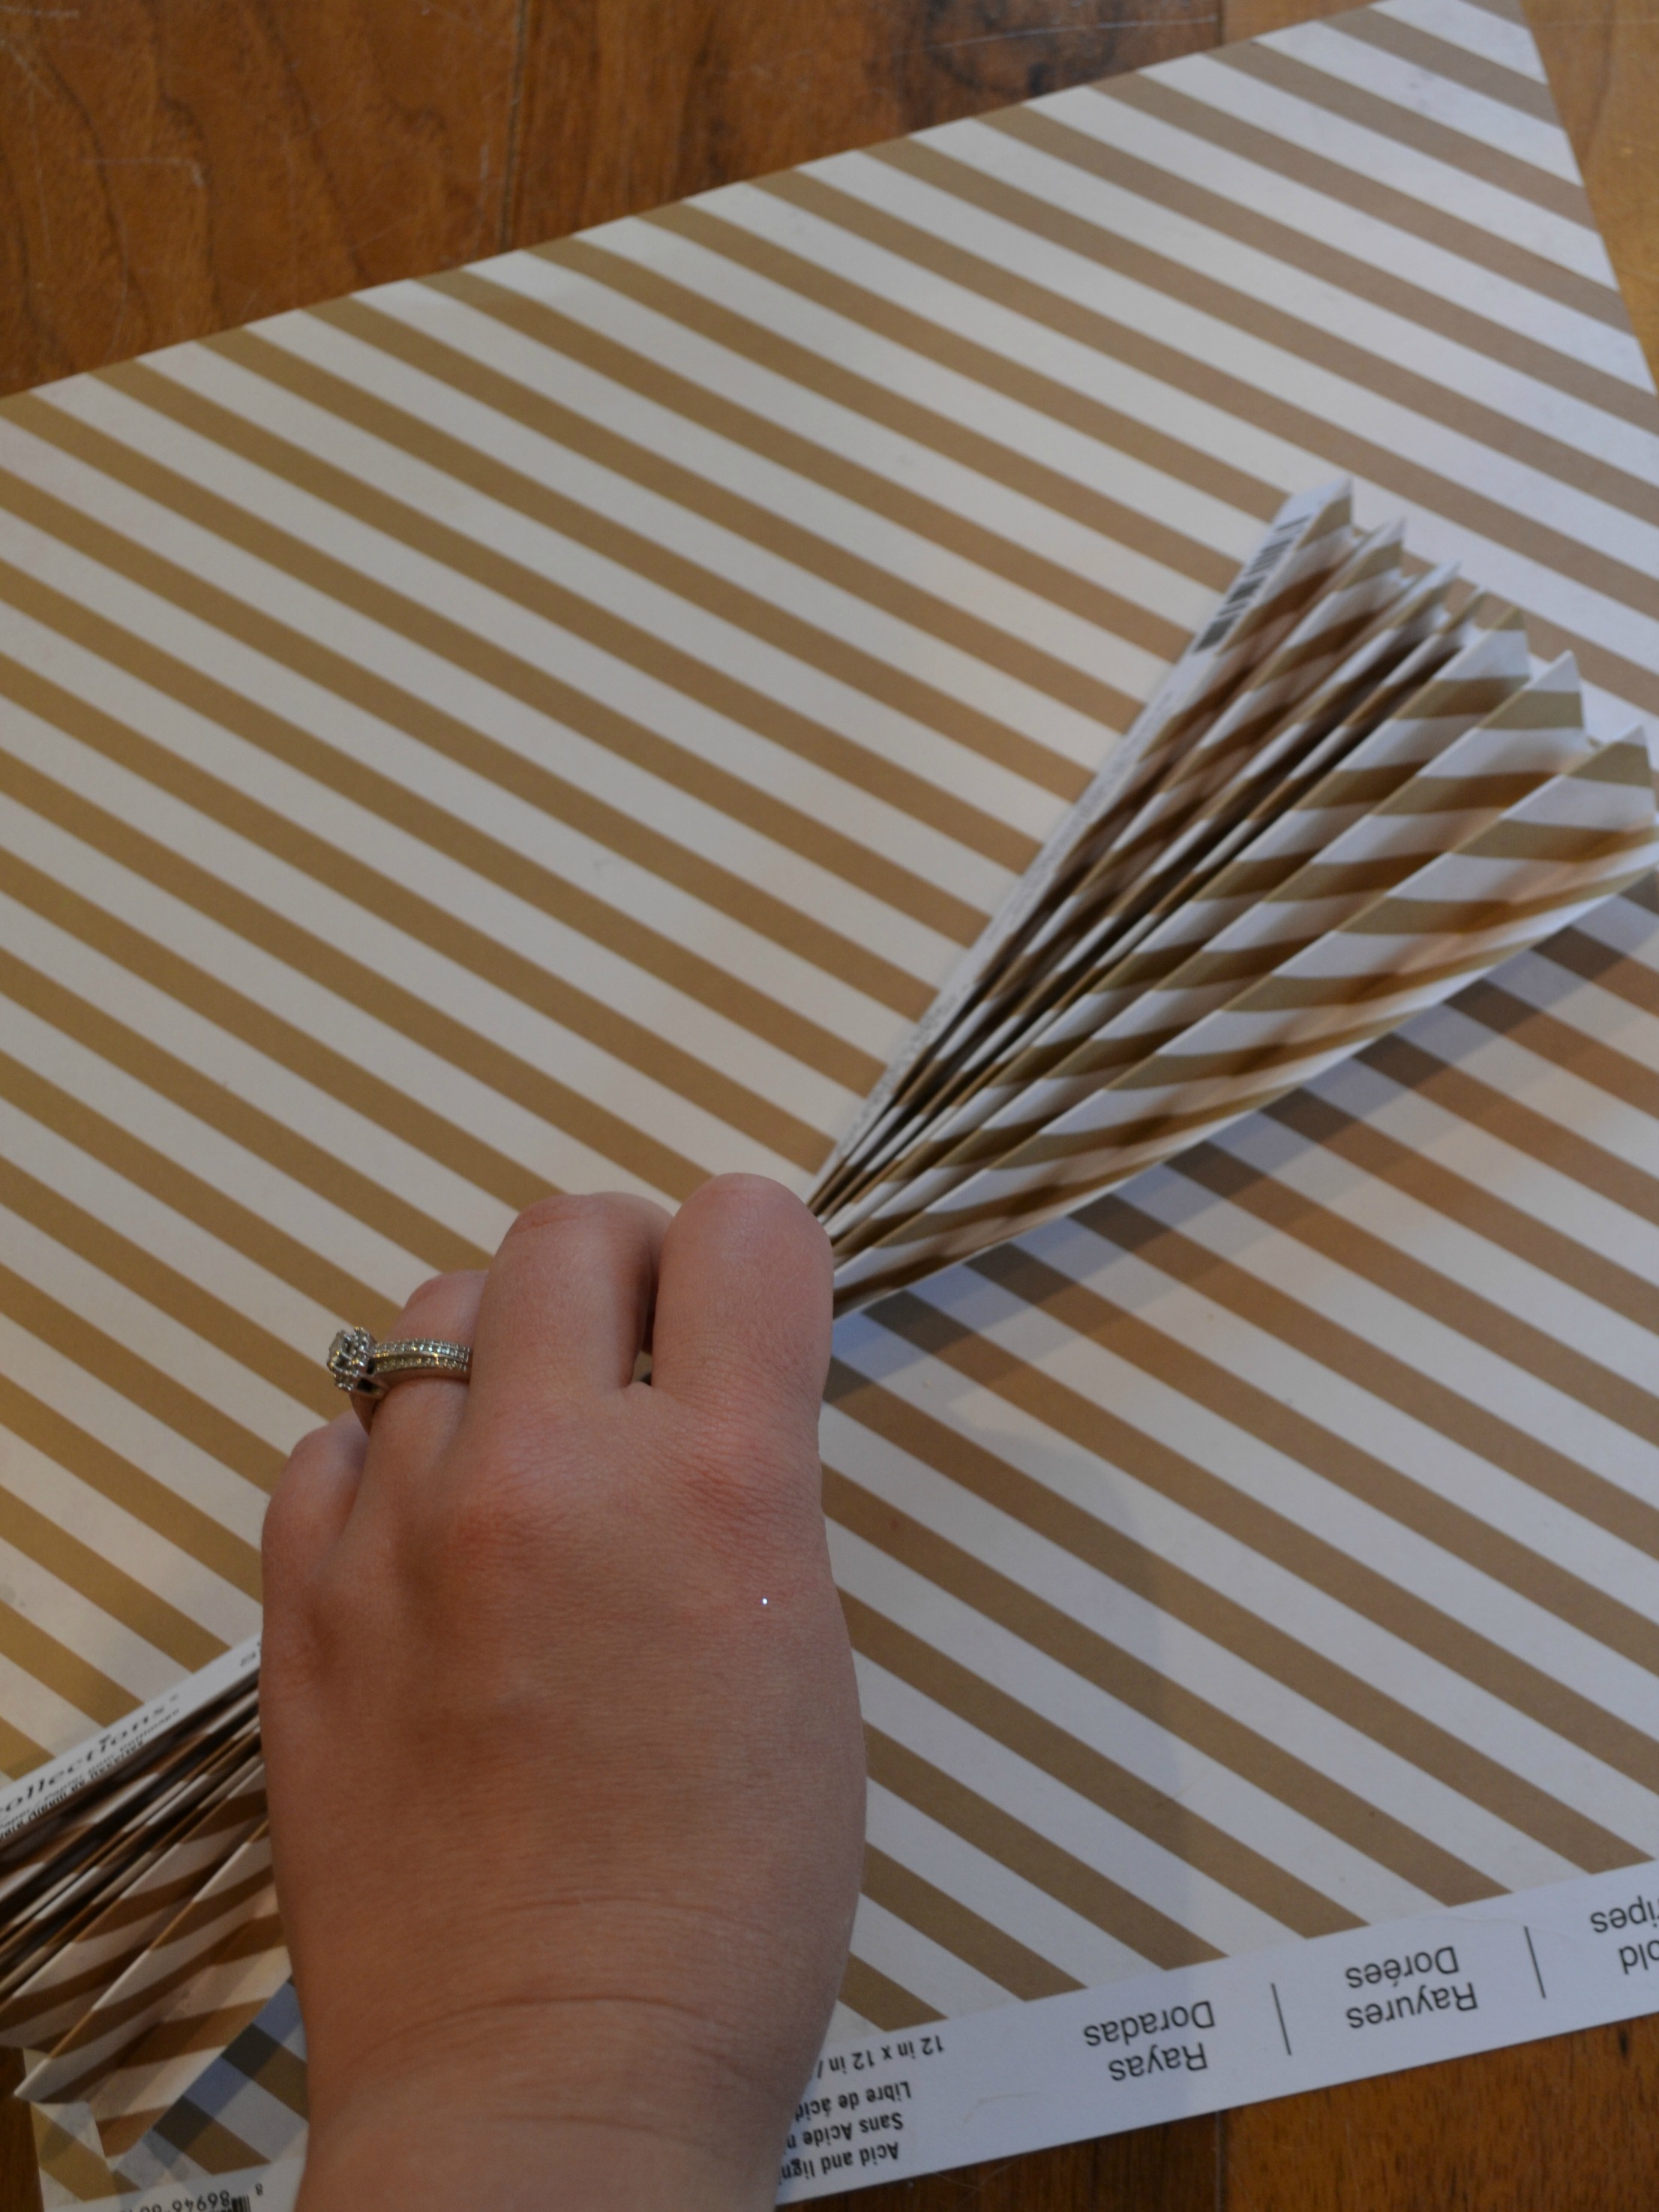
Now, with your pattern facing up fold your paper over about a 1/2 inch. Flip your paper over and repeat your fold. Keep repeating until your paper is completely folded. Set aside and fold the next piece.
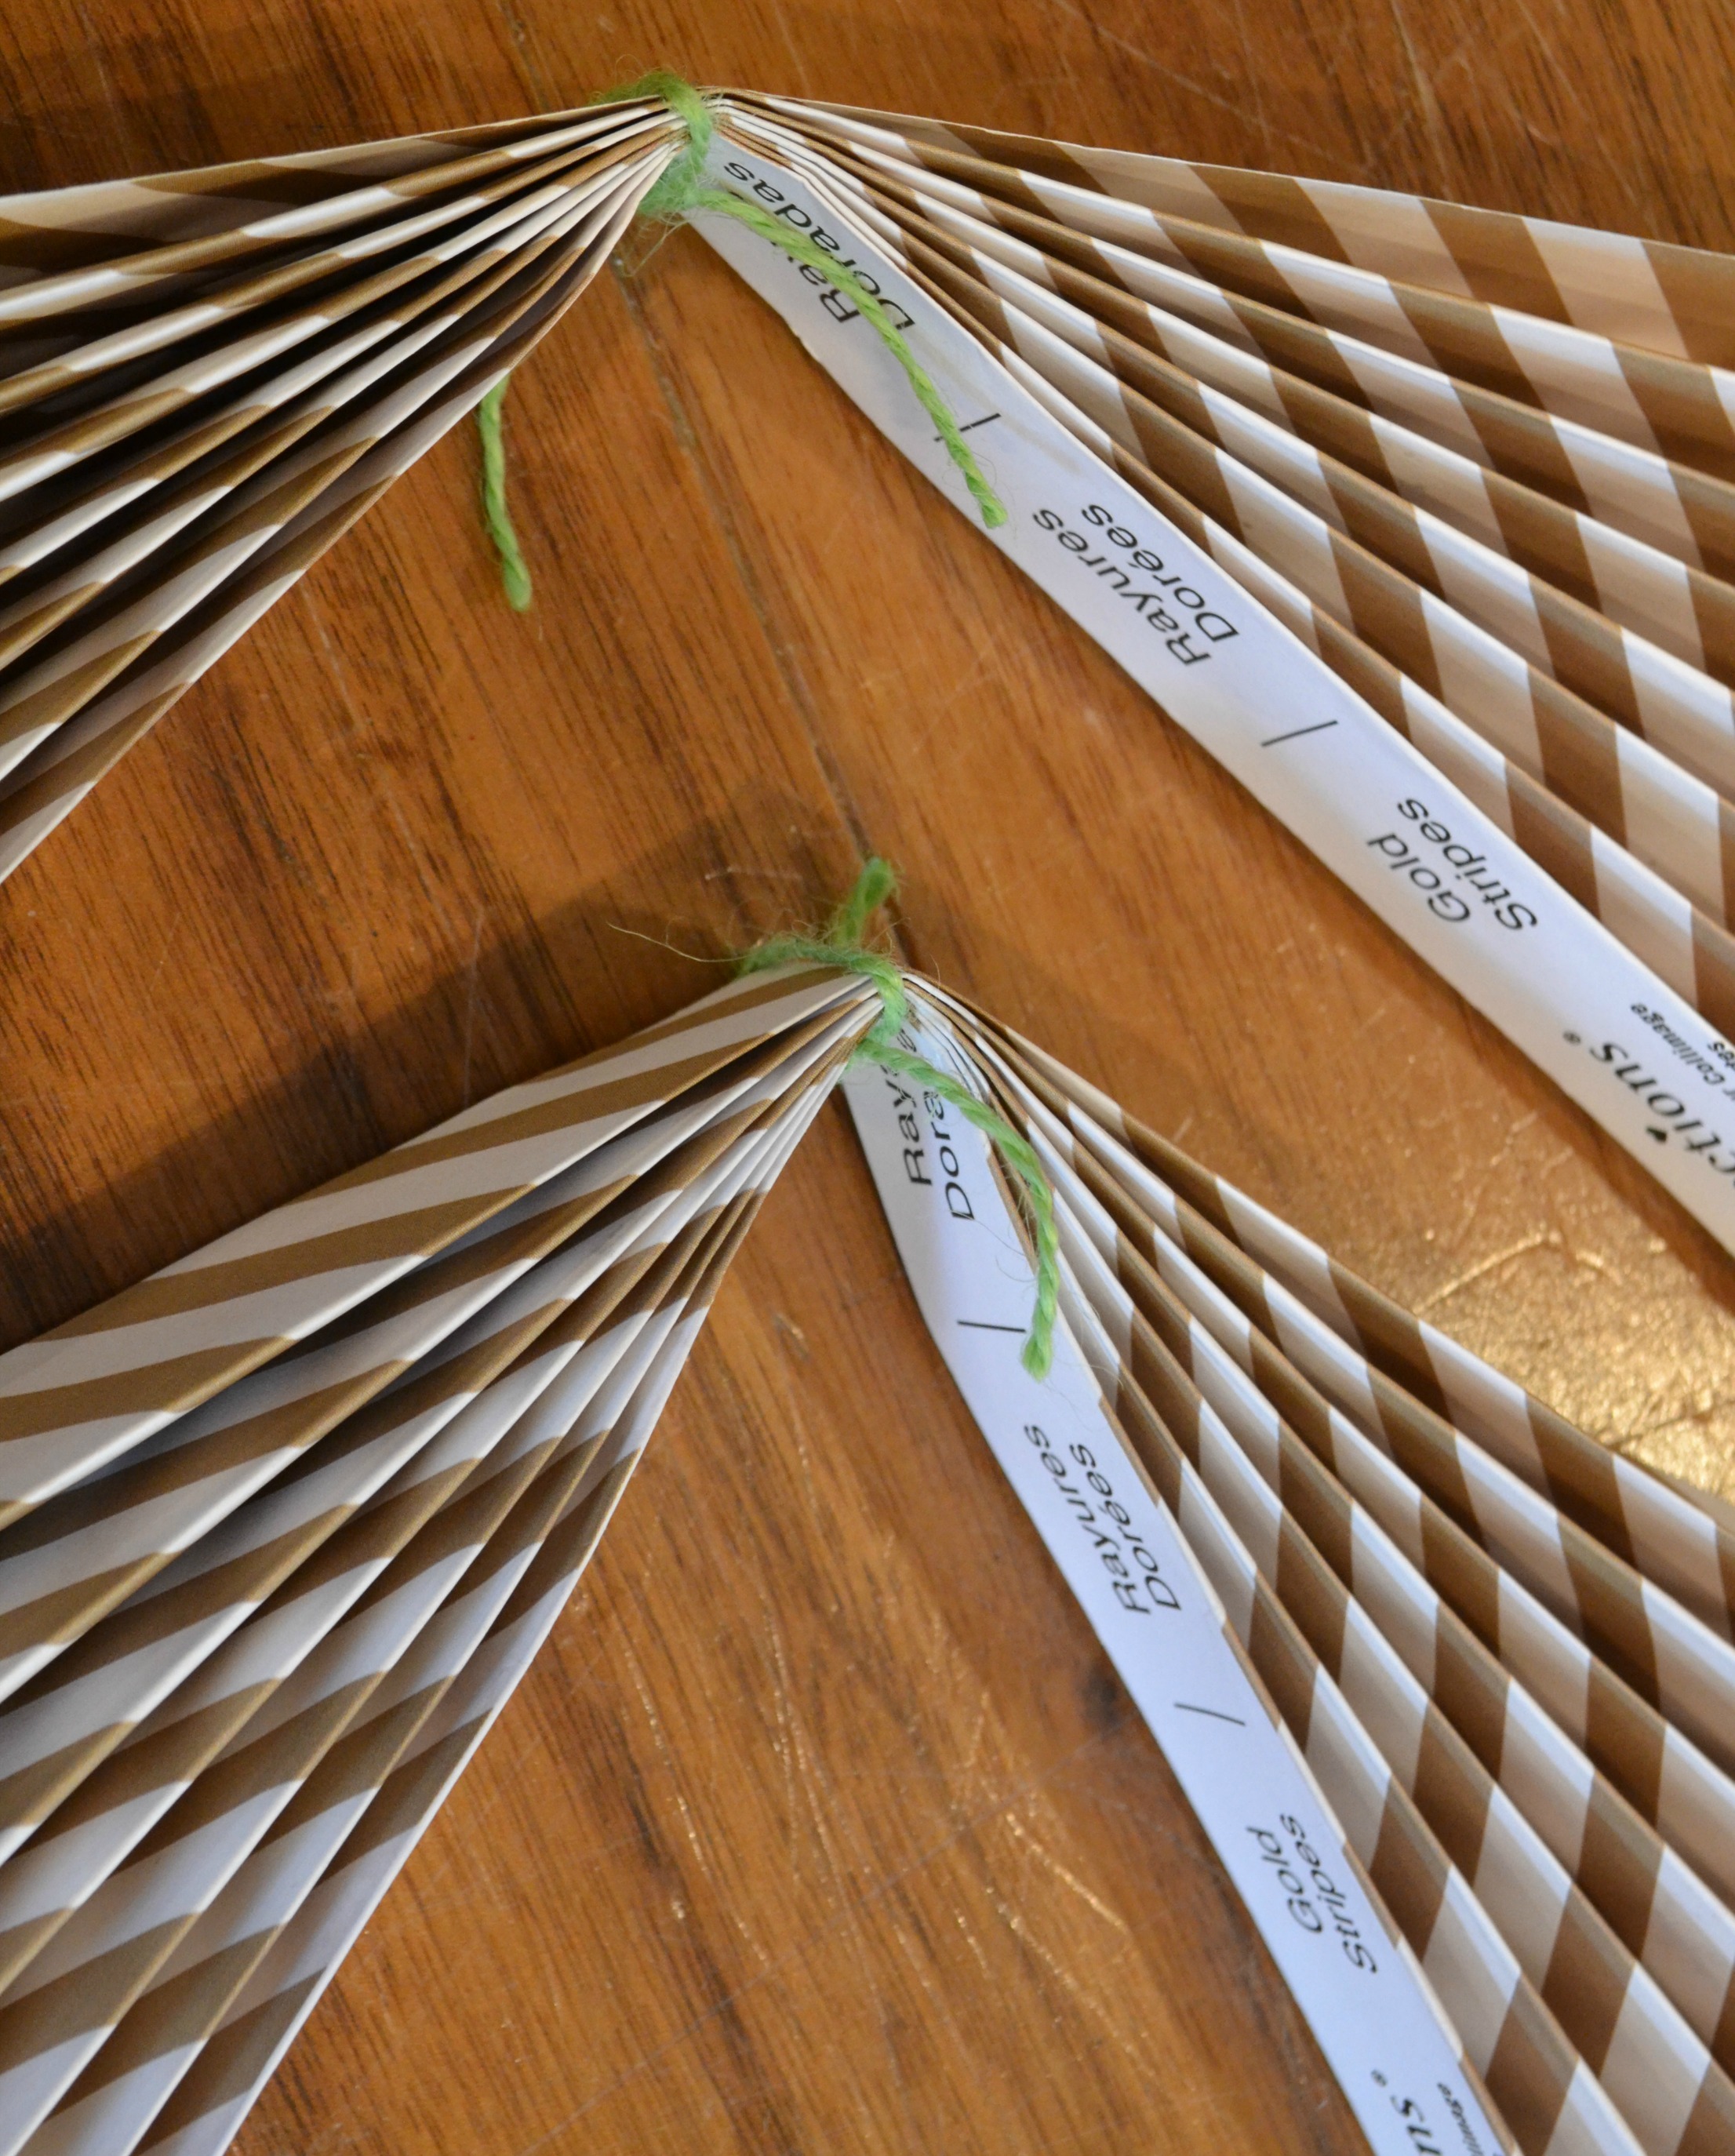
Step 2: Fold you pleated paper in half and tie a peace of twine in the center to hold in place.
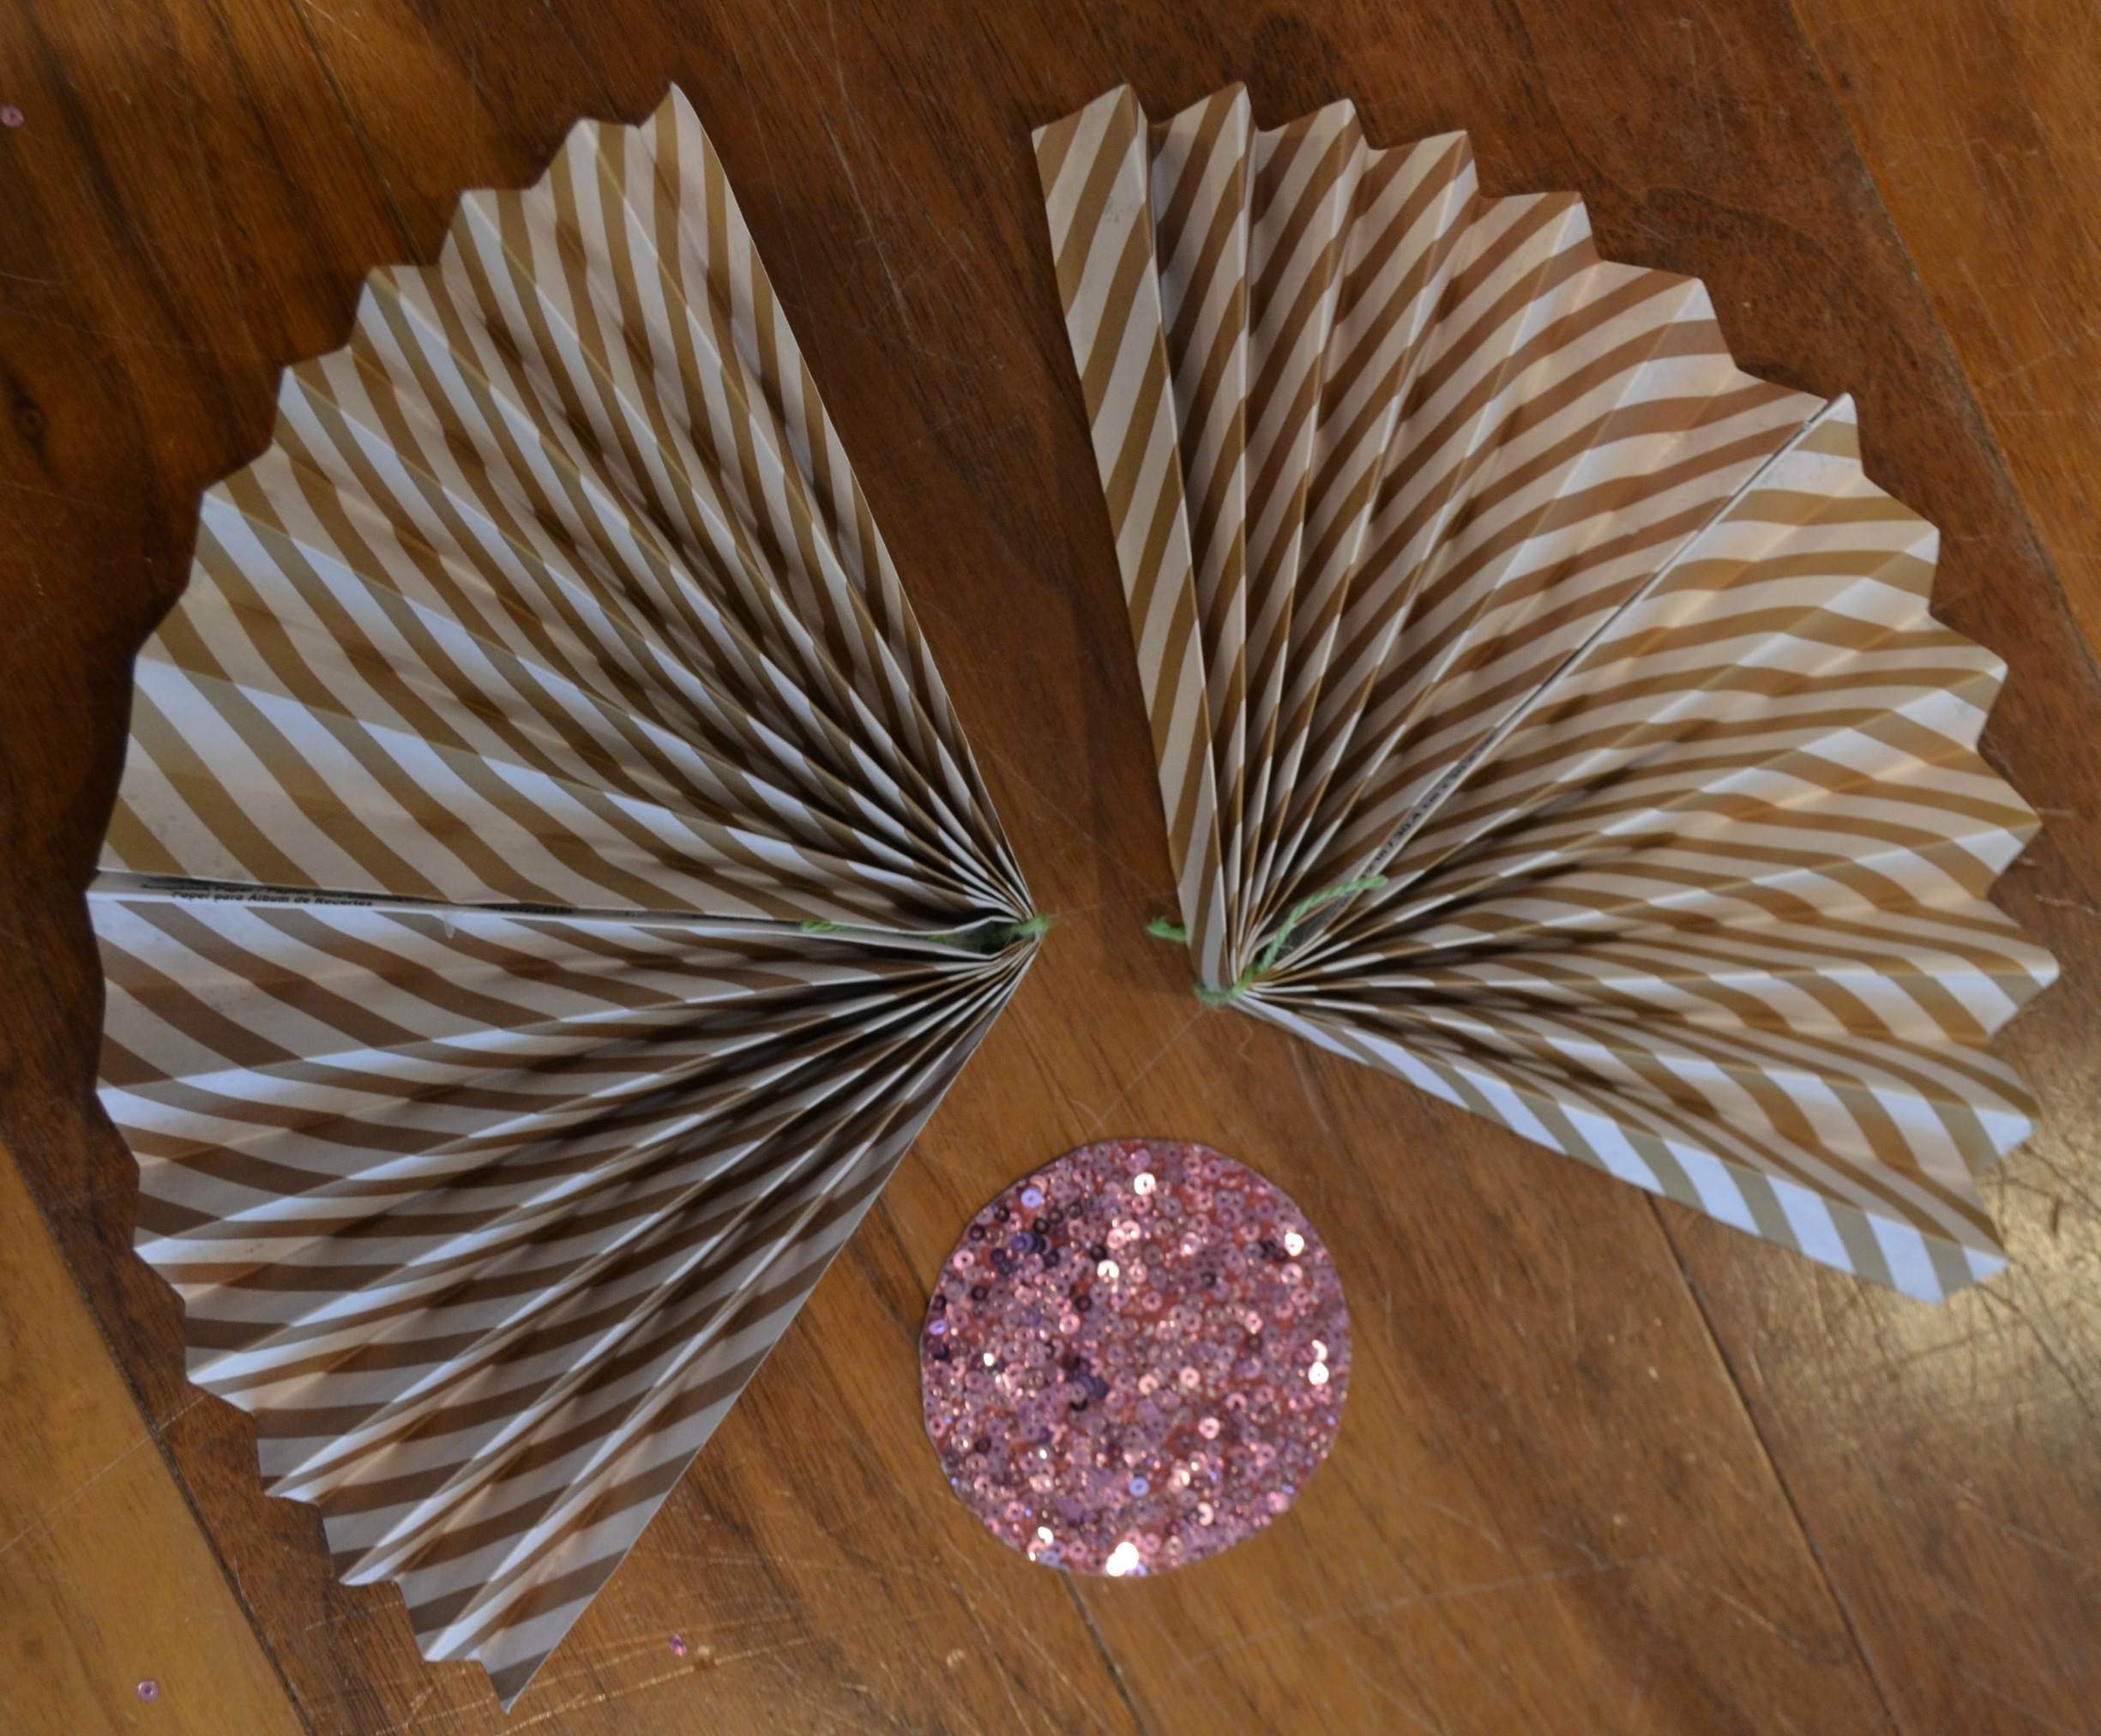
Step 3: Now it’s time to assemble. Put a bead of hot on the out side pleat of one peace of paper and attached the opposite side to create 2 half fans. Also, use your lid to trace and then cut out your center piece.
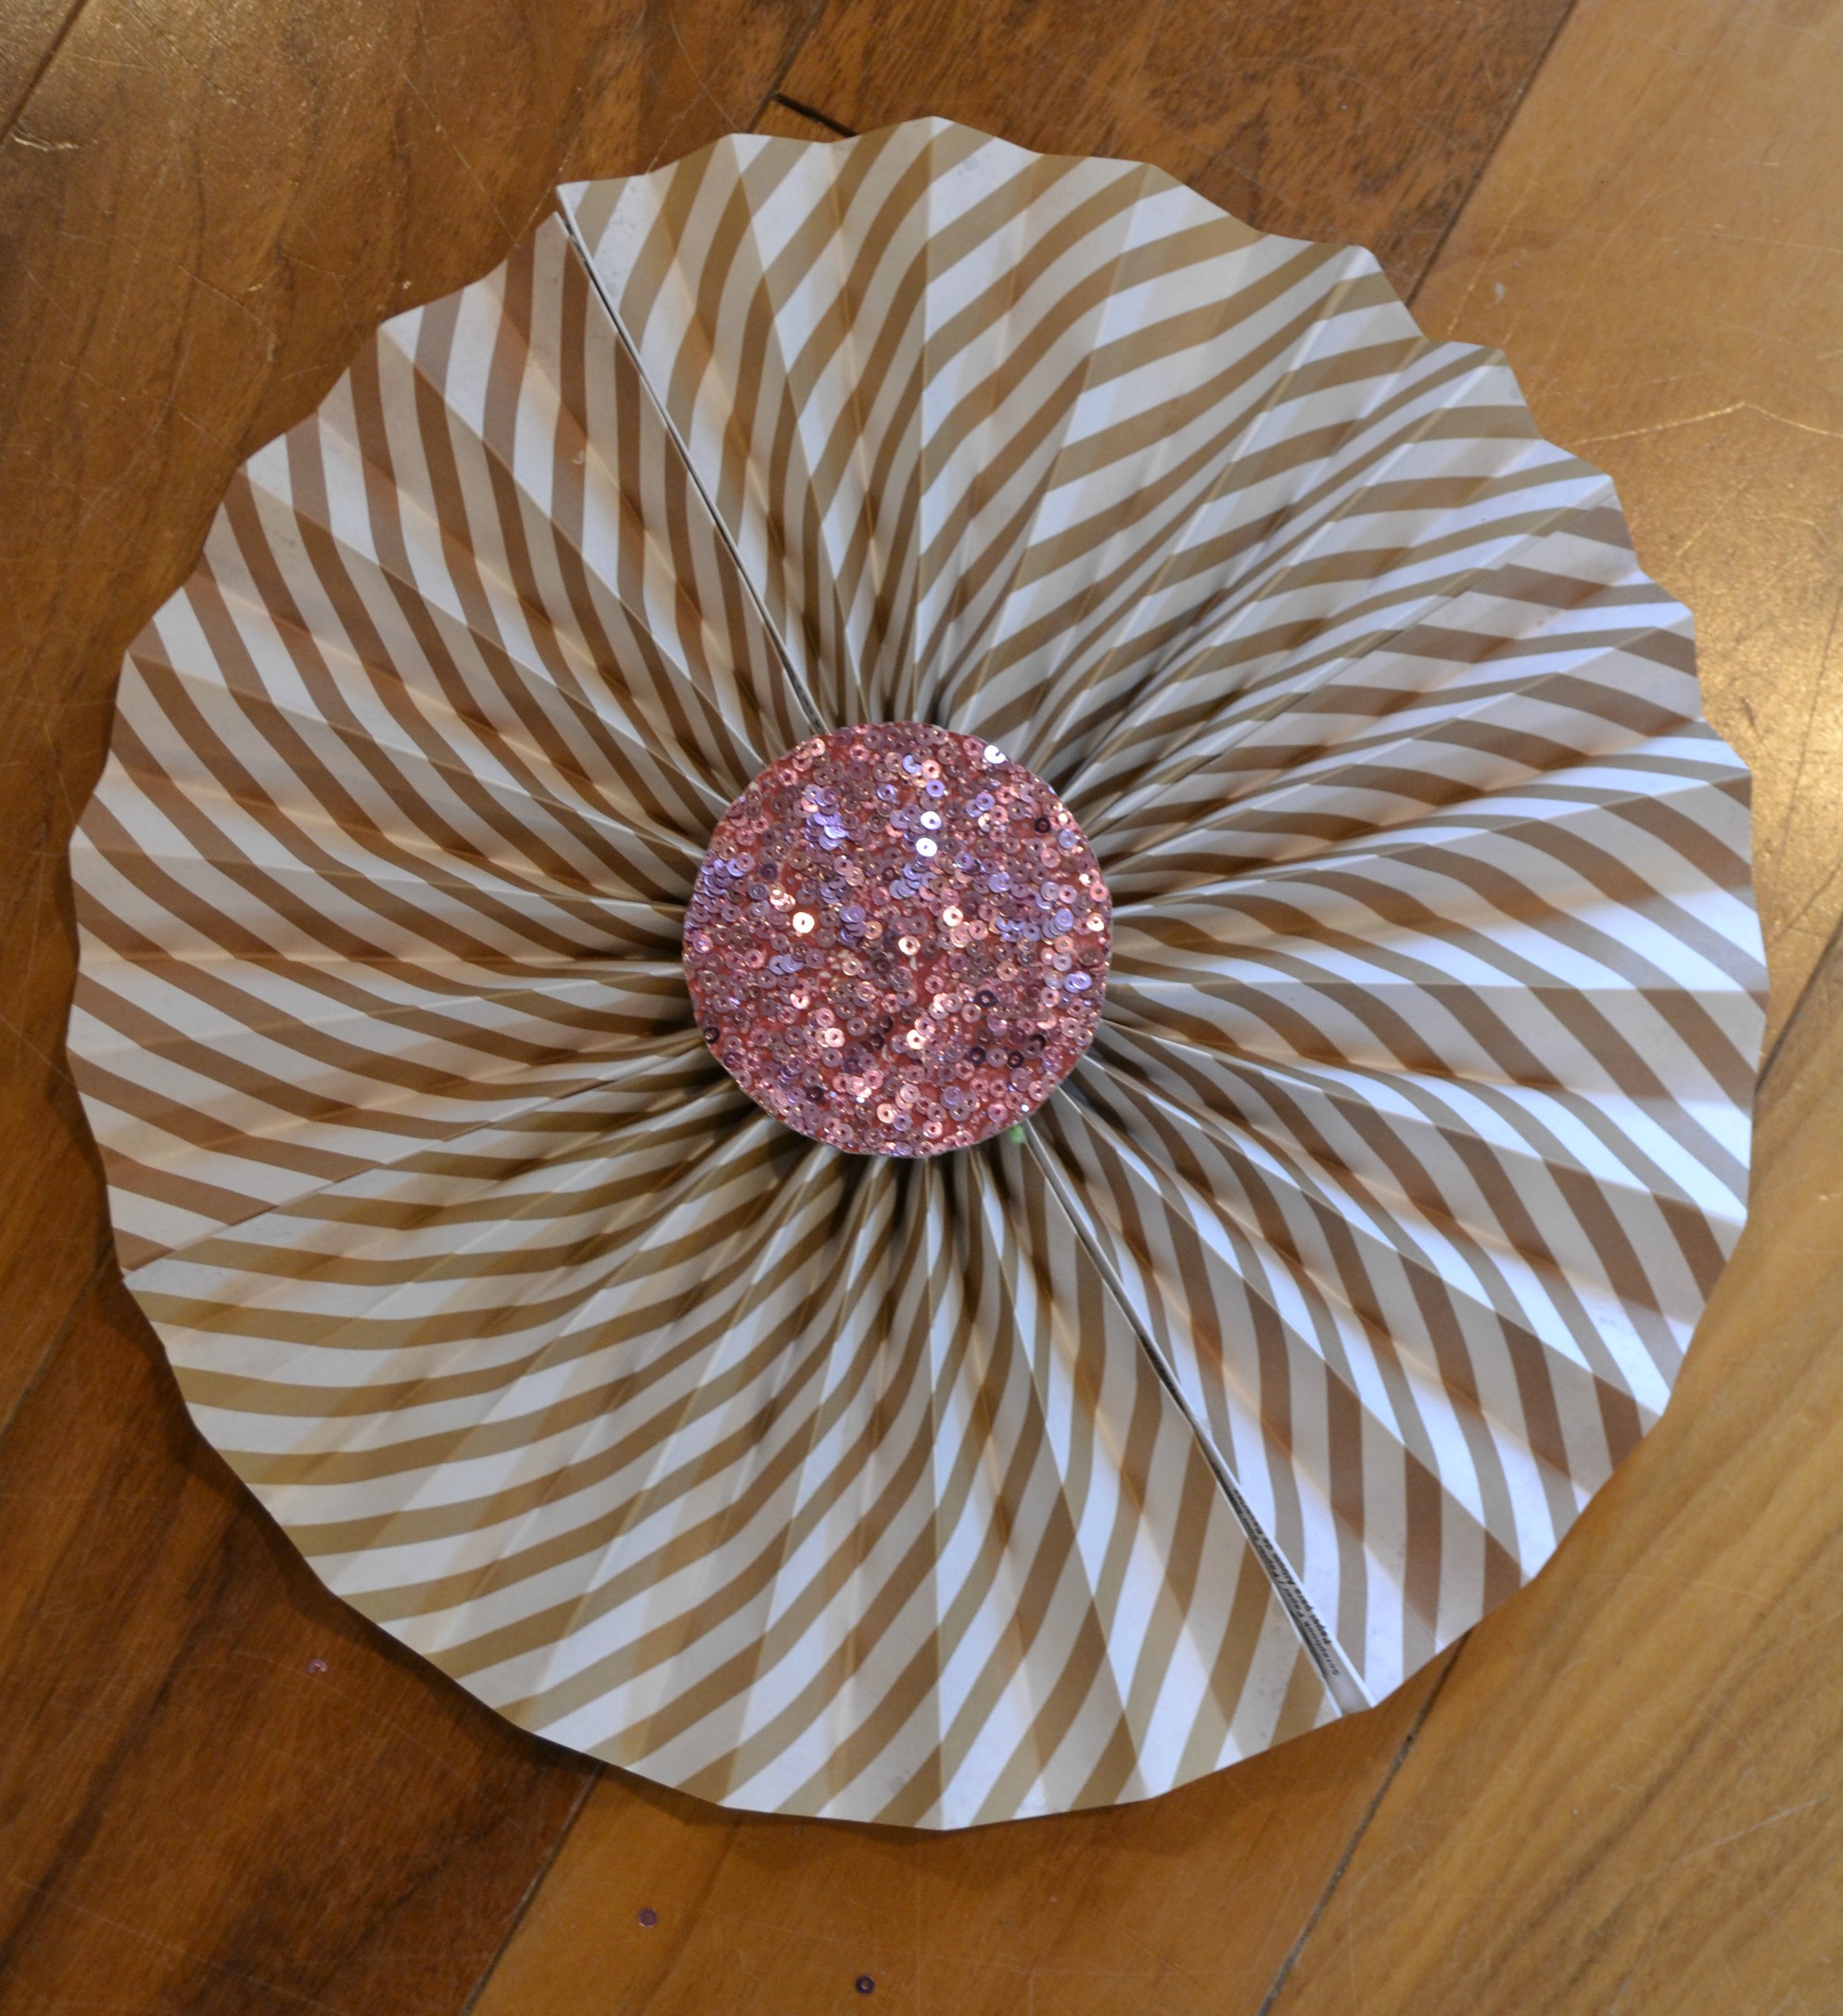
Step 4: Now, put a glue on one remaining last pleat and connect it to the other fan. Then repeat on the other side. Once your fan is glued together put a large amount of glue in the center and add your center piece.
Step 5: Hang your DIY Paper Fans and party!
We cannot wait to share more of our Party Palooza with you over the next few weeks! It is going to be fun!


Those are SO pretty! Can’t wait to see them in person tomorrow 🙂 xoxoxo
Thanks friend! They were fun to make.
I love these. I don’t know why I never even thought to use gift wrap! That is a great idea and I think I will make some today:-)