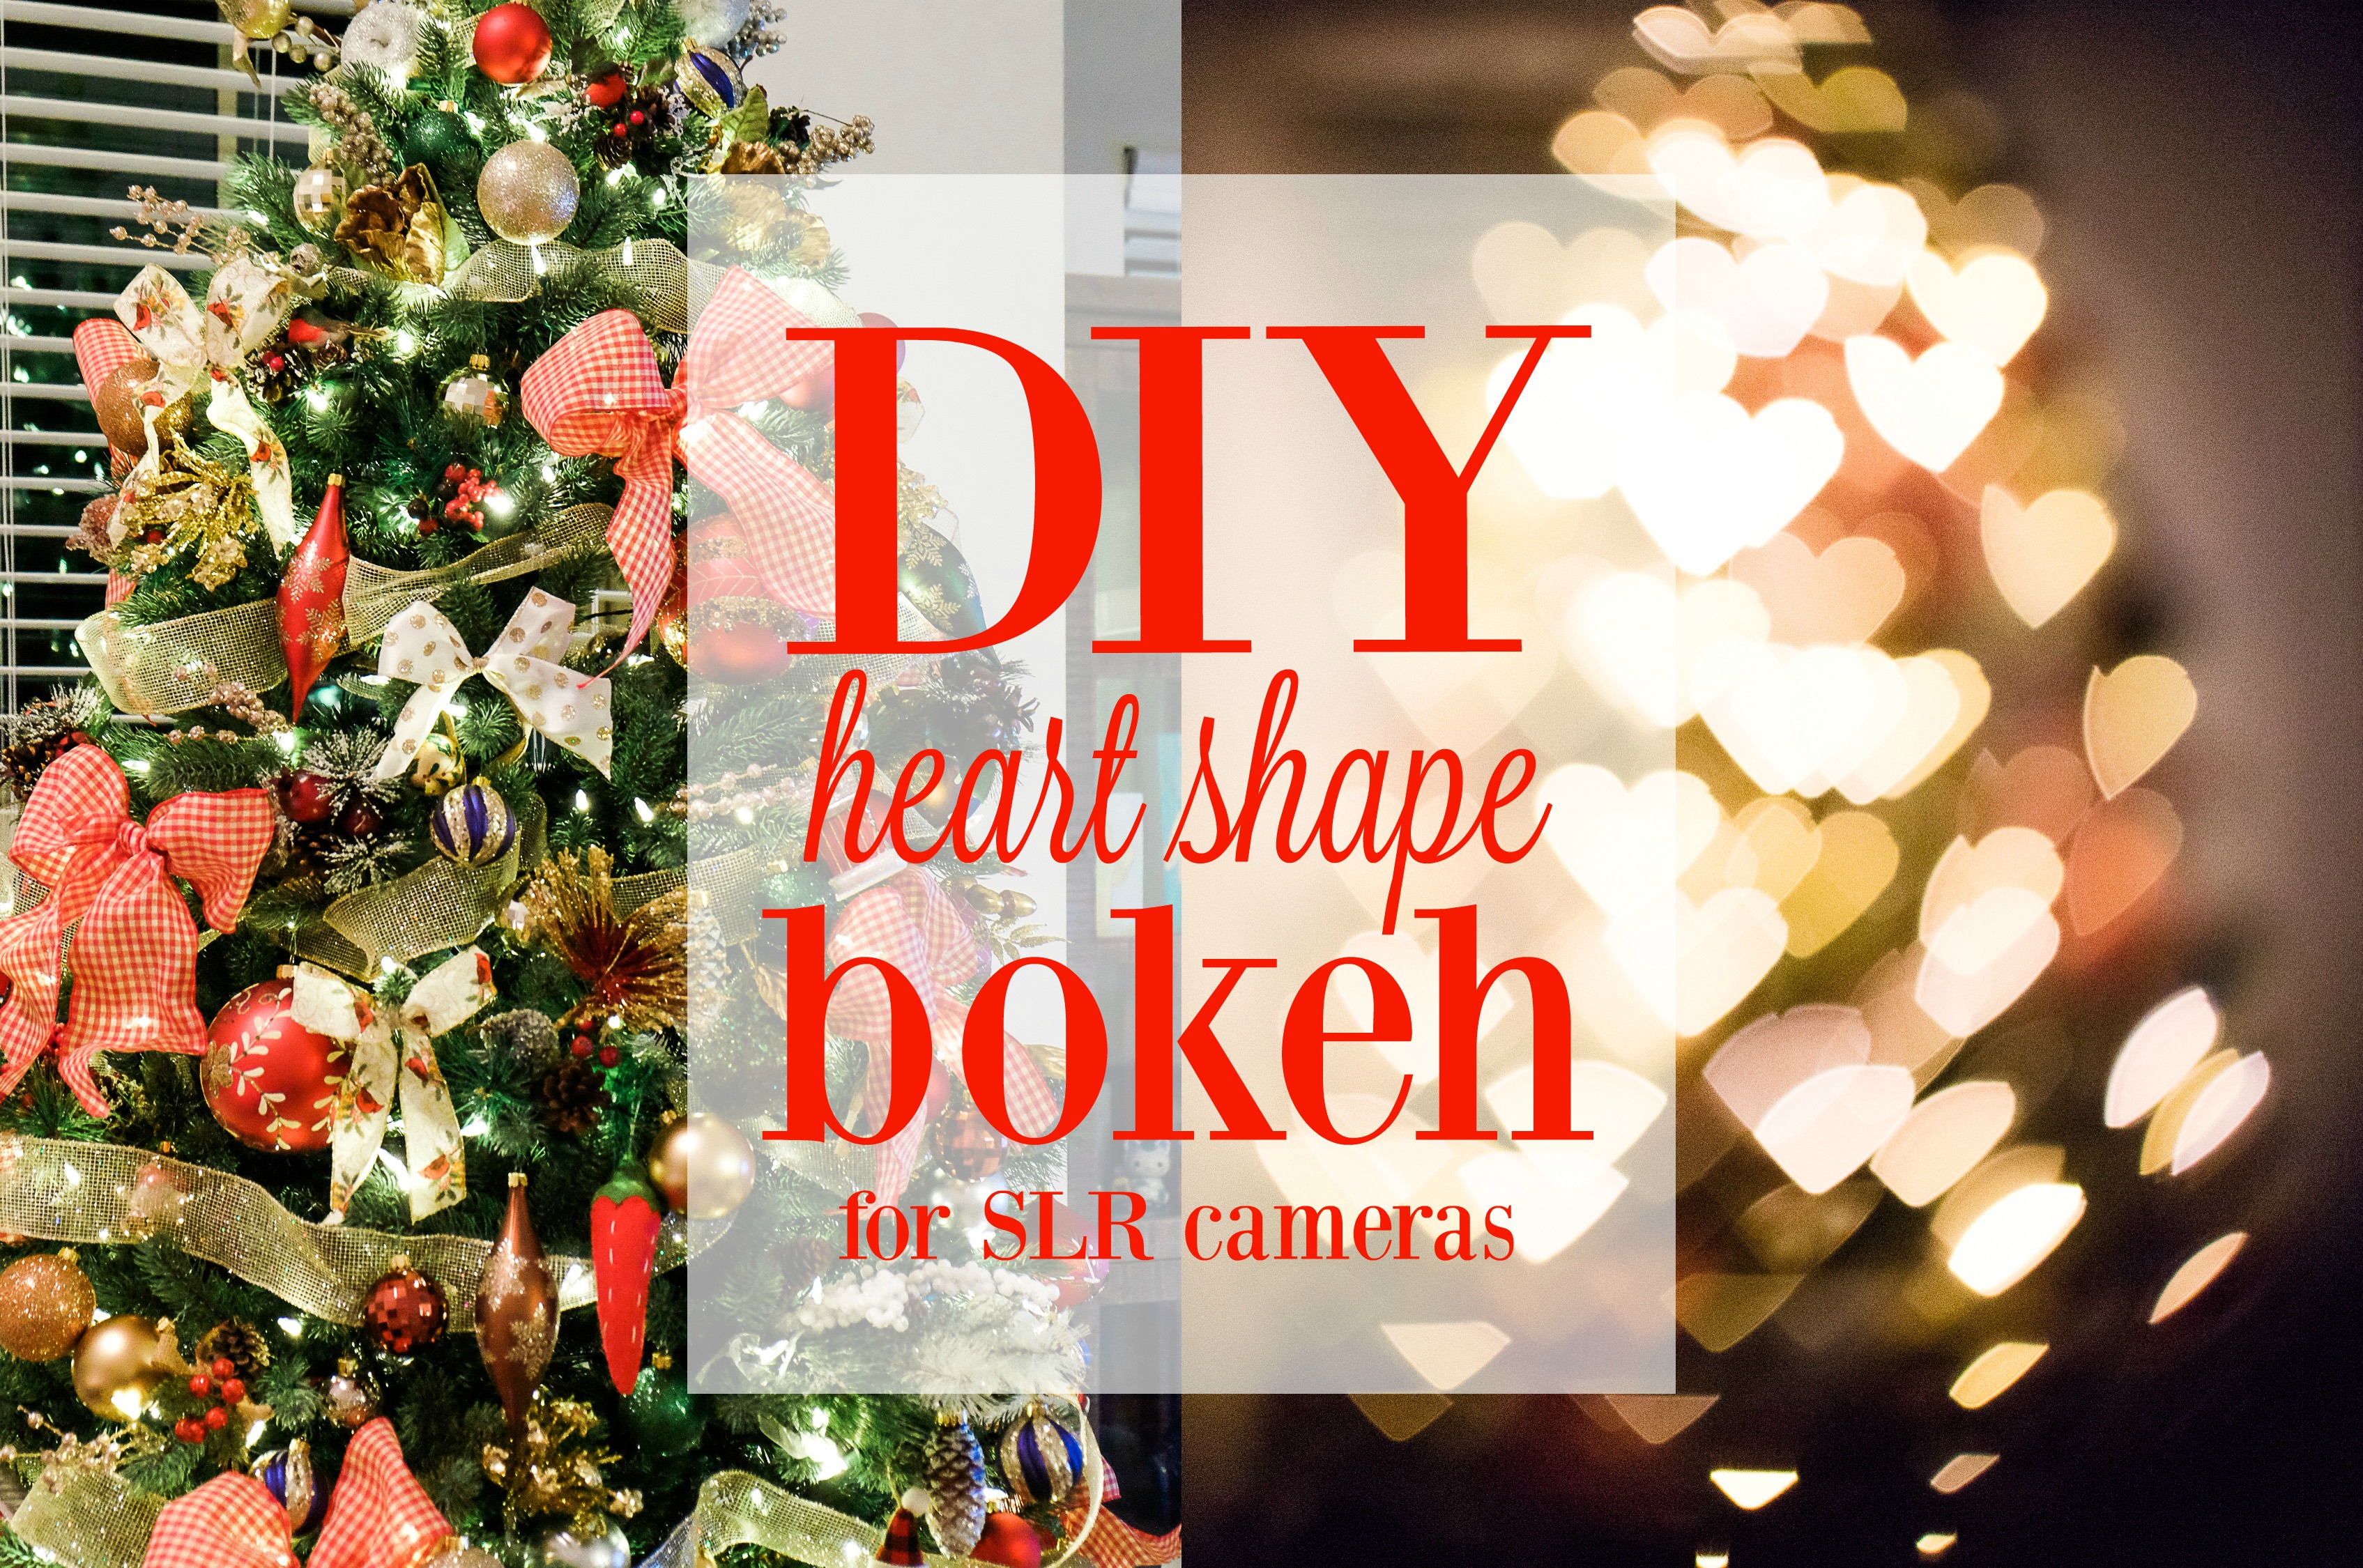
Hey y’all! Ever wonder how people get those awesome bokeh shapes in their Instagram photos? Today I’m sharing an awesome DIY bokeh craft that’s great for the holidays, and one that is perfect for teens and tweens to do. Forget those dinky little photo-editing apps with the fake bokehs, homegrown bokehs are wayyy cooler, and you’ll have bragging rights with your friends. Ready? Let’s do this!
What you’ll need:
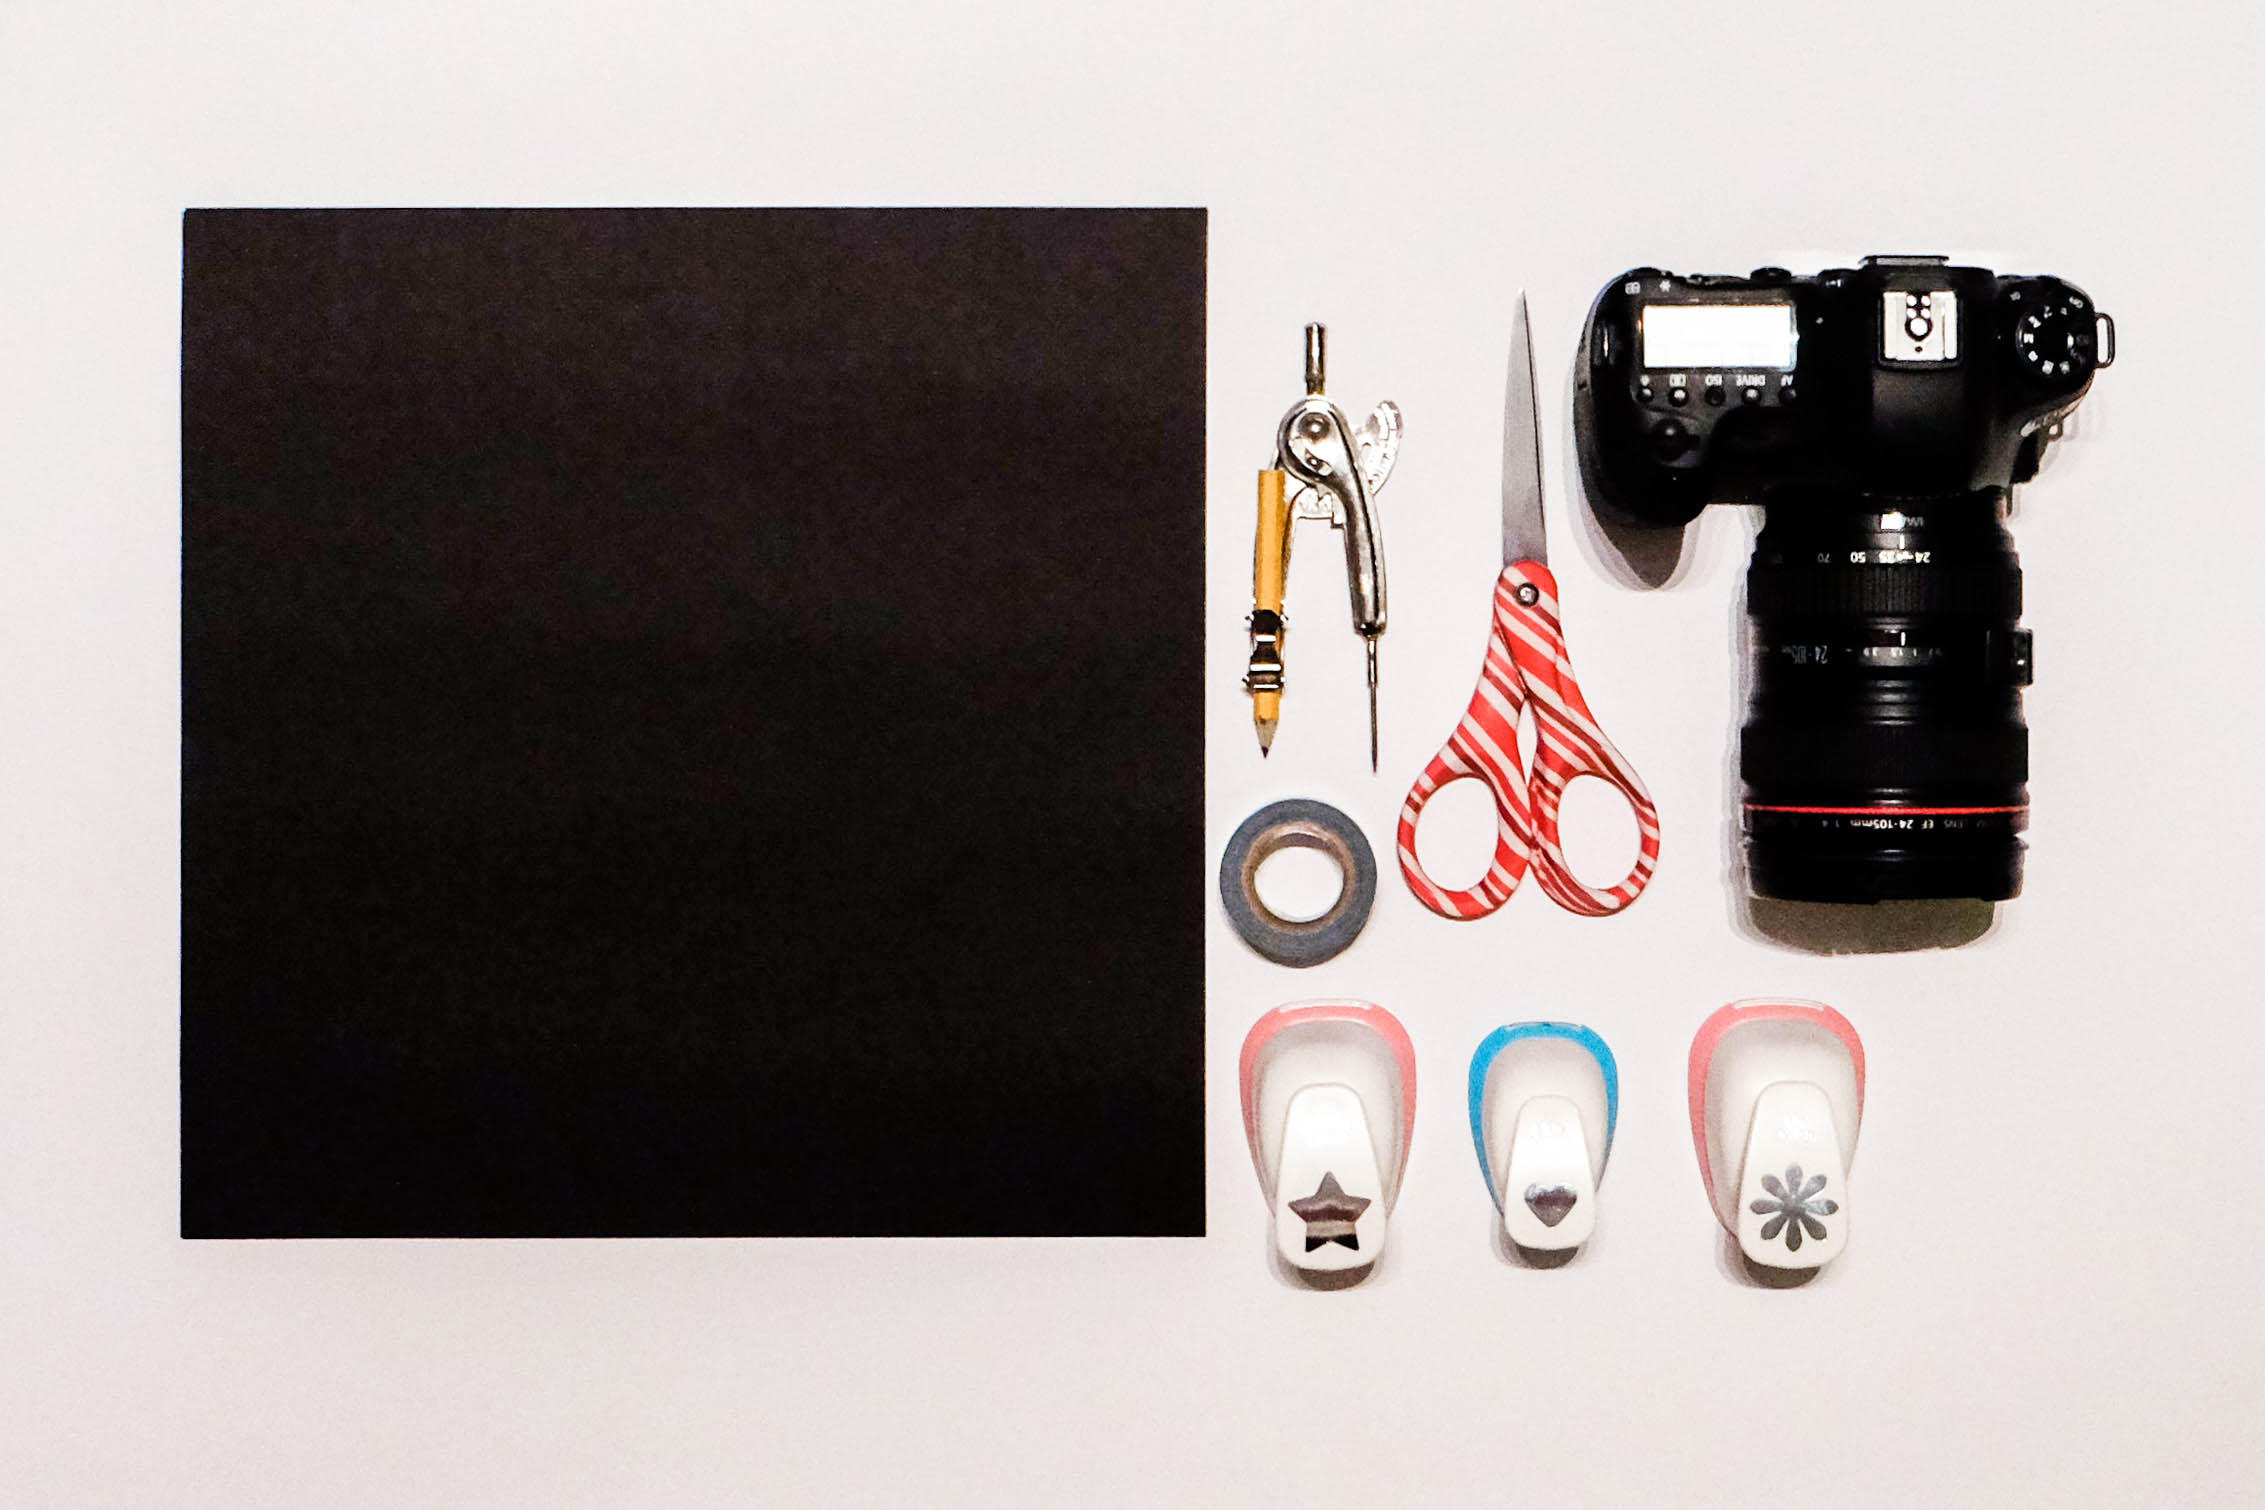
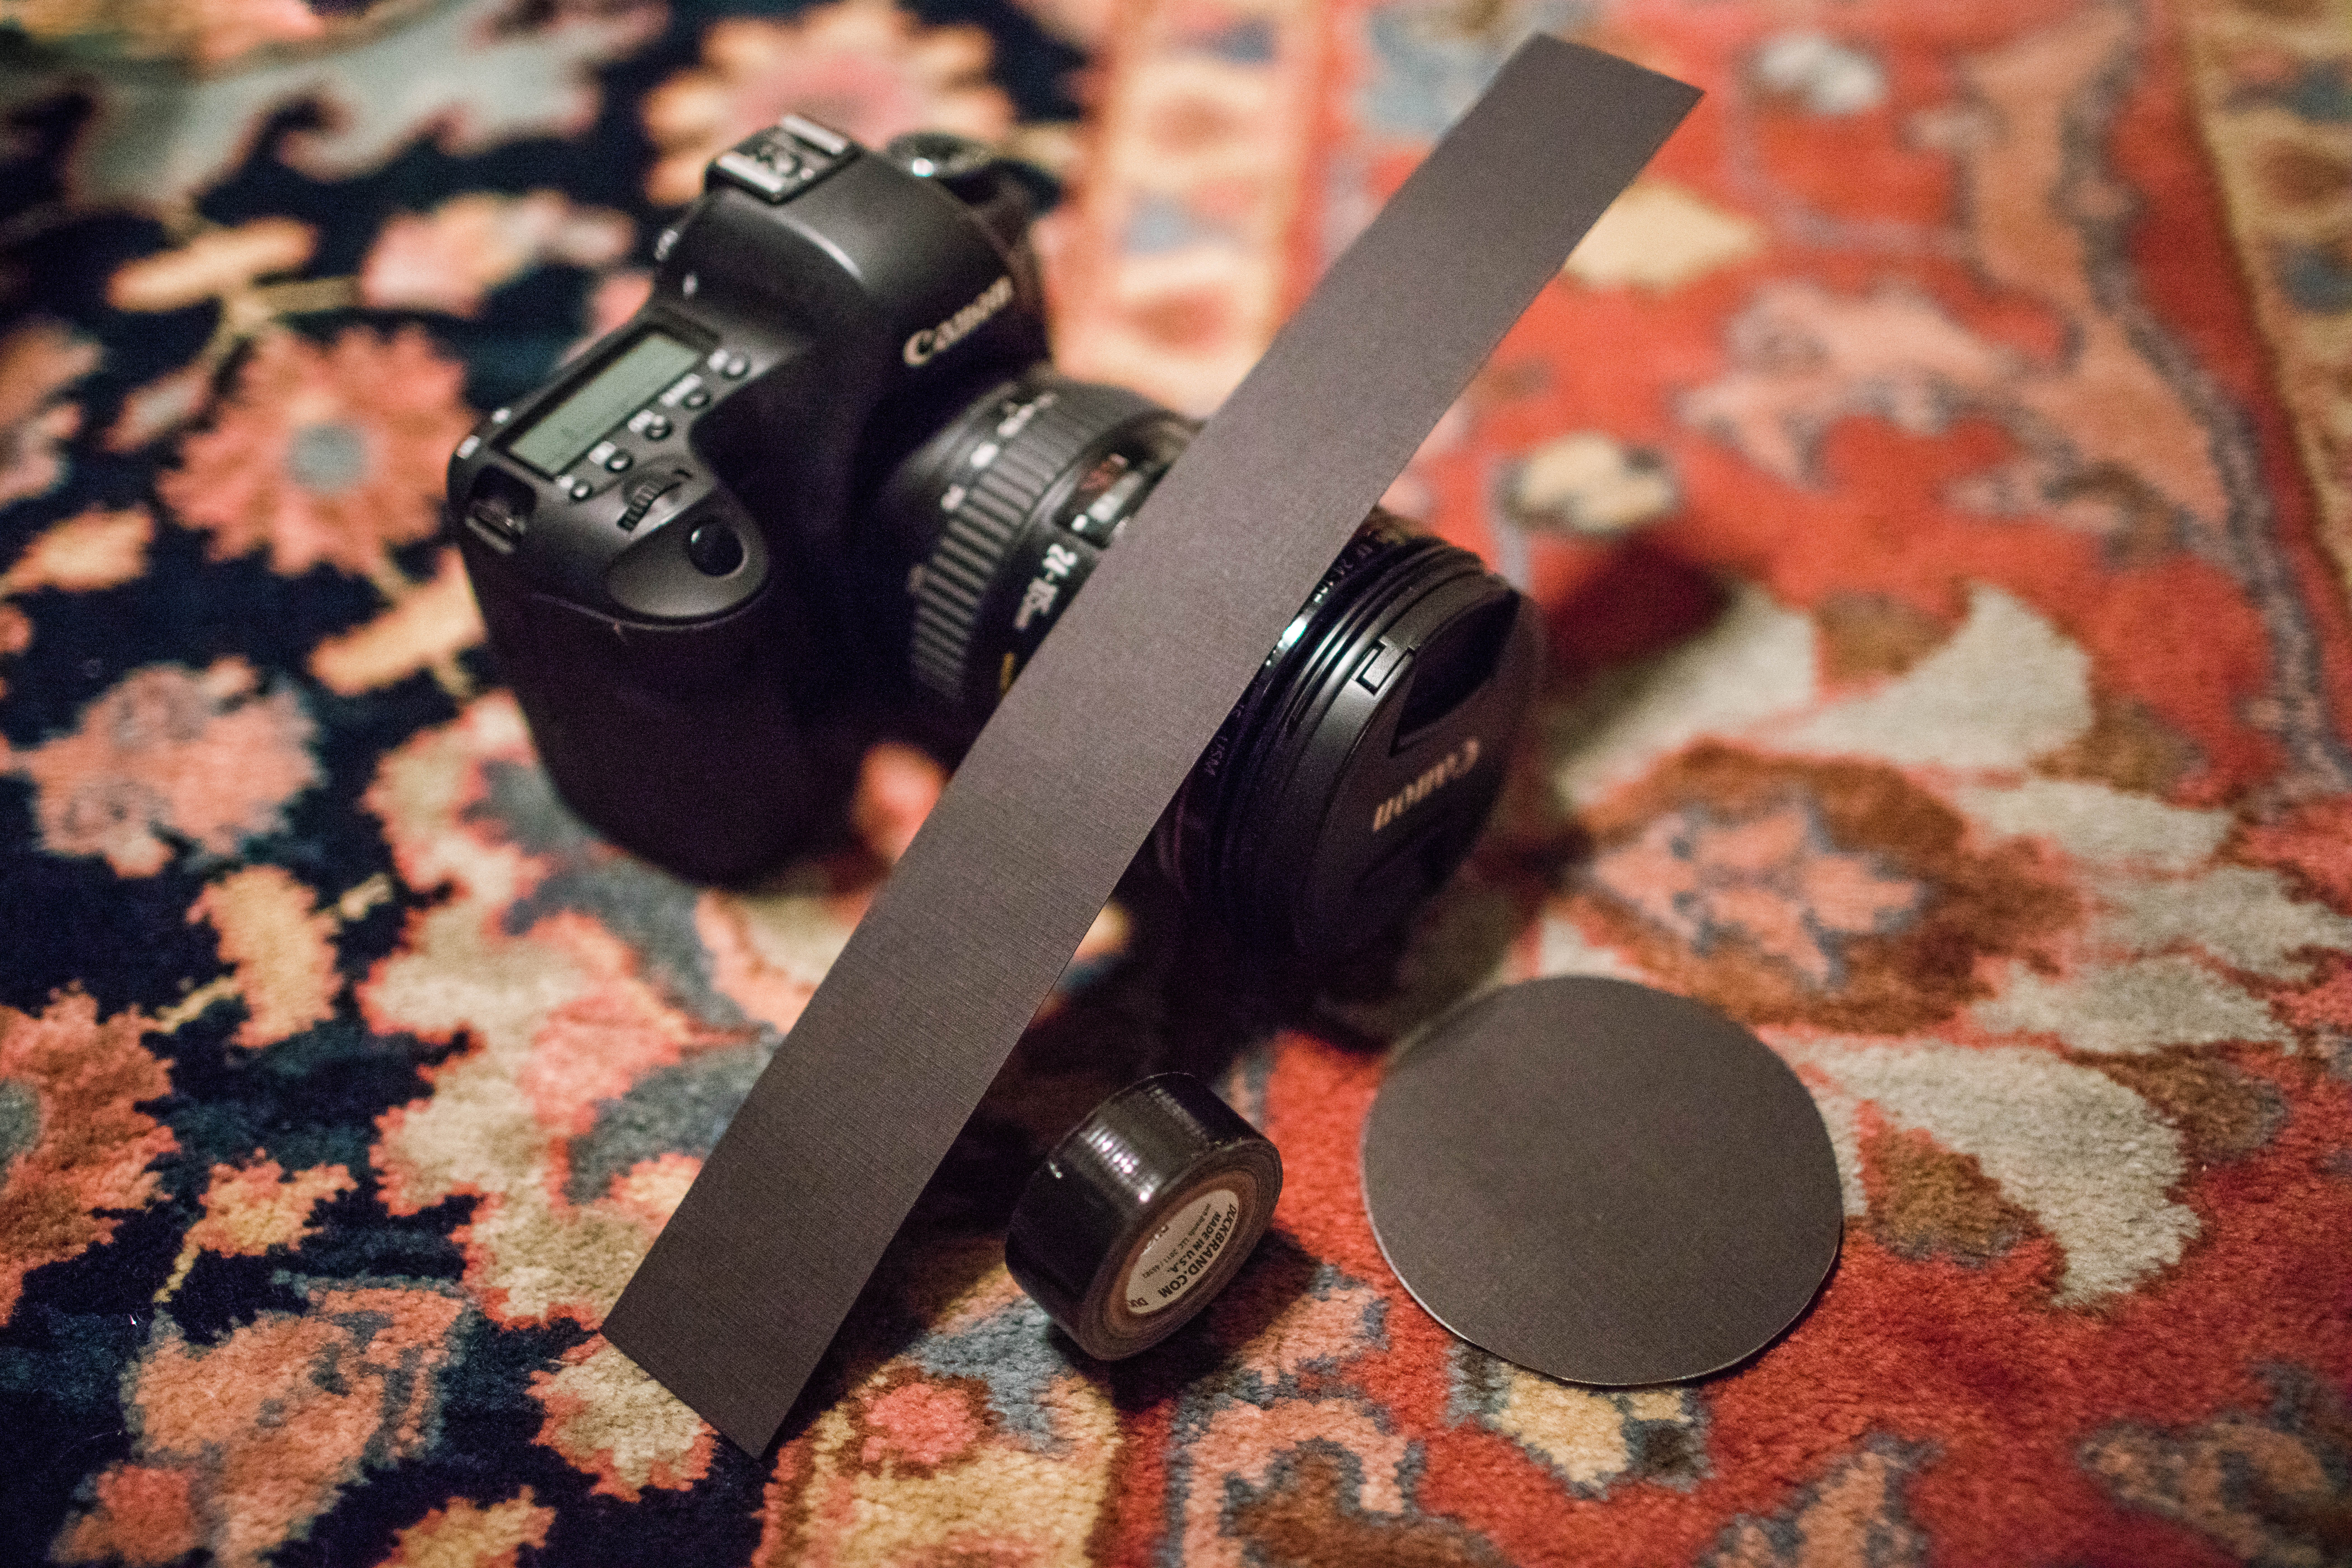
For the DIY bokeh filter, you’ll need:
-black construction paper (at least one sheet)
-black duct tape
-scissors
-pencil
-SLR camera
optional: shaped hole punches; a compass to make circular bokeh filter.
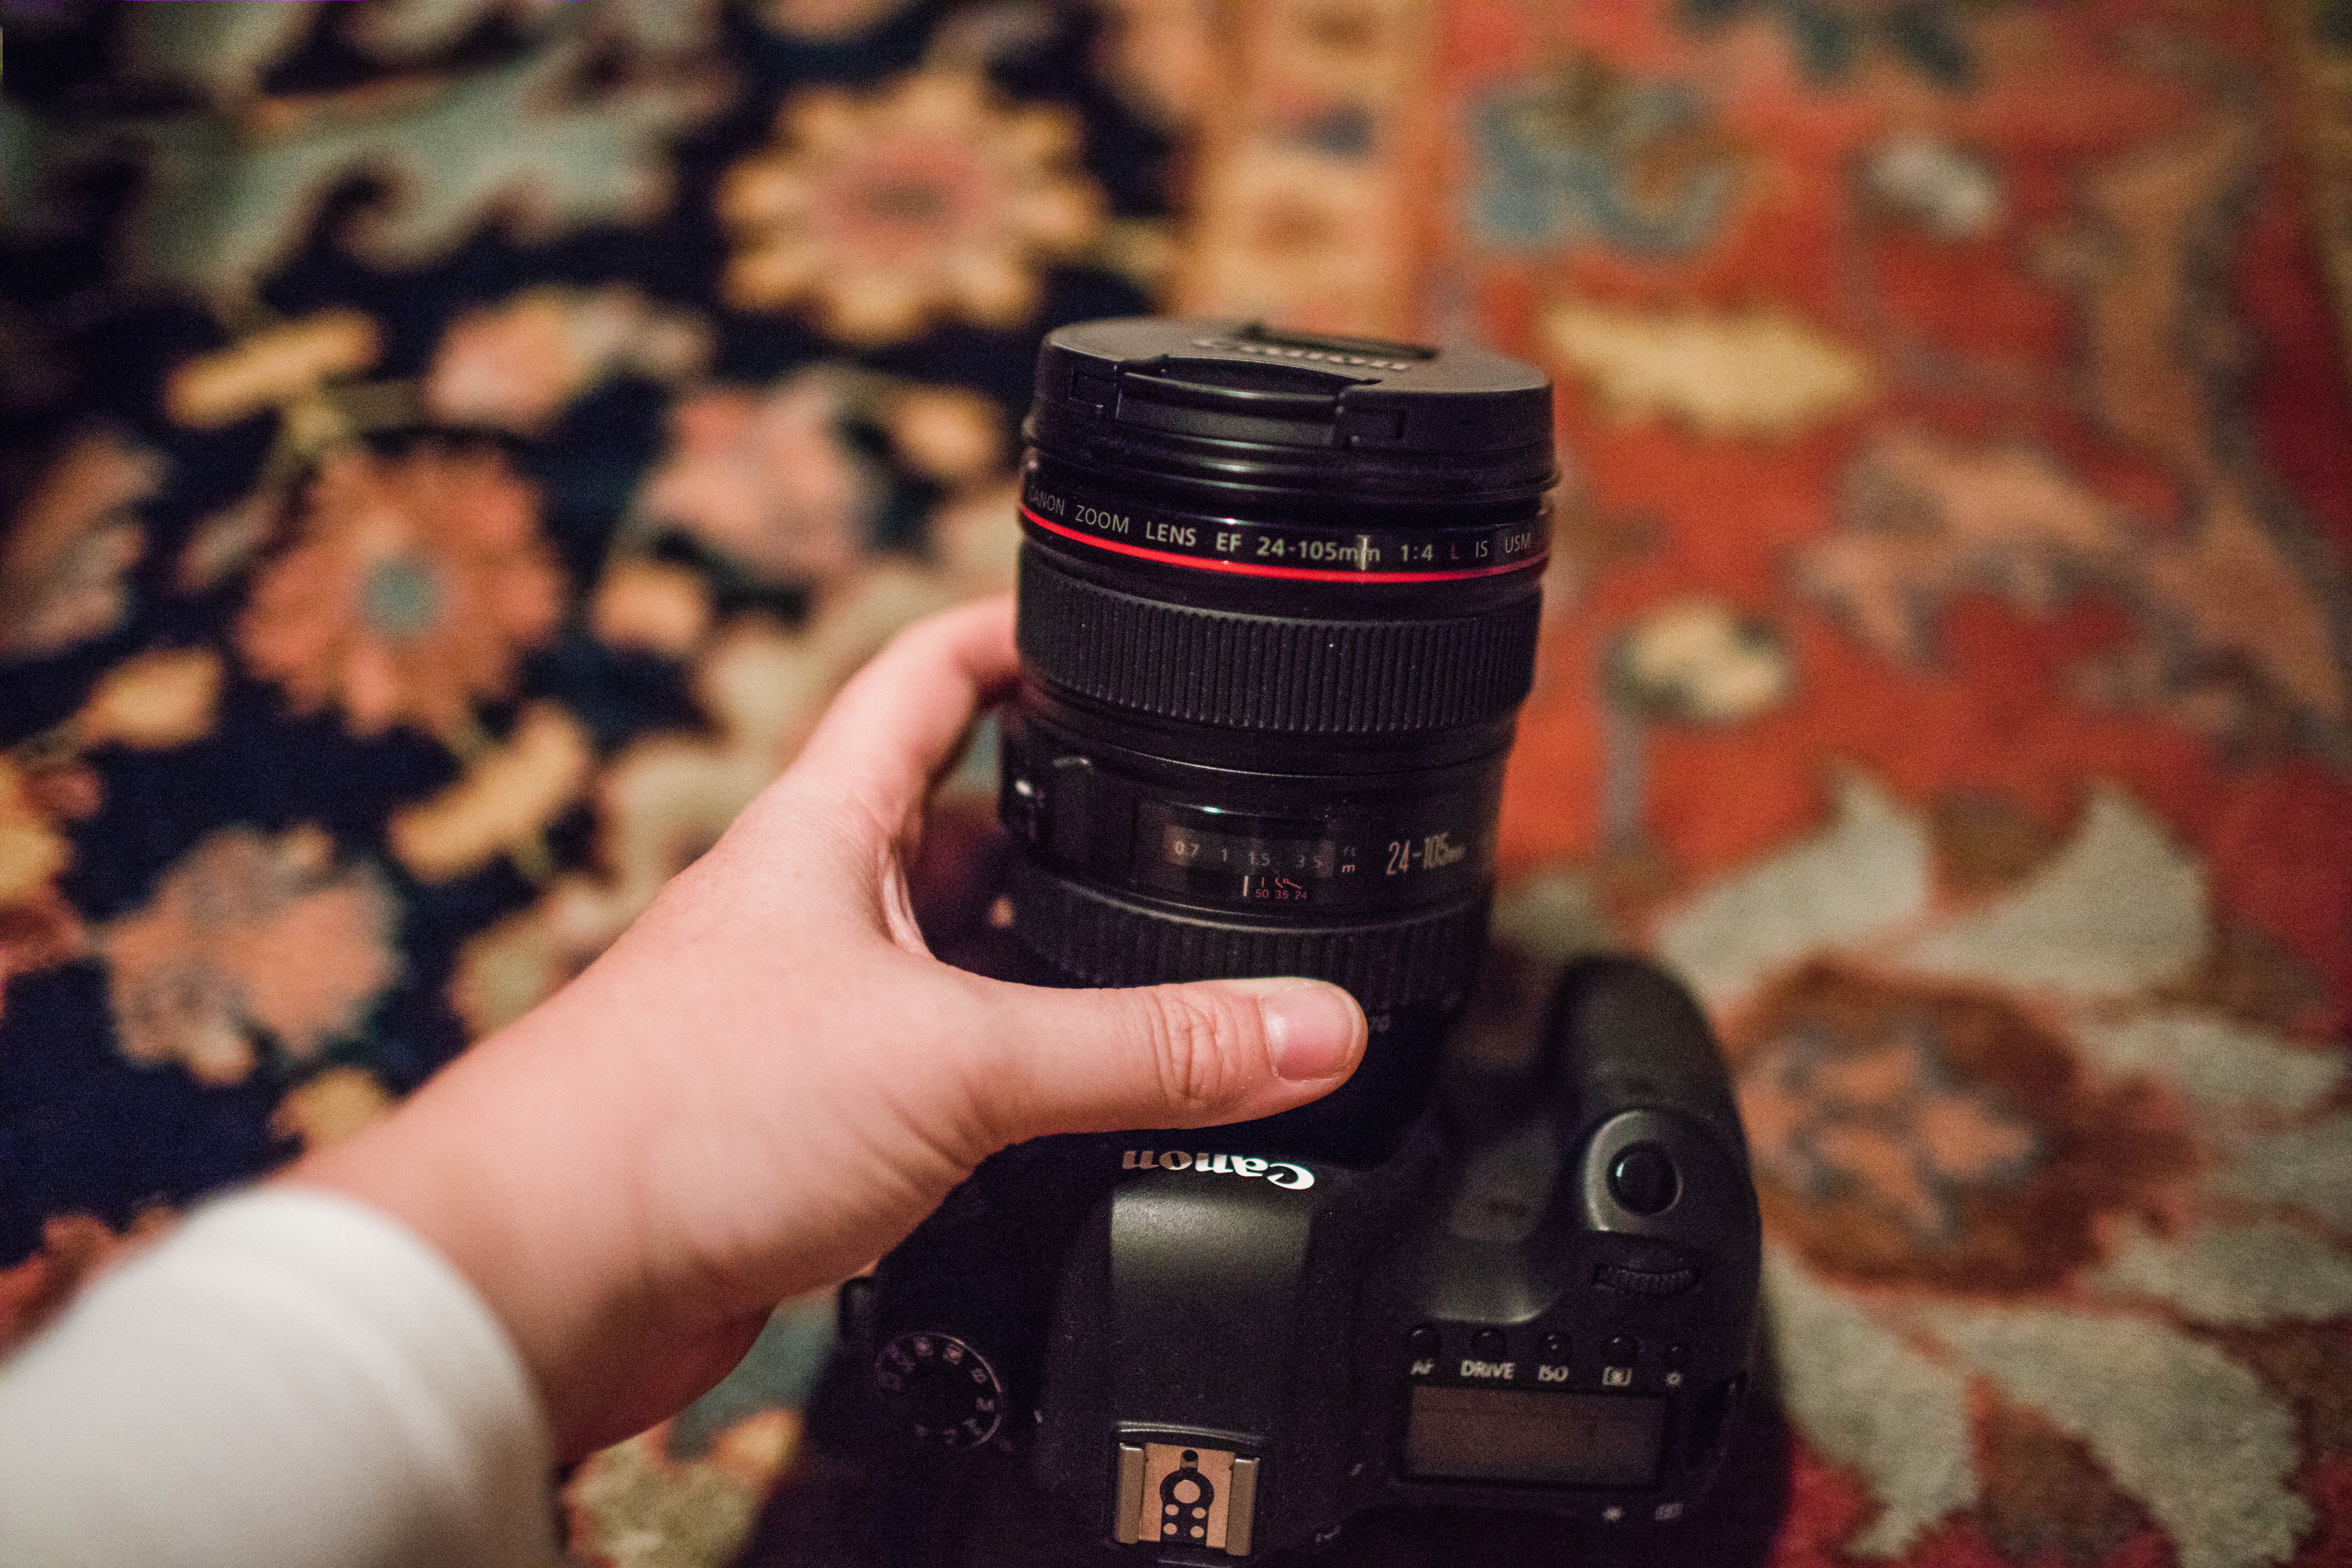
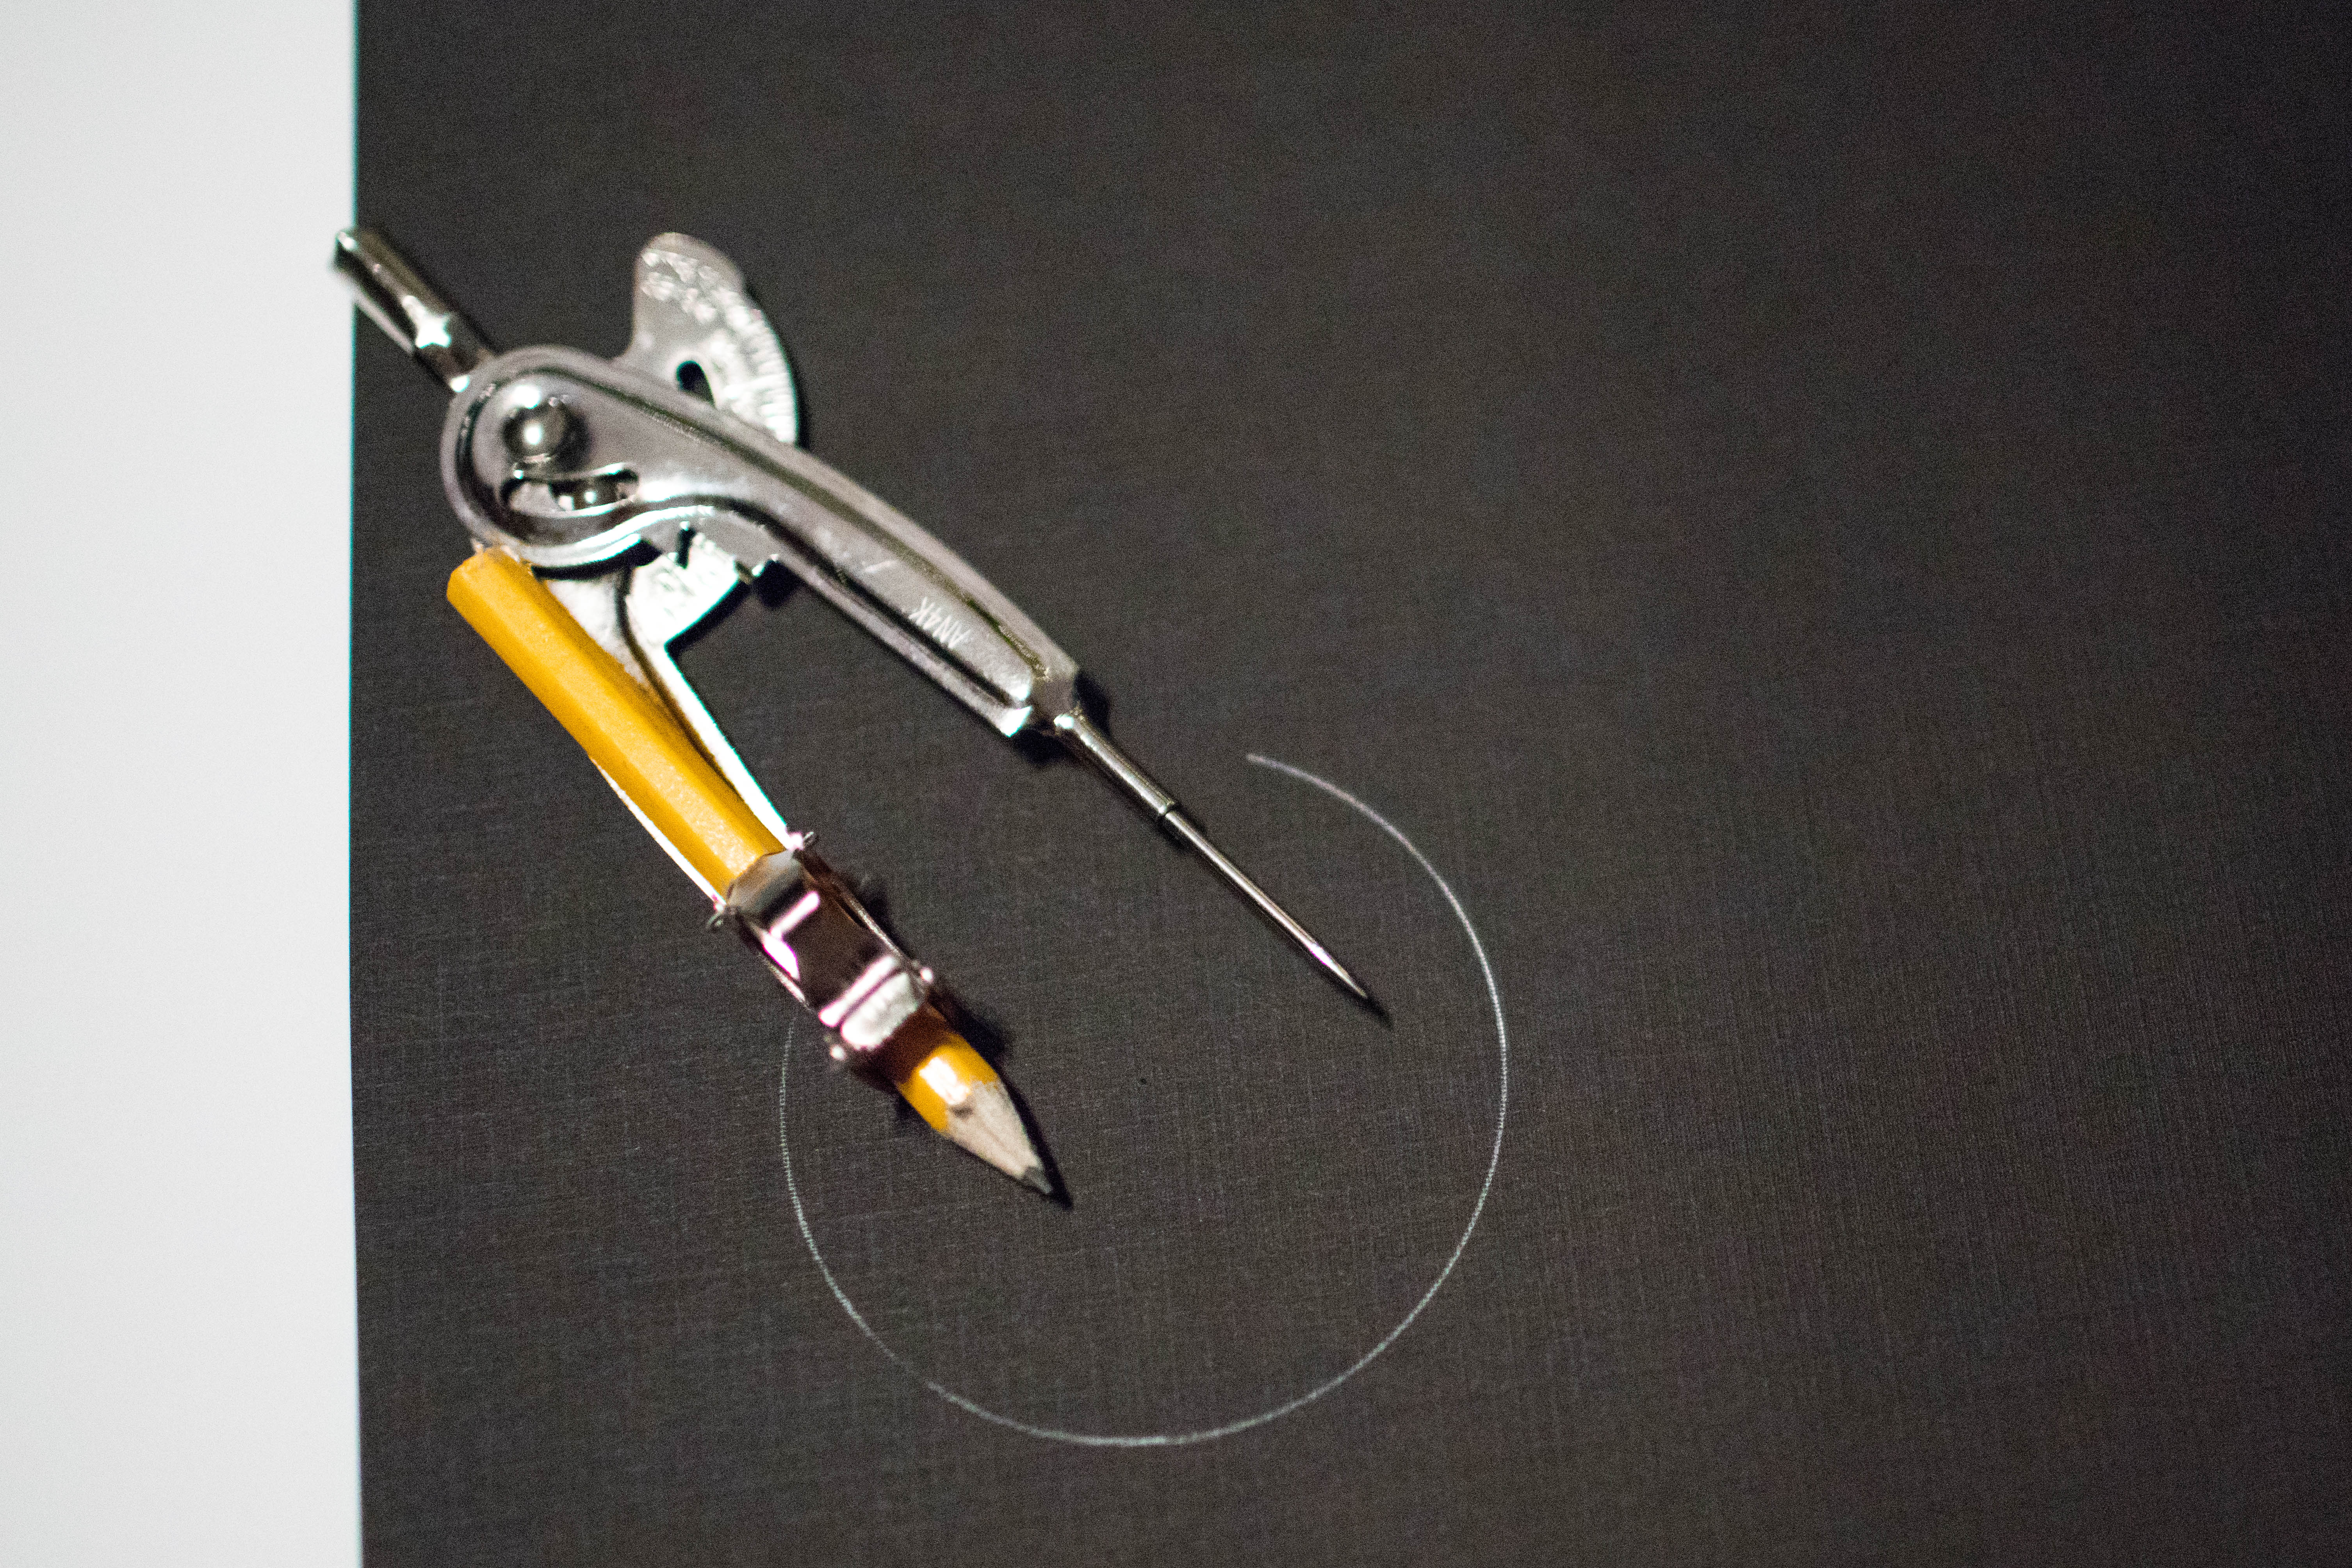
First, check to see if your SLR camera has the lens circumference measurement. Depending on the type of lens, you can either find it on the side of the lens, or just inside the lens cap. If you don’t know the circumference, no problem! We’ll go over those easy-peasy steps in a minute. Grab your piece of black construction paper and a pencil- it’s time to create the bokeh filter!
If you do know the circumference AND have a compass, take the circumference measurement, divide by two, set up the compass and start drawing your circle.
If you do not know the circumference and/or do not have a compass, just trace a circle around your lens on the black construction paper. Keep those scissors nearby- you might need them to tweak your circle cut when we attach to our “hood” in a minute.
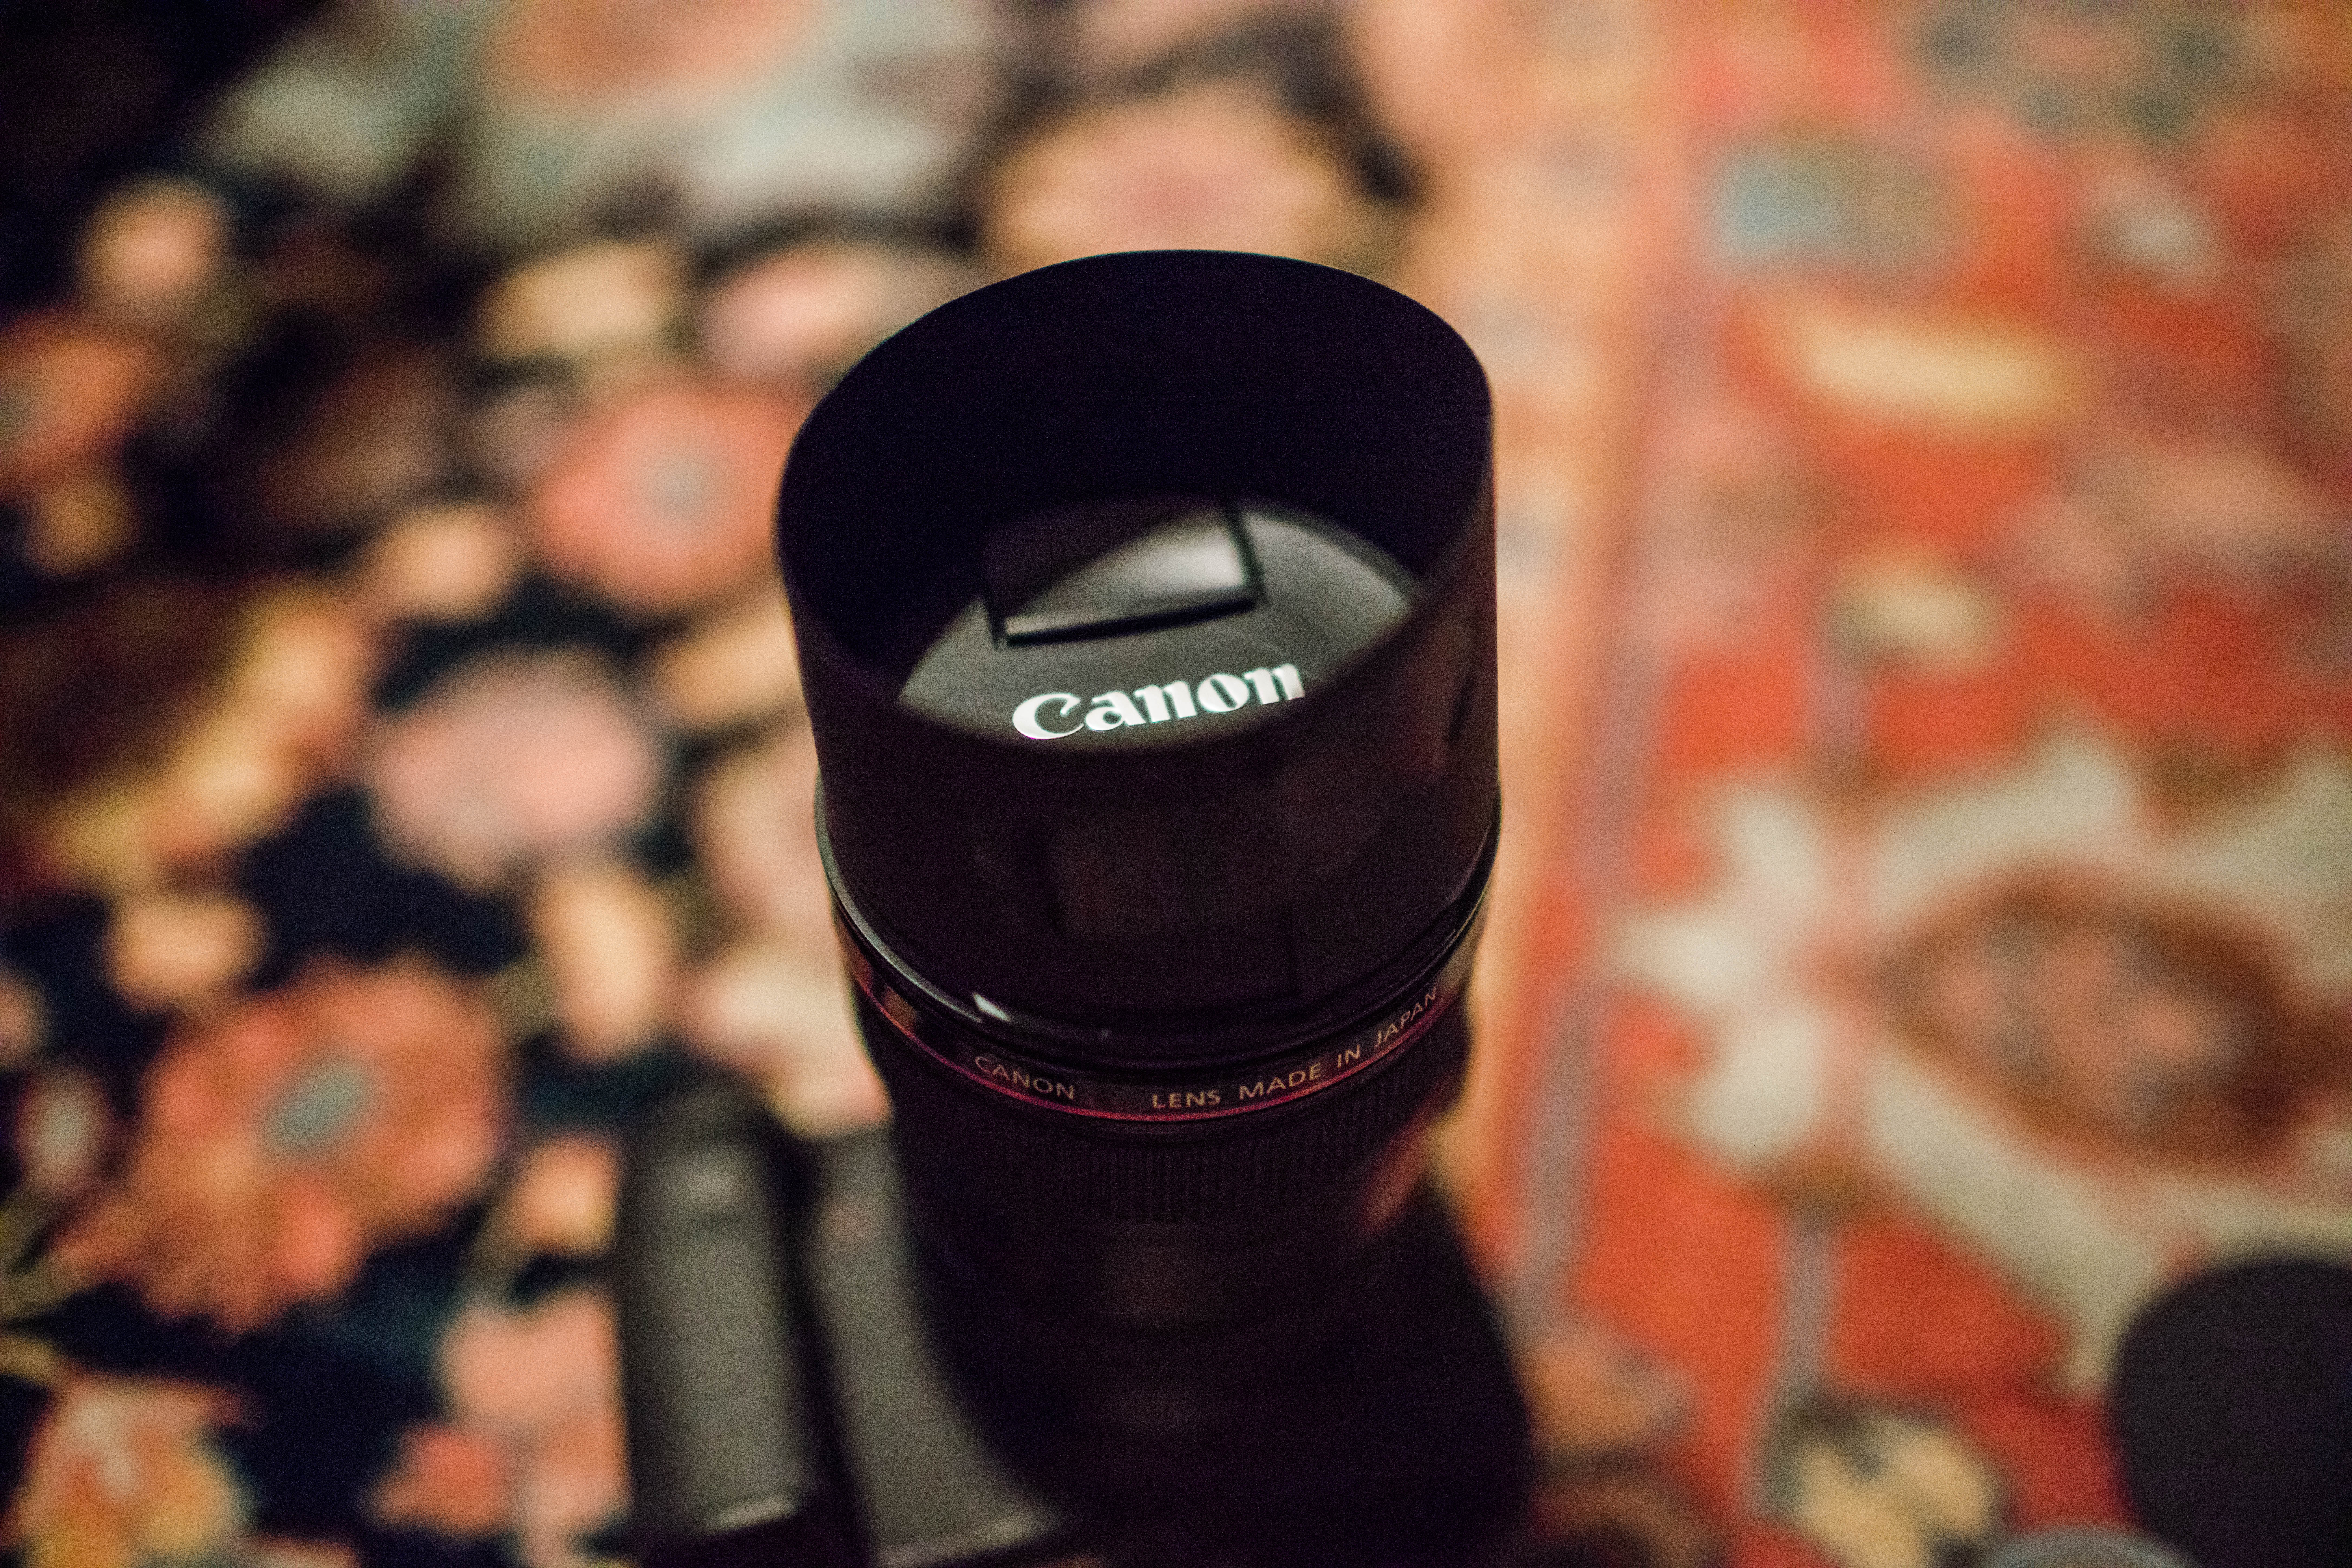
Once you’ve cut your circle, set it aside. Take the leftover of the construction paper and cut one long strip to create the bokeh hood. I cut mine with about two inches in width. Take the long strip and start to wrap it around tightly at the end of your camera lens- this is where it will sit. Have a piece of tape ready to attach the two ends together, and leave your new lens hood on the camera.
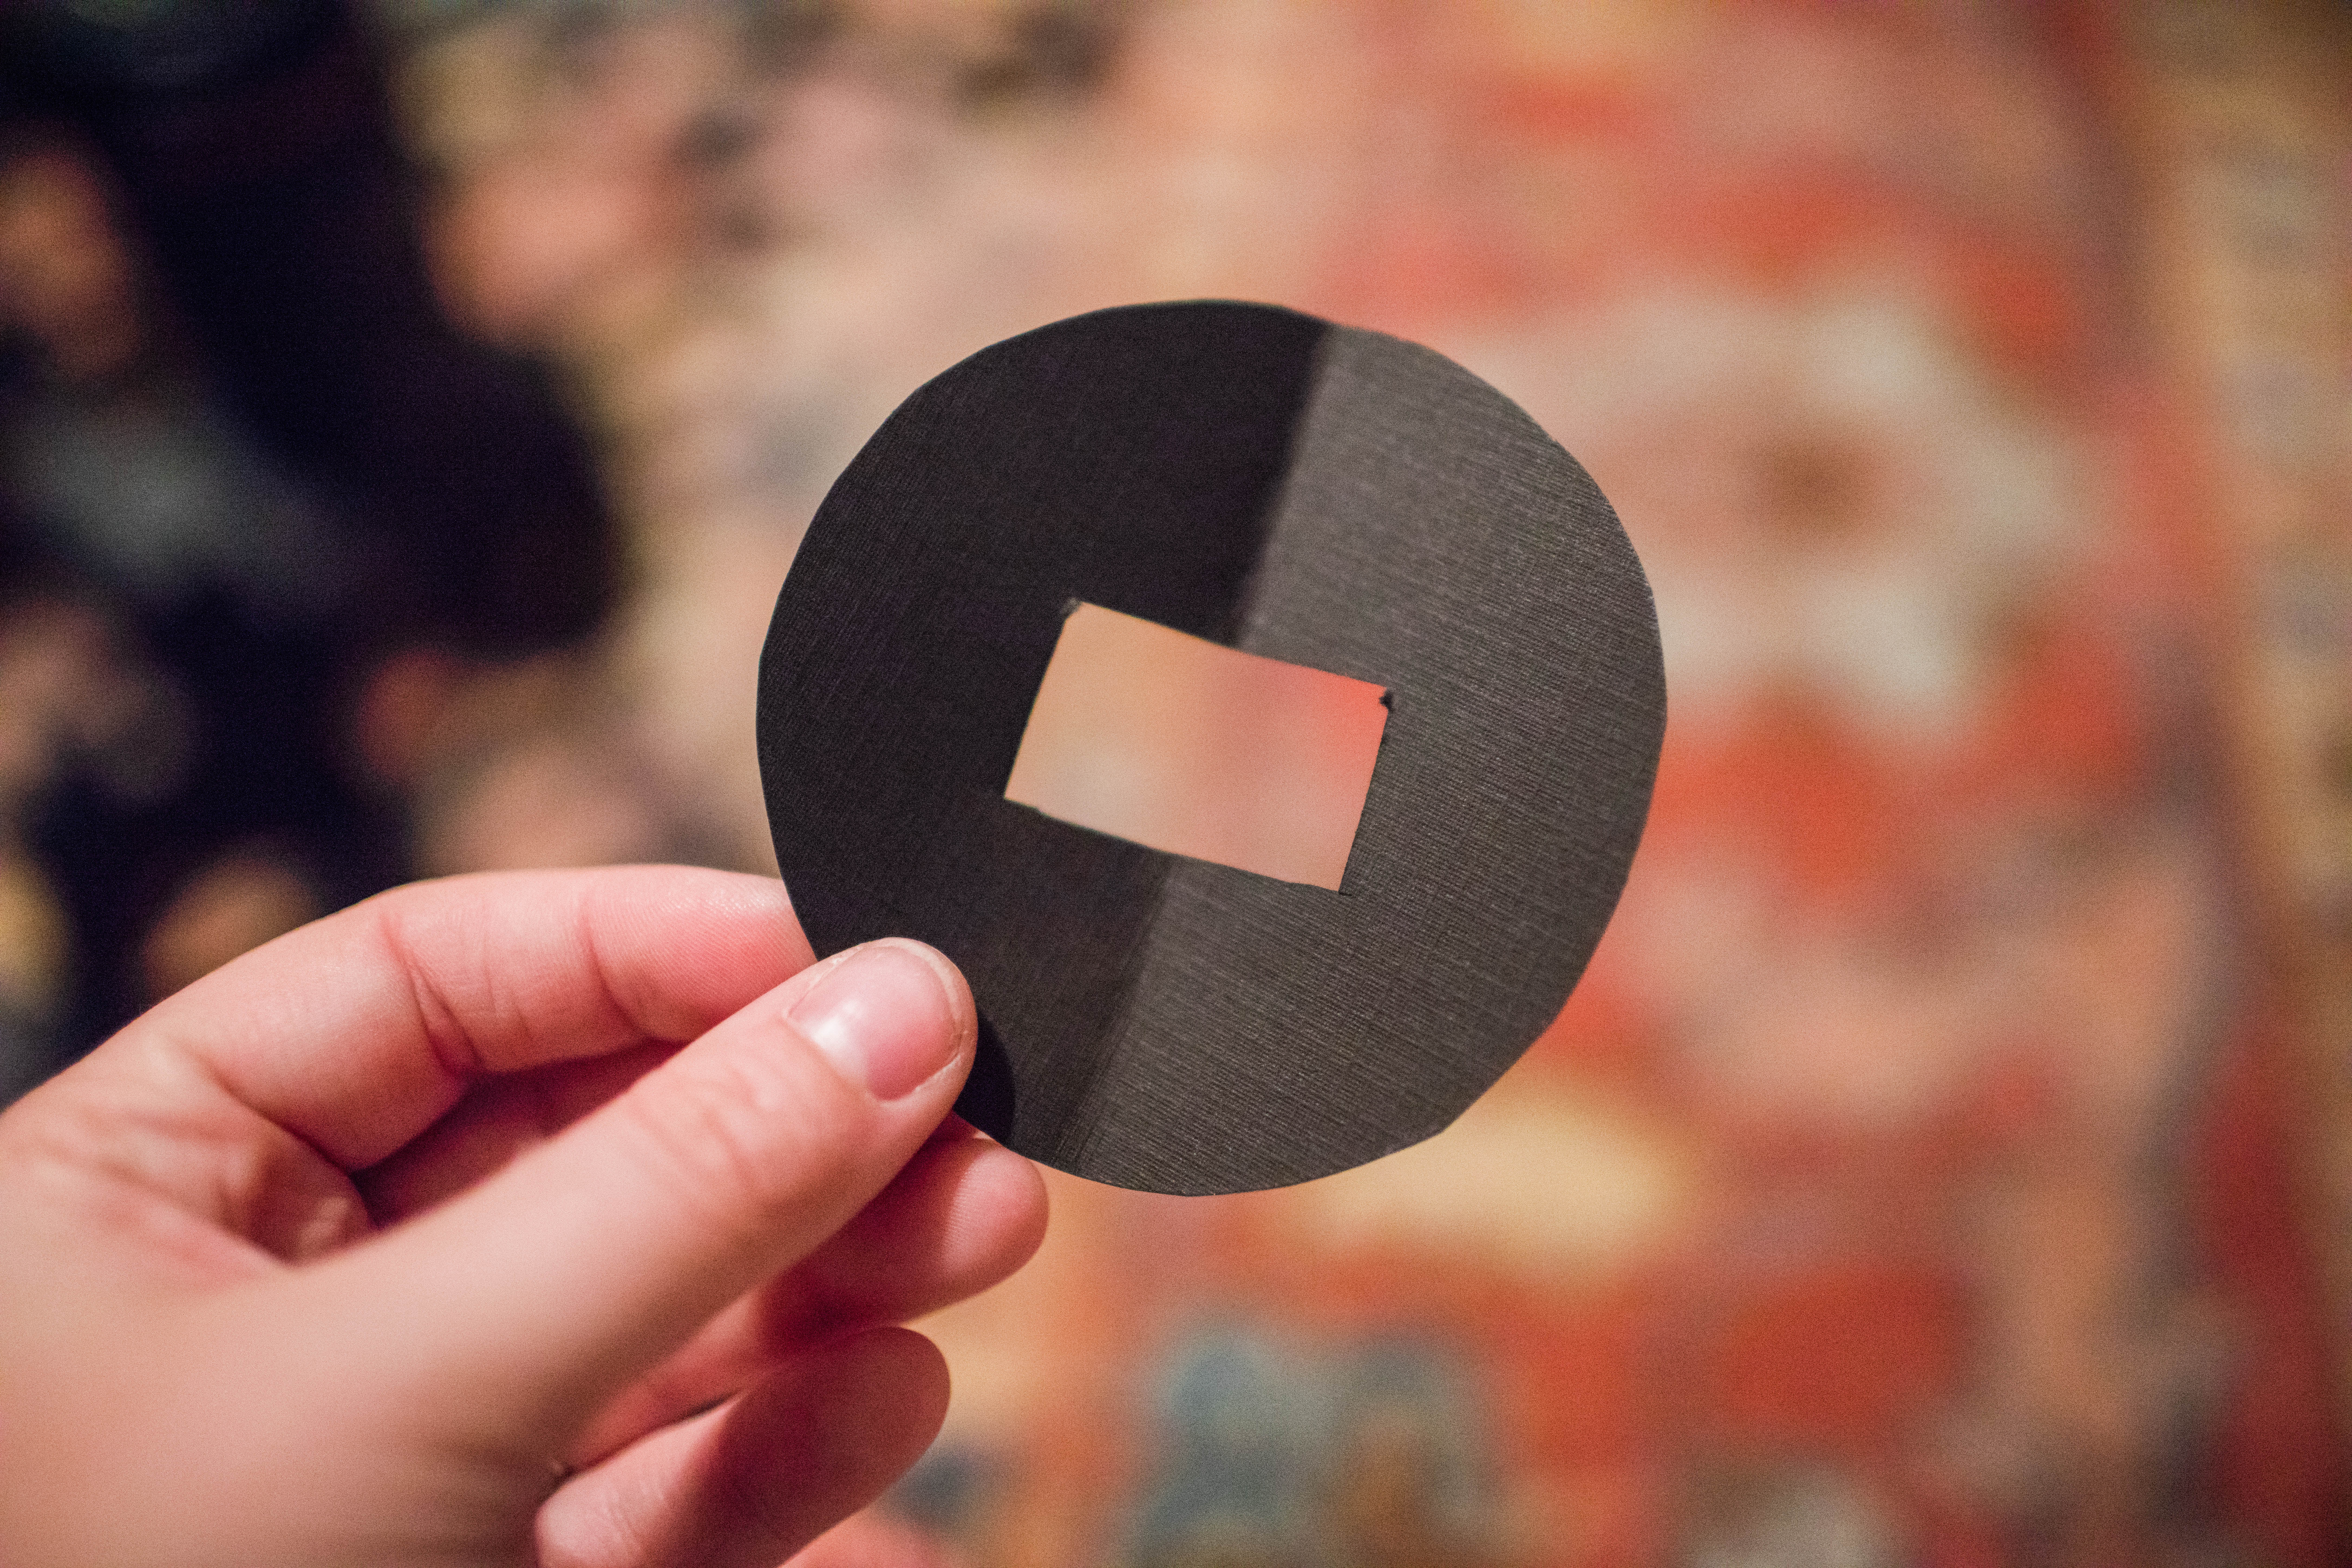
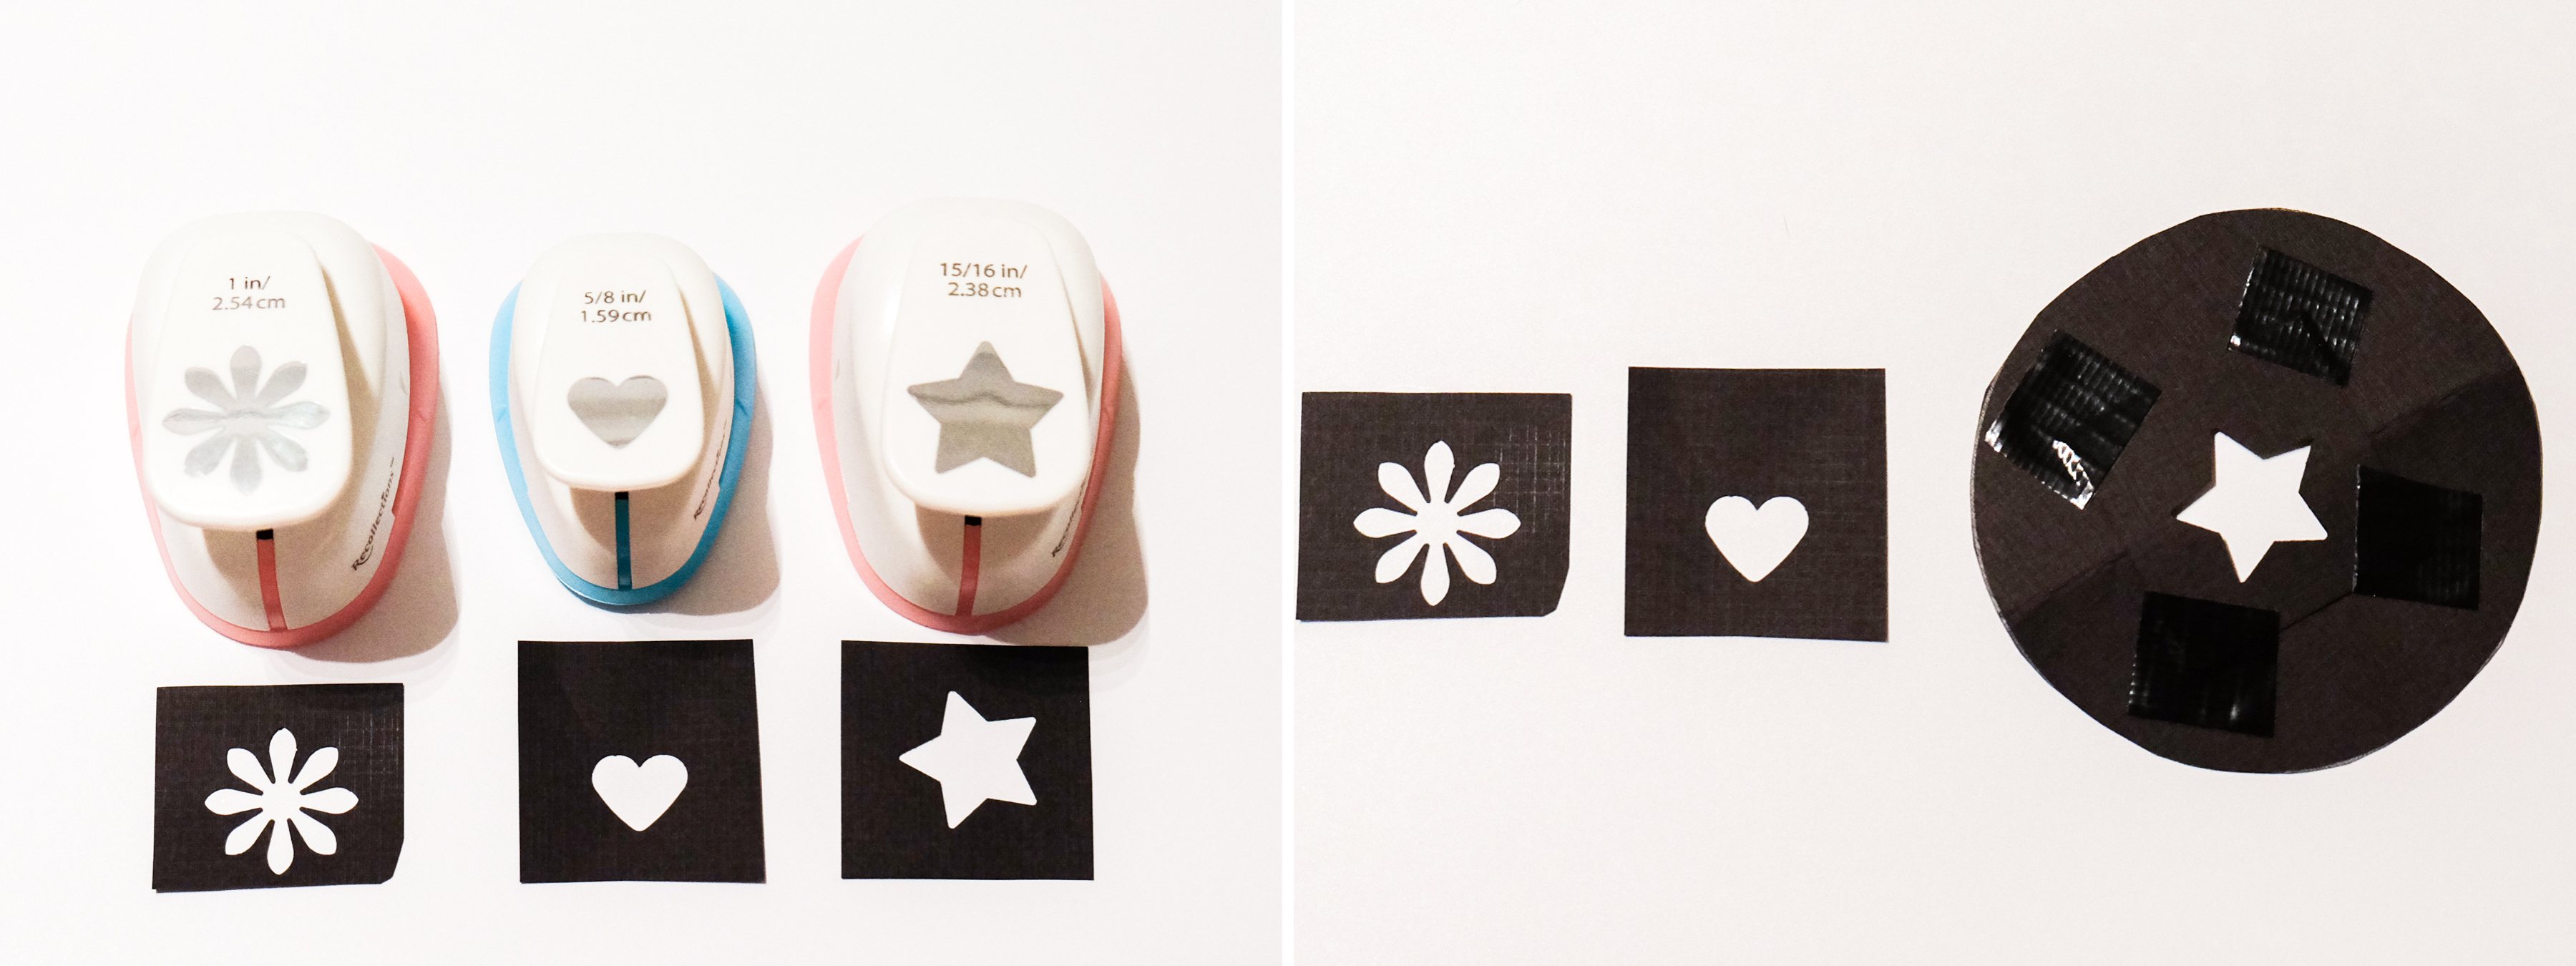
Now, take your circle that we cut out earlier, fold it in half, and cut a square in the middle. This will give you a reusable bokeh filter, where you can tape different bokeh “cartridges” without having to make a new filter and hood each time. We’ll make those bokeh cartridges in our next step.
Here is the fun part! Grab your scissors, hole punches, your X-acto knife, anything that will help you make a bokeh and start cutting your shapes. To make your bokeh cartridges, cut several squares (just a little larger than the square we just cut out in the filter so they overlap) from the remaining black construction paper, and start creating your shapes! I chose to use several larger hole punches between 5/8in and 1in in diameter. Once you’ve finished making your shapes, take one cartridge and tape it to the circular filter.
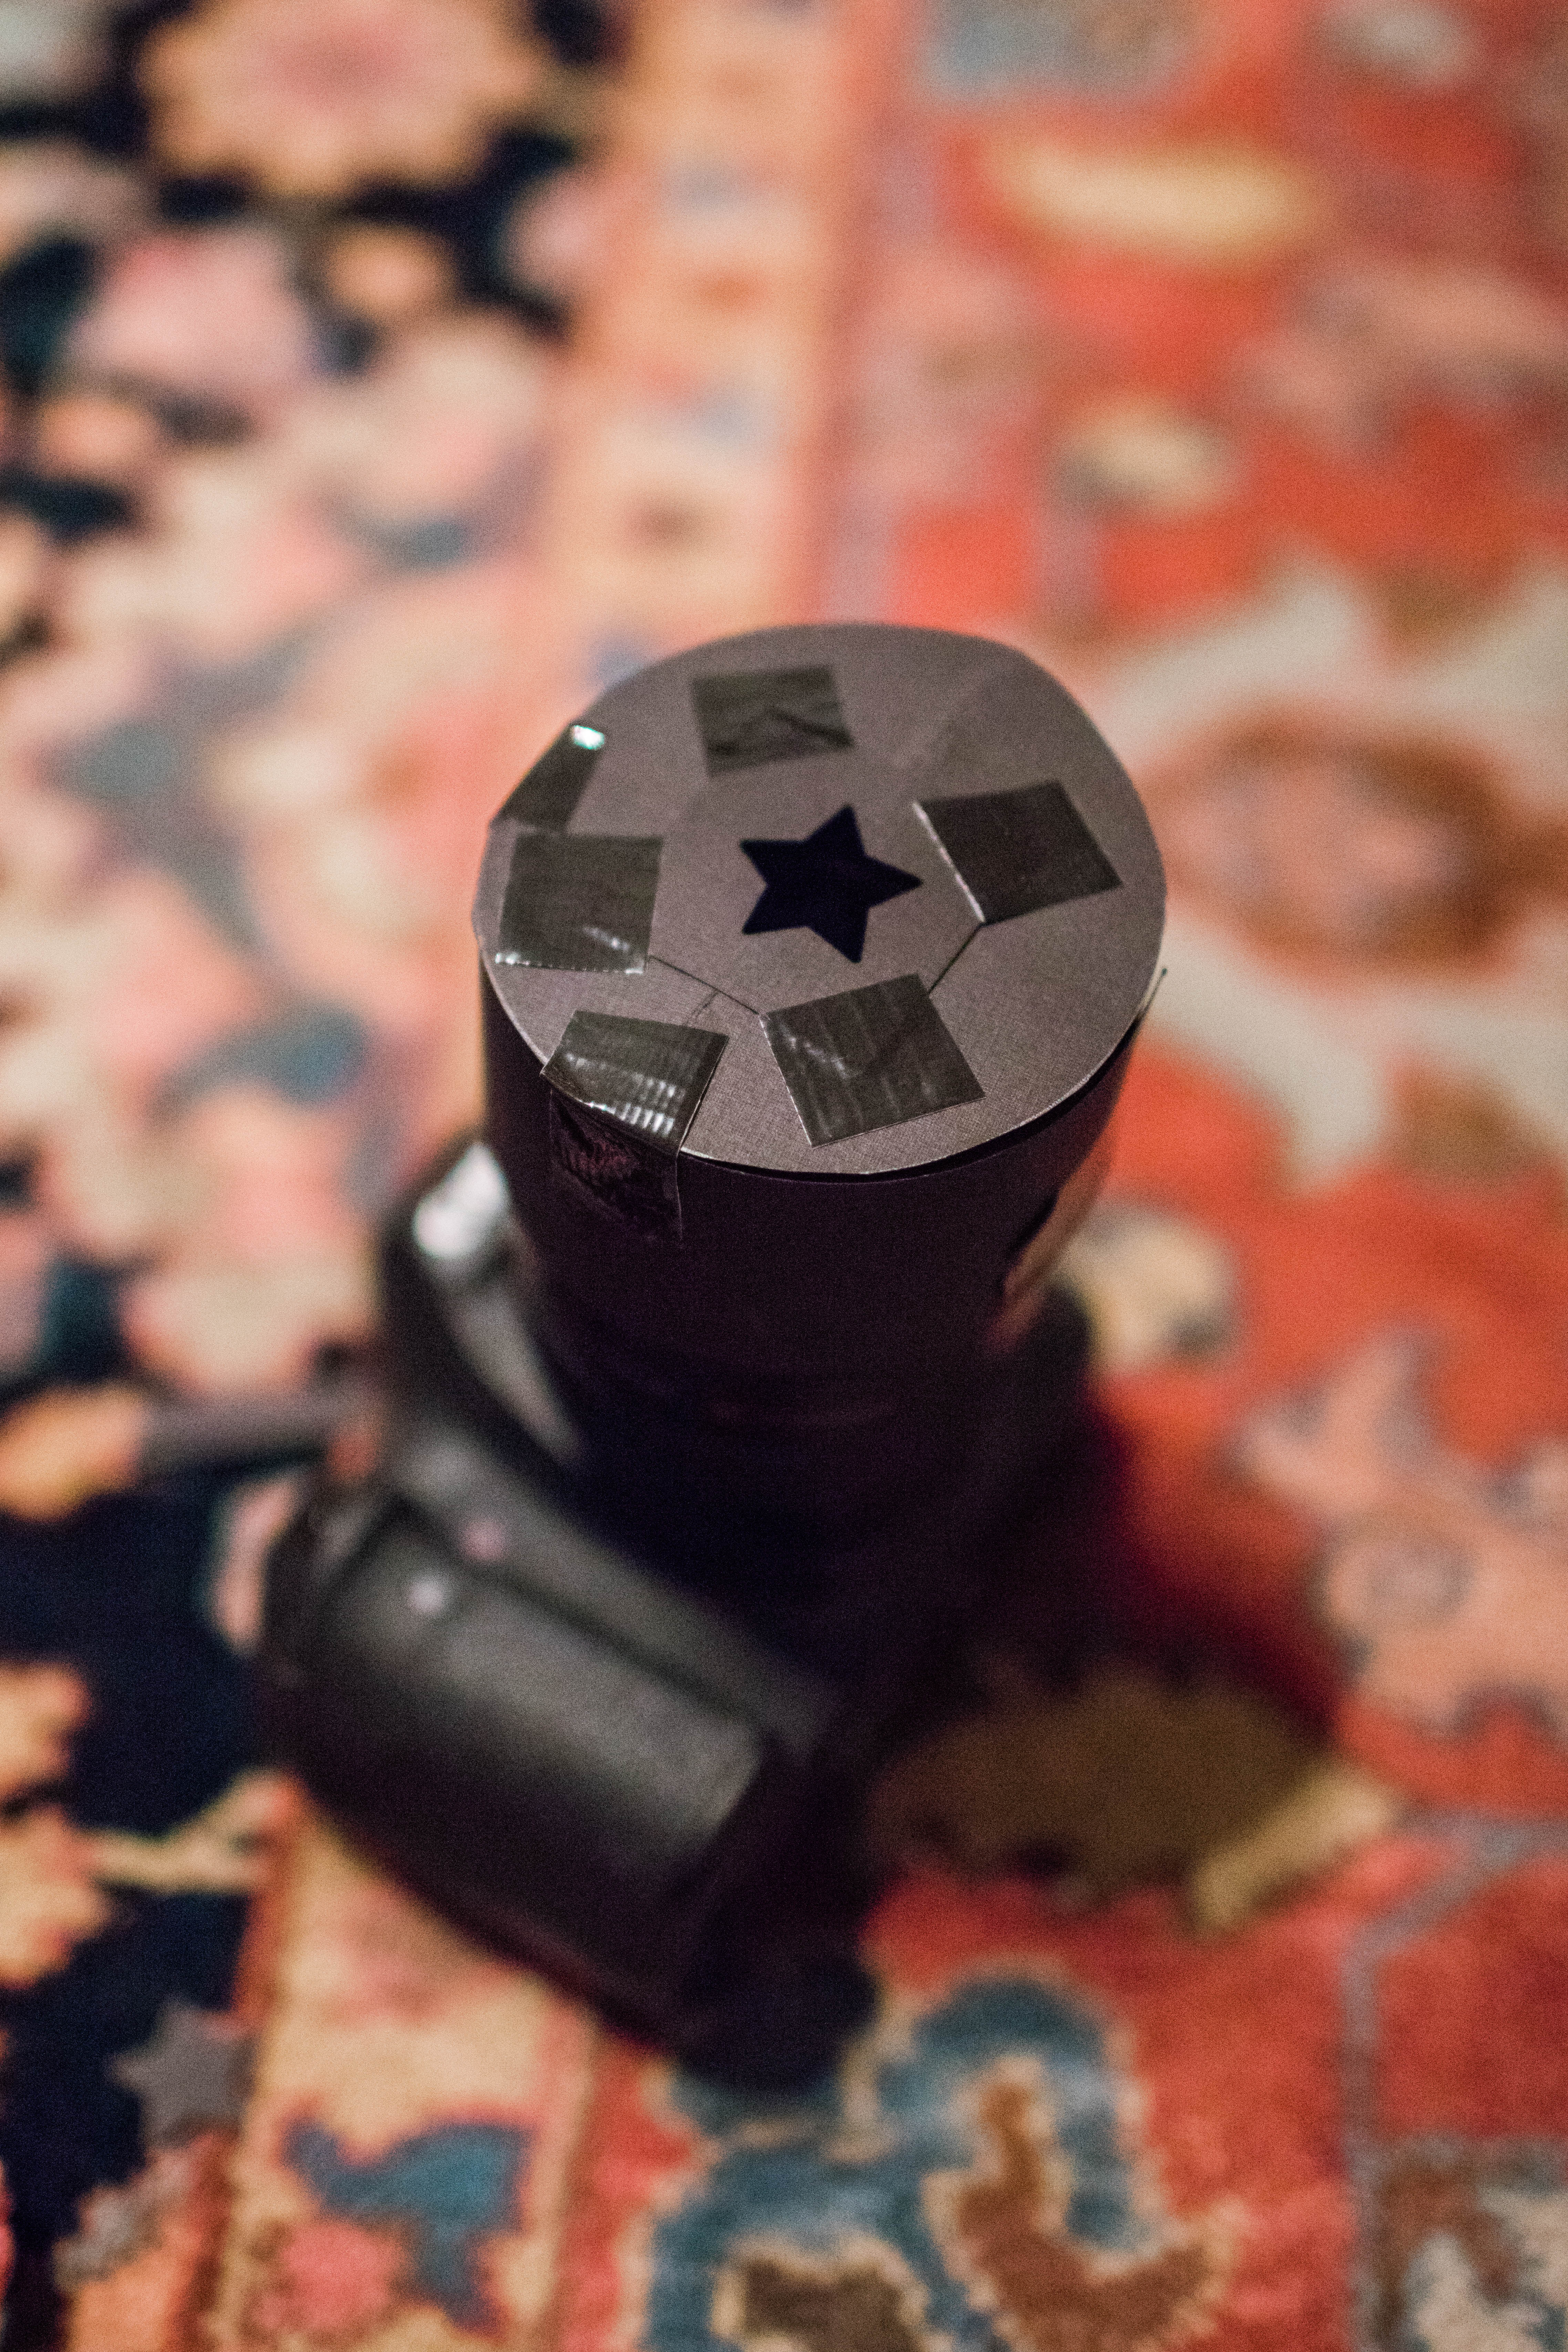
And finally, let’s attach the filter to the lens hood (that’s still attached to the lens) with duct tape. If your circular filter is a little wonky, now is the time to trim the sides to make it fairly even and easy to tape onto the filter. Make sure you tape the filter to the lens as tightly as possible; you don’t want to have any spaces between the filter and the hood where light could potentially leak in.
We’re almost ready to bokeh! The last things we need are a multiple light source (like Christmas lights on a tree), and a dark environment for those lights to shine bright in.
I make sure that my camera is adjusted for the low-light situation (my ISO is at least 3200), check that my aperture is high with the lowest f/ that the lens offers, and switch my lens into manual focus (the auto/manual focus switch is on the side of the lens). Here are the specs on these photos:
camera: Canon 5DS
lens: Canon 35mm f/1.4L
ISO: 6400
aperture: f/1.4
shutter speed: 1/125 sec
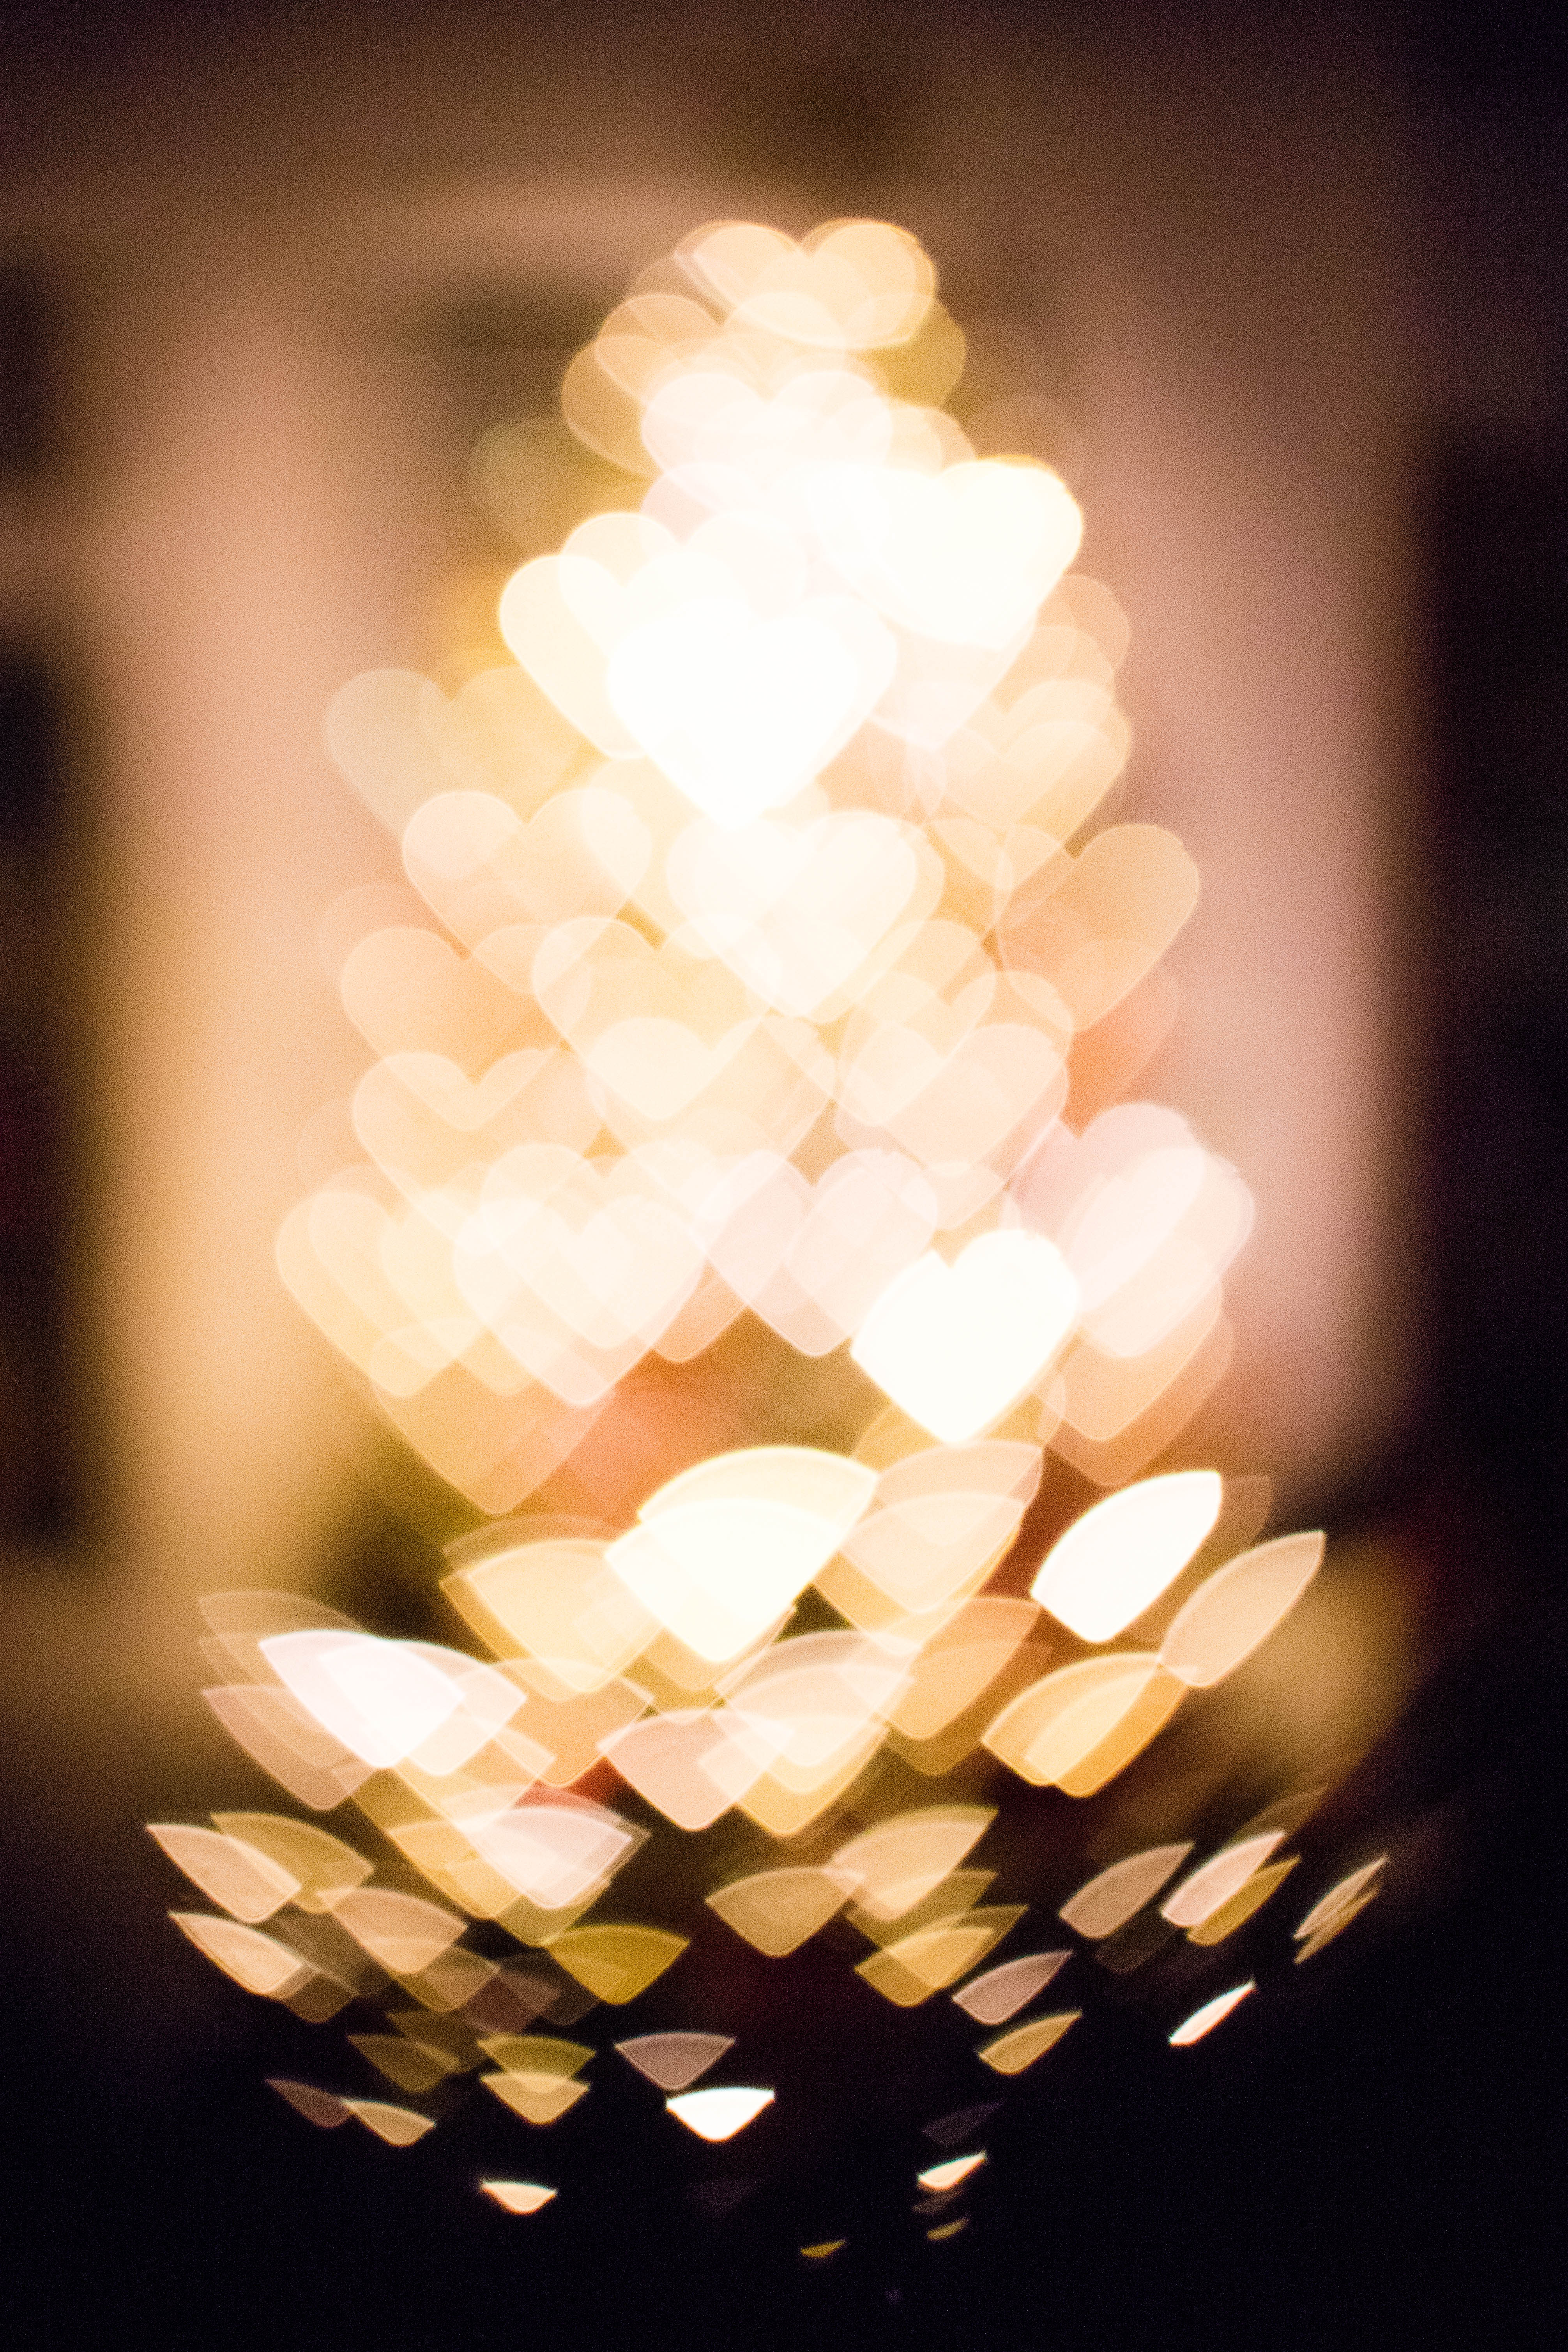
Hello adorable hearts!!
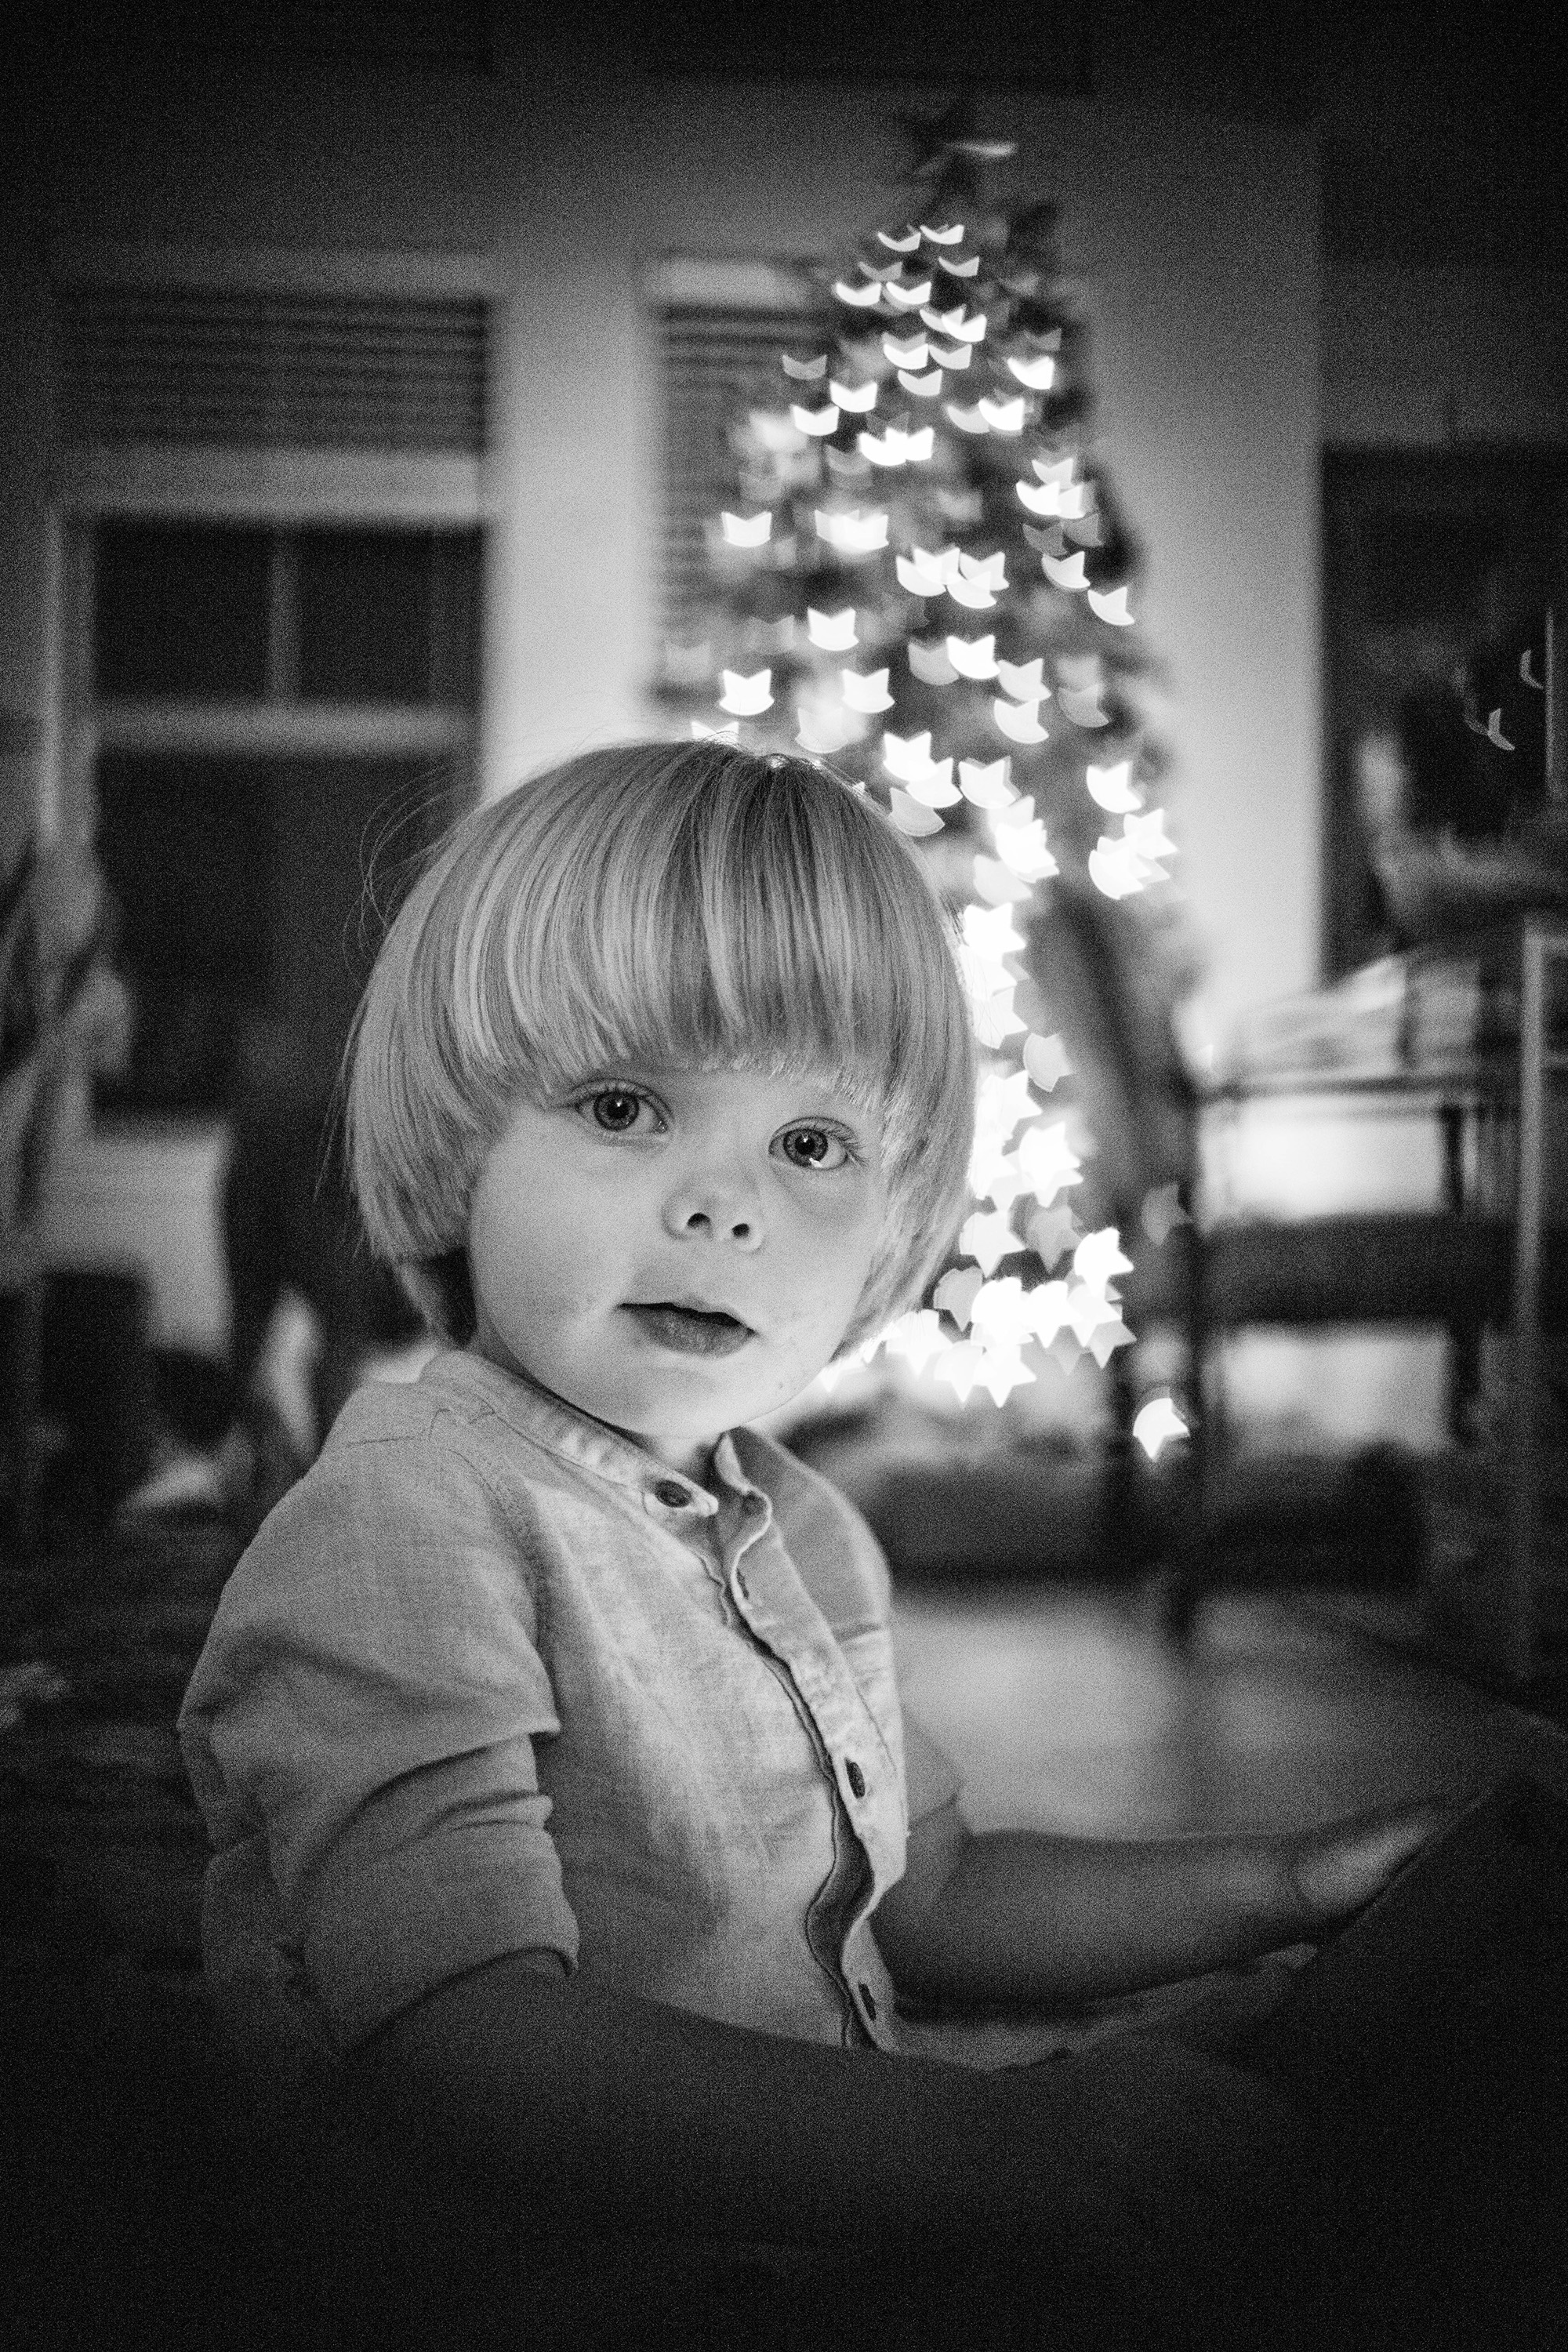
I played with the manual focus on the lens to change the size of the heart shape bokeh.
Can I get a collective “oooooh” and “aaaahhhhhh”?
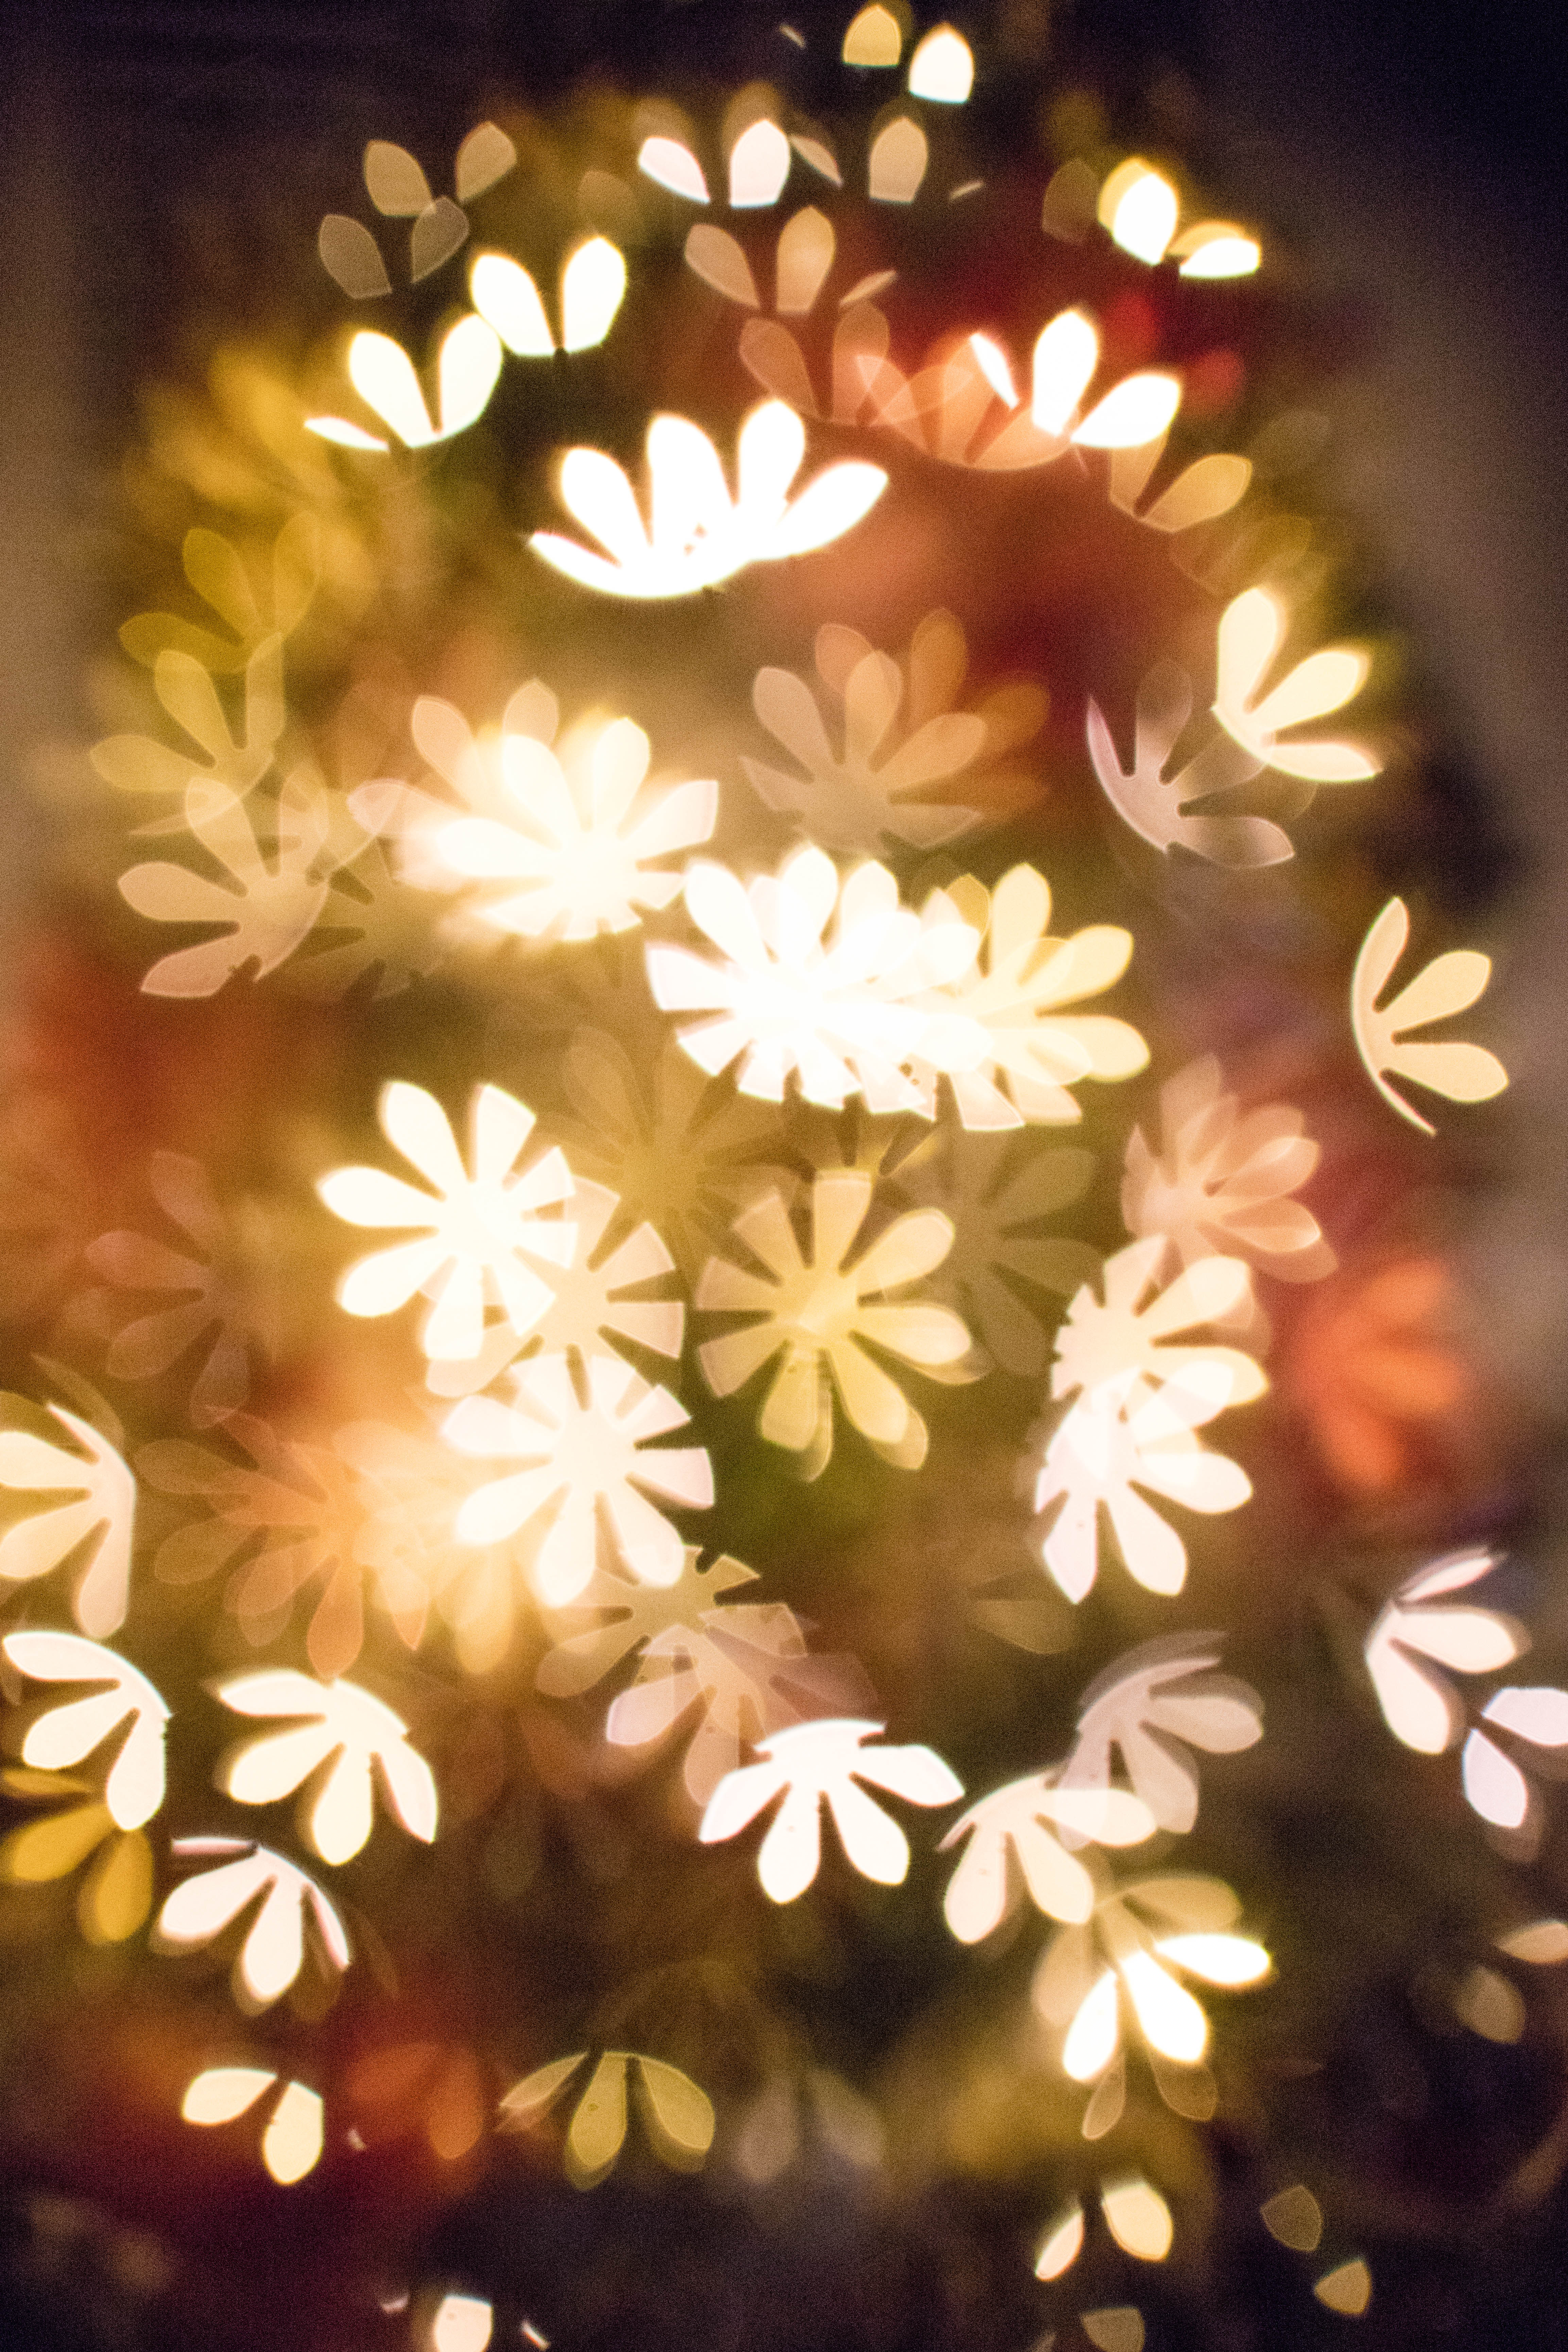
This is a floral hole punch used to create this bokeh, and I played with the manual focus to get the style and size I was looking for.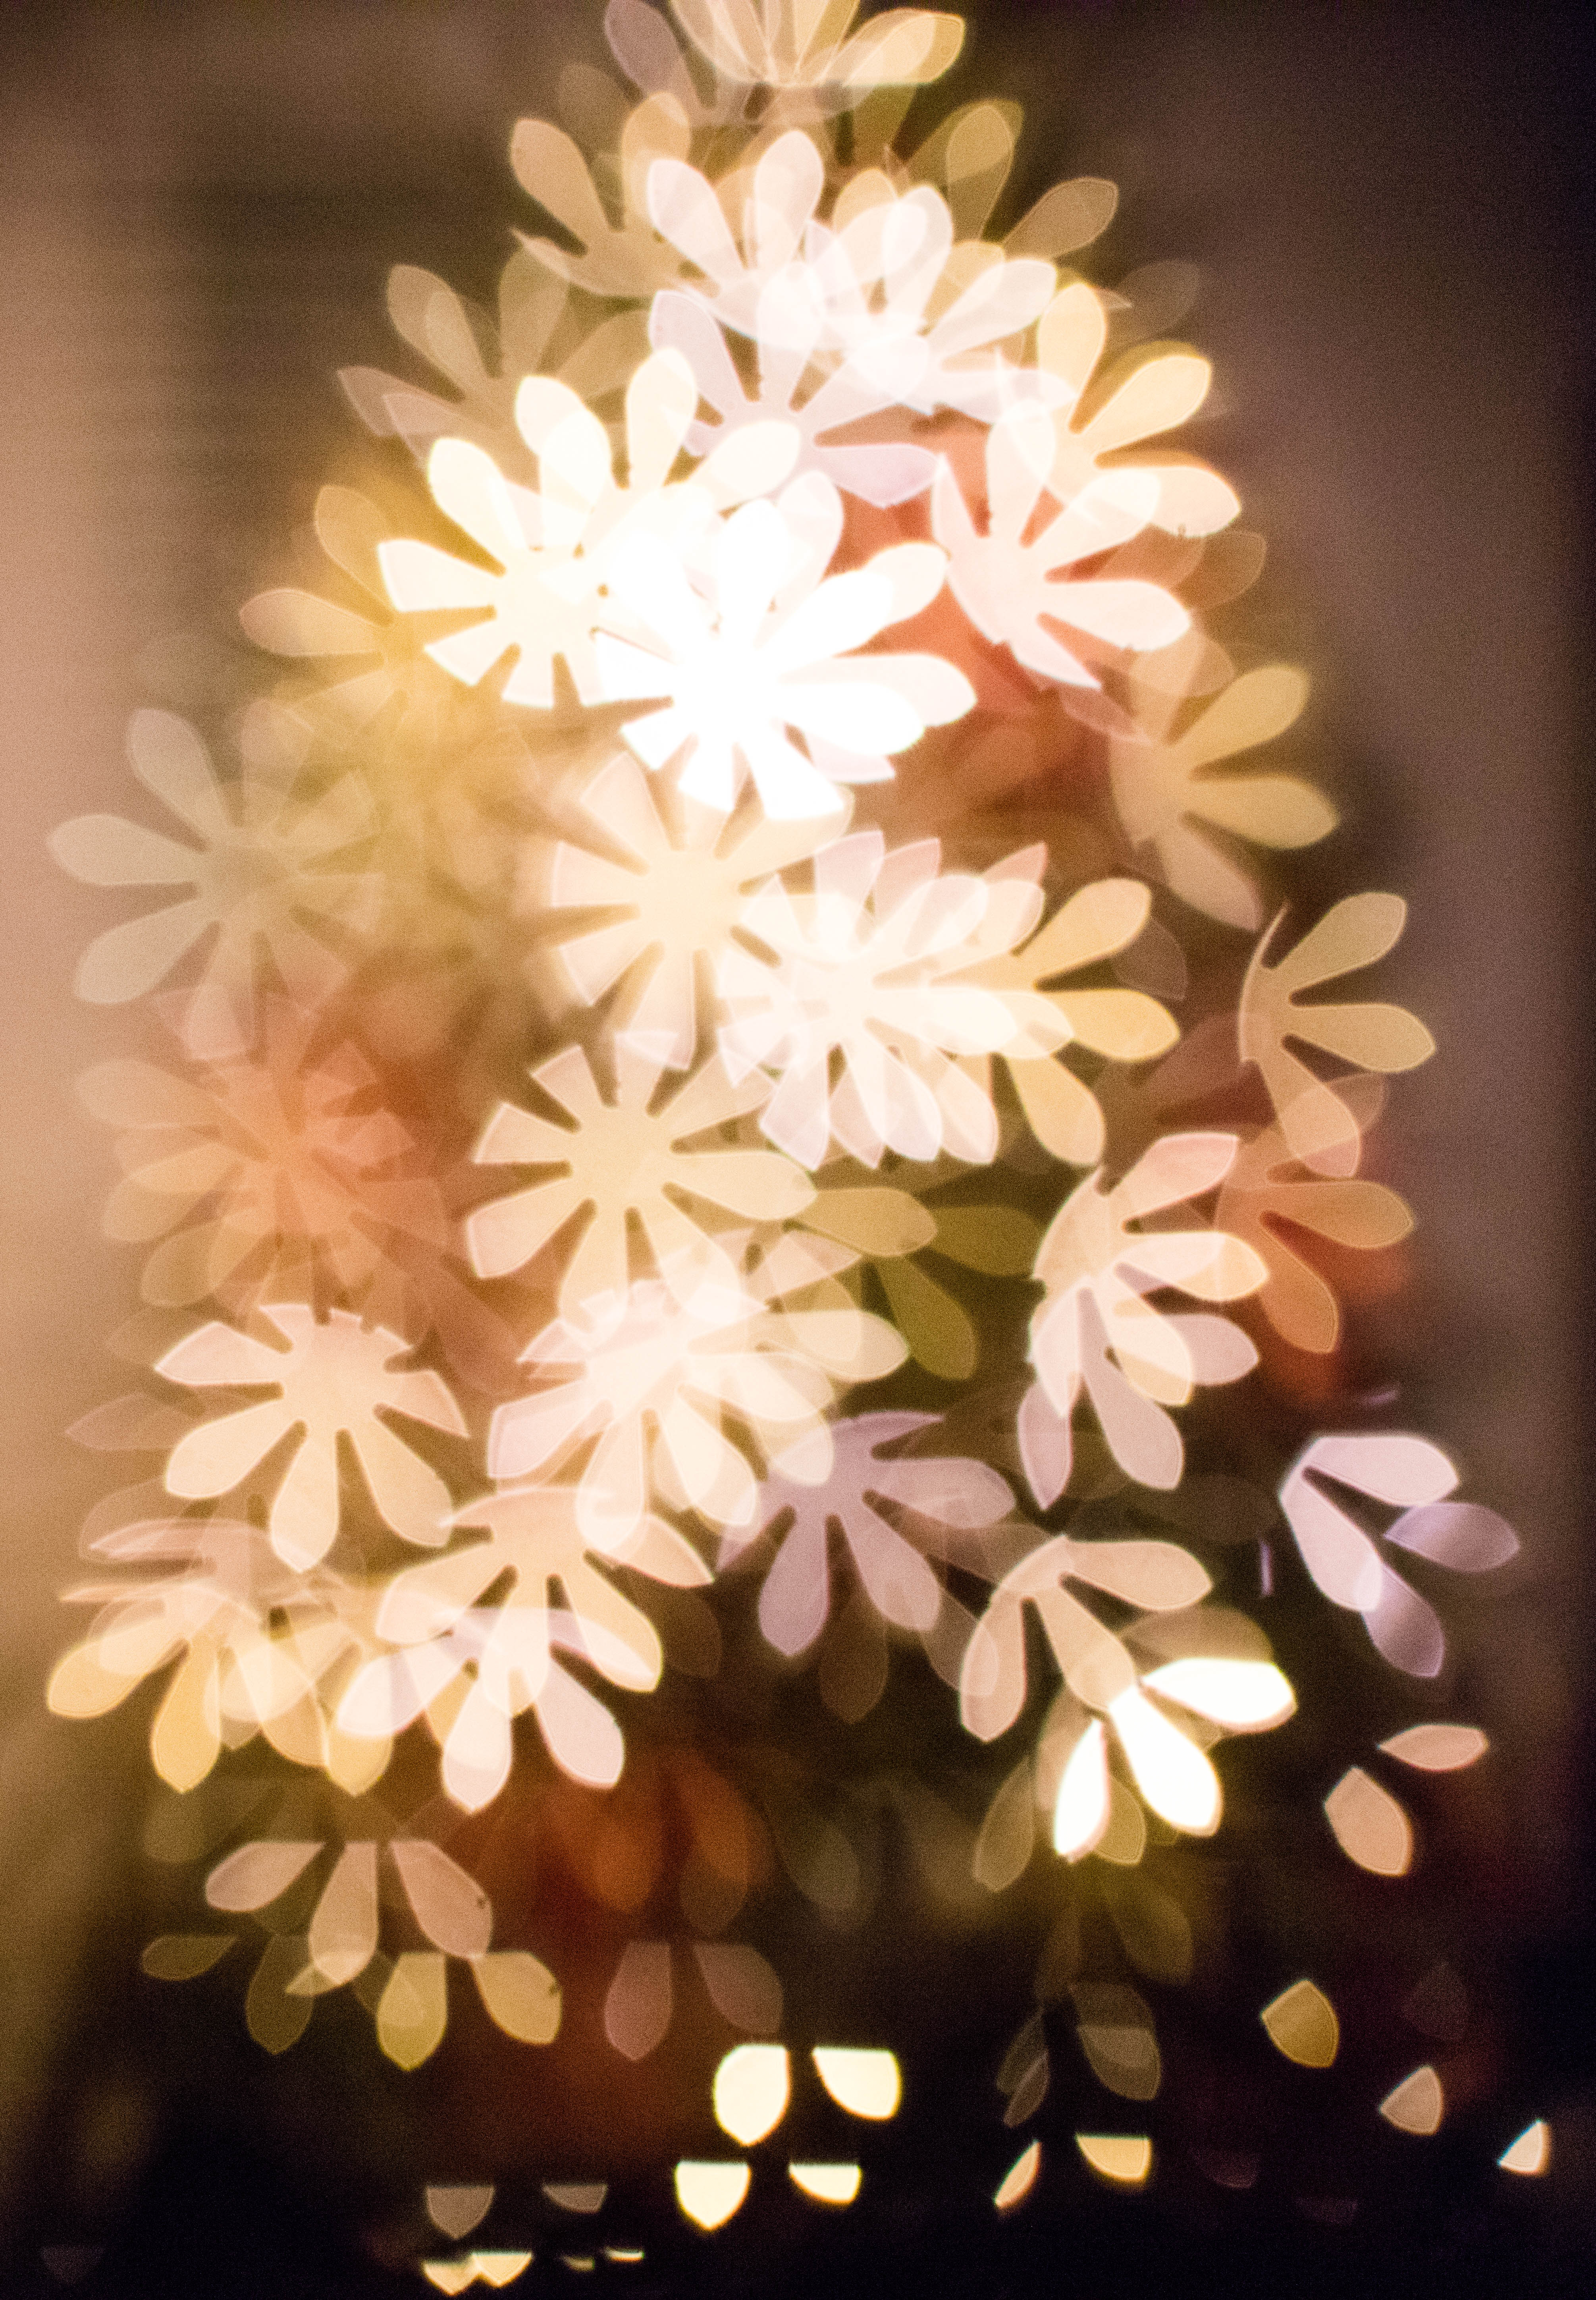
Bokeh does take some playing with, but you’ll soon be a master of fun-shaped, beautiful bokeh photos! And thanks to this DIY, I have a new favorite photo of my little guy by the tree. Swoon!
That is definitely, absolutely, 110% NOT an iPad in his hands.
Who am I kidding? It totally is, but well worth it for this photo.
Thanks for following along, friends! Have a wonderful Monday!




Leave a Reply