These DIY Mickey Ears are no-sew and super easy to make! They are perfect for your upcoming Disney vacations!
You guys, we are just a few days away from leaving for Disney and I seriously cannot even wait. I mean, my kids cannot even wait! We have been planning this trip for so long it almost feels like it’s just a joke that the day is actually almost here.
But, first things first… Have you ever tried to get ready for a Disney vacation? I literally need to take a week of vacation to sleep just from preparing for us to go. You have to have your Disney attire, your trading pins, your autograph books, a poncho a day for everybody going (these are cheaper at the dollar store than at Disney) and of course you need…..Mickey Ears!
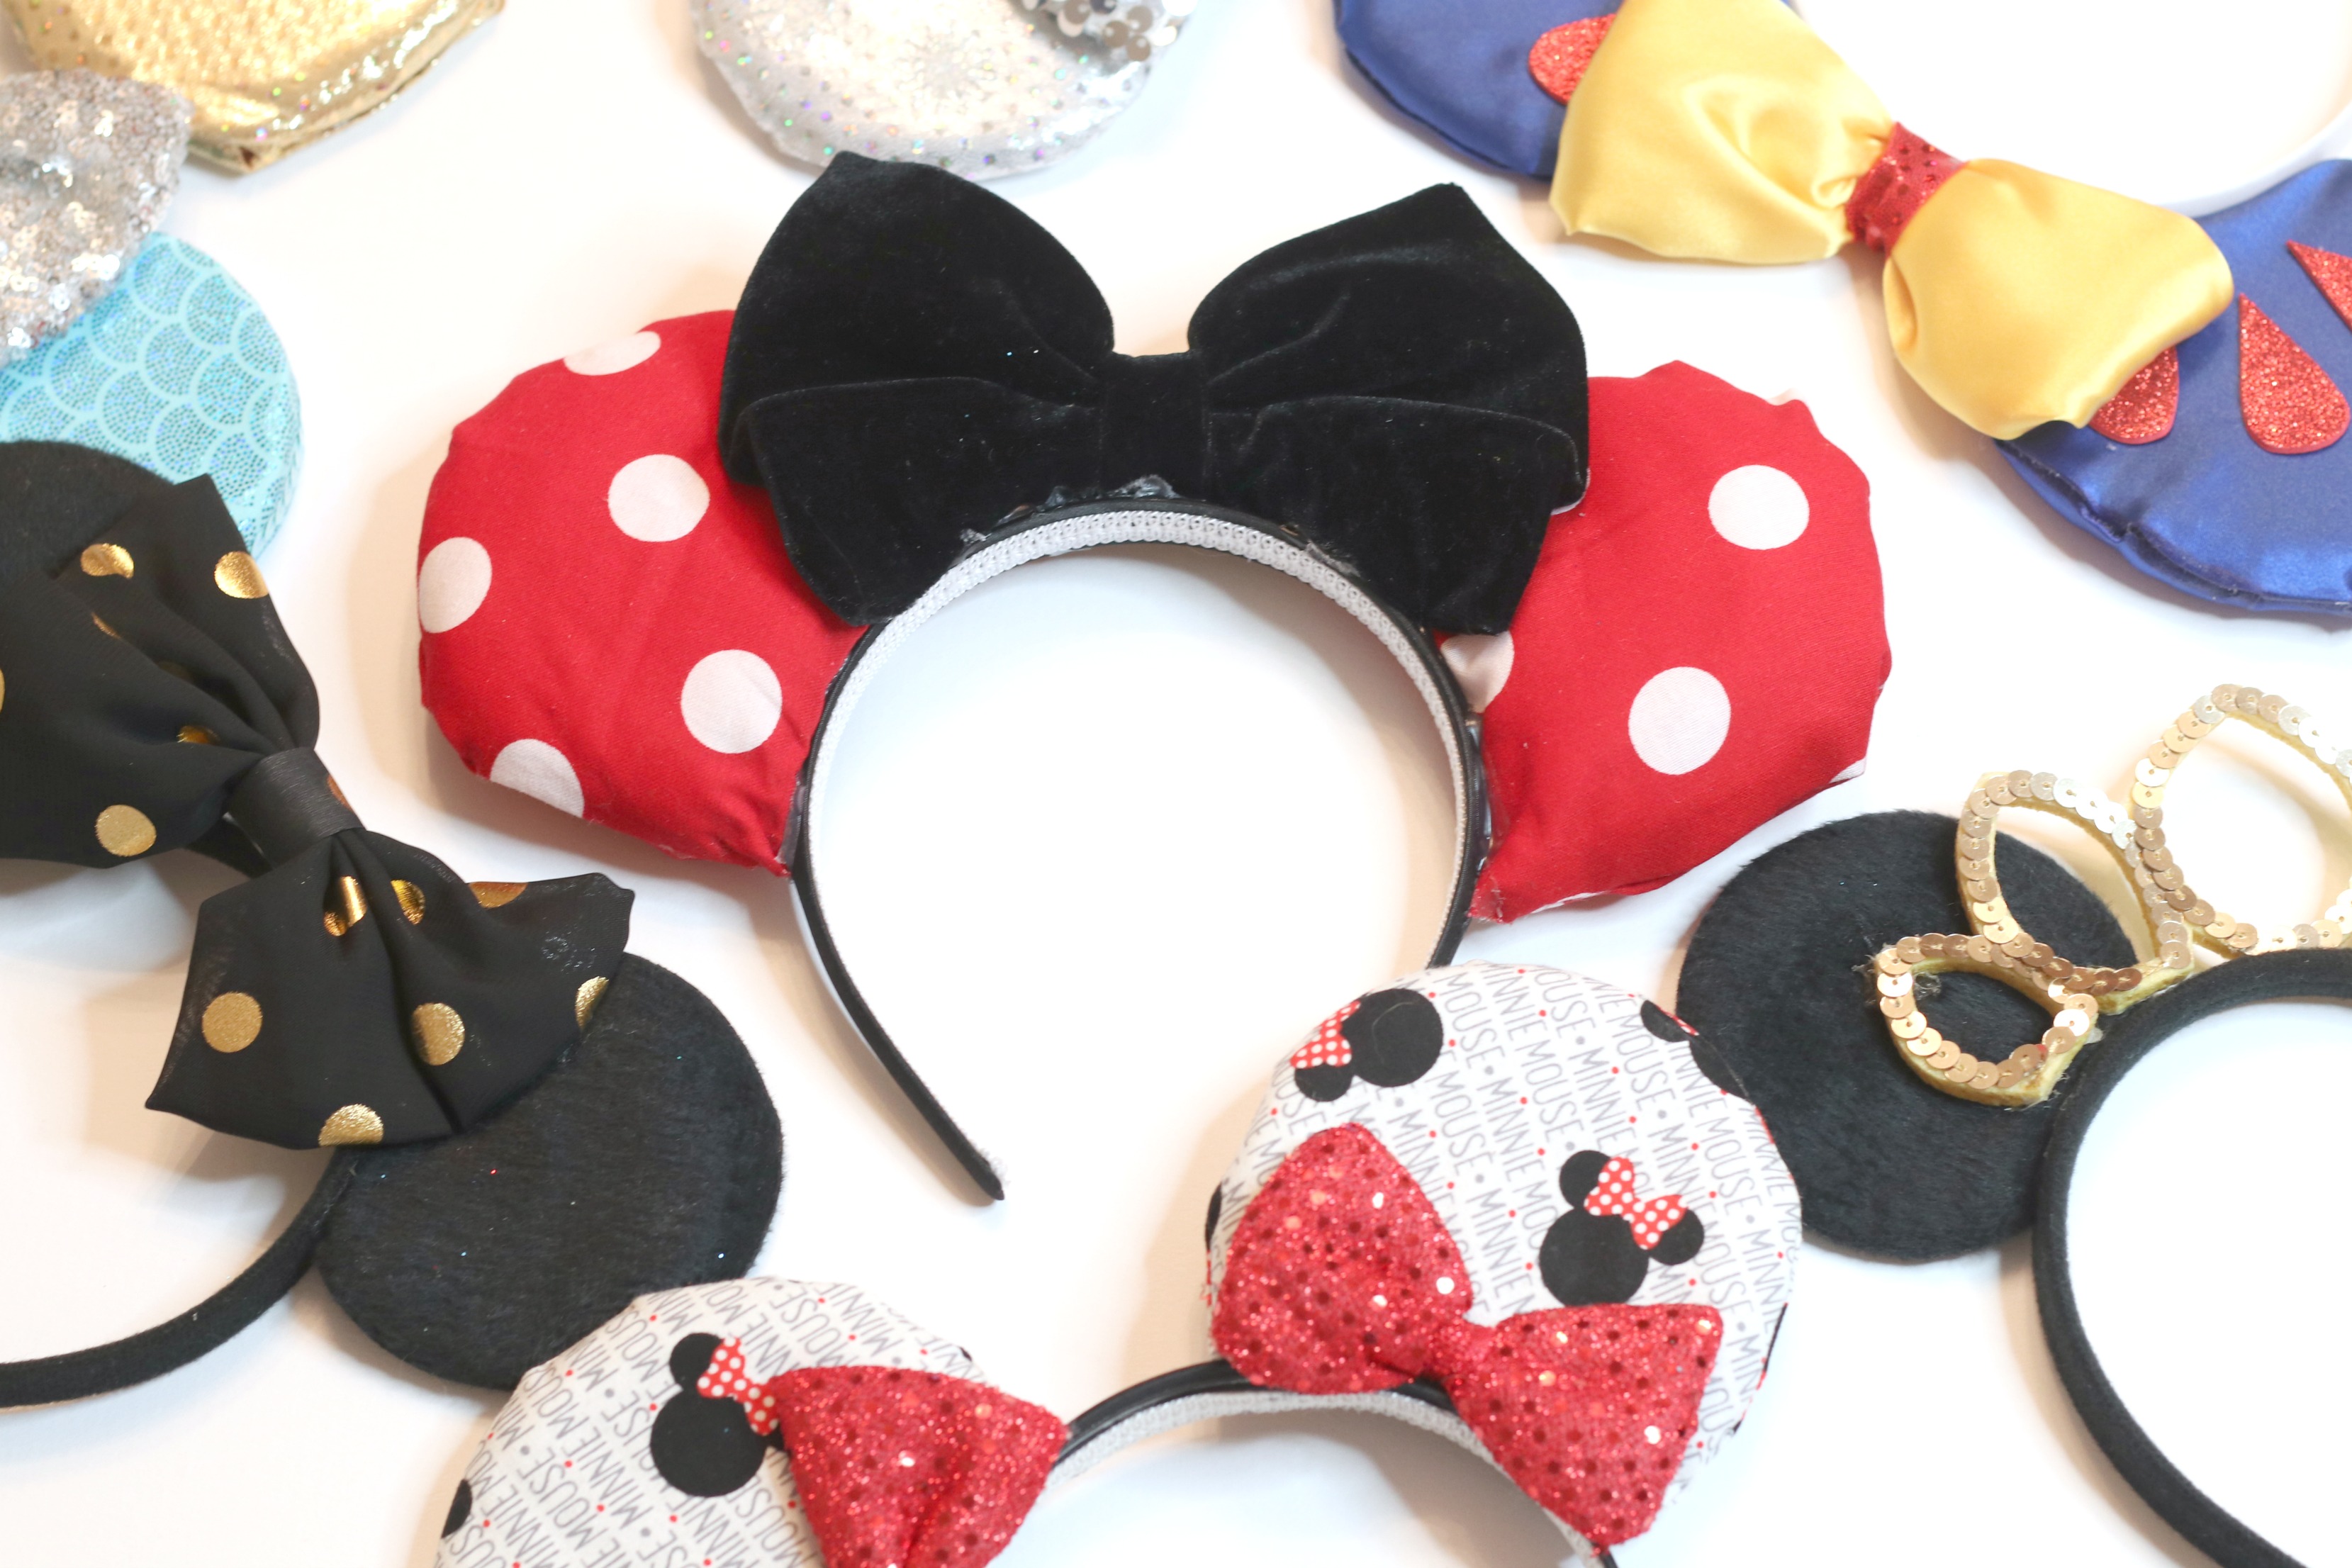
Mickey Ears have come a LONG way from when we were kids. Did you know that there are now Mickey Ears themed for almost any character you can imagine? Well, there are and they are EXPENSIVE! So, instead of splurging and spending $30 per pair at Disney I decided to figure out how make my own.
Today, I am super excited to share with you a tutorial for DIY Disney Mickey Ears that anyone can use. These Mickey Ears are no sew and can be made for under $10. That’s a lot better than $30, don’t ya think!
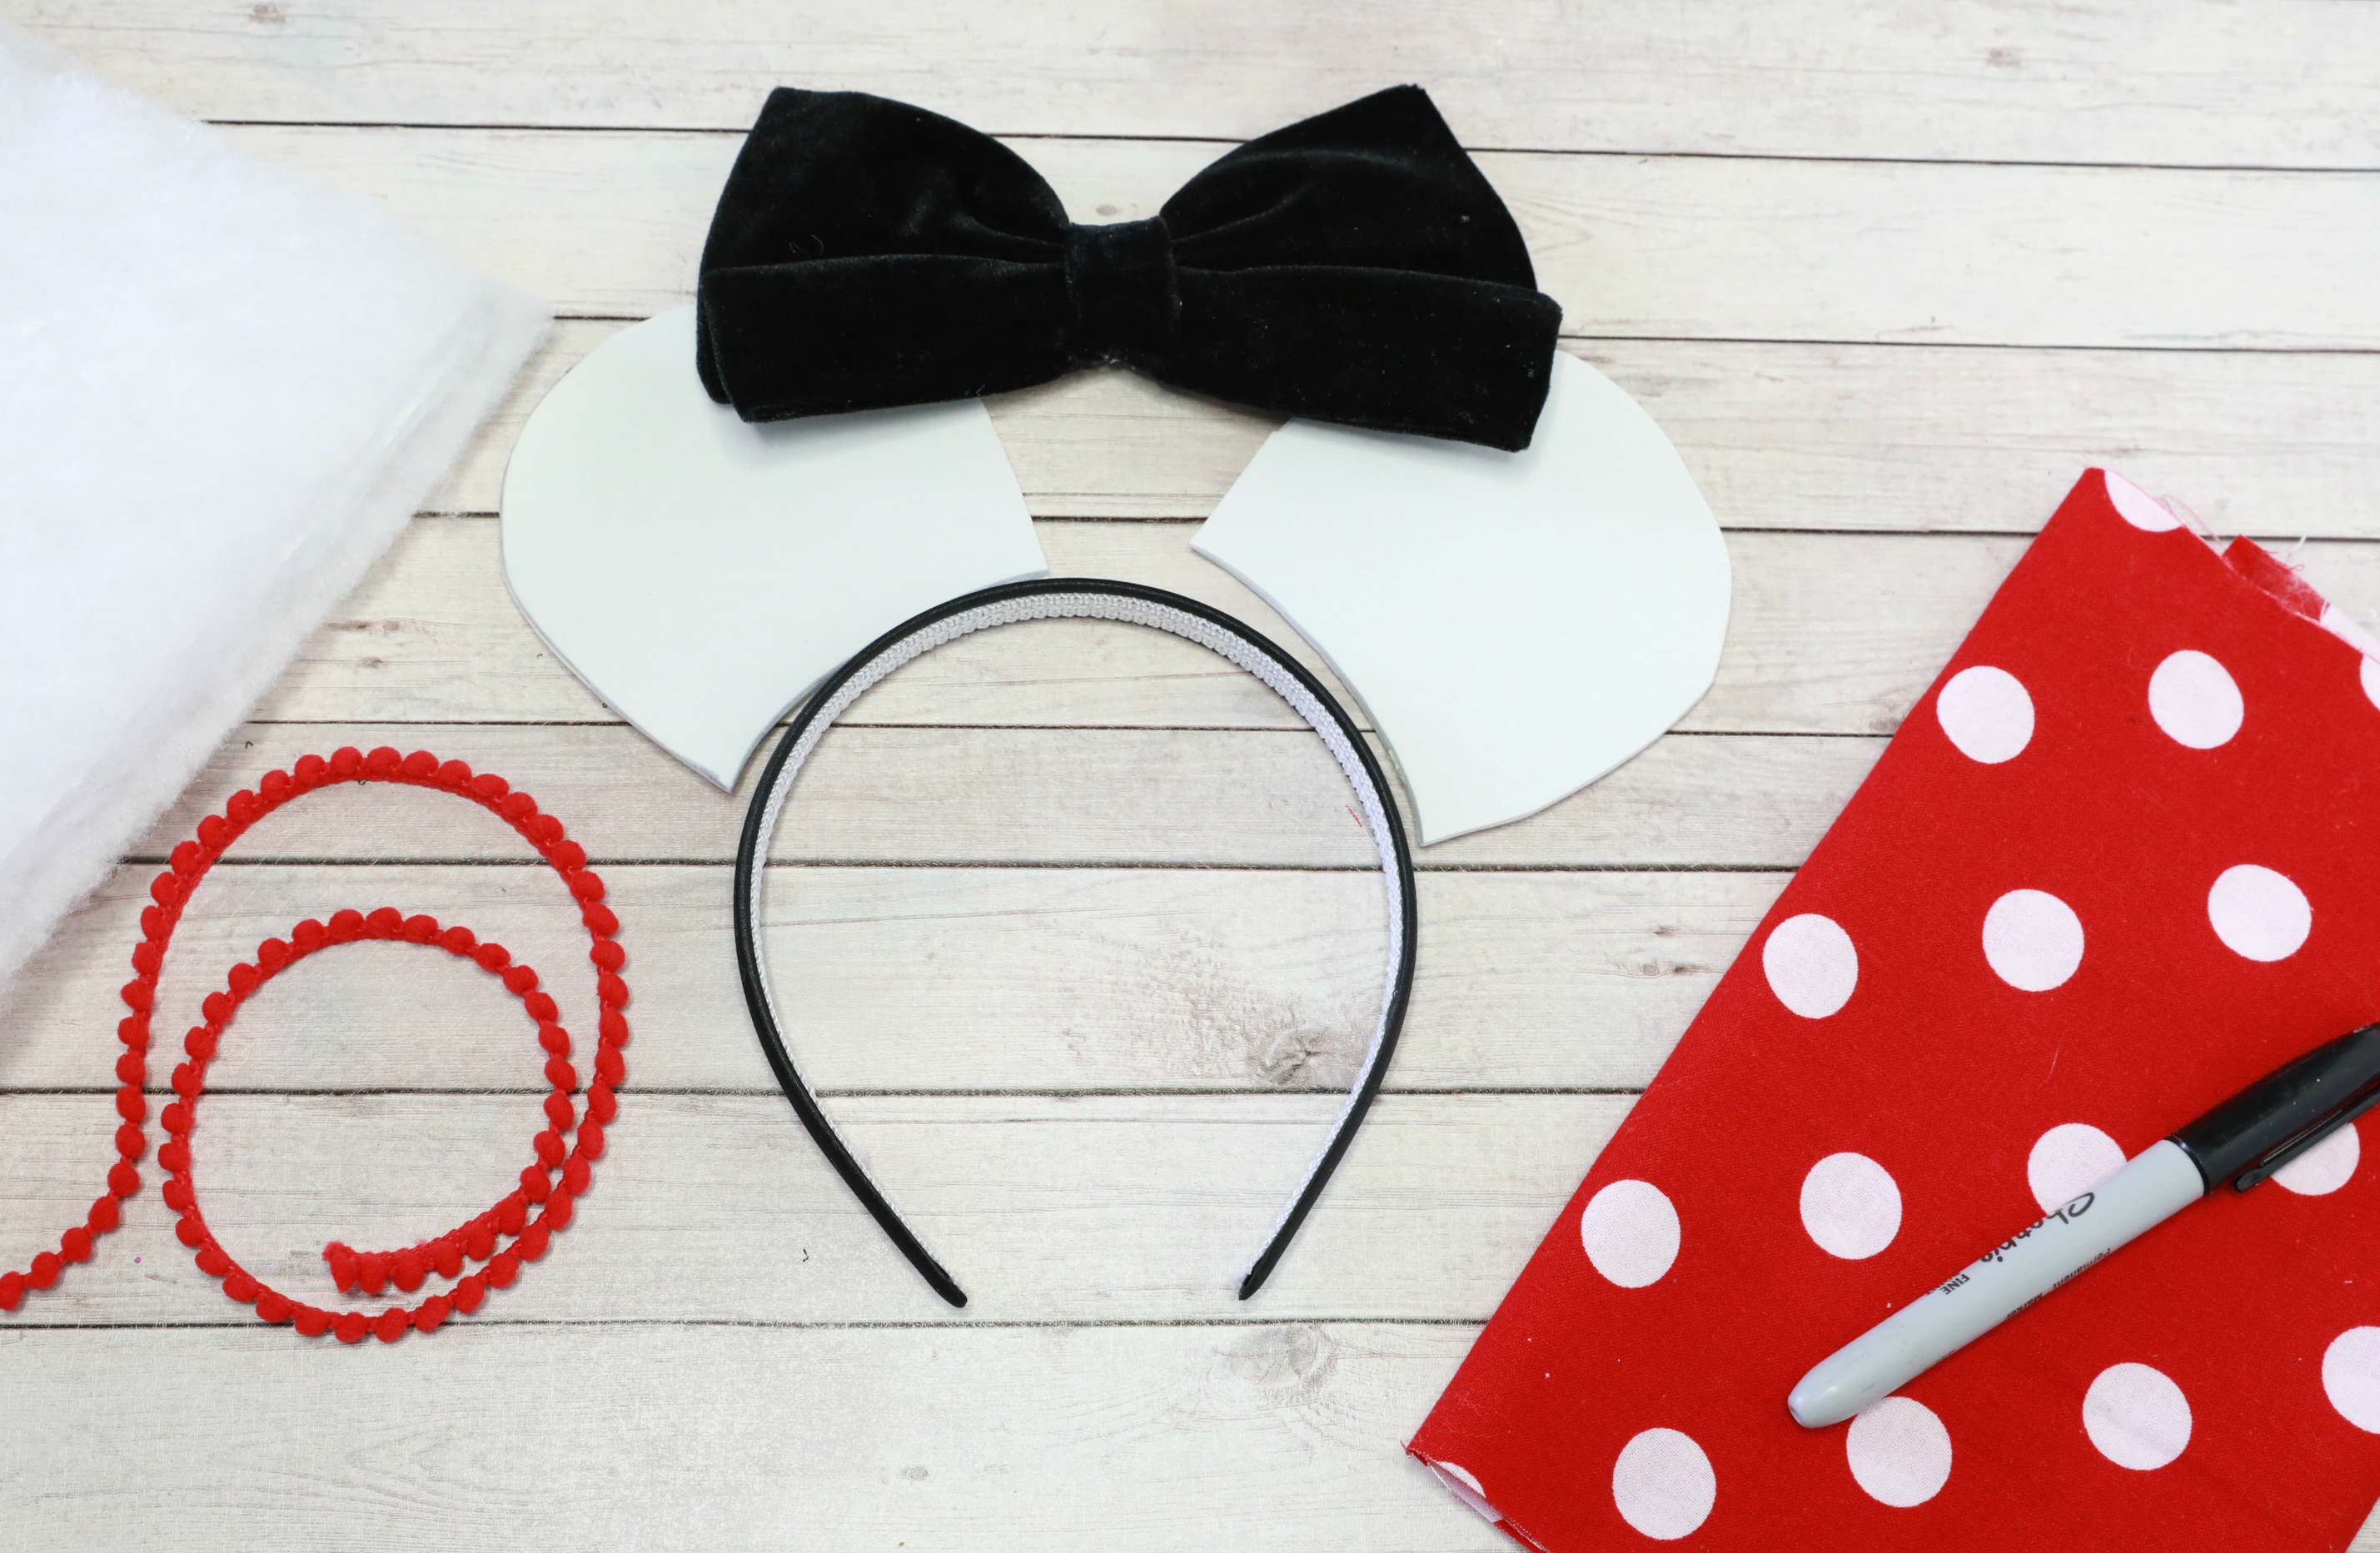
Here is what you need:
1/4 yard of Fabric of Your Choice– for ears
(I got all of my fabric from JoAnn. This is not a sponsored post, I just love their selection. They also have the largest selection that I have found of licensed Disney fabric. And they always have coupons.
1/8 yard of Fabric of Your Choice– for bow or bows
1 sheet of 5mm foam (you can find this in the kids craft section)
1 headband (JoAnn also has these.)
1/2 yard of batting
1 LARGE Coffee Mug (By large I mean big. This will determine the size of your ears. Tiny ears will not be cute!)
Ear Pattern from Touring Plans.
DIY Mickey Ears Tutorial:
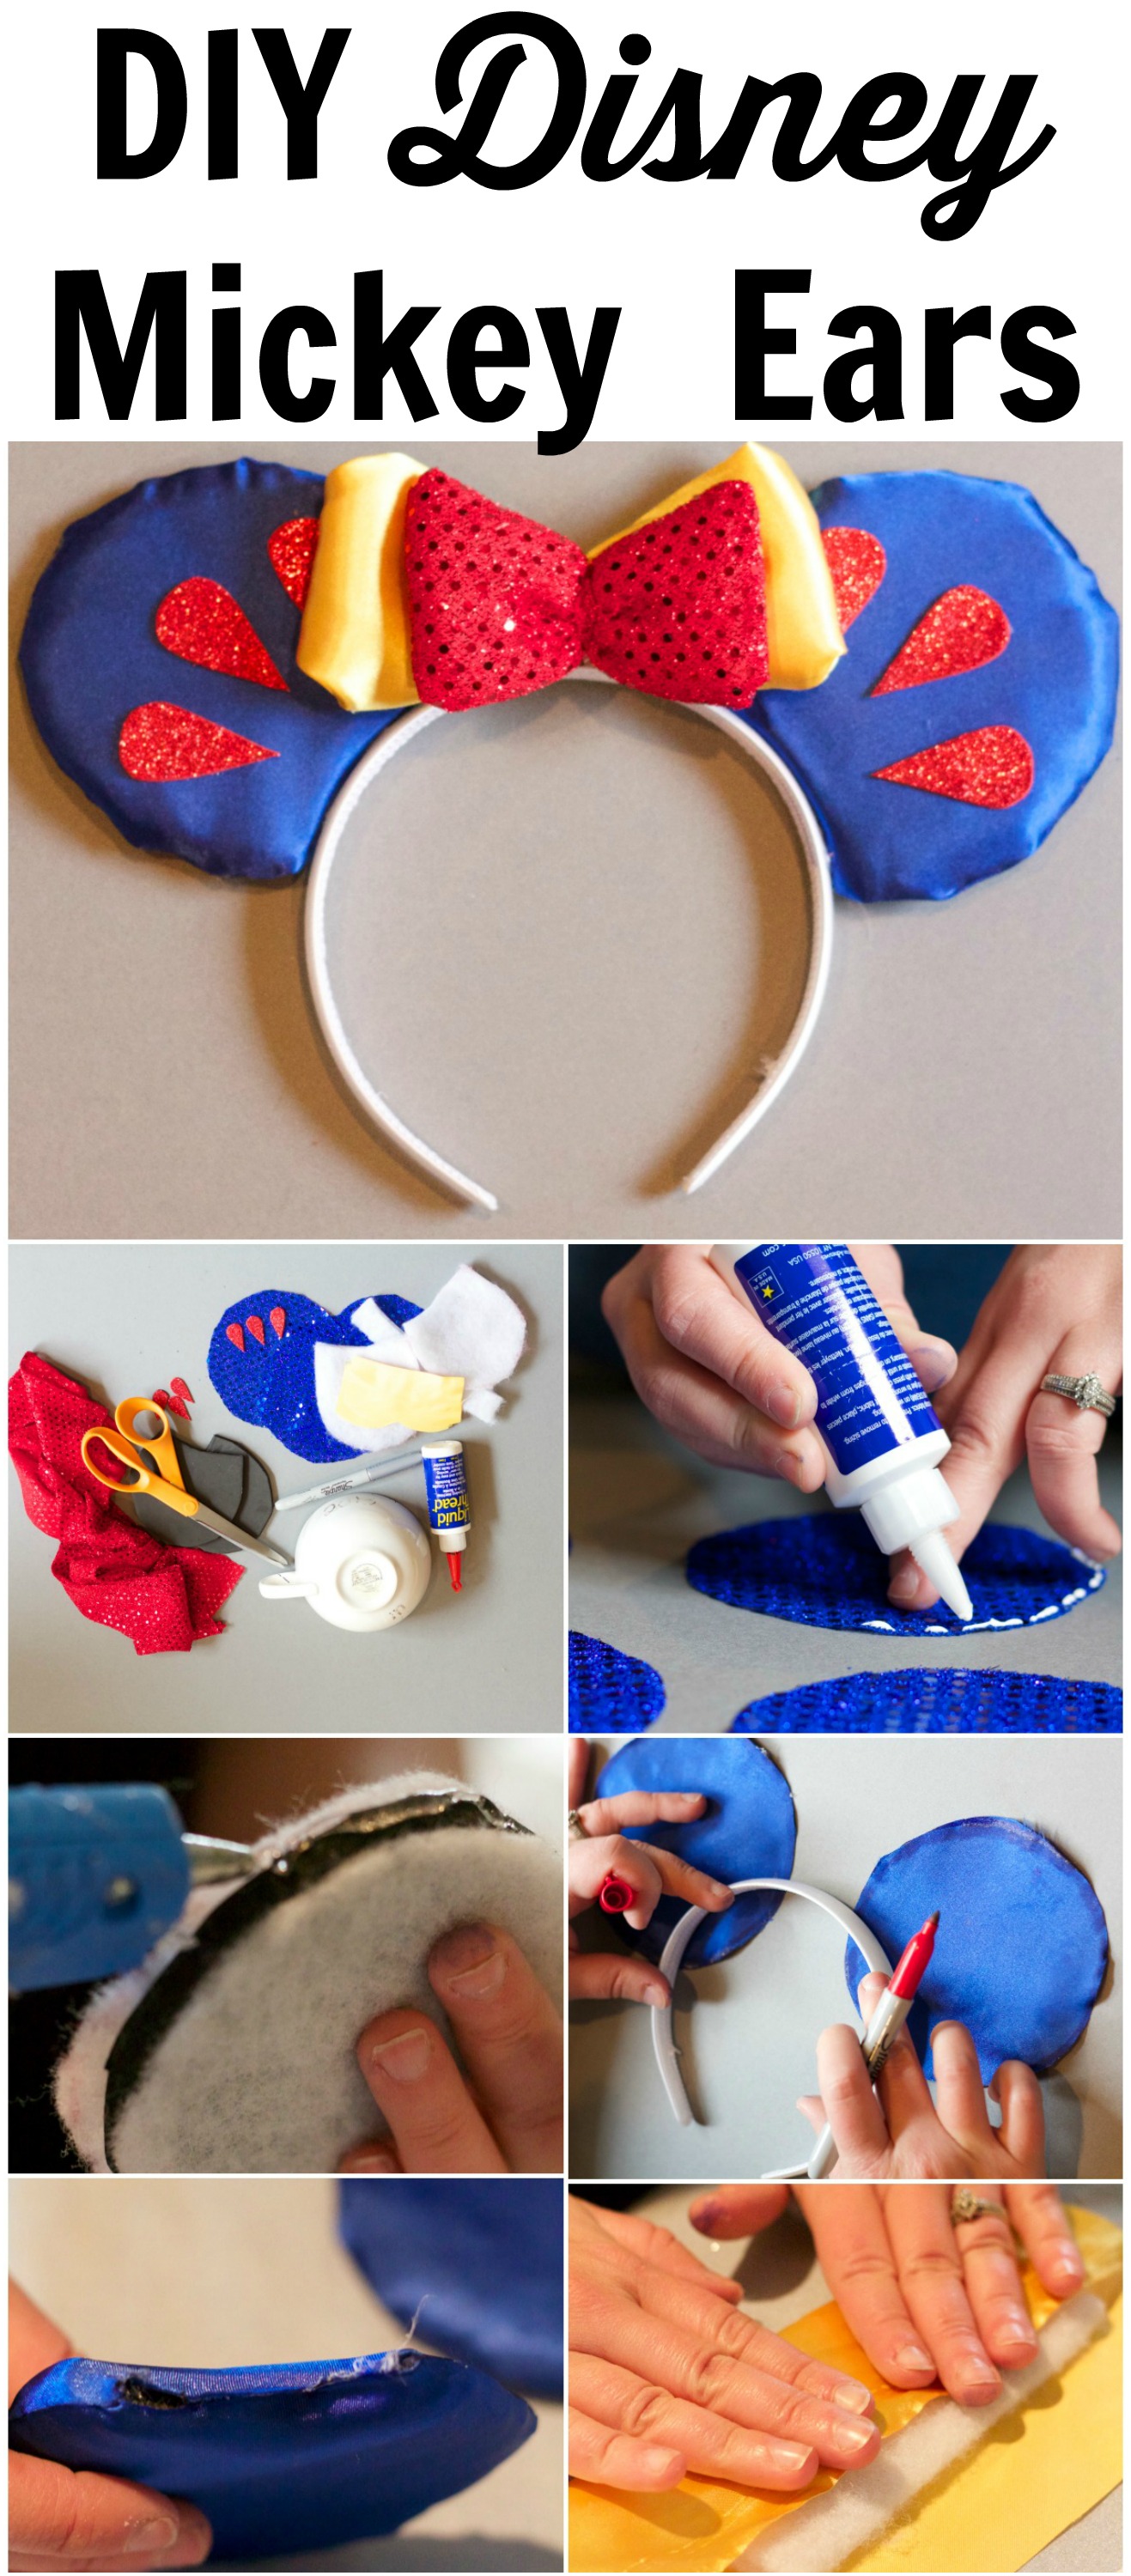
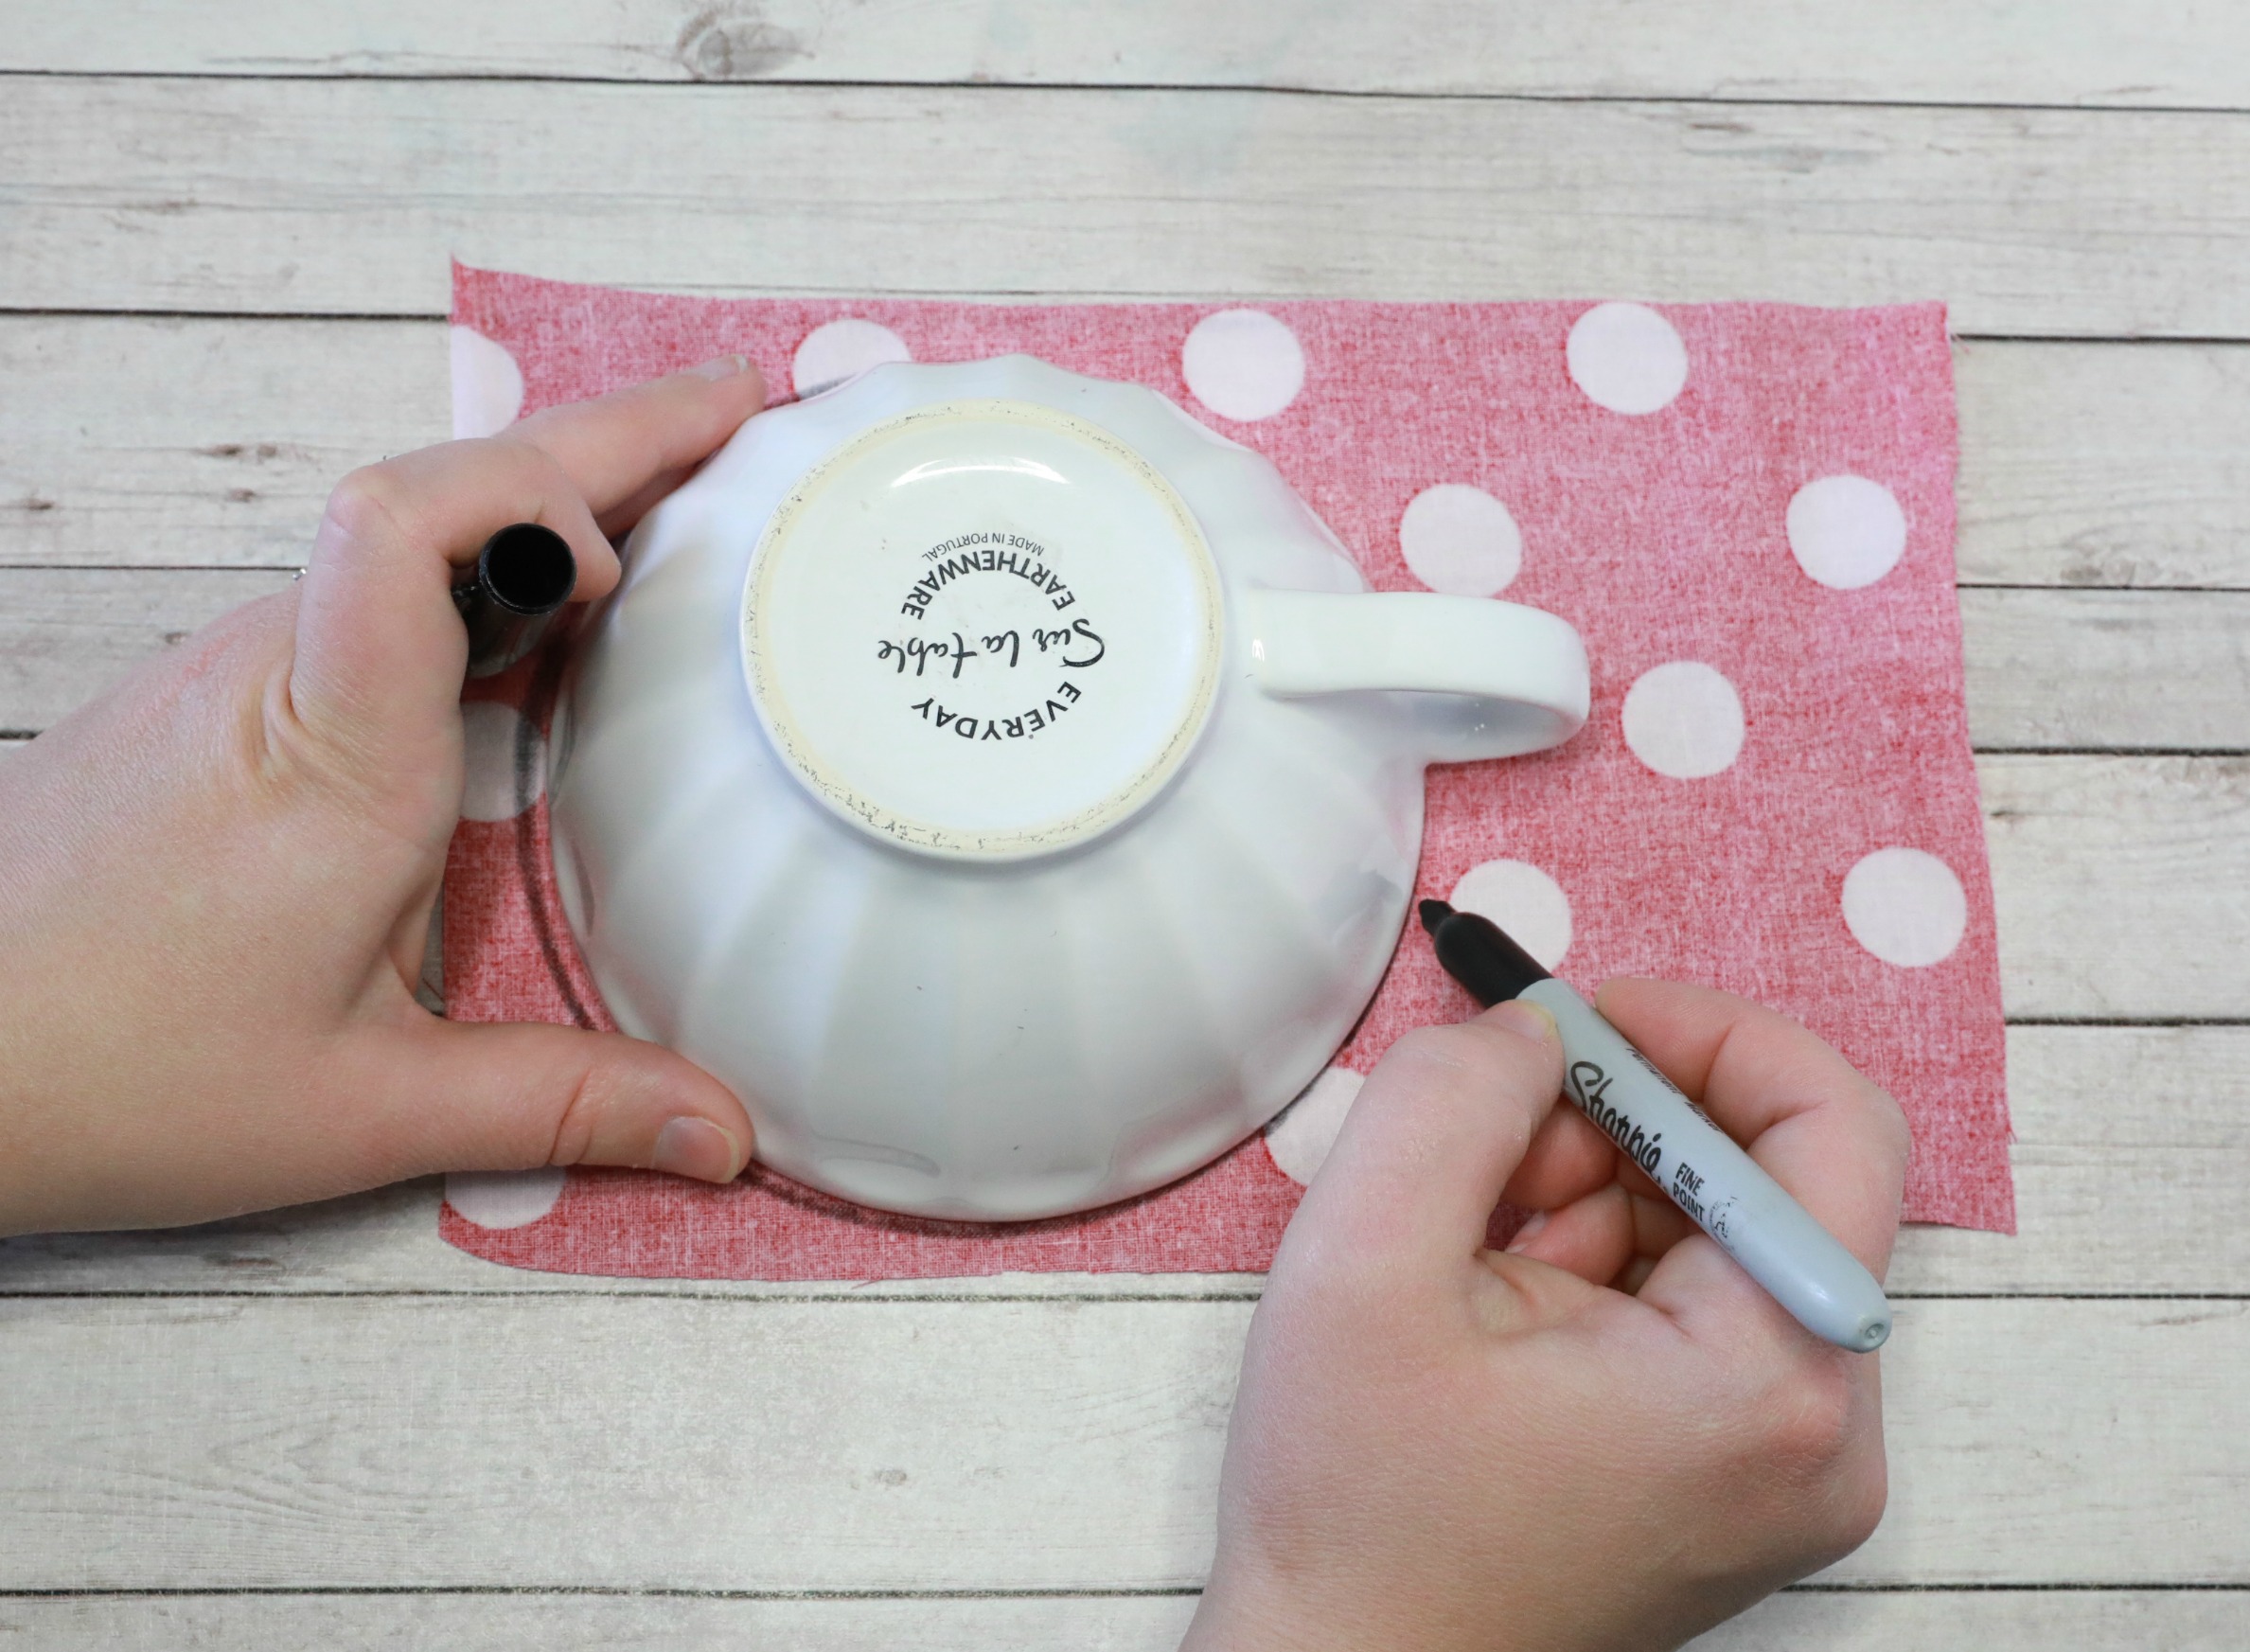
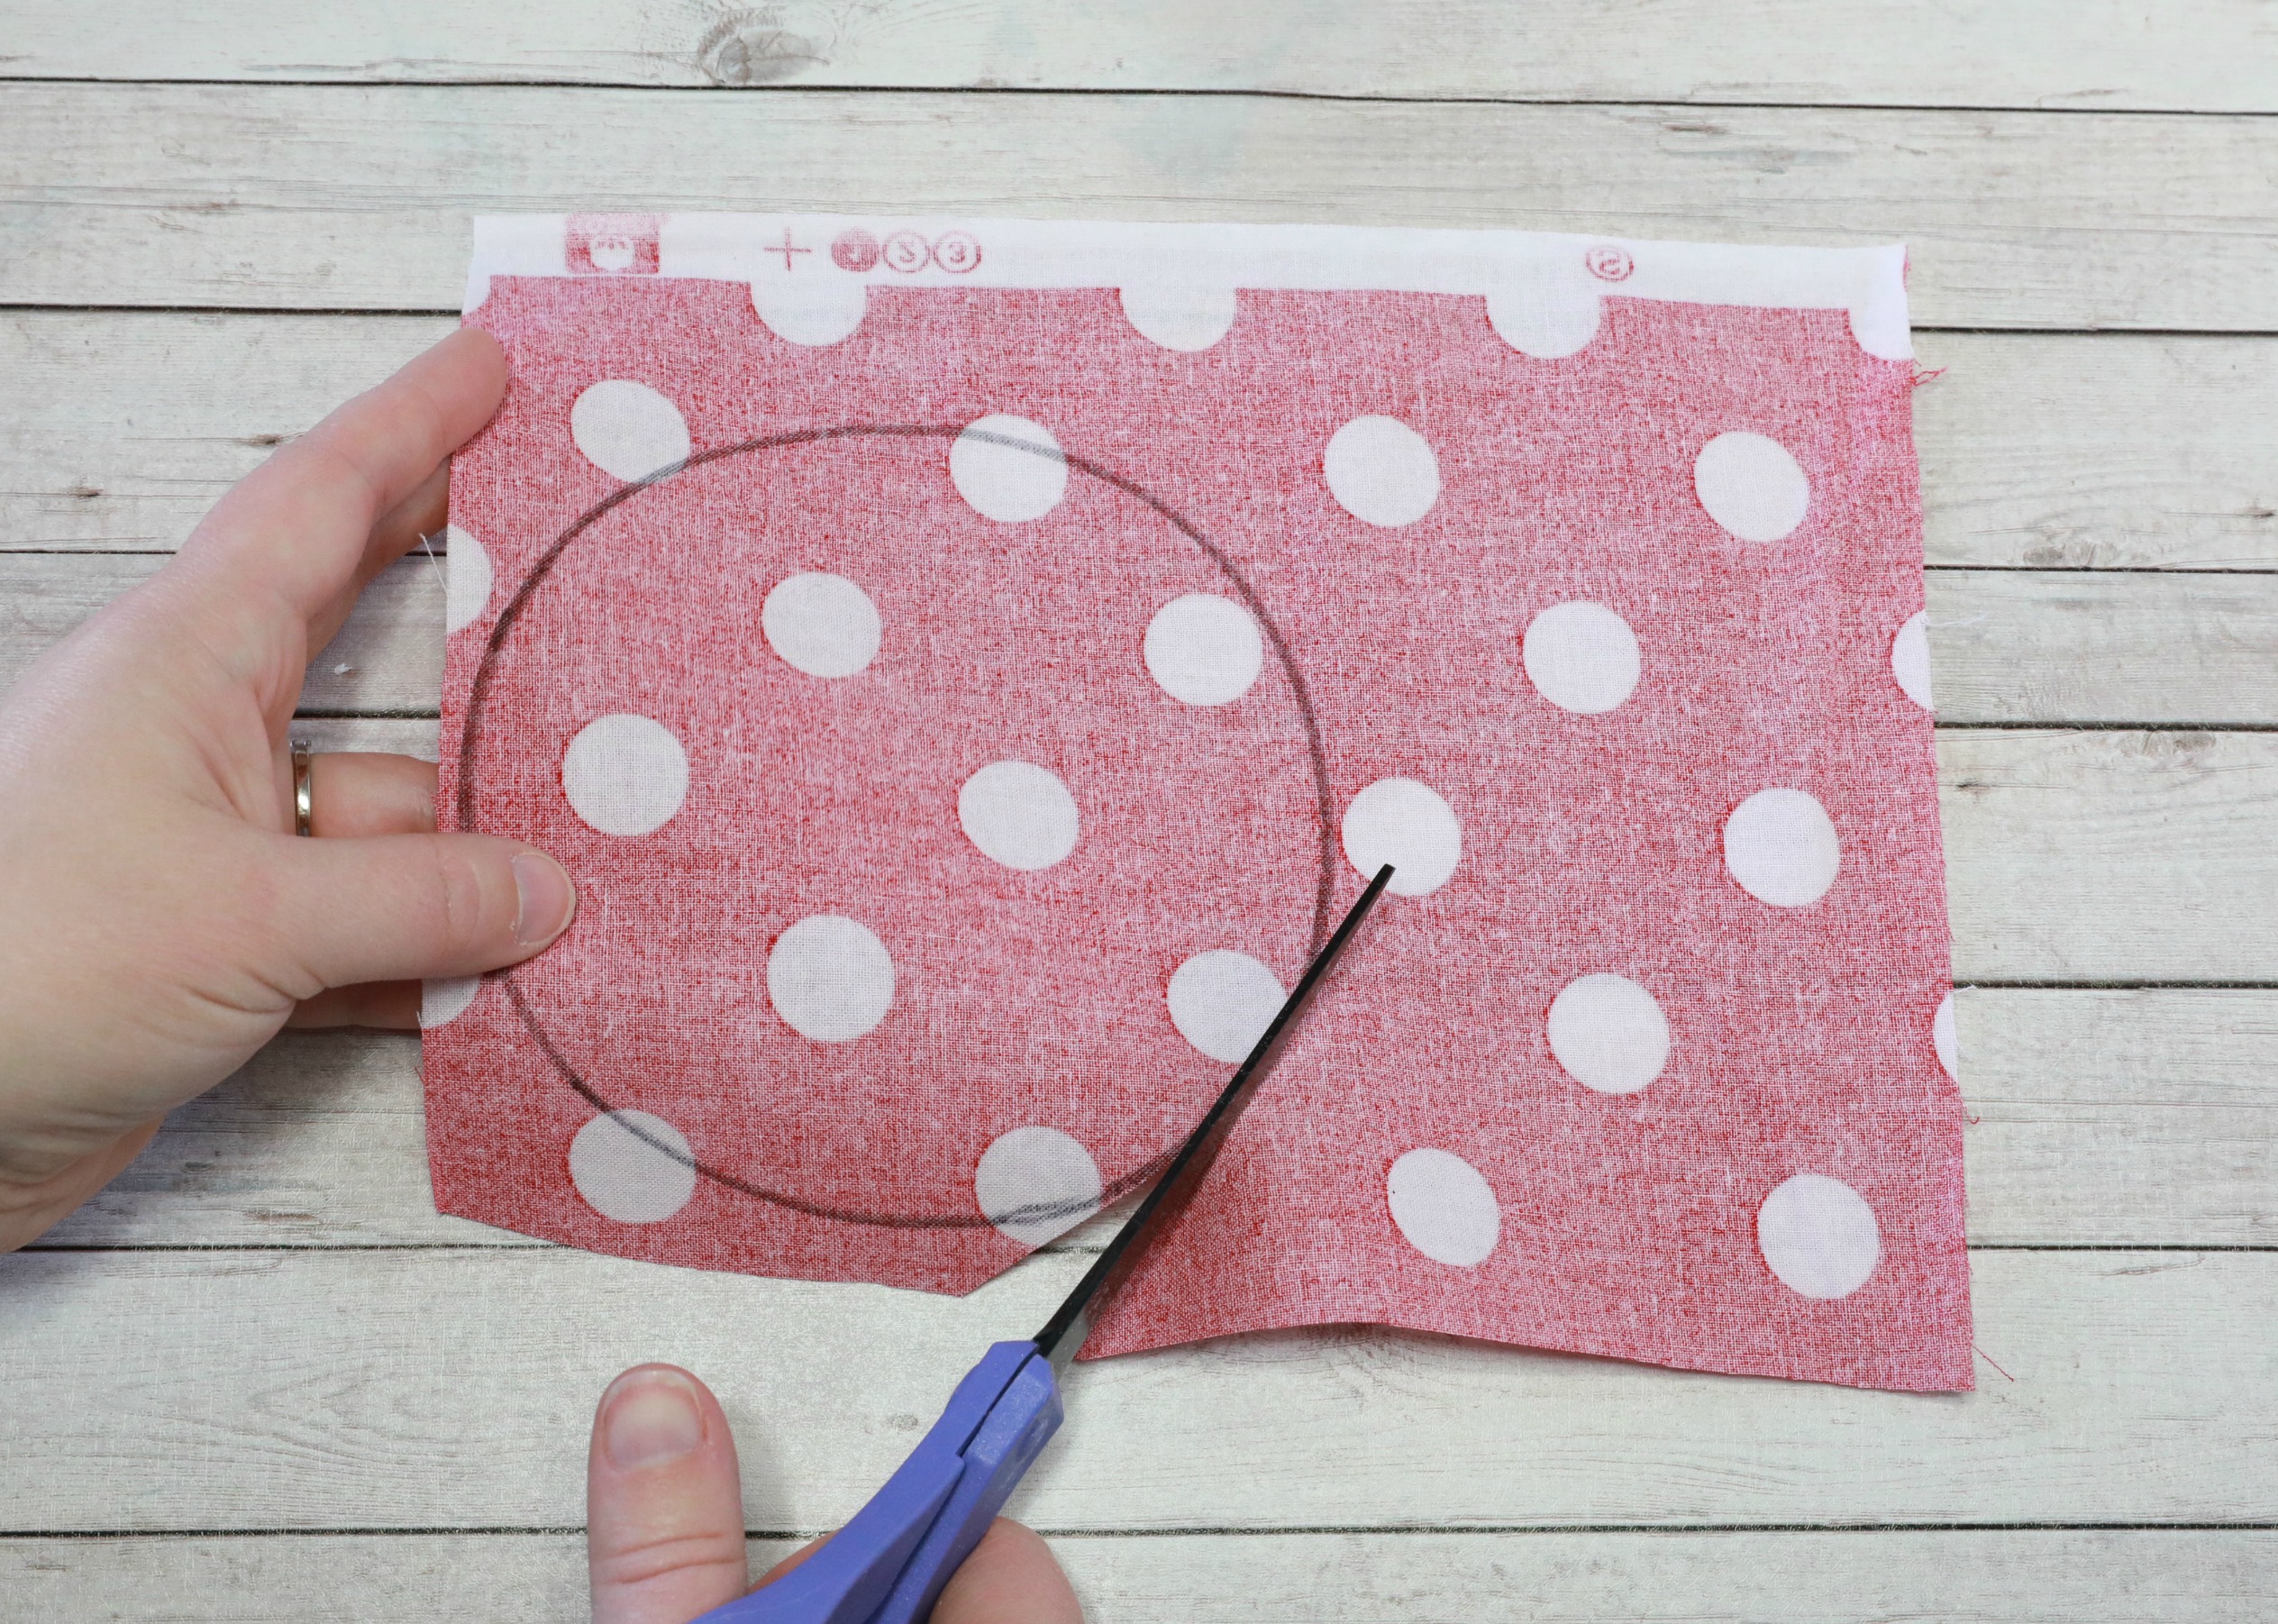
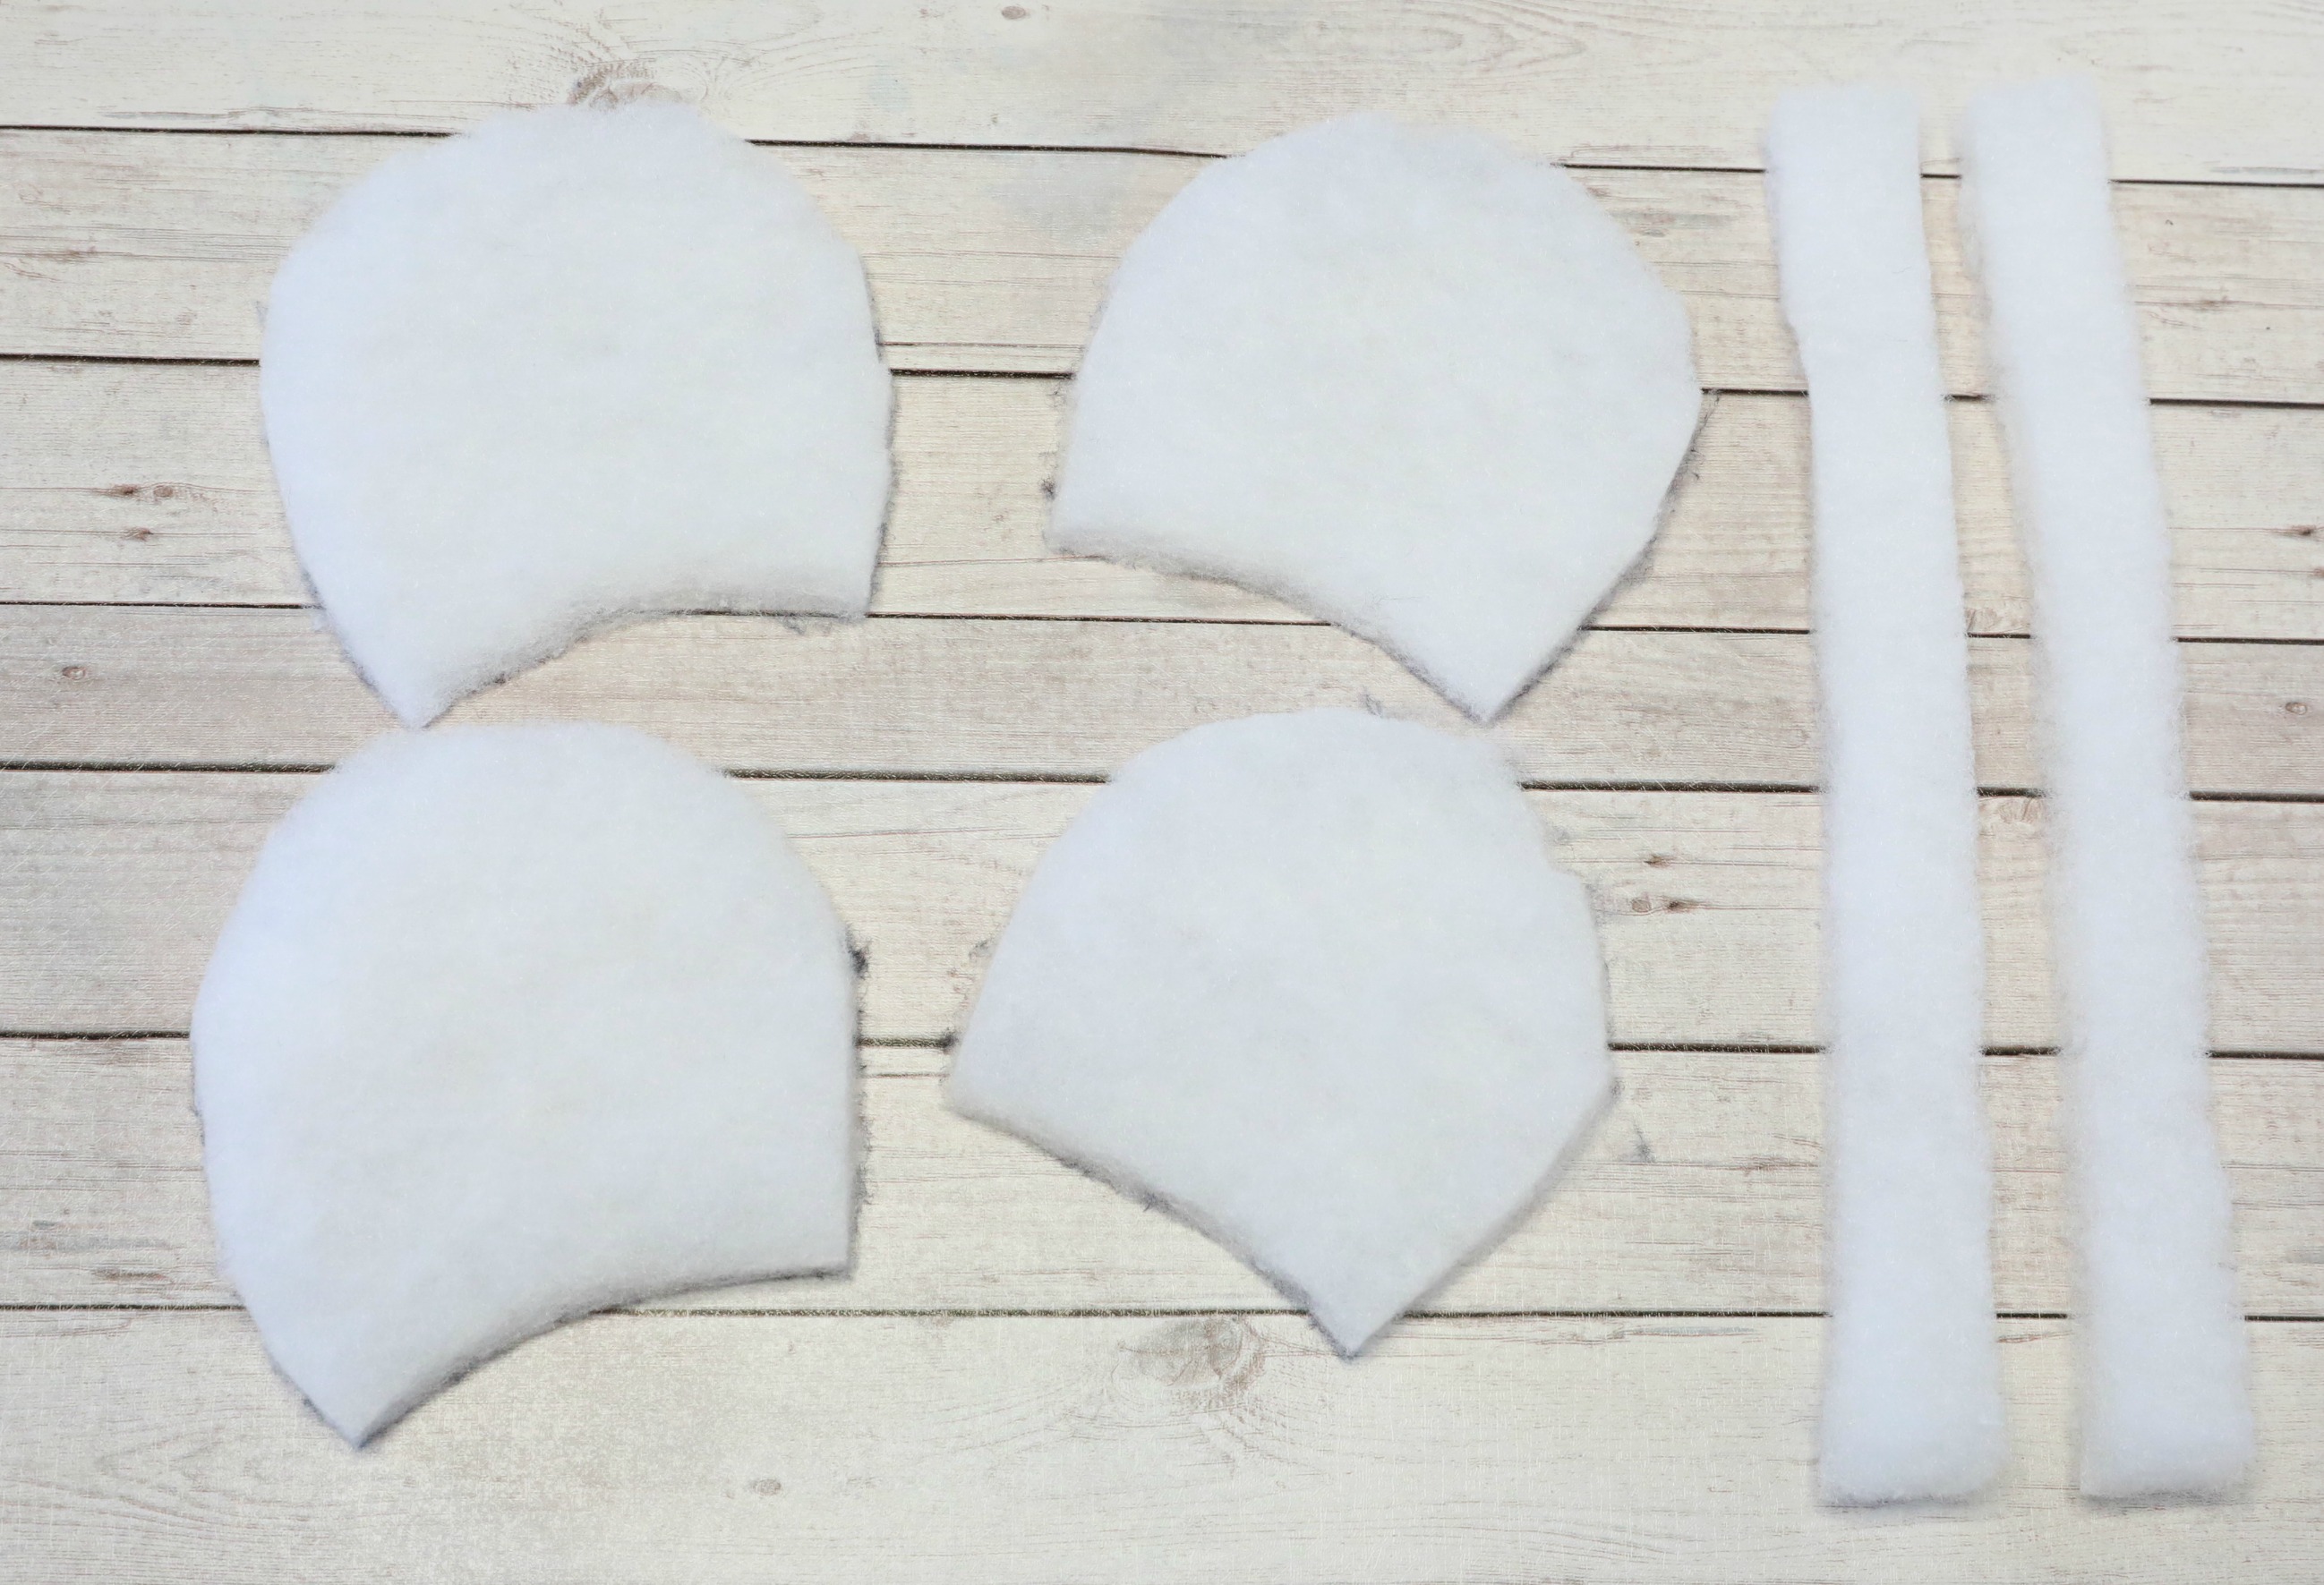
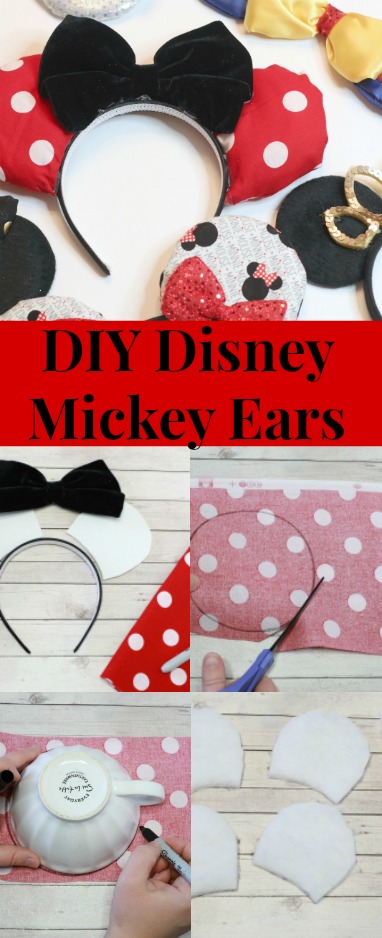
First you have to start by getting all of your fabric ready. Using your LARGE coffee mug, trace 4 circles onto the fabric you selected for the ears and cut them out. Now, using the ear pattern that Angela from Touring Plans made cute out 4 pieces of batting and 2 pieces of foam. Please note: I used the large pattern to cut out the foam and batting. This will ensure that your ears are standard Mickey ear size.
Once you have all of your pieces cut, the fun part begins!
Using one of the circles you cut out for your ears, apply a this line of liquid thread to the perimeter of the side of the fabric you will want to show. Now, lay your second piece of fabric on top lining it up perfectly. You will eventually turn the fabric inside out so be sure that your pretty sides of the fabric are facing each other. Now, repeat this process for your second ear.
Once your fabric is glued it is time to iron. Placing a thin towel over your ears gently iron over your glued circles in order to form a perfect seam.
After your fabric is cooled, its time to cut a small opening into the circle. Line your headband up with your circles allowing a small piece under the headband. Once your ears are the size you prefer trace below the headband and cut along the line. Flip your ear inside out with the pretty side of the fabric showing. Your ears will now have an opening to insert your padding later.
Now, we will get the insert ready. Take your pre-cut batting and glue a piece to each side of the foam. You can also cut a 1/2 inch strip of batting to glue along the edge if you would like a more padded look. It is not necessary though.
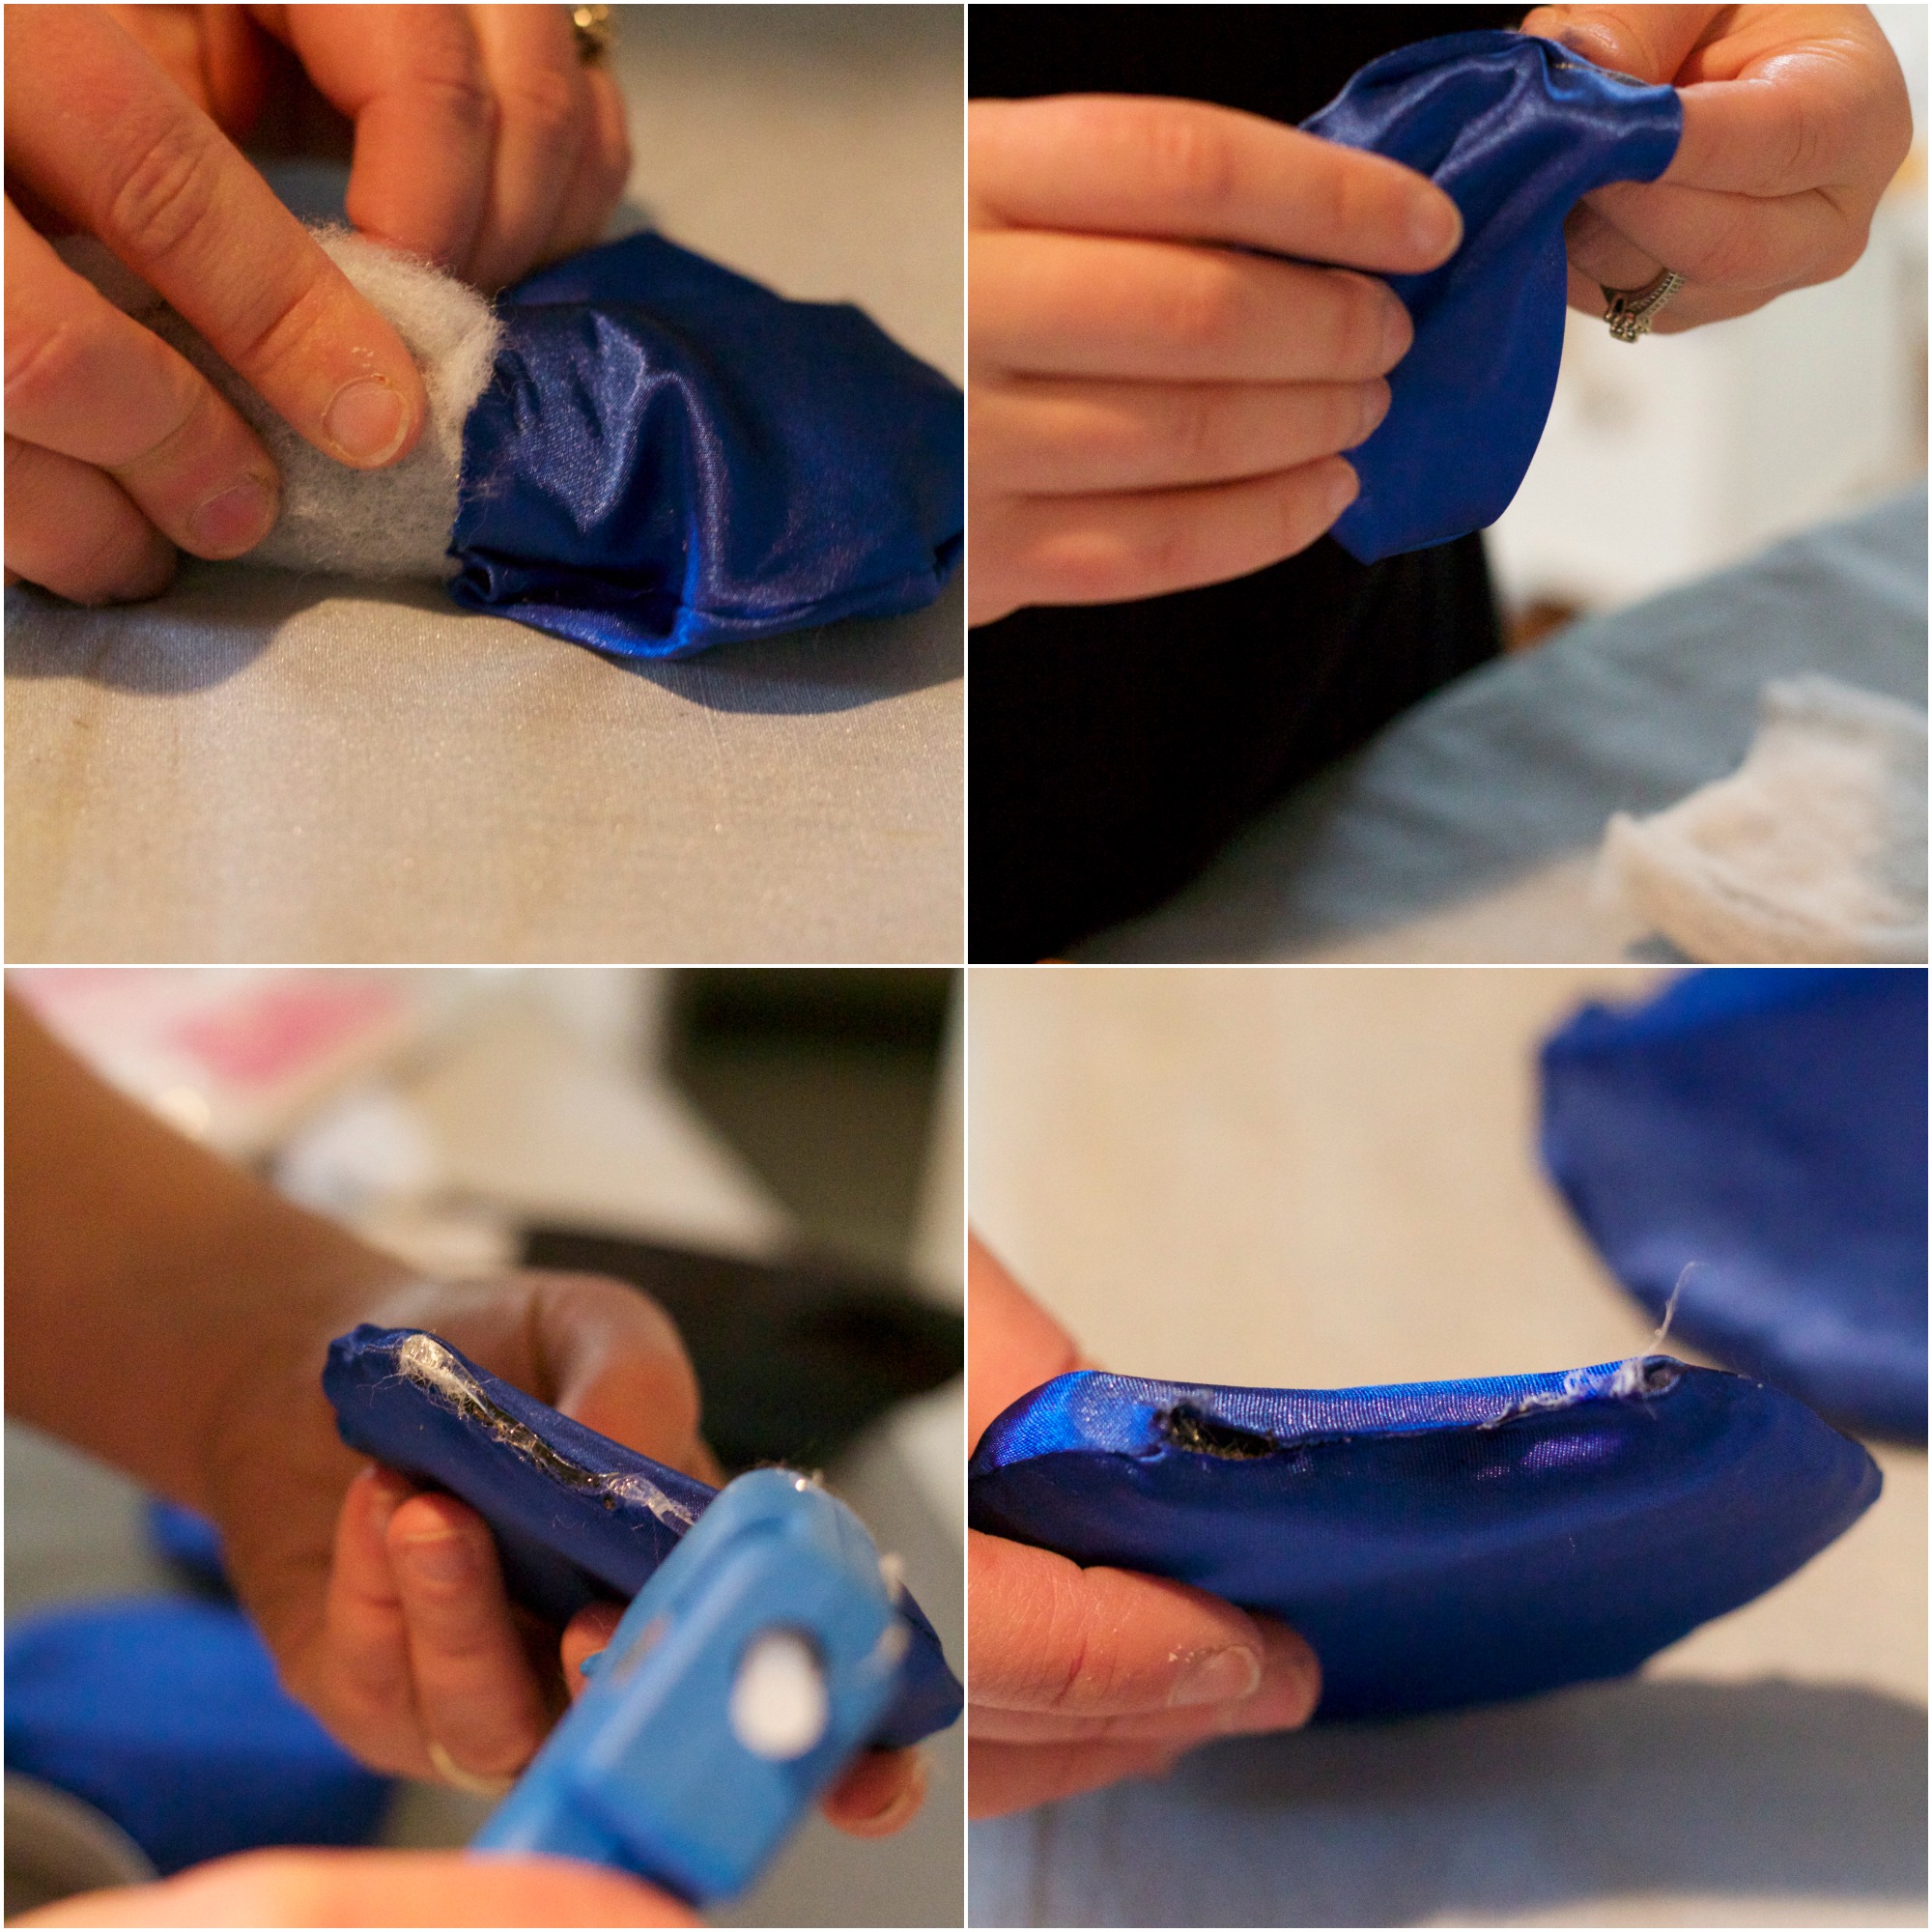
Gently stuff your insert into the mickey ear. Once your insert is in and smoothed out put a thin line of hot glue at the opening and cover with fabric.
Your ears are now ready to be assembled!
Line your ears up on your headband exactly where you want them and get ready to glue. I have found the putting a line of hot glue on the actual ear and then pressing it onto the headband is easiest and allows for less glue to show.
Once assembled it is time for a bow! You can either make your own bow or add a pre-made bow!
To make a Bow:
Cut a 1 1/2 inch by 3 inch piece of batting and a 2 inch by 3 1/2 inch piece of fabric. Simply lay your batting in the center of your fabric and fold like a present, gluing where each piece of fabric is laid. Once cool pinch the center of your padded fabric creating a bow shape. Use either a piece of ribbon or a this cut of your fabric to hold the center together.
Now, glue your bow to the center of your headband, add extra embellishments based on your DIY Mickey Ear theme and you are ready to go!
The possibilities are endless with this fun little project.
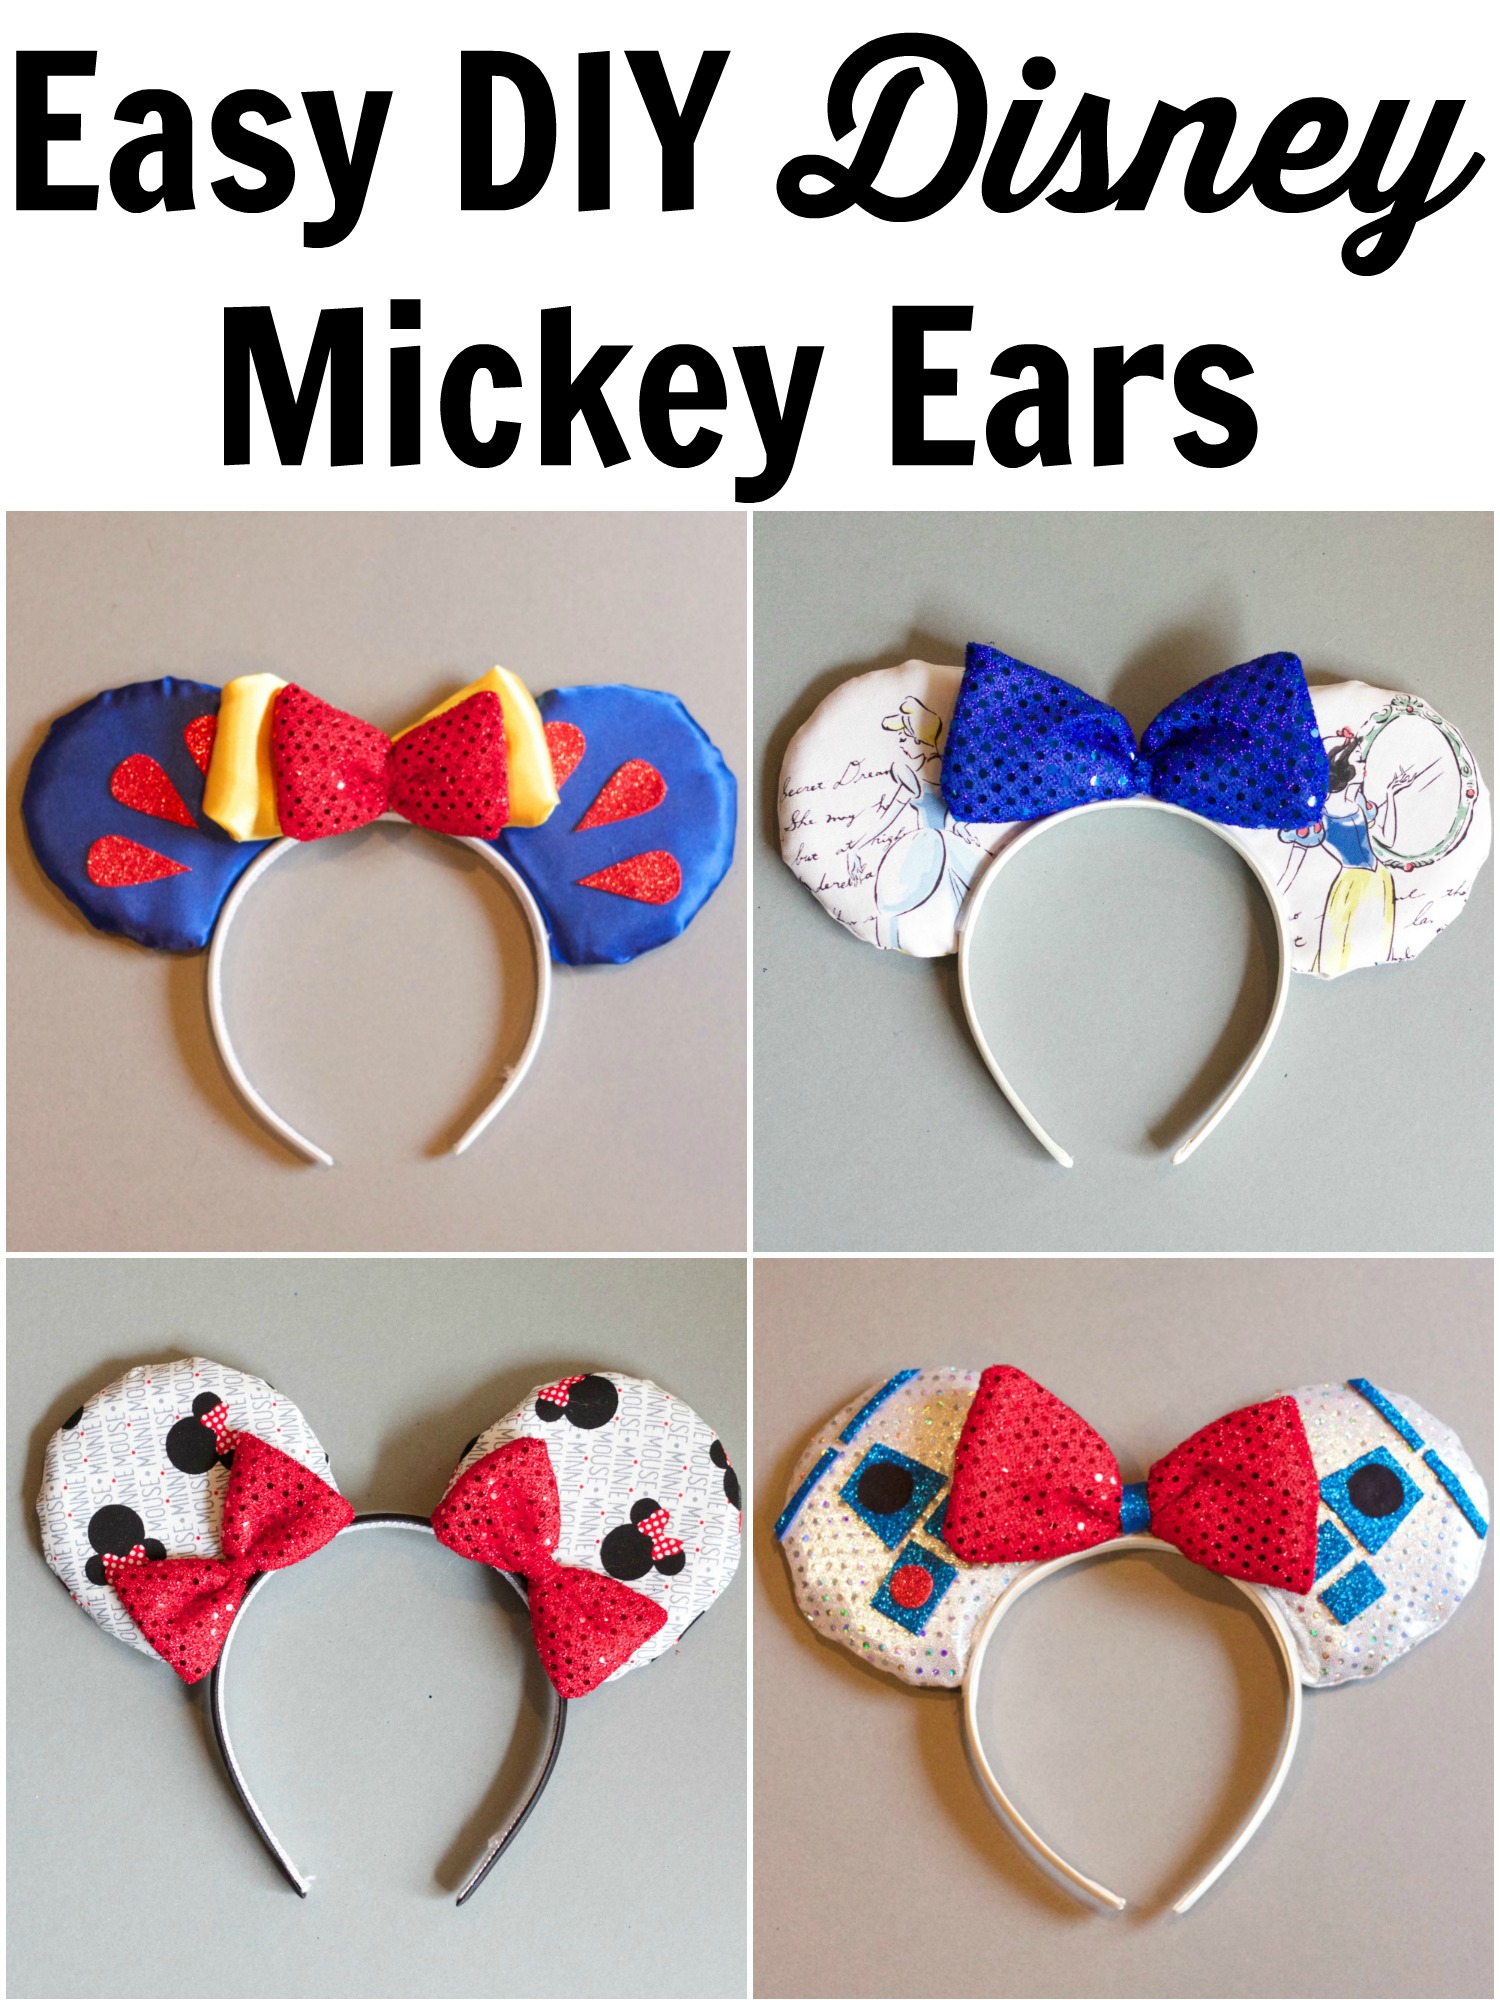
In our house we are loving our Mini Mouse Ears, Snow White and R2D2 Mickey Ears the most. I am still working on putting the finishing touches on Anna and Elsa!
All you Disney experts out there tell me, what are some must bring items I need to add to my list to make our vacation that much more magical?
If you loved this post, don’t forget to pin it and save it for later!



i just bought premade ears, i’m made now, i’m totally using this page for our next disney trip, we’ll have ears for every DAY, thank you!
These are awesome! I can’t wait to make some. Would love to see the Elsa ones!
What is the diameter of your large coffee cup?
Hi Anne! The mug I used is 7″ in diameter. I hope this helps!
That seems really large, my husband is cuting me a template. Are you sure you’re using 7”? The batting template you site is only 4.5” at the widest. Any suggestions
I am sure! It will definitely look smaller as you start to make the ear itself.
Hi, My names Lissa and I am hoping to get into blogging my projects and setting up shop on etsy. I was wondering if you had any advice on how to create a successful blog and how to get sponsored?
Thank you so much ❤
Those ears are so cute! Thanks for sharing. Did you find the hot glue held up well? I’m nervous about the durability of it for a day in the parks…
Seriously my hero! I wish I could post a picture. I used the tutorial to make my daughter some Elsa ears, oh my gravy at the cuteness. Thanks again!!
I’m curious has to how well these held up at the parks. Were they floppy? I’ve been looking everywhere for tutorials to make ears for myself and my girls (4) and this is by far the best I’ve seen. I just wondered if they were stable, or if they needed a little extra reinforcement.
I’m having trouble finding the 5mm foam, where at the craft store would it be located?
super cute! great job
Thank you so much for the patterns. Made a Snow White inspired set for a friend’s Disney themed Bunko Night.
About how much did this cost to make? Thanks!?
Are you using just a regular craft glue stick? Or is it a fabric glue stick. I am having a hard time getting my ears to stick I don’t know if it’s the glue stick or the plastic head band maybe I need to line it with fabric?
I’m trying to make these for our upcoming trip in May. Did you use the pattern labeled fabric or foam/batting from the Angela From Touring plans site.? I was a little confused. It sounds like you used the pattern labeled fabric. And then the large coffee cup for the ears.
Thank you for posting this great tutorial. I’m hoping mine come out half as cute as yours.
Your tutorial saved my life! I was ready to throw in the towel on making ears before I saw this.
Really wish this was a video. I’m a visual learner….
I don’t want to be weird but the best place to live is Houston! Seriously. I am not kidding. In Houston there is something you can find out by clicking on the link here. Anyone who plans to travel here or those lucky ones who live here, I STRONGLY recommend to visit this place!
What a great idea!! These would be perfect to make for my classroom!! Very creative!
Greetings! My name is Tommy Dulaney. The greatest new super hero I am Tommy man. I am a new hero! How to make a headbands for crafts mickey’s ears of Tommy man.
Love,
Tommy Dulaney, John, jack and teresia Dulaney of Bronson florida 😚😀🥳🦸🦸♀️🏋♂️🤩😁🤣🤣💪🦸♂️🦸♂️🏋♀️💋💘💋💘😚😀🥳