If you follow us on Instagram you know that a few weeks ago I shared with all of you that we are going to DISNEY WORLD! My family is so excited we can hardly stand it. My husband and I started planning this trip months ago but kept it quiet from the girls until Christmas morning.
All 3 of our girls have been begging us to take them to Disney for quite a while now and with my little ones being so Disney obsessed right now we knew now was the time.
On Christmas morning, with a little help from Michelle, our surprise was waiting at the door for the girls to find. They opened their gifts and with 2 in shock and the other screaming in excitement we announced that we are going to Disney World!
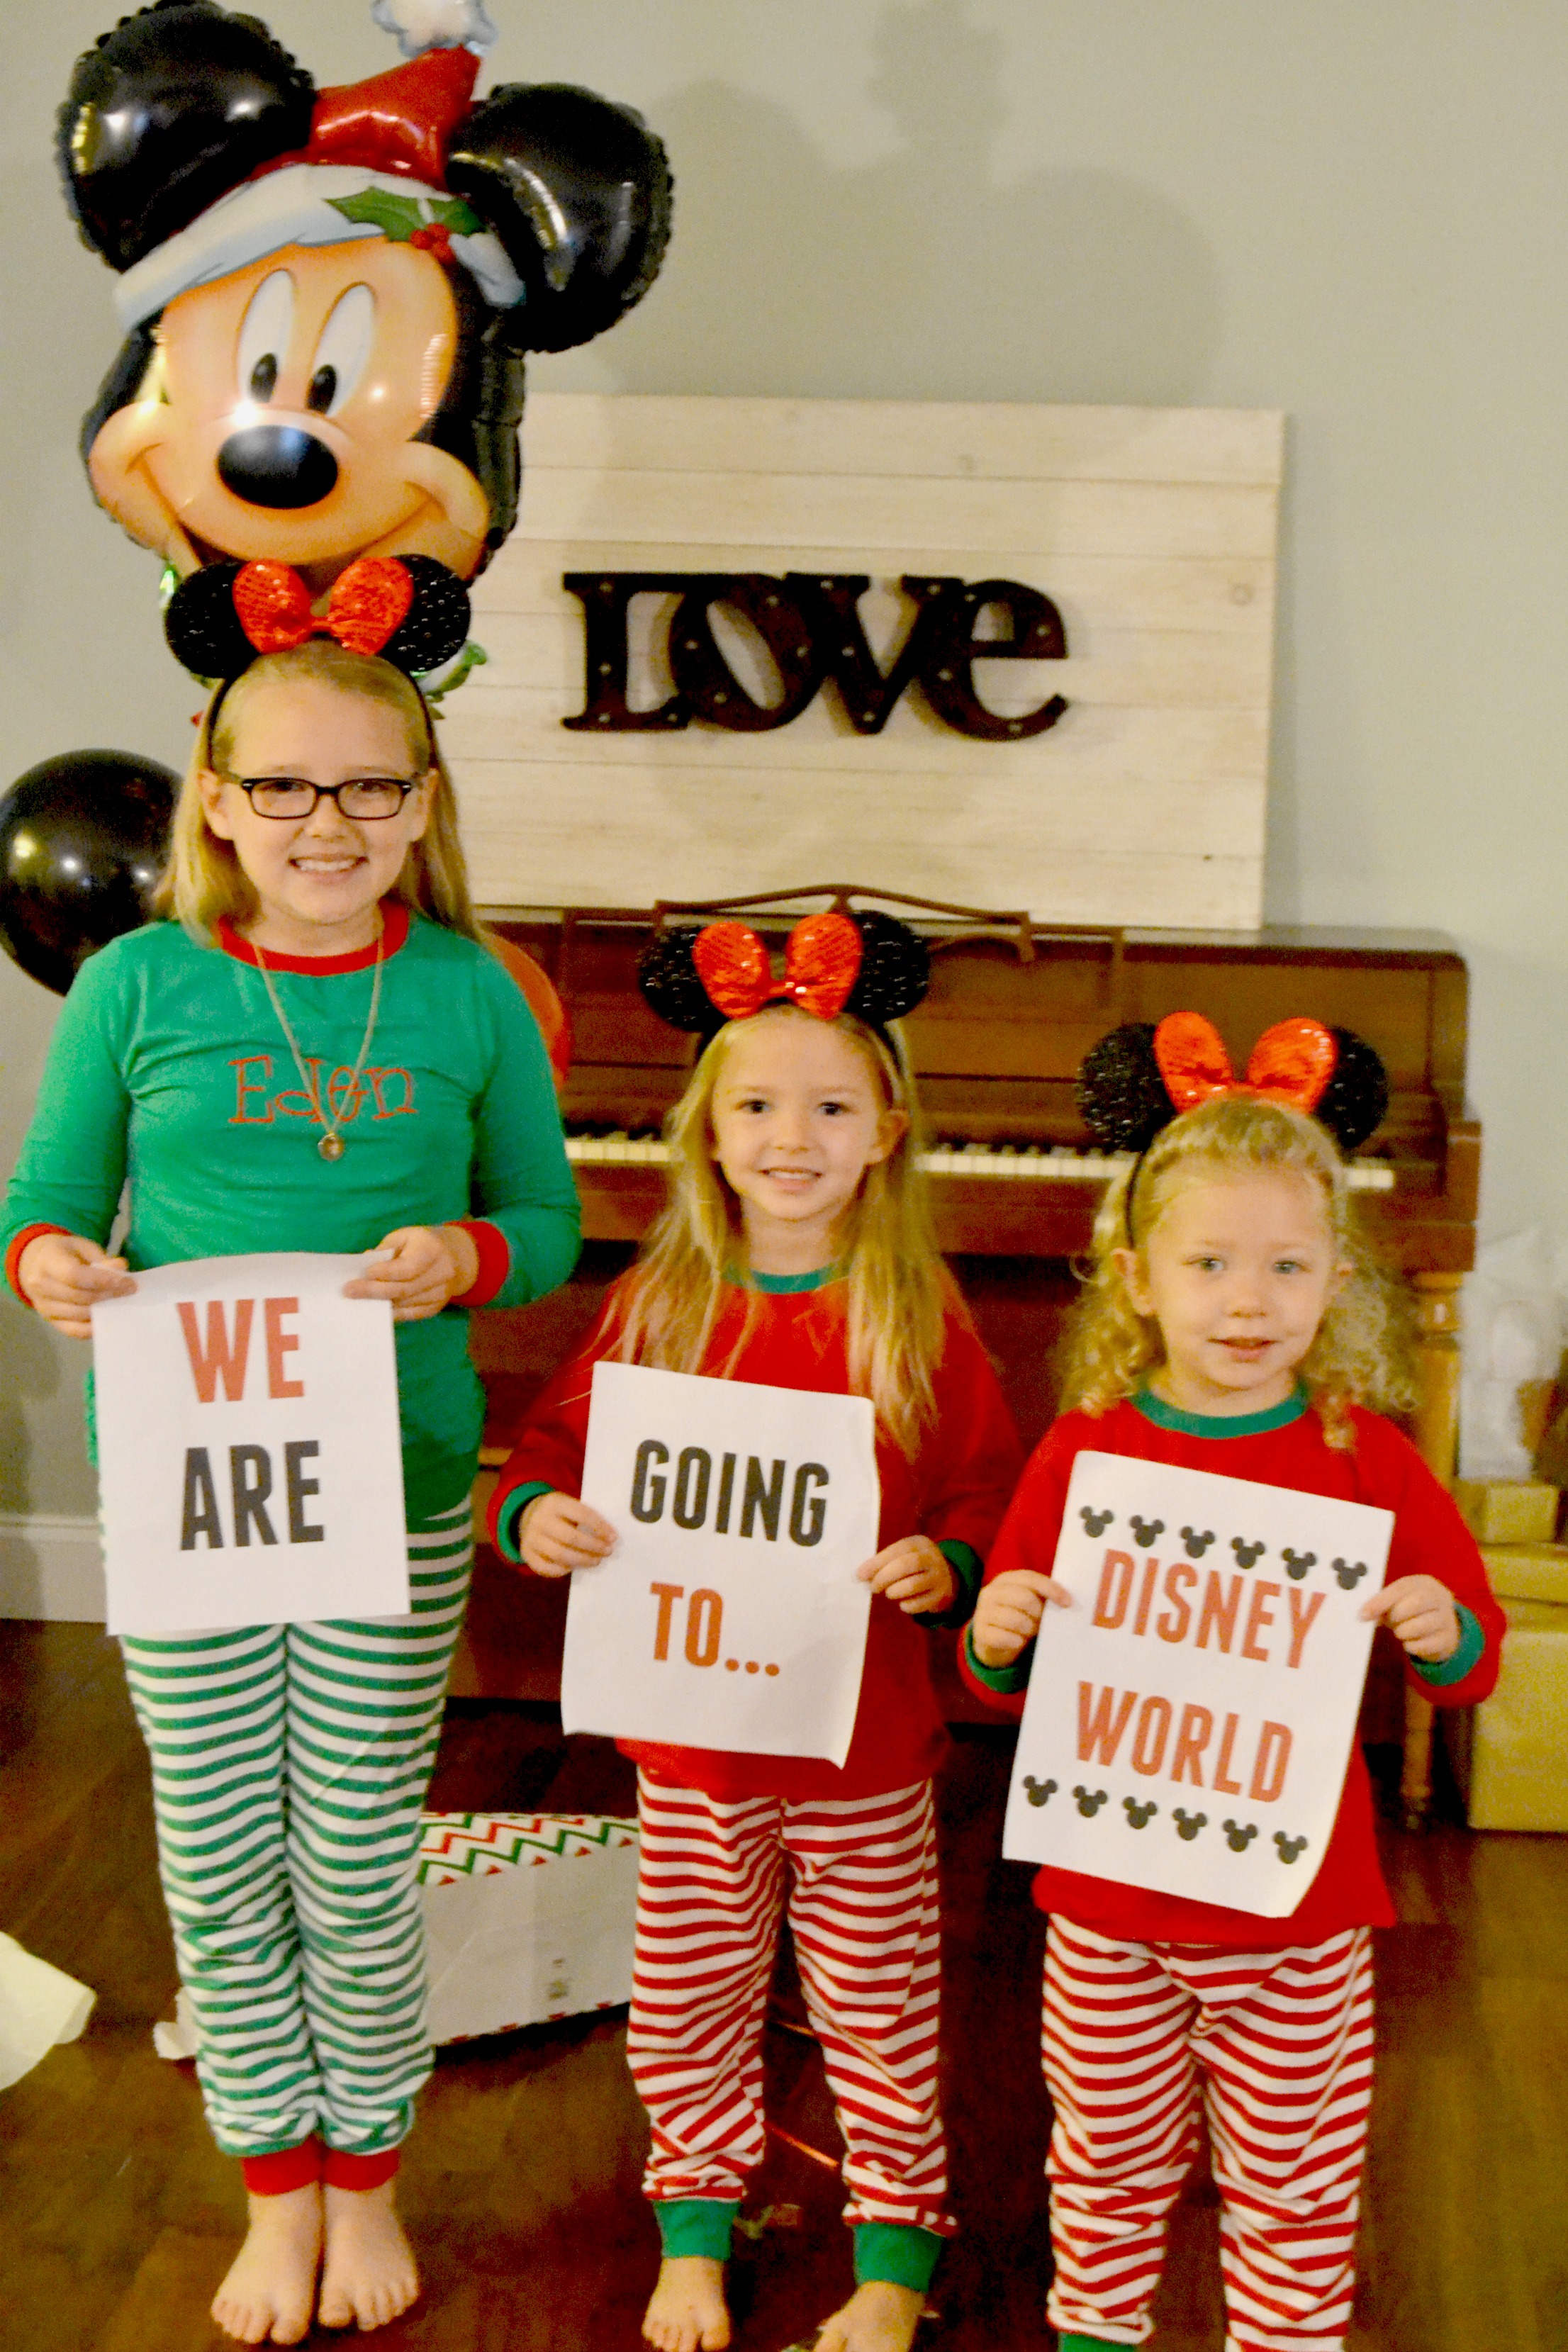
(of course this was the best picture I could get in all of the excitement)
But, now that the kids know that we are headed to the happiest place on earth it’s been awesome and they are driving me crazy, all at the same time!
I love getting to show them everything we have planned and everywhere we will be going. I have loved watching videos on what to do at Disney and day dreaming away with them but… getting asked 1 million times every. single. day. how much longer until we leave, it’s making me nuts!
I totally get it. I ask myself the question everyday as well. We can barely contain ourselves.
So, in order to make the waiting easier on all of us I made a Disney World Calendar Countdown!
When we are 30 days out from our trip we are going to start the countdown to the big day. I am super excited about all we have planned with our calendar.
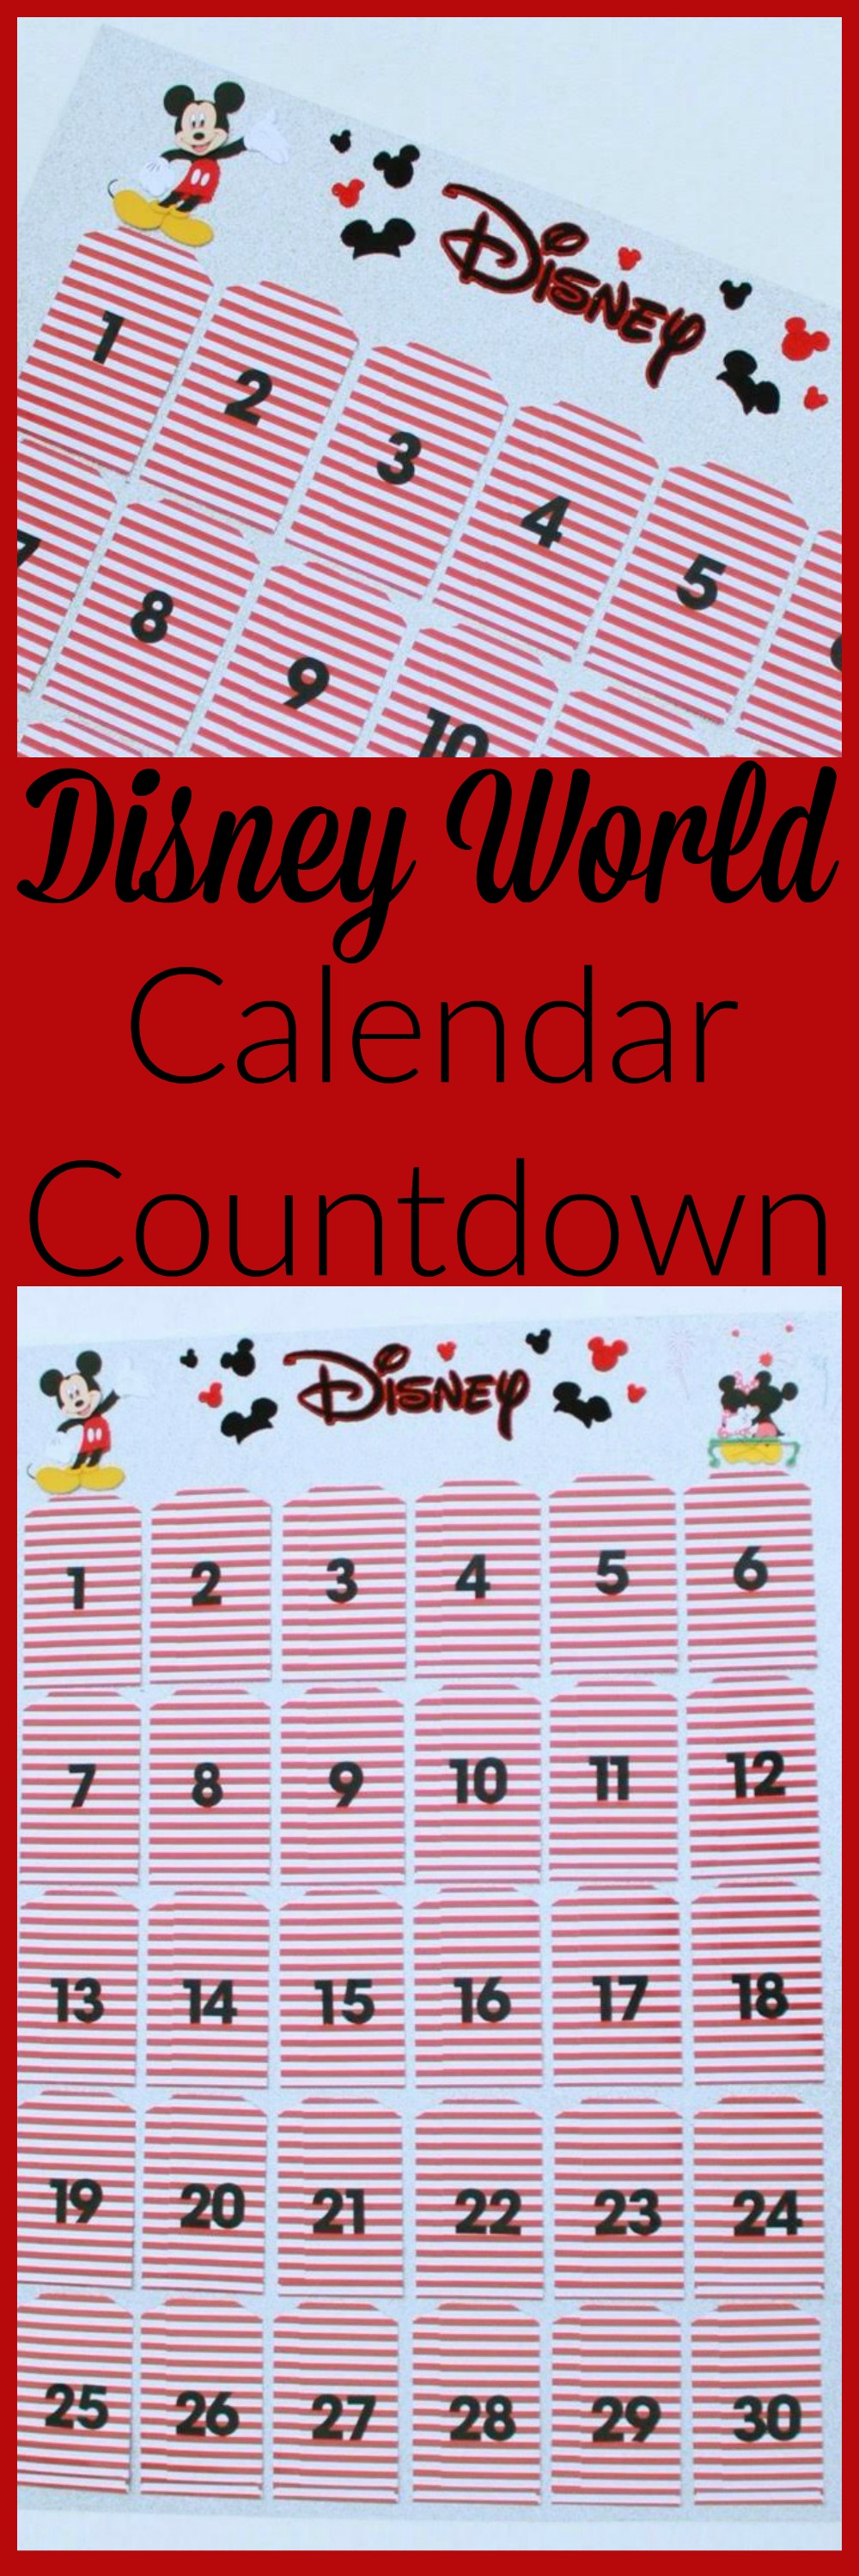
Each day, we have an envelope pocket that will have some sort of treat. Whether it be a sticker, temporary tattoo, a candy or even a surprise Disney themed movie night, everyday will be different and well anticipated.
Now instead of asking mom how many more days, they can go count for themselves and get more and more excited!
S0, if you are looking for the perfect Disney Calendar Countdown here is how you can make your own.

Supplies:
1 Poster Board- I used a fun glitter poster I found at Michael’s.
30 Pocket Envelopes- I was lucky enough to find these red and white striped envelopes in the valentine section. On the other side is a cute gold heart but of course that was not Disney so I flipped them over.
Disney Themed Scrapbooking Embellishments
Sticky Numbers- Be sure to buy a couple of packs of these. You will need a lot of 1’s and 2’s.
Glue- I used a glue gun

Directions:
First things first, put all of the numbers on your pocket envelopes. This will take the most time and it will be easier to lay out your board once this step is complete. Next, lay your poster vertically and apply your scrapbooking embellishments centered and at the top of your board. I went with a traditional Mickey and Minnie look but you could also do a princess themed countdown or any other character your child may love.
Once you have your embellishments in place arrange your envelopes with the numbers on them on your poster board. I was able to fit 5 rows of 6 perfectly! After your poster is laid out how you would like it, it is time to glue. I used hot glue so it would dry faster and was pleased. You could use other glue as well (use what you have on hand).
After everything is glued down it is time to stuff your envelopes. Do not feel like you have to go crazy with this. I picked up some fun Disney themed items from the dollar store that I will be using. I will also stuff some of these fun surprise Disney themed movie night tickets in some of the pockets as well. Not only will this be fun but it will refresh our memories on all of the movies we love!
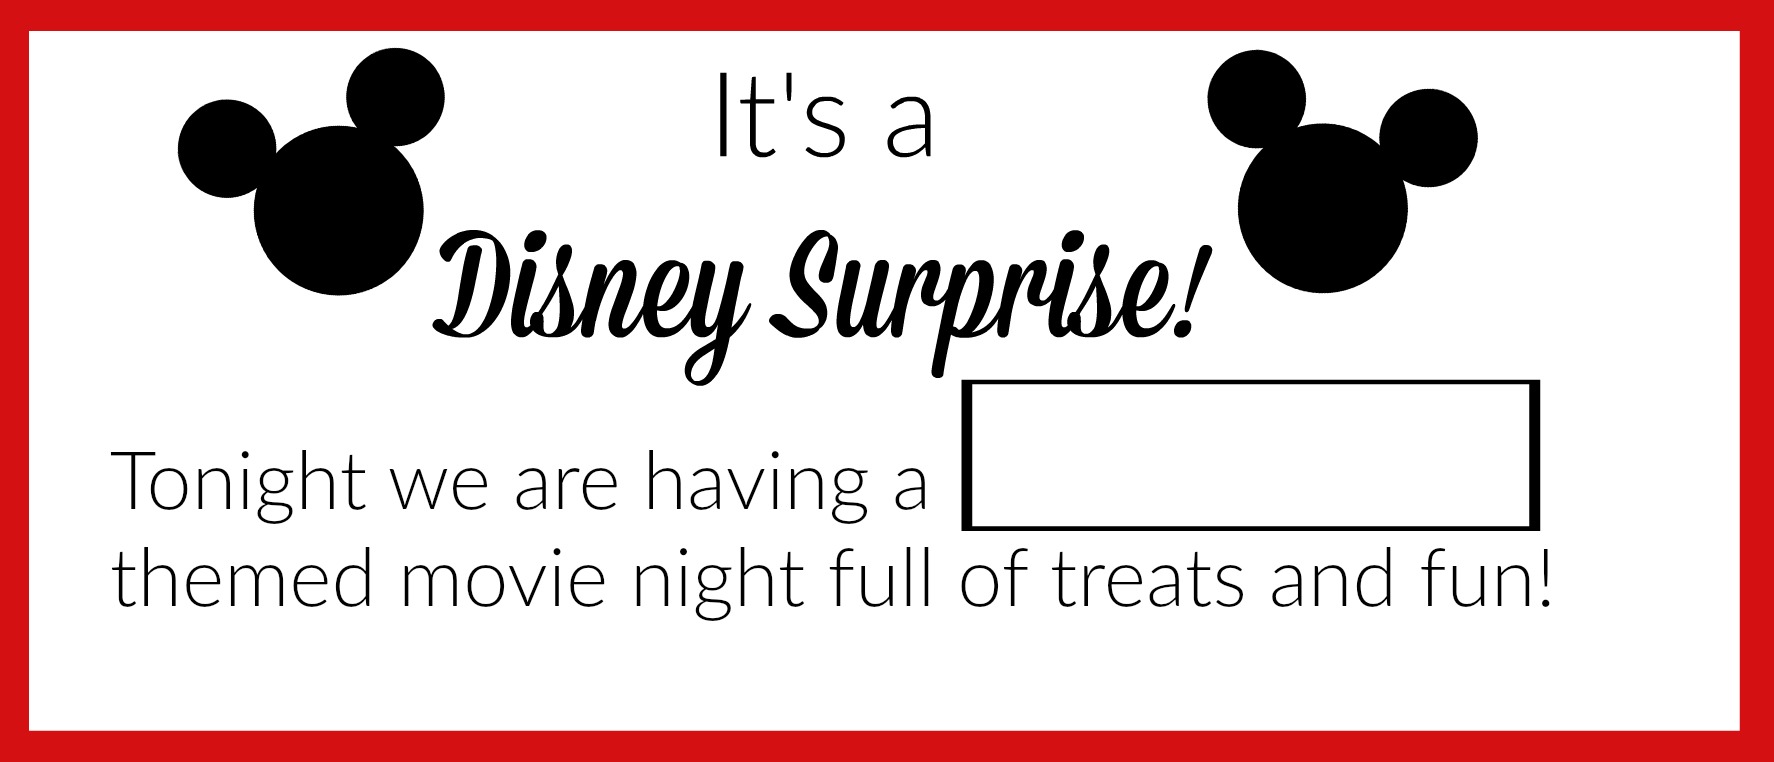
Once your calendar is stuffed and ready to go it is time to find it’s perfect home and to let the countdown begin!
Alright Moms, if you have a tripped planned share with me! I am in the middle of being overly obsessed and trying not to think too hard. These Disney trips are a job in themselves! Do you have something planned we cannot miss out on? Share your tips with me!


Leave a Reply